How to Refinish Kitchen Cabinets: A Step-by-Step Guide
Refinishing kitchen cabinets can seem like a daunting task, especially if you’re aiming for that perfect, professional look. Many people struggle with achieving a smooth, durable finish that truly transforms their space. Don’t worry—you’re not alone, and with the right steps, you can do it yourself!
To refinish your kitchen cabinets, first gather tools like sandpaper, primer, and paint or stain. Safely remove doors and hardware while labeling everything so you know where it all goes later.
Clean and degrease surfaces thoroughly, then sand to smooth out imperfections. Applying primer helps with better paint adhesion and ensures a longer-lasting finish.
Choose a paint or stain finish that matches your style, then apply it evenly for a polished look. Finish with a protective topcoat to guarantee durability.
Keep going, and you’ll find tips to handle common problems and achieve a flawless, professional-looking result.
Key Takeaways
- Carefully remove cabinet doors and hardware, making sure to label each piece so you can easily reassemble everything later.
- Clean and degrease all cabinet surfaces thoroughly before sanding to ensure the paint or stain sticks well.
- Sand the cabinets using medium to fine-grit sandpaper, and fix any dents or scratches to get a smooth finish.
- Apply a suitable primer evenly over the surface, then choose to paint or stain based on the look and durability you want.
- Finish with a protective topcoat, sanding lightly between coats to make your cabinets last longer and look great.
Gather Tools and Materials for Refinishing Kitchen Cabinets
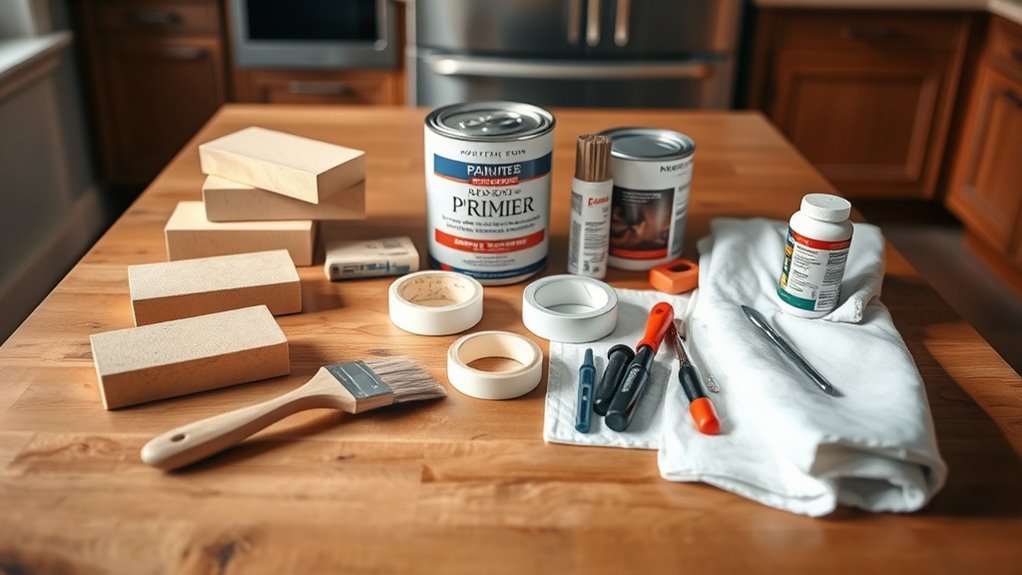
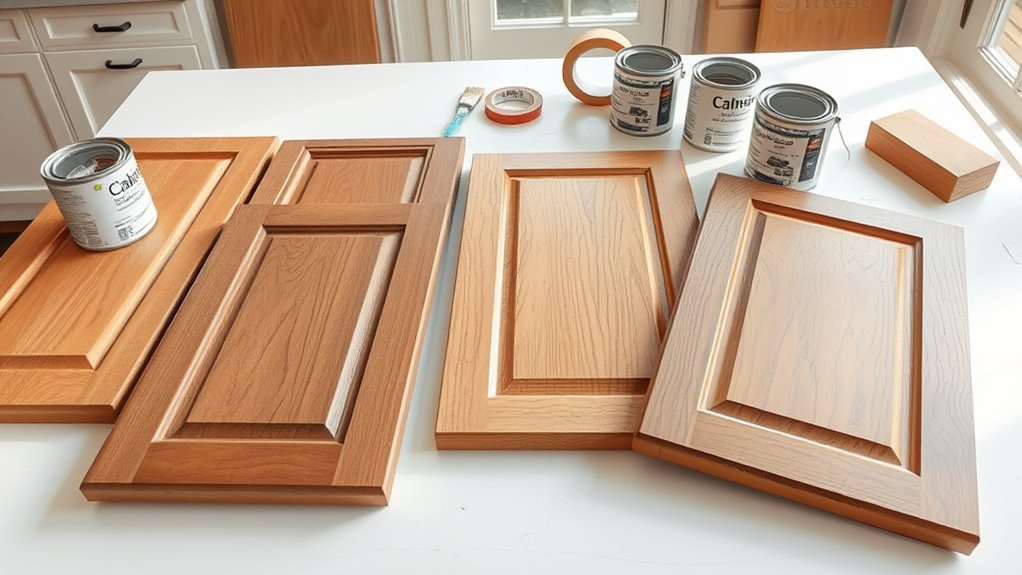
Before you start refinishing your kitchen cabinets, gather all the tools and materials you’ll need. Prep your workspace by clearing the area, covering countertops and floors with drop cloths, and making sure you have good ventilation. This keeps your kitchen protected and makes cleanup easier.
Next, gather essential tools like sandpaper, a sanding block or electric sander, painter’s tape, screwdrivers, and paintbrushes or rollers. You’ll also want cleaning supplies to remove grease and dirt from the cabinet surfaces. Don’t forget to pick a quality primer that’s suited for kitchen cabinets.
When choosing colors, pick shades that match your kitchen’s style and lighting. Having paint samples ready helps you decide before making a final choice. By gathering everything ahead of time and prepping your space, you’ll avoid interruptions and set yourself up for a successful project.
Choose the Best Paint or Stain Finish for Kitchen Cabinets
How do you decide between paint and stain when refinishing your kitchen cabinets? It really depends on the look you’re after and the condition of your cabinets.
Paint gives you a wide range of colors, letting you create anything from bold to subtle styles. It also provides a smooth, opaque finish that can hide imperfections well.
Stain, on the other hand, enhances the natural wood grain and offers a warm, classic look. It’s great if you want to showcase the wood’s character.
When choosing a finish, think about durability and how much maintenance it needs. For paint, a semi-gloss or satin finish works best because it resists moisture and cleans easily.
If you prefer stain, add a protective polyurethane topcoat to prevent scratches and spills. Also, consider your kitchen’s lighting and decor, as these will influence how your chosen color and finish appear.
Ultimately, pick a finish that combines good looks with practical needs for your space.
Safely Remove Kitchen Cabinet Doors and Hardware
Before you get started, make sure you have all the tools you’ll need to safely remove the cabinet doors and hardware. It’s a good idea to gather everything beforehand so you’re not scrambling in the middle of the job. Oh, and don’t forget to label each door and its hardware—that way, everything stays organized and easy to put back together later. When you’re removing the hinges, take your time and do it carefully to avoid any damage to the wood. Rushing can lead to scratches or dents, so just go slow and steady.
Gather Necessary Tools
Gather the necessary tools to safely remove your kitchen cabinet doors and hardware. Having the right tools makes the process smoother and helps prevent damage.
These tools will also prepare your cabinets for refinishing techniques that match the latest cabinet color trends.
| Tool | Purpose | Tip |
|---|---|---|
| Screwdriver | Remove screws on doors and hardware | Use a magnetic tip for ease |
| Drill | Speed up screw removal | Use the correct bit size |
| Pliers | Remove stubborn hardware | Protect surfaces with tape |
| Labeling tags | Keep track of doors and parts | Avoid confusion later |
Having these tools ready allows you to focus on refinishing with confidence and precision.
Label Doors And Hardware
With your tools in hand, start by carefully removing the cabinet doors and hardware. As you take each door off, use clear labeling techniques to mark both the door and its spot on the cabinet frame. Numbering or using masking tape with notes works well.
This step makes sure you won’t mix up pieces later, making reassembly smooth. For the hardware—hinges, screws, knobs—store them in small, labeled containers or zip-lock bags. Keeping hardware organized prevents loss and confusion.
Be methodical and consistent with labels so every piece has a designated place. This preparation saves you time and frustration as you move forward with refinishing. Accurate labeling and secure hardware storage set a solid foundation for a successful cabinet makeover.
Remove Hinges Carefully
Handle the hinges gently as you remove them to prevent damage to both the hardware and the cabinet doors. Start by unscrewing each hinge slowly, supporting the door so it doesn’t strain or fall.
Knowing your hinge types—like European, surface mount, or inset—helps you understand how to detach them properly. Keep the screws and hinges organized, especially if you plan to reuse or consider replacement options.
| Hinge Type | Removal Tip |
|---|---|
| European | Release the clip before unscrewing |
| Surface Mount | Unscrew directly from the cabinet |
| Inset | Support the door and unscrew gently |
| Replacement Options | Match size and style for a proper fit |
Clean and Degrease Kitchen Cabinets Before Refinishing
Start by thoroughly cleaning and degreasing your kitchen cabinets to make sure the new finish sticks properly. Kitchen cleaning is important because grease, dirt, and grime build up over time, which can prevent paint or stain from bonding well.
Use a quality degreasing solution designed for kitchen surfaces. These break down oily residues effectively without damaging your cabinets. Apply the solution with a sponge or cloth, paying special attention to areas near the stove and handles where buildup is heaviest.
Choose a kitchen-safe degreaser and focus on greasy spots like around the stove and handles for best results.
Rinse the cabinets with clean water afterward to remove any leftover cleaner, then dry them completely with a lint-free cloth. Avoid skipping this step, as even a small amount of grease can cause peeling or uneven finishes later.
Taking the time to clean and degrease thoroughly sets a solid foundation for refinishing. This will help ensure your cabinets look great and maintain their new finish longer.
Sand Cabinets to Create a Smooth Surface
Grab your sandpaper and get ready to smooth out your cabinets’ surfaces. Sanding is a key step in prepping your surface so your new finish looks perfect and sticks well.
Start with medium-grit sandpaper (around 120 grit) to remove the old finish and any imperfections. Use gentle, even pressure and follow the grain of the wood to avoid scratches.
Once the old finish is gone, switch to fine-grit sandpaper (220 grit) to make the surface smooth and even, ready for priming or painting.
For flat surfaces, a sanding block or orbital sander helps keep the pressure consistent. When working on edges or detailed areas, hand-sanding is best to avoid damaging corners.
Always wear a dust mask and work in a well-ventilated space to protect yourself from dust particles.
Take your time with these sanding steps because proper surface prep is crucial for a professional-looking finish on your cabinets.
Fix Scratches, Dents, and Holes in Cabinets
Repairing scratches, dents, and holes is key to making sure your cabinets look perfect after refinishing. Start with scratch repair by gently sanding the affected areas to smooth out rough edges.
Next, apply a wood filler or putty designed for scratches, then use a putty knife to smooth the surface. For dents, press a damp cloth over the area and carefully heat it with an iron to lift the wood fibers.
Apply wood filler for scratches and use heat with a damp cloth to raise dents before filling.
Once the fibers are raised, fill the dent with wood filler to level the surface. For holes, push a good-quality wood filler into the cavity, pressing it in firmly.
After the filler dries, sand the patched areas thoroughly so they blend seamlessly with the rest of the cabinet. Following these steps will give you a smooth, damage-free surface ready for the next stage of refinishing.
Apply Primer for Better Paint Adhesion
Once you’ve smoothed out scratches, dents, and holes, the cabinets are ready for primer. Applying primer is an essential step that boosts paint adhesion and guarantees a smooth, durable finish.
Choose the right primer type based on your cabinet material. Latex primers work well for wood, while oil-based primers are ideal for surfaces prone to stains or tannin bleed. Using techniques like light sanding before priming can help the primer stick better.
Apply the primer evenly with a brush or roller, making sure to cover all surfaces, including edges and corners. Let it dry completely, following the manufacturer’s instructions, before moving on.
This step not only improves paint adhesion but also prevents peeling and extends the lifespan of your finish. Taking the time to apply primer correctly sets a solid foundation for your kitchen cabinets’ new look.
Paint or Stain Kitchen Cabinets
Although both painting and staining can transform your kitchen cabinets, choosing the right method depends on the look you want and the type of wood you have.
If you prefer a modern or bold style, painting lets you adopt popular cabinet color trends like navy blue, soft gray, or creamy white.
Painting also hides wood imperfections, making it ideal for cabinets with blemishes or uneven grain.
Painting effectively conceals wood flaws, perfect for cabinets with blemishes or irregular grain patterns.
On the other hand, staining highlights the natural beauty of wood grain and works best on hardwoods like oak or maple.
Staining offers a warm, classic finish that enriches texture and depth.
When applying either paint or stain, follow proper refinishing techniques—clean, sand, and prep surfaces to guarantee durability and smooth results.
Use thin, even coats and allow sufficient drying time between layers.
Choosing between paint and stain ultimately comes down to your style preference and wood type, so consider both carefully before moving forward.
Troubleshoot Common Refinishing Problems
If you see paint peeling or spots that just don’t look right, don’t stress—you can easily fix these before you keep going. Usually, peeling paint just means you need to sand the area down and then apply a fresh coat of primer.
For dents or scratches, it’s best to fill them in and smooth out the surface first. That way, you’ll end up with a nice, even finish that looks professional.
Fixing Paint Peeling
Peeling paint can quickly ruin the fresh look of your kitchen cabinets, but you can fix it with the right steps. Knowing causes like moisture, poor surface prep, or incompatible paint helps you choose the best repair method.
Start by scraping off loose paint, then sand the surface smoothly and clean it thoroughly. Next, apply a primer suited for your cabinet material before repainting for a lasting finish.
| Peeling Causes | Signs to Watch For | Repair Techniques |
|---|---|---|
| Moisture | Bubbling, soft paint | Use a moisture barrier primer |
| Poor prep | Flaking, uneven surface | Sand and clean thoroughly |
| Incompatible paint | Cracking, peeling | Strip old paint and repaint properly |
| Heat exposure | Discoloration, peeling | Use heat-resistant paint |
| Old paint layers | Multiple peeling layers | Remove old paint completely |
Handling Surface Imperfections
After fixing peeling paint, you might notice other surface imperfections like dents, scratches, or uneven textures that can affect your cabinet’s final look. Proper surface preparation is key to fixing these issues effectively.
Start by sanding the problematic areas smoothly, then clean off any dust. Use appropriate repair techniques like wood filler for dents and deep scratches.
Apply the filler evenly, let it dry completely, and then sand again to blend it seamlessly with the surrounding surface. For uneven textures, consider skim-coating with a thin layer of joint compound or wood putty, then sand smooth.
Taking the time to handle these imperfections thoroughly will give your cabinets a flawless, professional finish that lasts.
Seal Cabinets With a Durable Protective Topcoat
Apply a durable protective topcoat to your cabinets to safeguard the finish and extend their lifespan. Choosing the right topcoat type is important—consider polyurethane for durability, acrylic for clarity, or water-based options for easy cleanup.
Next, focus on proper application techniques to ensure an even, smooth finish.
Follow these steps:
- Lightly sand the surface with fine-grit sandpaper to promote adhesion.
- Clean off dust with a tack cloth to avoid imperfections.
- Use a high-quality brush or foam applicator to apply thin, even coats.
- Allow each coat to dry completely before lightly sanding and applying additional coats as needed.
Frequently Asked Questions
How Long Does the Entire Refinishing Process Usually Take?
The entire refinishing process usually takes about 4 to 7 days, depending on your project timeline and how well you manage your time.
You’ll spend time removing hardware, sanding, cleaning, priming, painting or staining, and letting everything dry between coats.
If you plan carefully and stick to your schedule, you can avoid delays. Remember, drying times are crucial, so don’t rush through them.
Good time management makes for a smooth, efficient refinishing project.
Can I Refinish Cabinets Myself or Should I Hire a Professional?
You can refinish cabinets yourself, especially if you enjoy DIY projects and don’t mind sanding and painting. Picture yourself smoothing each surface and giving old wood a fresh new look.
But hiring a professional has its perks like an expert finish, saving time, and getting guaranteed results. If you want a flawless look without the stress, going with a pro is a good choice.
On the other hand, if you love hands-on projects and want to learn new skills, DIY can be both fun and budget-friendly. It’s a rewarding way to breathe new life into your cabinets on your own.
What Is the Average Cost of Refinishing Kitchen Cabinets?
The average cost of refinishing kitchen cabinets usually ranges between $1,000 and $3,000, depending on your refinishing techniques and the cabinet condition.
When planning your project, you’ll want to consider budget factors like paint or stain quality, labor if you hire help, and any repairs needed.
Doing it yourself can save money but might require more time and skill.
Keep these costs in mind to stay on track financially.
How Do I Maintain Refinished Cabinets to Keep Them Looking New?
To keep your refinished cabinets looking new, wipe them with a soft cloth and mild soap solution regularly.
Avoid using harsh chemicals that could damage the protective finish.
Every couple of years, apply a fresh coat of protective finish to boost durability and shine.
Be sure to clean up spills quickly to prevent stains or warping.
Are There Eco-Friendly Products for Refinishing Kitchen Cabinets?
Yes, you can definitely use eco-friendly stains and natural sealants when refinishing your kitchen cabinets. These products cut down on harmful chemicals and fumes, making your project safer for you and the environment.
Look for stains made from plant-based ingredients and sealants like beeswax or water-based polyurethane. Using these eco-friendly options helps you get a beautiful finish while staying green and healthy in your home.
Conclusion
Now that you’ve mastered the art of refinishing your kitchen cabinets, picture your space transforming like a blank canvas turning into a work of art. With patience and care, you’ve taken worn surfaces and made them look fresh and inviting.
Just like a skilled artist seals their work, sealing your cabinets ensures they stay beautiful for years to come. A good sealant protects your finish from moisture and everyday wear.
So, roll up your sleeves and breathe new life into your kitchen. Your refreshed cabinets will become the heart of your home’s story, all thanks to your hard work and attention to detail.