How to Draw a Kitchen: A Step-by-Step Guide
Designing a kitchen can feel overwhelming, especially if you’re not sure where to start. Many people struggle with creating a space that’s both functional and stylish. Don’t worry—you’re not alone in this.
To draw a kitchen, start by gathering your tools and measuring the space accurately. Sketch the floor plan with walls, doors, and windows, keeping lines light for easy changes.
Plan an efficient work triangle by placing the stove, sink, and fridge thoughtfully. Add appliances, countertops, and seating areas while balancing function and style.
Don’t forget lighting and electrical outlets for convenience and safety. Keep these basics in mind, and you’ll soon create a detailed, practical kitchen design to build on.
Key Takeaways
- Start by measuring your kitchen space accurately, including walls, doors, windows, and built-in features for precise layout planning. This will give you a clear idea of what fits where.
- Sketch the basic floor plan with walls, marking corners and materials. Use light pencil lines so you can make adjustments easily as you go.
- Plan the kitchen work triangle by positioning the stove, sink, and refrigerator. This helps optimize workflow and keeps walking distances minimal.
- Add major appliances and storage, making sure they’re proportionate and placed practically for easy access and efficiency.
- Finish your design by drawing countertops, islands, seating, lighting fixtures, and electrical outlets. This completes both the look and function of your kitchen.
Gather Your Drawing Tools

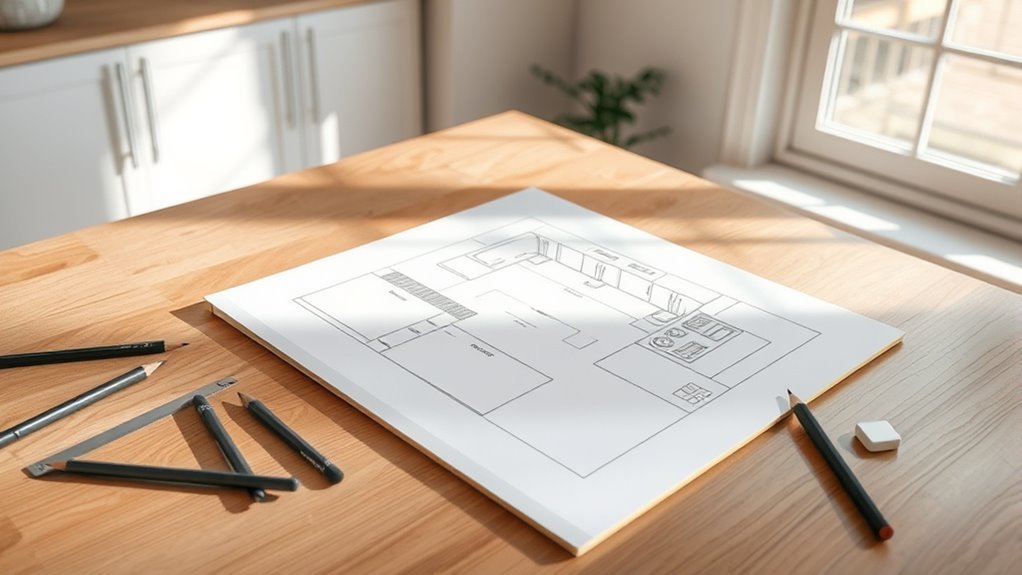
Before you start drawing your kitchen, make sure you have all the essential tools within reach. Grab a good set of pencils, ranging from hard (H) to soft (B), to help you experiment with sketching techniques. You’ll want a reliable eraser to clean up lines and a sharpener to keep your pencils precise.
A ruler or straightedge is vital for perspective drawing, making sure your kitchen’s walls and cabinets line up correctly in your sketch. Also, consider having a sketchbook or quality drawing paper that can handle erasing and layering.
If you prefer digital drawing, prepare your tablet or drawing software with the right brushes for clean lines and shading. With these tools ready, you can focus on capturing the kitchen’s layout and details effectively.
Organizing your workspace with these essentials will streamline your creative process and help you master the perspective drawing that brings your kitchen sketch to life.
Measure Your Kitchen Space Accurately
With your drawing tools ready, the next step is to measure your kitchen space accurately. Start by noting the overall kitchen dimensions, including length, width, and ceiling height. Use a tape measure to capture these measurements precisely, as they form the foundation of your drawing. Don’t forget to measure doorways, windows, and any built-in features that affect space utilization.
Take your time to guarantee accuracy because even small errors can impact your design. Record each measurement clearly on your notepad or digital device. Consider measuring multiple points along walls to account for irregularities. This detailed approach helps you visualize how different elements will fit together.
Accurate kitchen dimensions allow you to plan your layout efficiently, optimizing space utilization. When you know the exact size, you can confidently decide where to place cabinets, appliances, and countertops. This careful measurement step guarantees your drawing reflects the real kitchen, making the next stages smoother and more effective.
Sketch the Basic Floor Plan and Walls
Once you’ve gathered accurate measurements, start by sketching the basic floor plan and walls of your kitchen. Use a pencil and ruler to draw straight lines representing the room’s perimeter and internal walls.
Focus on capturing the overall layout, making sure the proportions reflect your measurements precisely. Mark corners clearly and show where different wall materials meet, like drywall, tile, or exposed brick, since these will influence your design choices.
Keep your lines light at first so you can make adjustments easily. Pay attention to the thickness of walls, especially if they contain plumbing or electrical elements, as this affects appliance placement.
Add Doors, Windows, and Fixed Features
Now, let’s get to adding doors, windows, and fixed features to your kitchen layout. Imagine where each door will make sense for easy access—like near the main entrance or close to the pantry—and think about how window styles and sizes will bring in natural light and make the space feel more open. It’s all about finding that sweet spot where form meets function.
As you place your doors and windows, keep in mind the overall flow of the room. You want to make sure doors don’t block movement or appliance access, and that windows are positioned to maximize daylight without causing glare on screens or work surfaces. Balancing practicality with aesthetic appeal will help create a kitchen that’s both beautiful and functional.
Placement of Doors
Before you start placing cabinets and appliances, you’ll need to decide where doors, windows, and other fixed features will go. Proper door placement affects entrance flow, clearance space, and traffic patterns, so think carefully about door size and style.
Consider accessibility features and door hardware to make your kitchen easier to use. Placing doors where they don’t block appliance doors or walkways helps keep movement smooth and efficient.
| Aspect | Tips |
|---|---|
| Door Styles | Pick styles that match your kitchen’s overall look. |
| Entrance Flow | Position doors so they don’t block important areas. |
| Clearance Space | Leave enough room for door swings and easy movement. |
| Accessibility | Use wider doors and simple hardware for easier access. |
Keep door placement both functional and stylish for a kitchen that works well and looks great.
Window Styles and Sizes
After deciding where to place your doors, turn your attention to windows, since their style and size really influence your kitchen’s light and airflow. Think about modern window designs for a sleek vibe or vintage styles to add some charm.
Pay attention to window sizes to balance natural light—larger windows brighten the space, while smaller ones make it cozy. Use window placement tips to put them where they’ll maximize airflow and sunlight without sacrificing privacy.
Decorative features like mullions or stained glass can boost your kitchen’s look. And don’t forget energy-efficient windows—they help reduce heat loss and keep the space comfortable.
Pick window designs that open easily and fit your layout. By choosing styles, sizes, and placement carefully, you’ll create a bright, inviting, and practical kitchen everyone will love.
Plan Your Kitchen’s Work Triangle
You’ll want to set up your appliances so they form a nice, efficient work triangle—think of the stove, sink, and refrigerator. When these key spots are positioned just right, it makes cooking so much easier because you’re not wasting steps or space.
Let’s take a look at how you can arrange these elements to get the best flow in your kitchen.
Optimize Appliance Placement
When arranging your kitchen, think about the work triangle—a design idea that links the sink, stove, and refrigerator to make things easier.
Start by figuring out which appliances you need and what they do. Place these main appliances so the distances between them create a smooth workflow with fewer steps.
Your layout should let you move easily between these spots while leaving enough counter space for prep work. For example, don’t put the refrigerator too far from the stove or sink, as that can slow you down.
Also, think about where other appliances like microwaves or dishwashers fit in without blocking pathways. Good placement based on the work triangle makes your kitchen more practical and enjoyable to use.
Balance Efficiency And Space
Although maximizing efficiency is key, balancing it with available space ensures your kitchen works smoothly without feeling cramped. When planning your work triangle, focus on how you use space and optimize your layout to improve workflow and traffic flow.
Keep these points in mind:
- Position the sink, stove, and refrigerator to minimize walking distance for better workflow.
- Make sure appliance and counter heights follow ergonomic principles for comfort and ease.
- Use storage solutions that blend style with function and are easy to access, helping prevent clutter.
- Leave enough open space between workstations to keep traffic flowing smoothly without sacrificing efficiency.
Draw Kitchen Cabinets and Storage
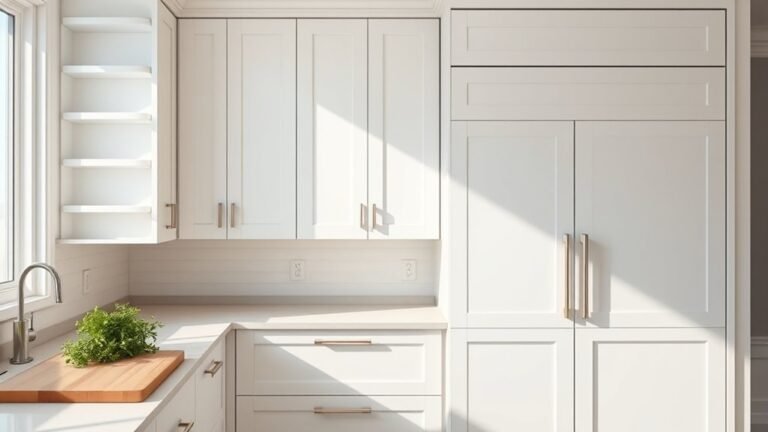
Since kitchen cabinets and storage define both function and style, start by outlining their basic shapes and placement. Sketch the upper and lower cabinets, considering styles like shaker, flat-panel, or glass-front to reflect your kitchen’s personality. Focus on drawing clean lines for doors and drawers, making sure they align well with your overall layout.
Next, think about storage solutions. Add tall pantry cabinets, corner units, and open shelving to make the most of your space. Draw pull-out drawers, spice racks, or lazy Susans to show practical storage options. Keep proportions realistic, balancing accessibility with visual appeal.
As you refine your sketch, include details like handles and hinges to enhance the look without cluttering. Remember, your drawing should clearly show how the cabinets and storage work together, blending functionality with design. This helps you visualize a kitchen that’s both beautiful and efficient before adding major appliances.
Position Major Kitchen Appliances
Now that you’ve sketched out where your cabinets will go, it’s a good idea to start thinking about where to place the major appliances. Imagine how you actually use your kitchen day-to-day—this will help you figure out the best spots for things like the fridge, oven, and dishwasher.
Think about keeping things convenient and making your workflow smooth. For example, placing the fridge near the prep area or the sink can save you a lot of steps. It’s all about creating a layout that feels natural and makes cooking and cleaning easier. So, take your time to position each appliance thoughtfully—you’ll thank yourself every time you cook!
Appliance Placement Basics
When you position major kitchen appliances, focus on creating a functional workflow that minimizes unnecessary movement. Think about appliance types and their space needs to make sure your layout helps the flow smoothly. Balance safety rules with ergonomic design to avoid strain and accidents. Don’t forget about energy efficiency and style—they both matter for utility and look.
Here’s a simple guide to appliance placement basics:
- Place the refrigerator near the entrance for easy unloading of groceries.
- Position the sink in the center for quick access while prepping and cleaning.
- Situate the stove with enough counter space on both sides for safety and prep work.
- Make sure the dishwasher is close to the sink to make dishwashing easier.
Optimize Kitchen Workflow
Although placing appliances correctly is important, optimizing your kitchen workflow guarantees you move efficiently from one task to the next. Focus on creating an efficient layout by defining workflow zones—prep, cooking, cleaning—that support natural movement patterns.
Prioritize tasks to position major appliances where you use them most, which enhances accessibility and reduces unnecessary steps. Incorporate ergonomic design principles to minimize strain and maximize comfort.
Use smart storage solutions to keep essentials within reach, improving space utilization. Make sure your design allows for adjustments as your needs change over time.
Draw Kitchen Countertops, Islands, and Seating Areas
Start by outlining the main kitchen countertops, islands, and seating areas to establish the room’s functional flow. Think about how countertop materials will complement your design aesthetics and color schemes. Next, consider island shapes—rectangular, L-shaped, or circular—to fit your space efficiently. Then, incorporate seating styles that match both comfort and style, like bar stools or built-in benches. Finally, don’t forget storage solutions that improve usability without clutter.
Sketch countertops using materials like granite or butcher block to add texture and warmth. Draw islands with shapes that maximize prep space and traffic flow. Place seating areas next to islands or counters for casual dining or socializing. Integrate drawers, cabinets, or open shelves beneath countertops and islands for practical storage.
Add Lighting Fixtures and Electrical Outlets
As you design your kitchen, adding lighting fixtures and electrical outlets ensures both functionality and ambiance. Start by choosing lighting styles that match your kitchen’s purpose and style—think recessed lights for overall illumination, pendant lights over islands for task lighting, and under-cabinet lights to brighten countertops.
Position your fixtures to highlight key areas without causing glare or shadows. Plan outlet locations carefully to meet your needs. Place outlets along countertops for small appliances, near islands for convenience, and inside cabinets if you want hidden charging stations.
Don’t forget to include outlets near the sink with ground fault circuit interrupters (GFCIs) for safety. Proper placement of lighting and outlets makes your kitchen both beautiful and practical.
Refine Your Kitchen Drawing
Improve your kitchen drawing by focusing on details that make your design come alive. Refining your sketch helps capture the kitchen’s style and boosts its overall appeal.
Pay close attention to these elements:
- Textures and Materials: Add wood grain on cabinets, tile patterns on floors, or marble countertops to give your drawing more depth.
- Color Schemes: Use consistent shading or color blocks to show your chosen palette—warm tones for a cozy vibe or cool hues for a modern feel.
- Hardware Details: Sketch cabinet handles, faucet shapes, and appliance buttons to make the space look more realistic.
- Small Accessories: Include items like fruit bowls, cutting boards, or hanging utensils to add personality to your design.
Frequently Asked Questions
What Type of Paper Is Best for Kitchen Drawings?
You’ll want to choose smooth, heavyweight paper for your kitchen drawings to handle various sketch techniques without tearing. Bristol board is a great option because it supports pencil, ink, and markers well.
If you like shading with some texture, cold-pressed watercolor paper works too, but keep in mind it’s a bit rougher. Avoid thin printer paper—it just won’t hold up to erasing or layering.
Picking the right paper helps your kitchen sketches look clean and professional.
How Do I Choose a Color Scheme for My Kitchen Design?
Choosing a color scheme is like composing a song. Each note sets the mood. Start by exploring color psychology to evoke warmth, calm, or energy in your kitchen. Think about how you want to feel there daily.
Next, consider trend influences but don’t let them overshadow your personal style. Balance timeless shades with pops of trendy hues to create a space that feels both current and distinctly yours.
Can I Use Digital Tools Instead of Hand Drawing?
Yes, you can definitely use digital tools instead of hand drawing for your kitchen design. Digital drawing tips include using layers to separate different elements and zooming in for more detailed work.
Software options like SketchUp, AutoCAD, or even Procreate can make your process smoother and more precise. These tools give you flexibility, easy editing, and realistic renderings.
They help you visualize your kitchen layout effectively without needing traditional drawing skills.
How Do I Incorporate Plumbing Details in My Drawing?
Imagine your kitchen’s plumbing layout as the veins that keep it alive. To incorporate plumbing details, start by marking fixture placement like sinks, dishwashers, and water heaters precisely.
Draw pipes connecting these fixtures logically, making sure water flow and drainage paths are clear. Use dashed lines or different colors for hot and cold water lines.
This way, your drawing not only looks complete but also functions realistically, helping you avoid costly mistakes later.
What Are Common Kitchen Design Mistakes to Avoid?
You’ll want to avoid poor kitchen layout that disrupts your workflow. Keeping the sink, stove, and fridge too far apart can really slow you down.
Don’t overlook smart storage solutions. Skipping enough cabinets or drawers often leads to cluttered counters and a messy space.
Also, be careful not to cram too much into a small area. It makes moving around difficult and can feel cramped.
Prioritize clear pathways and think about lighting to make your kitchen both functional and comfortable.
Conclusion
Now that you’ve mastered drawing your kitchen, you’re ready to create a space that’s both functional and beautiful. Did you know that kitchens with well-planned layouts can increase home value by up to 10%?
By following these steps, you’re not just sketching a room—you’re designing a heart of the home that works perfectly for you. Keep refining your drawing, and watch your dream kitchen come to life on paper!