How to Remove Kitchen Faucet: A Step-by-Step Guide
Many homeowners find removing a kitchen faucet to be more challenging than they expected, especially when dealing with stubborn nuts or hidden corrosion. You’re not alone—this is a common frustration, but with the right steps, you can make the process much easier.
To remove your kitchen faucet, first shut off the water supply and clear everything under the sink.
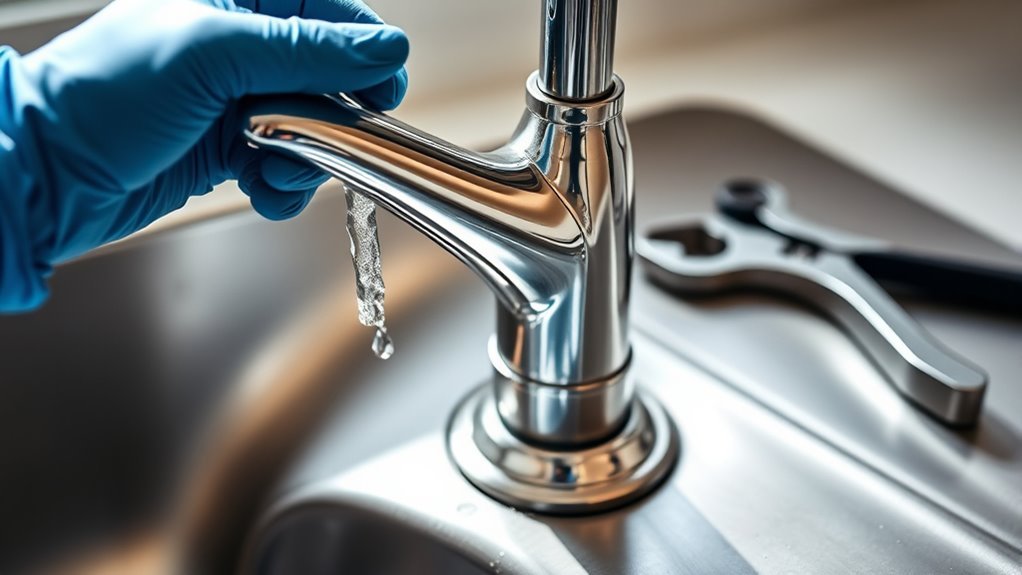
Use an adjustable or basin wrench to disconnect water supply lines and loosen mounting nuts, placing a towel or bucket beneath to catch drips.
Gently remove the faucet, cleaning the area afterward to prevent buildup.
Watch out for stubborn nuts or corrosion, and consider a professional if you face tough issues.
Keep going to uncover helpful tips and common pitfalls to avoid.
Key Takeaways
- Shut off the water supply at the main valve and the shut-off valves under the sink. Make sure no water is coming from the faucet before you start.
- Use an adjustable or basin wrench to disconnect the water supply lines. Place a bucket or towel underneath to catch any drips.
- Loosen and remove the faucet mounting nuts with a basin wrench. If the nuts are stubborn, apply some penetrating oil and wait a few minutes.
- Carefully remove the faucet once all the nuts are loosened, being careful not to damage the pipes or the surrounding surfaces.
- Clean the sink area with a mild abrasive cleaner and disinfectant. Address any corrosion or rusted fittings before installing your new faucet.
Tools Needed to Remove a Kitchen Faucet
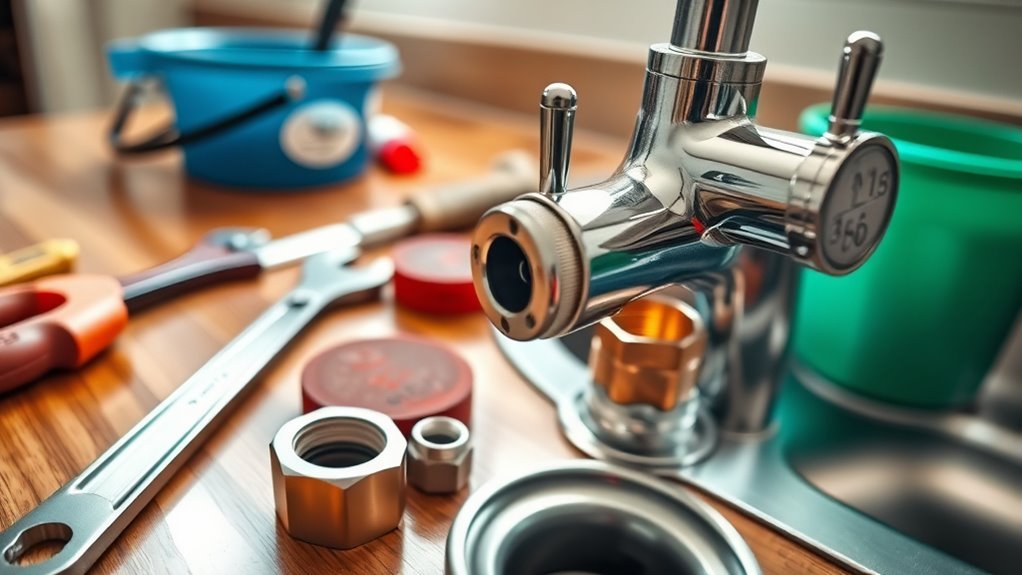
Before you start removing your kitchen faucet, gather a few essential tools to make the job easier. Different faucet types might need slightly different tools, so knowing what you’re working with is helpful.
Generally, you’ll want an adjustable wrench, a basin wrench, and a screwdriver. These tools cover most faucet styles, whether single-handle, double-handle, or pull-out designs.
A flashlight can be handy to see under the sink clearly. You might also need plumber’s putty or a cloth to protect surfaces while working.
Keep installation tips in mind because they often mention which tools suit specific faucet models. Having everything ready helps you avoid delays and work confidently.
Preparing beforehand saves time and frustration during the process. So, gather your tools before you begin, and the job will go much smoother.
How to Shut Off the Water Supply Safely
Before you get started, find the main water valve or the valves under the sink and turn them off. It’s really important to do this so no water keeps flowing while you’re working. Once you’ve done that, give the faucet a quick turn on to make sure the water has stopped completely. If no water comes out, you’re all set to proceed safely.
Locate Main Water Valve
To safely shut off the water supply, start by locating the main water valve in your home. This valve controls the water pressure to your entire plumbing system, so turning it off stops water flow completely.
Common locations include near the water meter, in the basement, garage, or outside by the foundation. If you live in an apartment, the main valve might be inside your unit or in a shared utility closet.
Knowing the exact valve location before starting your faucet removal saves time and prevents unexpected leaks. Once you find the valve, check that it’s easy to reach.
Familiarize yourself with how it turns—usually clockwise to close—so you can quickly shut off the water when needed.
Turn Off Sink Valves
Locate the individual shut-off valves under your sink and turn them clockwise to close. These valves control the water supply to your faucet and come in different types, such as ball valves, gate valves, and compression valves.
Knowing which type you have helps with proper faucet maintenance and ensures you shut off the water safely. Always handle valves gently to avoid damage and leaks during faucet removal.
Turning off these sink valves prevents water flow and keeps your workspace dry. Handle them carefully to prevent any issues while working on your faucet.
Verify Water Is Off
After turning off the sink valves, double-check that the water is fully shut off. Open the faucet to see if any water comes out. If it does, the water pressure hasn’t fully dropped, and you’ll need to tighten the valves or find the main shutoff.
Different faucet types may behave differently. For example, single-handle faucets might still drip even after turning off the valves. If water keeps flowing, turn off the main water supply to your home.
Once no water comes out when you open the faucet, you’ve confirmed the water is off. This step is important to prevent leaks or water damage while removing your kitchen faucet.
Preparing Your Kitchen Before Faucet Removal
Before you start removing your kitchen faucet, clear out the area under the sink and around the countertop to give yourself plenty of room to work. Good kitchen organization makes the process smoother and helps prevent accidents.
Remove any cleaning supplies, dishes, or utensils that might get in the way or cause clutter. Make sure you have a clean, dry workspace to avoid slipping or knocking things over.
Next, set up a towel or bucket under the sink to catch any water drips. Wear gloves to protect your hands from sharp edges or debris. If you have a flashlight or portable light, set it up to improve visibility in tight or dark spots.
Taking these simple steps before you begin will make faucet removal easier and keep your kitchen safe and organized throughout the process.
How to Disconnect the Water Supply Lines
With your workspace clear and protected, it’s time to disconnect the water supply lines. Start by locating the shut-off valves under your sink and make sure the water supply is completely turned off. This keeps leaks from happening as you work.
Next, gather your disconnect tools—usually an adjustable wrench or basin wrench will do the trick. Place a bucket or towel underneath to catch any leftover water.
Have your adjustable or basin wrench ready, and place a bucket or towel underneath to catch drips.
Use your tools to loosen the nuts connecting the water supply lines to the faucet. Carefully pull the lines away once the fittings are free, being careful not to damage the supply pipes.
Take your time and double-check that the water supply is off before loosening any connections. Properly disconnecting these lines makes removing the faucet easier and helps prevent water messes.
How to Loosen and Remove Faucet Mounting Nuts
To loosen and remove the faucet mounting nuts, you’ll want to grab either a basin wrench or an adjustable wrench—whichever you have handy. These tools are perfect for reaching those nuts under the sink.
Next, turn the nuts counterclockwise to loosen them up. Just make sure to apply steady pressure so you don’t strip the nuts. If they seem stubborn and won’t budge, try squirting a bit of penetrating oil on them. Give it a few minutes to work its magic, then come back and try again.
Tools Needed
Three essential tools will make loosening and removing your faucet mounting nuts much easier: an adjustable wrench, a basin wrench, and a pair of pliers. Each tool serves a specific purpose depending on the faucet types you’re working with and the space constraints under your sink.
Adjustable wrench is great for gripping different nut sizes, offering versatility during removal.
Basin wrench is designed for tight spots and can reach behind the sink to access hard-to-reach mounting nuts.
Pliers are useful for holding or turning smaller nuts and bolts that might be stuck or corroded.
Having these tools on hand will simplify the process and help you follow installation tips effectively when replacing or repairing your kitchen faucet.
Loosening Techniques
Start by turning off the water supply to prevent any leaks while you work. Next, locate the mounting nuts under the sink holding the faucet in place. Use a basin wrench or adjustable wrench to loosen these nuts.
If they’re stuck due to mineral buildup, which is common with faucets, apply a penetrating lubricant and let it sit for a few minutes before trying again. Remember, patience is key to avoid damaging the nuts or pipes.
As a faucet maintenance tip, regularly check and clean these connections to prevent future stubbornness. Once loose, you can unscrew the nuts by hand and remove the faucet.
Following these loosening techniques will make your faucet removal straightforward and help you avoid unnecessary repairs.
How to Detach the Old Faucet From the Sink
Loosen the mounting nuts beneath the sink to free the faucet from its position. Depending on your faucet type, you might find one or multiple nuts securing it. Use a basin wrench or adjustable pliers to reach tight spaces easily.
Once the nuts are loose, gently lift the faucet off the sink. Keep an eye out for any additional clips or brackets holding it in place.
Be careful with the supply lines and disconnect them carefully to avoid damage. If your faucet has a sprayer hose, remember to detach it from the faucet body.
How to Clean the Sink Area After Removal
Clear away any debris, old plumber’s putty, and residue left behind after removing the faucet to prepare the sink surface for the new installation.
Use effective sink cleaning techniques like scrubbing with a mild abrasive cleaner and a soft brush to avoid scratching. After cleaning, disinfecting surfaces is essential to eliminate bacteria and mold buildup.
Apply a disinfectant spray or diluted bleach solution, let it sit for a few minutes, then rinse thoroughly with water.
Here’s a quick guide to cleaning steps:
| Step | Tool/Material | Purpose |
|---|---|---|
| Remove debris | Putty knife | Clear old putty and gunk |
| Scrub surface | Soft brush, cleaner | Remove stains and grime |
| Rinse | Warm water | Wash off cleaning agents |
| Disinfect | Disinfectant spray | Kill bacteria |
| Dry | Clean cloth | Prevent water spots |
Following these steps guarantees a clean, safe sink area for your new faucet.
How to Fix Common Problems When Removing a Kitchen Faucet
Although removing a kitchen faucet usually goes smoothly, you might run into stubborn nuts, corroded connections, or tight spaces that make the job tricky. To handle these common issues, stay calm and use the right tools.
For rusted fittings, spray them with penetrating oil and let it sit for a few minutes before trying to loosen them. This helps prevent stripped screws and damaged parts.
If you find broken seals causing leaks, replace them right after removing the faucet to avoid future water damage.
When dealing with stripped screws, try using a rubber band for extra grip or switch to a screw extractor tool for safe removal.
When to Call a Professional to Remove Your Kitchen Faucet
If you’ve tried tackling stubborn nuts, corroded connections, or stripped screws without success, it might be time to call a professional to remove your kitchen faucet. Seeking professional help ensures you avoid damaging plumbing or cabinetry. They have the right tools and expertise to handle tricky removals safely and quickly.
Here are some signs it’s a good idea to call a pro:
| Issue Encountered | Why You Need Professional Assistance |
|---|---|
| Stubborn nuts | Risk damaging pipes or fixtures |
| Corroded connections | Needs specialized tools and skills |
| Stripped screws | Hard to remove without causing damage |
| Leaking after removal | Could mean complex plumbing issues |
| Unfamiliar plumbing setups | Expert knowledge prevents costly mistakes |
Don’t hesitate to hire a pro if you run into these problems. It saves time, reduces frustration, and keeps your plumbing system safe.
Preparing to Install Your New Kitchen Faucet
Before you install your new kitchen faucet, take a few key steps to guarantee a smooth process. Proper preparation saves time and prevents frustration during installation.
Start by reviewing faucet installation tips specific to your model to understand any unique requirements. Also, consider the sink configuration and water supply lines to make sure everything is compatible. When choosing faucet styles, think about both function and design to match your kitchen’s look and meet your needs.
Here are three essential preparation steps:
- Gather all necessary tools and materials before starting.
- Turn off the water supply and clear the area under the sink.
- Inspect the new faucet and parts for any damage or missing components.
Frequently Asked Questions
Can I Remove a Kitchen Faucet Without Turning off the Water Supply?
No, you can’t safely remove a kitchen faucet without turning off the water supply. Ignoring this step can lead to water damage and flooding.
Before you start, shut off the valves under your sink or the main water source. It’s a simple but crucial step to prevent a mess.
After disconnecting the faucet, always double-check for leaks. Taking these precautions helps ensure a smooth, mess-free process and protects your home’s plumbing system from damage.
How Do I Dispose of My Old Kitchen Faucet Properly?
You should check local disposal guidelines to handle your old kitchen faucet properly. Many faucets have metal parts that can be recycled, so look for recycling options at scrap metal centers or community programs.
If your faucet has plastic or rubber parts, try to separate them if you can. Avoid throwing it in the regular trash to help reduce environmental impact.
Following these steps ensures you dispose of your old faucet responsibly and in an eco-friendly way.
What Materials Are Kitchen Faucets Typically Made From?
Kitchen faucets are usually made from durable materials like brass, stainless steel, and zinc alloy. Brass is popular because it resists corrosion and lasts a long time.
Stainless steel offers a sleek look and is very durable. Zinc alloy is more budget-friendly but not as sturdy. Faucet finishes come in options like chrome, brushed nickel, oil-rubbed bronze, and matte black, so you can match your kitchen’s style and protect your faucet from everyday wear.
Are There Eco-Friendly Kitchen Faucet Options Available?
Yes, you can definitely find kitchen faucets made from eco-friendly materials like recycled brass, stainless steel, and even bamboo accents. Many sustainable brands focus on reducing environmental impact by using these materials and incorporating water-saving technologies.
When shopping, look for certifications like WaterSense to guarantee your faucet is both durable and eco-conscious. Choosing one helps conserve water and supports companies committed to sustainability, making your kitchen greener.
How Do I Prevent Leaks After Installing a New Faucet?
Think of sealing your faucet like wrapping a gift—tight and neat to keep everything perfect. For preventing leaks, start with clean threads and apply plumber’s tape evenly during faucet installation.
Tighten the connections securely, but be careful not to over-tighten, as this can cause damage. Make sure all seals are in place, and use silicone putty if needed to create a better seal.
Finally, turn the water on slowly and watch for drips. Catching leaks early means you can fix them right away and avoid bigger problems down the line.
Conclusion
Removing your kitchen faucet might seem tricky, but with the right tools and steps, you can handle it confidently. Remember to shut off the water, disconnect supply lines carefully, and clean up afterward.
If you run into stubborn parts or leaks, don’t hesitate to call a pro. Upgrading your kitchen and saving money by doing it yourself is totally doable with a little patience.
With this guide, you’re well on your way to a smooth faucet removal and a fresh start in your kitchen.