How to Measure for Kitchen Cabinets: A Step-by-Step Guide
Are you feeling overwhelmed at the thought of measuring your kitchen for new cabinets? You’re not alone—many homeowners struggle with getting accurate measurements, which can lead to costly mistakes.
But don’t worry, with a little guidance, you’ll be able to measure confidently and plan your perfect kitchen layout.
To measure for kitchen cabinets, start by gathering tools like a reliable tape measure, pencil, and level. Clear the space and measure your kitchen’s overall length, width, and ceiling height at multiple points.
Mark plumbing, electrical spots, and obstacles such as windows or appliances. Measure wall space and cabinet dimensions carefully, adjusting for doors and vents.
Double-check your numbers to avoid errors. With these basics, you’ll be ready to plan your kitchen layout efficiently and confidently.
Key Takeaways
- Gather essential tools like a reliable tape measure, pencil, notepad, level, and flashlight before starting measurements.
- Measure the kitchen’s overall length, width, and ceiling height at multiple points to get accurate results.
- Mark plumbing, electrical outlets, windows, doors, and appliances so you won’t accidentally block them with cabinets.
- Measure the wall space for both upper and base cabinets, keeping in mind any obstacles and uneven wall surfaces.
- Double-check all your measurements, draw a scaled layout, and review everything for consistency before finalizing.
Gather Your Tools for Measuring Kitchen Cabinets
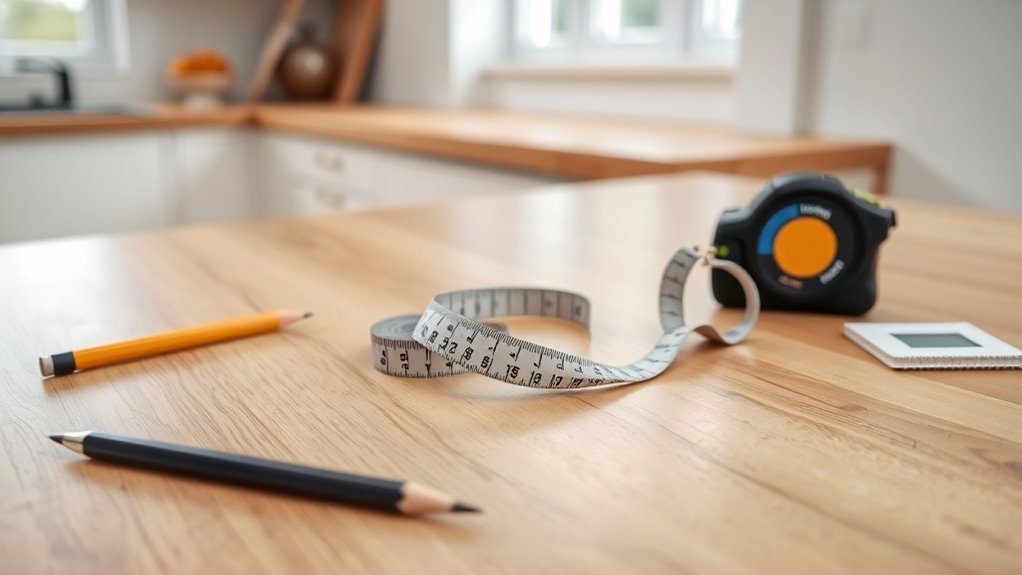
Before you start measuring your kitchen cabinets, gather the essential tools to ensure accuracy and efficiency. Begin with a reliable measuring tape—this will be your main tool for capturing precise dimensions. Make sure it’s long enough to measure the largest spaces in your kitchen easily.
Next, prepare a tools checklist to stay organized and avoid forgetting anything important. Along with the measuring tape, have a pencil and notepad ready to write down measurements clearly. A level can help verify that your measurements are straight, especially if your walls or floors aren’t perfectly even.
Consider having a step stool nearby to reach higher cabinets safely. A flashlight can also be handy for illuminating dark corners or inside cabinets. By gathering these tools upfront, you’ll make the measuring process smoother and reduce mistakes.
Sticking to your tools checklist will help you stay efficient and confident throughout the task. With everything ready, you’ll set a solid foundation for your kitchen cabinet project.
Measure Your Kitchen’s Overall Dimensions Accurately
Start by measuring the length, width, and height of your entire kitchen space to get a clear picture of its overall dimensions. Precise measurement techniques are essential for successful kitchen design, helping you avoid costly mistakes. Use a tape measure and record measurements in feet and inches, rounding to the nearest quarter inch.
Measure from wall to wall at multiple points to account for irregularities. Note doorways, windows, and appliances to plan cabinet placement effectively. Here’s a simple table to organize your measurements:
| Dimension | Measurement 1 | Measurement 2 |
|---|---|---|
| Length (wall A) | ||
| Width (wall B) | ||
| Height |
Having these accurate dimensions helps you visualize your space and guarantees your new cabinets fit perfectly. Remember, careful measurement is the foundation of any kitchen design project.
Measure Ceiling Height to Choose Cabinet Size
Because ceiling height directly impacts your cabinet options, it’s important to measure it carefully before choosing sizes. Different ceiling styles like vaulted, tray, or flat ceilings need different cabinet heights to keep things balanced and maximize storage.
Start by measuring from the floor to the ceiling at multiple points to check for any unevenness. Knowing your exact ceiling height helps you decide whether to go with standard cabinets or taller, custom ones that fill the space without overwhelming the room.
Keep these key points in mind when measuring ceiling height for cabinet sizing:
- Measure at several spots to see if the ceiling is uneven
- Identify your ceiling style to pick the right cabinet heights
- Remember crown molding or soffits that could reduce available height
- Decide if you want full-height cabinets or space above them
- Use your measurements to plan for both storage and visual appeal
Mark Plumbing and Electrical Spots Before Measuring
Before you get started with measuring, take a moment to locate where your plumbing and electrical outlets are. It’s a good idea to mark these spots clearly so you don’t run into any surprises later on. Trust me, nothing’s worse than realizing you forgot about an outlet right when you’re about to install the cabinets!
And while you’re at it, don’t forget to note any areas that might block cabinet placement. That way, everything will fit just right, and you’ll save yourself some headaches down the road.
Identify Key Plumbing Locations
Three essential plumbing and electrical points must be marked clearly before you measure for your kitchen cabinets. Focusing on plumbing considerations, you need to pinpoint where water lines and drains connect to guarantee your fixture placements align perfectly with your cabinet layout. This step prevents costly mistakes during installation.
Mark these key plumbing locations:
- Sink water supply lines (hot and cold)
- Drain pipe outlet for the sink
- Dishwasher water inlet and drain connections
- Refrigerator water line (if applicable)
- Gas line for a stove or cooktop
Locate Electrical Outlet Positions
To guarantee your kitchen cabinets fit seamlessly, start by locating all electrical outlet positions accurately. Measure the outlet height from the floor to make sure your cabinets won’t block access or need adjustments.
Note the outlet spacing along the walls, as this helps you plan cabinet placement and ensures proper appliance connections. Use a tape measure to record distances between outlets and corners or other fixed points.
Mark each outlet clearly on your layout with its exact height and spacing. This step prevents surprises during installation and confirms your cabinets will accommodate existing wiring without costly modifications.
Taking the time to mark electrical positions before measuring cabinet dimensions sets a solid foundation for a smooth, efficient kitchen remodel.
Mark Potential Obstruction Areas
After mapping out your electrical outlets, turn your attention to potential obstructions that could affect cabinet installation. Spotting and marking these early helps prevent costly mistakes and makes the process smoother.
Use clear marking techniques like colored tape or a pencil to highlight spots that might interfere with your cabinets. Focus on plumbing pipes and water lines, gas lines and meters, HVAC vents and ducts, light switches, and wall-mounted controls.
Also, keep an eye out for structural elements like beams or columns that could get in the way. Being thorough now saves you time and trouble later on.
How to Measure Wall Space for Upper Kitchen Cabinets
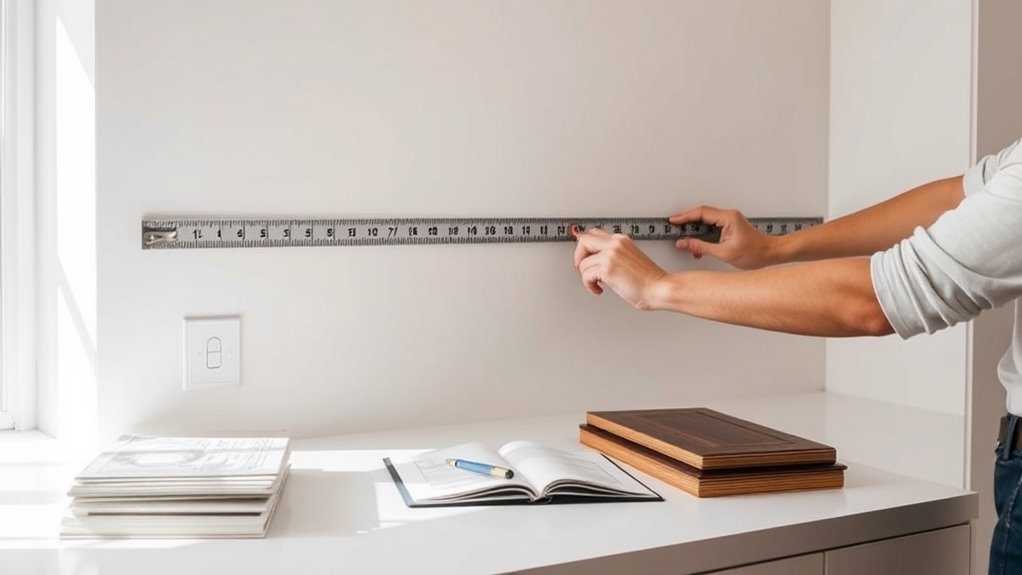
First, grab a tape measure and measure the full width and height of the wall where you want to put your upper cabinets. Don’t forget to take note of any obstacles like windows, vents, or switches that might get in the way or influence where the cabinets can go.
Once you’ve got your measurements, mark the spots on the wall where each cabinet will be installed. This way, you’ll make sure everything fits just right and looks great once you hang the cabinets.
Identify Wall Dimensions
Although measuring wall space might seem straightforward, getting accurate dimensions is key to fitting your upper kitchen cabinets perfectly. Start by measuring the full length and height of each wall where cabinets will go.
Pay close attention to variations caused by wall finishes like tile or textured paint, which might affect your measurements. Also, note ceiling styles—vaulted or dropped ceilings can influence cabinet height options.
Use a metal tape measure for precision and record each measurement carefully. Measure from corner to corner along the wall and check wall height from floor to ceiling at multiple points.
Be sure to note any changes in wall finishes that could affect surface flatness. Observe ceiling styles influencing upper cabinet height, and double-check all measurements before ordering your cabinets.
Account For Obstacles
Three key obstacles can impact how you measure wall space for upper kitchen cabinets: windows, doors, and appliances. When you’re measuring, identify each obstacle type and note its exact position on the wall.
These obstacles mean you’ll need to adjust your available cabinet space accordingly. Keep clearance requirements in mind, like leaving enough space above appliances such as stoves or refrigerators for proper ventilation and access.
For windows and doors, measure from their edges to the ceiling and nearby walls, including trim and molding that might reduce usable space. Being precise about these obstacles and their clearance needs helps prevent errors in cabinet placement and fit.
This careful assessment ensures your cabinets will fit perfectly around all obstacles without sacrificing function or style.
Mark Cabinet Positions
Begin by clearly marking where each upper cabinet will go on your kitchen walls. Use precise measuring techniques to ensure accuracy, like measuring from corners and existing fixtures. Visual aids such as painter’s tape or chalk lines can help you see the cabinet boundaries without leaving permanent marks.
As you mark, keep these tips in mind:
- Measure the height from the countertop or backsplash to establish the cabinet bottom line.
- Mark the cabinet width based on your design plan.
- Note any obstacles like windows or vents.
Double-check your measurements before finalizing your marks. Use a level to keep the lines straight and even.
These steps help you visualize the cabinet placement and prevent errors during installation. Clear, accurate markings make the process easier and help ensure your upper cabinets fit perfectly within your kitchen wall space.
Measure Base Cabinets Correctly
Accurate measurements are key when fitting base cabinets so they fit perfectly in your kitchen. Start by measuring the width, height, and depth of the space for each cabinet.
Keep in mind that different styles like standard, corner, or drawer base will impact your measurements. Use a tape measure to get exact dimensions and double-check for consistency.
Here are some helpful installation tips:
| Measurement Aspect | Installation Tip |
|---|---|
| Width | Measure at the top, middle, and bottom |
| Height | Measure from floor to countertop level |
| Depth | Account for backsplash or wall protrusions |
| Corners | Use a carpenter’s square for accuracy |
Adjust Measurements for Doors, Windows & Appliances
Since doors, windows, and appliances take up valuable wall space, you’ll need to adjust your cabinet measurements accordingly to ensure a perfect fit. Start by noting the exact location and size of each door and window, paying close attention to door swing to avoid blocking cabinet doors or drawers.
For windows, measure from the floor to the window and from the wall edges. This helps you make sure your cabinet styles complement the natural light without crowding the space. When it comes to appliances, leave enough spacing for ventilation and easy access, keeping standard dimensions for refrigerators, ovens, and dishwashers in mind.
Adjust your cabinet layout to fit around these features seamlessly. Make sure to measure door swing clearance to prevent interference. Note the height and width of windows for proper upper cabinet alignment. Leave proper space for appliances to keep everything functional and accessible.
Choose cabinet styles that fit around openings and account for trim and molding that might impact your measurements. This way, your kitchen will look great and work smoothly around all those architectural features.
Measure for Corner Cabinets and Unusual Spaces
When you’re measuring for corner cabinets, the first thing you want to do is figure out what type you need—stuff like a lazy Susan or a diagonal cabinet. It’s super important to get those measurements just right so everything fits perfectly.
And don’t forget to be careful with the angles! Making sure you measure those accurately can save you a lot of hassle later on. Also, keep an eye out for any obstructions like pipes or outlets that might be in the way. Taking these into account will help you get the best fit possible.
Identify Corner Cabinet Types
Though corner cabinets can maximize your kitchen space, measuring them carefully is important. You need to identify the specific corner cabinet type to ensure it fits well and works properly.
Different styles affect your space and storage options, so knowing whether you have a lazy Susan, diagonal, or blind corner cabinet is key. This helps you plan better for installation and functionality.
Consider tips like using pull-out shelves to improve accessibility. Material and finish choices also influence the style and how long your cabinets will last.
Lazy Susan cabinets feature rotating shelves for easy access. Diagonal cabinets create a smooth corner transition, making the most of tricky spaces.
Blind corner cabinets maximize hidden storage, perfect for keeping things out of sight. Matching your cabinet style with your kitchen’s overall look helps create a cohesive space.
Finally, think about color schemes and features that add to both the aesthetic and usability of your kitchen.
Measure Angles Accurately
Accurately measuring angles is key to making sure your corner cabinets fit perfectly, especially in irregular spaces. Use reliable tools like a digital angle finder or a protractor to check their accuracy.
Place the tool carefully against the walls where the corner cabinet will sit, and note the exact angle. If you don’t have specialized tools, try the clipboard method: hold a clipboard flush against one wall and mark its edge on the adjacent wall to estimate the angle.
Use multiple measurement techniques to double-check your results and avoid mistakes. Precise measurements help prevent gaps or overlaps, ensuring your cabinets align seamlessly with the room’s contours.
This step is crucial for a professional, polished kitchen installation.
Account For Obstructions
Three key steps will help you account for obstructions when measuring for corner cabinets and unusual spaces. First, identify all obstruction types like pipes, vents, electrical outlets, and window sills.
Next, measure the space around these obstacles carefully, noting exact distances. Finally, consider clearance requirements to ensure cabinet doors and drawers open smoothly without hitting anything.
Keep these tips in mind:
- Measure from obstruction edges, not just walls
- Record the clearance needed for hinges and handles
- Note any irregular wall shapes or protrusions
- Think about appliance placement near corners
- Double-check measurements in tight or narrow spaces
Double-Check Your Measurements to Avoid Costly Errors
Before you finalize your kitchen cabinet measurements, take the time to double-check every dimension to prevent costly mistakes. Using precise measurement techniques, like measuring twice or even thrice, helps catch errors early.
Don’t rely solely on one method—use a tape measure and a laser measure if you can to confirm your numbers. Pay special attention to common mistakes like mixing up width and height or overlooking baseboard thickness and ceiling slopes.
It’s easy to get rushed, but a small error can lead to cabinets that don’t fit properly, costing you time and money. Review your notes carefully, and if possible, have someone else verify your measurements.
Document each measurement clearly and keep your notes organized. Taking these extra steps now ensures your kitchen cabinet installation goes smoothly without surprises later.
Use Your Measurements to Plan Your Kitchen Cabinet Layout
A detailed kitchen cabinet layout starts with the measurements you’ve gathered. Now, use these numbers to design a space that improves your kitchen workflow and matches your preferred cabinet styles. Begin by sketching your kitchen’s floor plan to scale, placing cabinets based on your measurements.
Think about how you move through the space. Position cabinets so that frequently used items are within easy reach. Balance upper and lower cabinets to maximize storage without crowding the room.
When planning your layout, keep these tips in mind:
- Allocate space for appliances and keep pathways clear.
- Group cabinets by function, like prep, cooking, and cleaning zones.
- Choose cabinet styles that match your kitchen’s look and practicality.
- Leave enough room for doors to open fully without blocking anything.
- Plan for lighting and electrical outlets around the cabinetry.
Frequently Asked Questions
What Materials Are Best for Kitchen Cabinet Construction?
You’ll want to choose cabinet materials like plywood or solid wood for durability and strength in your kitchen cabinet construction. Plywood resists warping better than particleboard, while solid wood offers a classic look.
Construction methods like dovetail joints or dowels guarantee sturdy cabinets that last. Avoid cheaper materials like MDF or particleboard if you want long-lasting cabinets.
Your choice impacts both the cabinet’s lifespan and appearance, so pick wisely.
How Do I Choose the Right Cabinet Style for My Kitchen?
You choose the right cabinet style by first thinking about your kitchen’s overall vibe. Consider cabinet color—lighter shades can brighten small spaces, while darker tones add warmth.
Next, look into door styles. Shaker doors give a classic feel, while flat panels suit more modern kitchens. Don’t forget about your lifestyle—pick durable materials and finishes that can handle daily use.
Balancing looks with function is key. When they work together, your cabinets will perfectly match your kitchen and your needs.
What Is the Average Cost of Custom Kitchen Cabinets?
Custom kitchen cabinets can easily cost you anywhere from $5,000 to $30,000 or more. It’s almost like buying a small castle! But don’t worry—you can find budget-friendly options by choosing simpler custom features like basic finishes and hardware.
Focus on what really matters to you, like durable materials or clever storage solutions. This way, you get a personalized kitchen without breaking the bank or sacrificing style.
How Long Does Cabinet Installation Typically Take?
Cabinet installation usually takes one to three days, depending on your kitchen’s size and complexity. Your timeline begins with prep work, like checking measurements and organizing parts.
If your space is straightforward, it might go faster. But custom features or adjustments can take a bit longer. Staying involved and communicating with your installer helps keep everything on track.
This way, your new cabinets will fit perfectly and look great as soon as possible.
Can I Install Kitchen Cabinets Myself or Should I Hire a Professional?
You can definitely take on installing kitchen cabinets yourself, which has some nice DIY perks like saving money and feeling accomplished.
But be ready for some challenges, like getting measurements just right, leveling the cabinets, and securing everything properly.
If you’re confident in your skills and patient enough, go for it.
If you’d prefer a smoother process and guaranteed results, hiring a professional might be the better choice.
Conclusion
So, you’ve measured every nook, cranny, and corner, only to realize the hardest part wasn’t the math—it was keeping track of all those numbers! But hey, now you’re armed with precise measurements, so your kitchen cabinets should fit like a glove. Just remember, a little extra caution here saves big headaches later.
Trust your tape measure, not your memory, and soon enough, you’ll be cooking in style without any surprise gaps or awkward fits. Accurate measurements for kitchen cabinets make all the difference, so take your time and double-check your numbers.