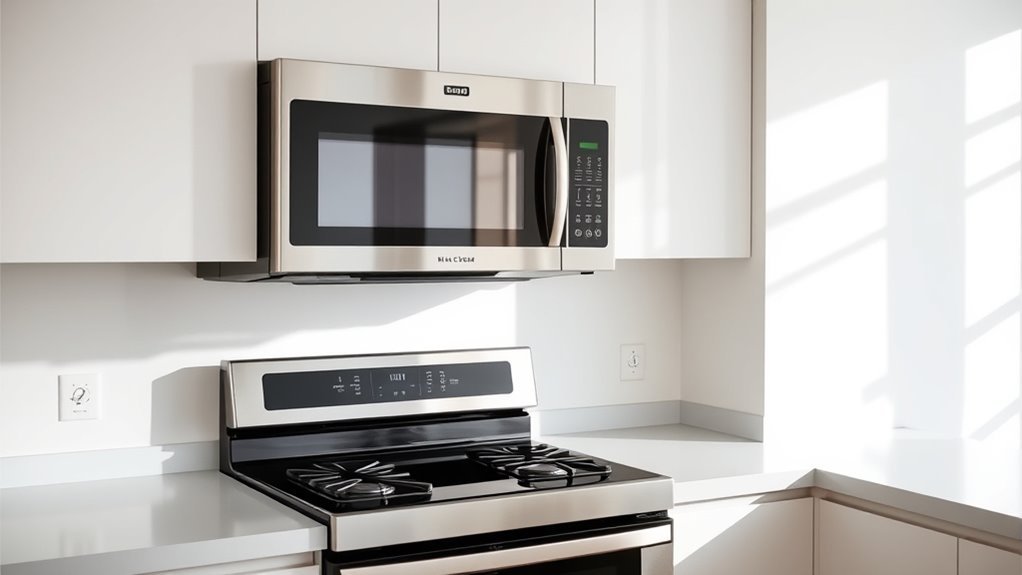
Microwave With Vent Above Stove Guide: What to Know Before You Buy
Are you tired of struggling with kitchen appliances that just don’t seem to fit or work the way you want? Many people find it tricky to choose a microwave with a vent above the stove that suits their space and needs. You’re not alone in feeling overwhelmed by all the options out there.
Before buying a microwave with a vent above your stove, measure your space carefully to guarantee proper fit and clearance.
Decide on venting type—recirculating for easy installation or external for better airflow.
Check features like fan speeds, noise levels, and power settings for efficient cooking and ventilation.
Match the style to your kitchen’s look and plan for regular filter cleaning.
Understanding these basics will help you choose the best option for your cooking needs and kitchen setup.
Key Takeaways
- Measure your stove-to-cabinet height and width to make sure the microwave vent fits without blocking your cooking space.
- Decide on venting type: ducted systems push air outside for better performance, while recirculating filters are easier to install but might not be as effective.
- Make sure you have a dedicated 120-volt outlet above the stove and that the microwave is securely mounted to wall studs for safe installation.
- Think about fan speeds and power levels to find the right balance between ventilation, noise, and energy use during cooking.
- Regularly clean or replace filters and check ducts to keep airflow optimal and prevent odors or mechanical problems.
Measuring Your Space for an Over-the-Stove Microwave Vent
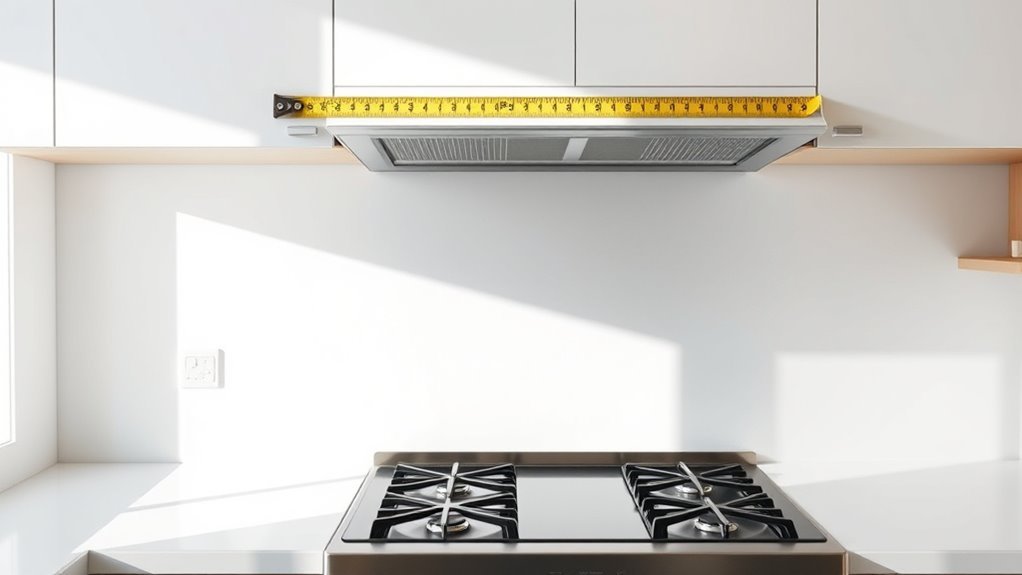
Before you install your over-the-stove microwave vent, you’ll want to measure the space accurately. Start by measuring the height from the stovetop to the bottom of the cabinet above. This ensures your microwave vent fits without blocking your cooking area or breaking safety rules. Use a tape measure and write down this measurement carefully.
Next, focus on figuring out the width. Measure the distance between the two side walls or cabinets where the microwave will go. This width tells you the largest microwave size you can install. Keep in mind, most over-the-stove microwaves are between 24 and 30 inches wide, so your measurements will help you choose the right one.
Also, check the depth of the cabinet or wall space. Make sure the microwave won’t stick out too much. By measuring the height and width carefully, you’ll avoid installation problems and pick a microwave vent that fits well and works efficiently over your stove.
Different Venting Options for Over-the-Stove Microwaves
When choosing an over-the-stove microwave, you’ll need to decide how the venting system will work to keep your kitchen air clean. Your options generally include top, rear, or recirculating vents.
Each uses different venting materials like aluminum or stainless steel ducts, which affect durability and airflow efficiency. Top vents channel air upward through ductwork installed in the cabinet above.
Rear vents expel air directly through the wall behind the microwave. Both typically provide better airflow efficiency compared to recirculating systems.
Recirculating vents pull air through charcoal filters and release it back into the kitchen. They’re easier to install but less effective at removing smoke and odors.
Choosing the right venting option depends on your kitchen layout and how much ventilation you need. Understanding these options helps you pick a microwave vent that balances performance with installation ease.
Choosing Between Recirculating and External Venting Systems
When you’re deciding between recirculating and external venting systems, it’s all about balancing convenience with performance. Recirculating systems are super easy to install because they don’t need any ductwork, so they’re perfect if you want something quick and simple. On the other hand, external venting does a better job at improving air quality since it pushes fumes and odors outside your kitchen.
Knowing the differences can really help you choose the right option for your space. If you value easy setup and less fuss, recirculating might be the way to go. But if you’re looking for better air circulation and less lingering smells, then external venting is probably your best bet.
Recirculating System Pros
Although recirculating systems don’t vent air outside, they offer several advantages that might make them the right choice for your kitchen. You’ll appreciate how recirculating filters trap grease and odors before releasing clean air back into the room, so you don’t need ductwork.
This makes installation simpler and more flexible—great if your kitchen layout limits external venting options. When installing, follow tips carefully to ensure the filters fit tightly and airflow isn’t blocked.
Plus, these systems are usually more cost-effective upfront and easier to maintain since you only need to replace or clean the filters regularly. If you want a hassle-free setup without major remodeling, a recirculating system could be your best bet.
External Venting Benefits
If you want to keep your kitchen air fresher and reduce moisture buildup, an external venting system offers clear advantages over recirculating options.
External venting pushes smoke, odors, and humidity outside, greatly improving your air quality. While installing ductwork can be more involved, the long-term benefits in maintaining a cleaner kitchen environment are worth it.
| Feature | External Venting | Recirculating System |
|---|---|---|
| Air Quality | Removes pollutants outside | Filters air, recirculates indoors |
| Moisture Control | Effectively reduces moisture | Less effective moisture control |
| Installation | Requires ductwork | Easier, no duct needed |
| Noise Level | Typically quieter | Can be louder |
| Maintenance | Occasional duct cleaning | Frequent filter replacement |
Choosing external venting guarantees fresher air and better moisture management.
Key Microwave Features for Cooking and Ventilation
When choosing a microwave, it’s a good idea to think about the cooking power and preset settings. These features can really make meal prep easier and more convenient, especially if you have specific dishes in mind.
Don’t forget about the ventilation options too! The type and efficiency of the ventilation system are important for keeping your kitchen air fresh and free of lingering cooking odors. And while you’re at it, consider noise levels and control options—that way, your cooking experience stays comfortable and hassle-free.
Cooking Power and Settings
Choosing the right microwave settings with a vent above your stove can really improve your meal prep and kitchen airflow.
Look for a microwave that has adjustable power levels so you can easily switch between defrosting, reheating, and cooking.
Setting preferences are important too—try to find models that let you save your favorite settings or have presets for common tasks like popcorn or warming beverages.
This way, you get consistent results without guesswork.
Having precise control over cooking power helps avoid overcooking and reduces smoke or steam, which works well with your vent’s job of keeping the kitchen clear.
Using these features effectively makes cooking faster, easier, and cleaner.
Ventilation Types and Efficiency
Ventilation plays an essential role in keeping your kitchen comfortable and free of odors, especially when your microwave is installed above the stove.
You’ll want to choose between two main types: ducted and ductless. Ducted vents expel air outside, providing better ventilation and improving air quality by removing smoke, steam, and cooking odors.
Ductless models, on the other hand, filter and recirculate air back into the kitchen through charcoal filters. They can be a good option if venting outside isn’t possible.
Keep in mind, ductless systems usually offer less ventilation efficiency compared to ducted ones.
To keep the air fresh, regularly clean or replace filters, no matter which type you choose.
Understanding these options helps ensure your microwave’s ventilation system keeps your kitchen fresh and comfortable.
Noise Levels and Controls
Although powerful ventilation is essential, managing noise levels and controls is just as important for a microwave installed above your stove. You don’t want a loud appliance disrupting your cooking or conversations.
Look for models that offer noise reduction technology to keep operation quieter without sacrificing ventilation power. Smooth, intuitive control features also make a big difference.
Touchpads, easy-to-read displays, and programmable settings let you adjust fan speeds and cooking times precisely. Some microwaves even include delay timers and sensor cooking options for convenience.
When shopping, check noise ratings and test the controls to verify they feel responsive and simple to use. Prioritizing noise reduction and user-friendly control features helps you enjoy a quieter, more efficient kitchen experience.
Microwave Vent Power Levels and Fan Speeds Explained
When you use the microwave vent above your stove, understanding its power levels and fan speeds helps you control how effectively it clears smoke, steam, and odors. Vent power directly impacts fan efficiency and airflow capacity, so selecting the right level for your cooking needs is key.
Higher fan speeds remove more contaminants but might increase noise and energy consumption. Balancing these factors with your preferences guarantees a more pleasant kitchen experience.
Keep in mind these points: Choose fan speeds based on cooking intensity to optimize airflow and reduce noise. Regular maintenance tips like cleaning filters help maintain vent power and efficiency. Energy consumption varies with fan speed, so use lower speeds for light cooking.
Follow installation guidelines to ensure your microwave vent performs at its best.
Installation Requirements for Over-the-Stove Microwaves
To guarantee your over-the-stove microwave works safely and efficiently, you need to follow specific installation requirements carefully. First, check your kitchen’s electrical supply; most models require a dedicated 120-volt outlet placed above the stove.
Always adhere to local safety regulations, especially regarding clearances between the microwave and the cooktop. Typically, a minimum of 13 to 18 inches is needed to prevent heat damage.
Maintain at least 13 to 18 inches clearance between microwave and cooktop to ensure safety and prevent heat damage.
Use proper installation tips like securing the mounting bracket firmly to wall studs, ensuring the microwave is level, and confirming the venting system aligns correctly with your kitchen’s ductwork.
If your microwave vents outside, make sure the duct size and type match manufacturer recommendations to optimize airflow.
Don’t overlook grounding the unit to avoid electrical hazards. Following these steps not only protects your home but also extends your microwave’s lifespan and efficiency.
If you’re unsure, consulting a professional installer can help you meet all safety regulations and installation tips effectively.
Matching Your Microwave Vent to Kitchen Style and Layout
When picking out a microwave vent, it’s a good idea to choose one that matches your kitchen’s style and fits nicely into the layout. You want it to blend in well and feel like a natural part of the space.
Also, think about how people move around your kitchen, especially around the stove. You want to make sure the vent doesn’t get in the way and that everything stays functional and safe.
Finding the right balance between style and performance is key. That way, your microwave vent will look great and still do its job efficiently.
Coordinating Design Elements
Although choosing a microwave with a vent above the stove mainly focuses on functionality, matching its design to your kitchen’s style and layout can really boost the overall look.
You want to ensure everything works together by considering style compatibility with your cabinets and appliance finishes. Pay attention to color schemes and materials to create a cohesive appearance.
Thoughtful backsplash choices and lighting accents can also make a big difference, making your microwave vent feel like a natural part of the space instead of an afterthought. Keep these tips in mind:
- Pick appliance finishes that match your cabinetry
- Coordinate colors to complement your backsplash
- Choose materials that are both durable and stylish
- Use lighting to highlight the microwave vent and the surrounding area
Following these tips will help your microwave vent blend seamlessly into your kitchen’s design.
Considering Kitchen Traffic Flow
Matching your microwave vent to your kitchen’s style and layout also means thinking about how people move around the space. Your kitchen layout directly influences traffic patterns, so you want a microwave vent that doesn’t block pathways or cause bottlenecks.
Consider how often people pass by the stove and whether the vent’s placement might interfere with easy movement. Here’s a quick guide to help you evaluate your kitchen’s traffic flow:
| Kitchen Layout | Traffic Patterns | Microwave Vent Placement Tips |
|---|---|---|
| Galley | High, narrow corridor | Choose low-profile vent models |
| L-Shaped | Moderate, open corner | Make sure the vent doesn’t block access |
| U-Shaped | Multiple entry points | Position the vent centrally |
| Open Concept | Flow between rooms | Go for unobtrusive, sleek vents |
Match your vent to fit your kitchen’s traffic flow seamlessly.
Balancing Functionality and Aesthetics
When selecting a microwave vent, it’s important to find a good balance between how well it works and how it looks in your kitchen. You want a unit that handles ventilation effectively while fitting in seamlessly with your space.
Think about current design trends to keep your kitchen looking modern yet functional. Achieving aesthetic harmony means choosing a microwave vent that complements your cabinets, backsplash, and overall layout.
Here are some tips to match your microwave vent to your kitchen style:
- Pick finishes that match your hardware or appliances for a cohesive look.
- Go for sleek, minimalist designs if your kitchen is contemporary.
- Choose classic, detailed vents to suit a traditional style.
- Position the vent to keep sightlines clear and ensure easy access.
Following these tips will help you improve both the performance and style of your kitchen.
Pros and Cons of Popular Microwave Vent Brands
Choosing the right microwave vent brand can really make a difference in your kitchen’s ventilation and your overall cooking experience. When comparing brands, vent efficiency and how easy they are to install are often top concerns for users.
Popular brands like Whirlpool, GE, and Samsung each have their own pros and cons worth thinking about. Whirlpool offers strong vent efficiency and reliability, but it tends to be more expensive and larger in size.
GE is known for easy installation and generally gets good reviews. However, it can be a bit noisy and has average vent power. Samsung has a sleek design and is energy-efficient, but installation tips may be needed, and it might not be as durable as some other brands.
Maintaining and Cleaning Your Over-the-Stove Microwave Vent
Once you’ve picked the right microwave vent for your kitchen, keeping it clean and maintained will help it work better and last longer. Regular cleaning prevents grease and dust buildup, which can reduce airflow and even pose fire risks.
Use simple cleaning methods to extend your vent’s life and keep the air fresh. Wipe down the outside and control panel weekly with a damp cloth and mild soap.
Clean or replace the vent filters every 1 to 3 months, depending on how often you use it.
Vacuum the vent grilles and inside parts carefully to remove dust and debris.
Periodically check the vent fan and ductwork to make sure nothing is blocking the airflow.
Troubleshooting Common Microwave Vent Issues
Although over-the-stove microwave vents are designed to work efficiently, you might occasionally face issues like weak airflow, unusual noises, or persistent odors.
If you notice vent noise or reduced fan operation, start by checking the filters. Clogged filters often cause airflow problems and strange sounds. Make sure the filters are clean or replaced regularly to keep things running smoothly.
Installation challenges, such as misaligned vents or duct blockages, can also reduce performance. If your microwave vent struggles to clear odors or smoke, inspect the ductwork and confirm the fan is running at the right speed.
Many user complaints come from overlooked filter changes or poor installation. Use these tips: clean or replace filters, keep duct paths clear, and test the fan at different settings.
If problems still happen, check your microwave’s manual or call a professional technician. Addressing these issues quickly helps keep your microwave vent working properly and efficiently.
Frequently Asked Questions
Can I Use an Over-The-Stove Microwave Vent in a Mobile Home?
Yes, you can use an over-the-stove microwave vent in a mobile home, but you’ll need to consider mobile home-specific factors like space and ventilation rules.
Make sure to carefully check the installation instructions, including venting options and clearance distances. Mobile homes often have different electrical and structural setups compared to traditional houses.
You might need professional help to ensure the installation is safe and meets all the necessary regulations.
Do Microwave Vents Affect Cooking Times or Microwave Power?
Think of your microwave vent like a helpful sidekick. It doesn’t change cooking times or power directly.
You won’t lose cooking efficiency because the vent’s job is to clear steam and odors, not to affect microwave energy.
Proper ventilation supports microwave safety by preventing overheating or moisture buildup.
Are There Energy-Efficient Models for Microwave Vents?
Yes, you can find energy-efficient models for microwave vents that offer noticeable savings. When comparing models, look for those with Energy Star ratings or advanced sensor cooking features. These help adjust power automatically to save energy.
These options help reduce electricity use without sacrificing performance. Checking user reviews and manufacturer specs can guide you to a model that balances venting power with efficiency.
This way, you’ll save money over time while still getting good performance from your microwave vent.
Can I Install a Microwave Vent Without Professional Help?
Yes, you can install a microwave vent without professional help if you follow installation tips carefully. Start by measuring your space accurately and using the right tools.
Make sure you understand the venting options, like recirculating or external, and choose accordingly. Pay close attention to safety considerations like securing the unit firmly and ensuring proper electrical connections.
If you’re unsure about wiring or vent placement, it’s best to consult a pro for safety and efficiency.
How Noisy Are Microwave Vents During Operation?
You’ll find microwave vent noise levels vary depending on the model and fan speed options.
On lower settings, the vent is usually quiet enough not to disrupt conversations or cooking.
But at higher fan speeds, it can get noticeably louder to effectively remove smoke and odors.
If you’re sensitive to noise, look for microwaves with multiple fan speed options so you can adjust the vent noise to suit your comfort while cooking.
Conclusion
Before you buy, picture your kitchen alive with sizzling sounds and fragrant aromas, all cleared away effortlessly by your new microwave vent. You’ll want to measure carefully, weigh venting options, and match style with function.
Imagine the hum of a powerful fan working quietly above, blending seamlessly with your space. With the right choice, cooking stays a joy, and your kitchen breathes easy—fresh, inviting, and perfectly vented every time.