How to Install a Backsplash in the Kitchen: A Step-by-Step Guide
Are you dreaming of a beautiful kitchen backsplash but feeling overwhelmed about how to install it yourself? You’re not alone—many people struggle with the idea of tackling this project. Luckily, with some simple steps and a little patience, you can transform your space effortlessly.
To install a kitchen backsplash, start by choosing your tile material, like glass, ceramic, or natural stone. Measure your wall precisely, plan your layout, and cut tiles carefully using proper tools.
Apply adhesive with a notched trowel and set tiles using spacers, checking alignment often.
After the adhesive cures, grout the gaps and seal the surface to protect against stains. Following these steps will give you a stylish, durable backsplash—keep going to uncover expert tips and maintenance advice.
Key Takeaways
- Choose the right backsplash material based on style, durability, and budget, such as glass, ceramic, metal, or natural stone.
- Measure and plan your tile layout carefully, marking dimensions and sketching the design before cutting tiles.
- Use a notched trowel to apply adhesive evenly, press tiles firmly with spacers, and make sure everything stays level during installation.
- Mix and apply grout with a rubber float, pressing it into the gaps, then wipe away excess grout promptly with a damp sponge.
- Seal the grout lines after they cure, clean regularly with gentle methods, and reseal every six months to keep everything protected.
Choosing the Right Backsplash Material
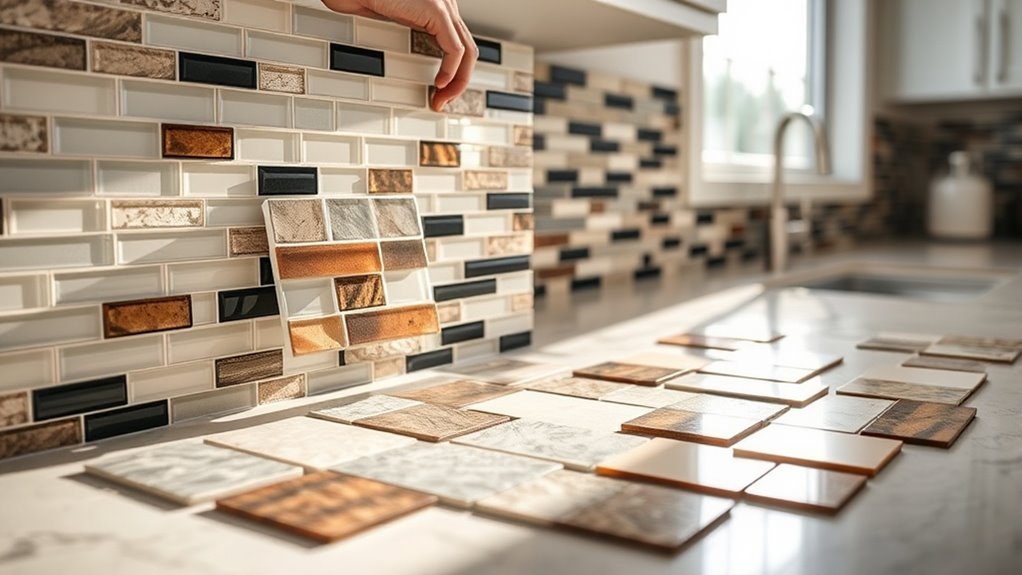
Before you start installing your backsplash, you’ll need to pick the right material that fits both your style and kitchen needs. You can choose from glass tiles, ceramic options, metal finishes, or natural stone, each offering unique benefits.
Glass tiles bring a sleek, reflective quality, while ceramic options provide durability and a variety of designs. Metal finishes add a modern edge, and natural stone offers timeless texture.
Think about mosaic patterns if you want to create a focal point or textured surfaces to add depth. Color schemes play a big role too—pick tones that complement your countertops and cabinets.
Don’t forget about budget considerations. Glass tiles and natural stone tend to be pricier, while ceramic and metal options can be more affordable.
Tools and Supplies for Backsplash
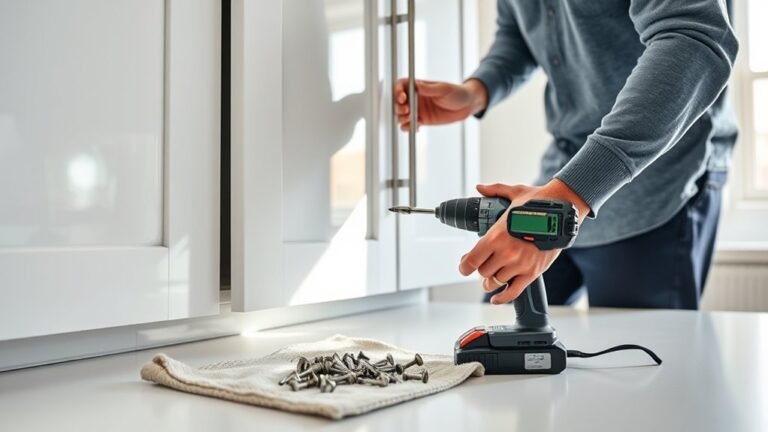
Once you’ve picked the perfect backsplash material, gathering the right tools and supplies will make the installation process much smoother. For your tiles selection, you’ll want a notched trowel to spread adhesive evenly and tile spacers to maintain consistent gaps for grout. A tile cutter or wet saw is essential to trim tiles precisely, especially around outlets or corners.
You’ll also need a level to guarantee your backsplash stays straight, a rubber grout float to apply grout, and a sponge for cleanup. Depending on your installation techniques, a drill with mixing attachments helps blend thin-set mortar or adhesive thoroughly. Don’t forget safety gear like gloves and goggles to protect yourself during cutting and mixing.
Having these tools ready before you start saves time and guarantees a professional-looking finish. With the right supplies on hand, you’ll be confident tackling your backsplash project efficiently and accurately.
Measuring and Planning Your Backsplash Layout
First things first, grab a tape measure and get some accurate measurements of your wall. This way, you’ll know exactly how much tile you’ll need and can make sure everything fits just right.
Once you have your measurements, it’s a good idea to sketch out your tile layout. Think about how you want it to look—maybe you want a centered design or some interesting pattern. Planning ahead helps you create a balanced, eye-catching look and saves you from surprises or mistakes when you start installing.
Accurate Wall Measurements
Accurate wall measurements are key for a flawless backsplash installation. First, identify the wall type—whether drywall, tile, or uneven surfaces—as this influences how you measure and prepare.
Use a reliable tape measure and a level to ensure straight lines. Measure the height and width of each wall section carefully, noting any obstacles like outlets or cabinets.
Take multiple readings and average them to avoid mistakes. Don’t forget to measure from the countertop up to where the backsplash will end.
Record all dimensions precisely before cutting tiles or applying adhesive. Accurate measurements help prevent costly errors and ensure your backsplash fits perfectly without gaps or overlaps.
Design and Tile Placement
Three key steps help you design and plan your backsplash layout effectively. First, choose color schemes that complement your kitchen’s overall style and create visual harmony.
Next, decide on tile patterns—whether classic subway, herringbone, or mosaic—that fit your taste and space. Finally, measure the wall accurately, marking key points to guarantee your tile placement stays balanced and centered.
Lay out tiles on a flat surface before installation to visualize how patterns and colors interact. This preview helps you adjust for any awkward cuts or mismatched grout lines.
Preparing Your Kitchen Walls
Before you install your backsplash, make sure your kitchen walls are clean, dry, and smooth. Proper wall prep is key to making sure your tiles stick well and your backsplash looks great.
Start by removing any outlet covers, nails, or hooks from the wall. Then, clean the surface to get rid of grease, dust, or old adhesive residue.
Here’s a quick checklist to prep your kitchen walls:
- Wash the walls with a mild detergent and water, then let them dry completely.
- Sand down any rough spots or uneven areas to create a smooth surface.
- Fill holes or cracks with spackling compound and sand once dry.
Cutting Tiles and Materials Accurately
To get that perfect fit, it’s really important to measure your tiles carefully before you start cutting. Taking your time with the measurements will help you avoid mistakes and ensure everything lines up just right.
Next, make sure you’re using the right tools—things like a tile cutter or wet saw are great for making clean, precise cuts. Using the proper tools makes a big difference in how smooth and professional your finished edges look.
And don’t forget, applying the right techniques while cutting will help you get those smooth edges that make your project look polished and well done.
Measuring Tiles Precisely
Accurate measurements are key when cutting tiles for your backsplash because even a tiny mistake can throw off the whole look. Before you start cutting, take your time with precise measurements and plan out your layout carefully.
This helps ensure your tiles fit perfectly and your backsplash looks seamless. Use a reliable tape measure to record the exact tile dimensions and the space on your wall.
Mark your cut lines clearly on each tile with a pencil so you have a guide when cutting. Always double-check your measurements against your layout plan before making any cuts to avoid mistakes.
Choosing Proper Cutting Tools
When you’re ready to cut your tiles, choosing the right tools really makes a difference. It helps you get clean, precise edges without much hassle.
For straight cuts on ceramic and porcelain tiles, a manual tile cutter works great. If you’re working with tougher materials like stone or glass, a wet saw makes things easier.
A tile nipper is perfect for small, curved cuts or trimming irregular shapes. If your tiles are thinner, a scoring tool might do the trick.
Just make sure to match your tool to the tile material and the complexity of the cut. Using the right tools speeds up your work and reduces chipping and breakage.
This way, your backsplash will look professional and polished.
Techniques for Smooth Edges
Achieving smooth edges on your backsplash tiles requires steady hands and careful technique. Proper edge finishing guarantees your backsplash looks professional and clean, while precise tile alignment prevents gaps and uneven surfaces.
To cut tiles accurately, follow these tips: Use a wet saw or tile cutter for straight, clean cuts. Score curved or irregular cuts with a tile nipper, then smooth edges with a rubbing stone.
Measure twice and mark your tiles clearly before cutting to maintain perfect alignment. After cutting, always check the edges for rough spots and sand them lightly if needed.
This attention to detail will make your installation seamless and visually appealing. It will give your kitchen backsplash a polished, flawless finish.
Apply Adhesive and Set Tiles Step-by-Step
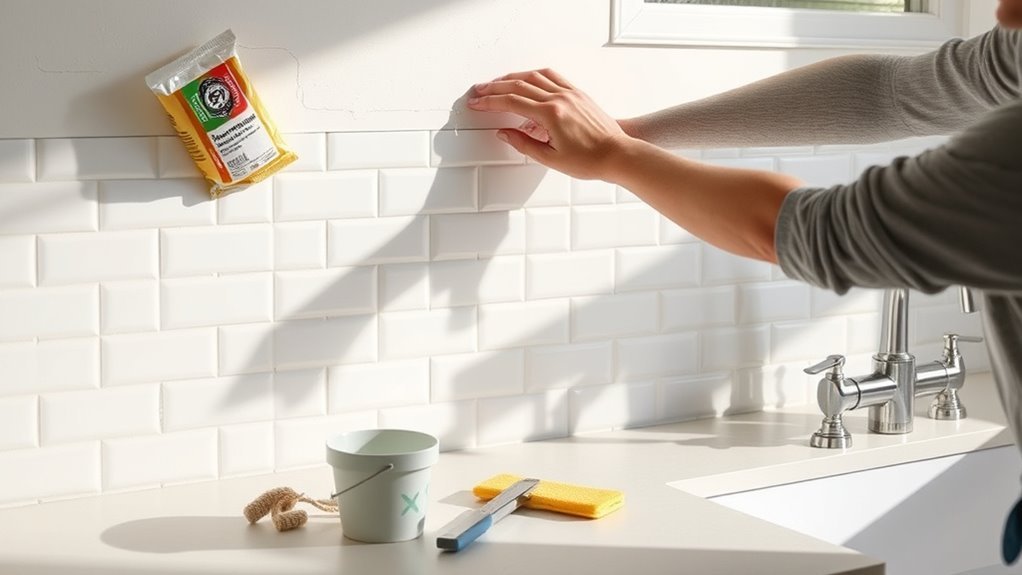
Start by spreading the adhesive evenly on the wall with a notched trowel, making sure you get a consistent layer that will hold your tiles securely. Work in small sections so the adhesive doesn’t dry out before you set the tiles.
Next, press each tile firmly into place, following your tile alignment tips to keep rows straight and gaps even. Use spacers between tiles to maintain consistent spacing and make quick adjustments if needed.
Check your work regularly with a level to avoid uneven placement. Once all the tiles are set, let the adhesive cure for the time recommended by the manufacturer, usually 24 to 48 hours.
This curing period is crucial for a strong bond that will keep your backsplash looking great and lasting a long time. Don’t rush this step to ensure a professional, durable finish.
Grouting Your Backsplash: Pro Tips for a Smooth Finish
Prepare to bring your backsplash to life by grouting the spaces between your tiles. Getting the right grout consistency is key; it should be thick enough to hold its shape but smooth enough to spread easily. Mix your grout according to the package instructions, then apply it using a rubber float at a 45-degree angle.
To achieve a flawless finish, focus on these pro smoothing techniques: press grout firmly into gaps to avoid air pockets, use diagonal strokes with the float for even coverage, and wipe excess grout off tiles promptly with a damp sponge.
After filling the joints, let the grout set for about 15-30 minutes. Then gently clean the tile surfaces to remove haze without disturbing the grout lines. This careful attention guarantees your backsplash looks sleek and professional.
Following these tips will give your kitchen a polished, durable backsplash that’s ready for the final steps.
Sealing Your Backsplash for Durability and Easy Cleaning
Once your grout has fully cured, sealing your backsplash helps protect it from stains and moisture. It also makes cleaning much easier.
Start by choosing a high-quality grout sealer that’s suitable for your tile type. Apply the sealer evenly with a small brush or roller, focusing on the grout lines to prevent absorption.
Choose a quality grout sealer and apply evenly with a brush or roller, targeting grout lines carefully.
Follow the recommended sealing techniques, like applying multiple thin coats and letting each dry properly. Be careful not to over-saturate the grout, which could cause damage.
After sealing, use gentle cleaning solutions designed for sealed surfaces to keep your backsplash looking its best. Avoid harsh chemicals or abrasive scrubbers, as they can damage the sealer and grout.
Regularly wipe your backsplash with a mild detergent and soft cloth to keep it spotless. Proper sealing and the right cleaning habits will extend its life and keep your kitchen looking fresh with minimal effort.
Avoid Common Installation Mistakes
Getting a perfect backsplash isn’t just about the final look—it’s all about the details. First off, double-check your measurements before making any cuts. It’s so tempting to rush, but taking that extra moment can save you from costly mistakes later on.
When it comes to adhesive, make sure you’re using the right one for your tile type. Different tiles need different glues to stay put and keep everything secure over time. And don’t forget about your grout lines—they should be even and consistent. That little detail really makes the whole project look polished and professional.
Measure Twice Cut Once
Although it might be tempting to rush into cutting your backsplash tiles, taking the time to measure accurately will save you from costly mistakes. Proper measurements help ensure each tile fits perfectly, which reduces waste and frustration.
Before you cut, double-check your dimensions and mark your tiles clearly. Using the right tools and steady hands is key to a professional look.
Keep these tips in mind:
- Measure the entire backsplash area twice to confirm accuracy.
- Use a reliable straight edge or tile cutter guide for clean cuts.
- Mark your cut lines lightly but visibly to avoid errors.
Use Proper Adhesive
Choose the right adhesive carefully to guarantee your backsplash stays secure and looks great for years. Different types, like mastic or thin-set mortar, work best depending on your tile material and wall surface.
For ceramic tiles, mastic is often easier to use, while thin-set offers stronger bonding for heavier or natural stone tiles.
Mastering application techniques is just as important. Spread adhesive evenly with a notched trowel to avoid gaps or lumps that can cause tiles to loosen.
Apply adhesive in small sections to prevent it from drying out before you place your tiles. Also, press each tile firmly into place, ensuring good contact.
Maintain Consistent Grout Lines
Three simple steps can help you maintain consistent grout lines and give your backsplash a professional finish. First, pay close attention to grout spacing by using tile spacers to keep gaps even.
Next, choose a grout color that complements your tiles and hides dirt well, enhancing the overall look. Finally, apply grout evenly and remove excess promptly to avoid uneven lines.
Use tile spacers to guarantee uniform grout spacing. Select a grout color that matches or contrasts tastefully with your tiles. Clean off excess grout quickly to prevent smudges and maintain clean lines.
Caring for and Maintaining Your Kitchen Backsplash
Regularly cleaning and maintaining your kitchen backsplash will keep it looking fresh and protect it from damage. Use gentle techniques like a soft cloth or sponge with a mild detergent to wipe away grease and dirt.
Avoid harsh chemicals that can erode grout or damage tile surfaces. For tough stains, try a baking soda paste or a vinegar solution, letting it sit briefly before lightly scrubbing.
This approach ensures effective stain removal without scratching your backsplash. Check grout lines regularly for cracks or discoloration. Reseal grout every six months to prevent moisture buildup and mold growth.
If you spot stubborn stains or mildew, use a grout cleaner or a diluted bleach solution carefully. By following these simple cleaning tips and maintaining your backsplash on time, you’ll extend its life and keep your kitchen stylish and hygienic.
Don’t forget, consistent care makes all the difference.
Frequently Asked Questions
Can I Install a Backsplash Over Existing Wallpaper?
You can install a peel-and-stick backsplash over existing wallpaper, but it’s not the best idea. Removing the wallpaper is usually recommended to ensure the backsplash sticks properly and lasts longer.
If the wallpaper is peeling or has a textured surface, the peel-and-stick backsplash might not stick well. This can lead to bubbles or edges lifting over time.
Taking the time to remove the wallpaper gives you a smooth, clean surface. That makes your backsplash easier to install and more durable in the long run.
How Long Does a Backsplash Installation Typically Take?
Installing a backsplash usually takes about a day or two, depending on factors like tile size, surface prep, and drying times.
Think of it as painting a masterpiece—you need patience and precision. To speed things up, follow tips like properly cleaning the wall and using spacers for even grout lines.
If you’re careful and organized, you’ll have a stunning backsplash ready without the process dragging on forever.
Is It Necessary to Turn off Water or Electricity Before Installation?
Yes, you should turn off both water and electricity before installing a backsplash to avoid water damage and ensure safety. Even if you’re not working directly with plumbing or wiring, accidents can happen.
Leaks or contact with electrical outlets can occur unexpectedly. Shutting off water and power reduces the risk of injury and costly damage.
Always double-check that everything’s off before you start. This way, you can work confidently and safely throughout the project.
What Is the Average Cost of a Backsplash Installation?
If you’re ready to empty your wallet faster than a magician’s disappearing act, the average backsplash installation costs between $500 and $1,500. But don’t panic! You can still look like a kitchen pro with budget-friendly options like peel-and-stick tiles or ceramic.
Your material choices hugely affect the price, so pick wisely. With a little savvy, you’ll get a stylish backsplash without selling a kidney.
Can I Install a Backsplash Myself or Should I Hire a Professional?
You can definitely install a backsplash yourself if you’re comfortable with DIY projects and have patience.
Choosing the right materials, like peel-and-stick tiles or ceramic, can make the job easier and more manageable.
But if you’re unsure about cutting tiles or working with grout, hiring a professional might save you time and frustration.
In the end, it really depends on your skill level and how complex the backsplash materials are.
Conclusion
Installing your backsplash is like planting a seed in your kitchen’s garden—each tile a petal, each grout line a stem. With careful planning and steady hands, you’ll watch your space bloom into a vibrant, lasting masterpiece.
Seal it with care, and your backsplash will stand strong, reflecting your style and effort.
Remember, this small act of creation turns walls into stories, making your kitchen a canvas of beauty and function.