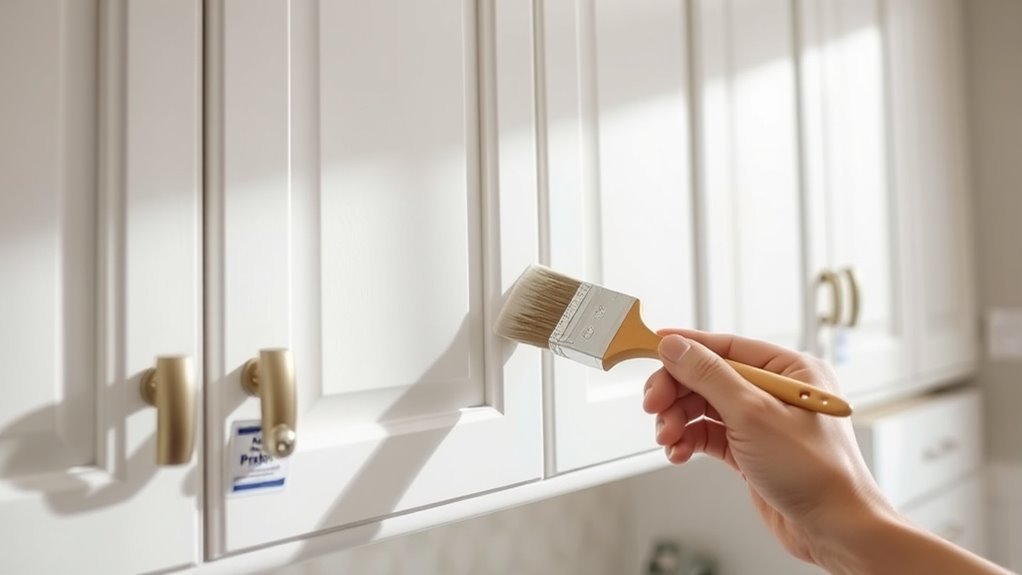
How to Paint Kitchen Cabinets Without Sanding: A Step-by-Step Guide
Are you tired of your outdated kitchen cabinets but feel overwhelmed by the idea of sanding and prep work? You’re not alone—many people struggle with the mess and time-consuming process of traditional cabinet painting.
Luckily, there’s a simpler way to refresh your space without all the hassle. You can paint kitchen cabinets without sanding by first thoroughly cleaning them to remove grease and dirt.
Remove hardware and protect surrounding areas with painter’s tape and drop cloths. Use a bonding primer designed for glossy or laminate surfaces to guarantee paint sticks well.
Choose durable acrylic or alkyd paint, applying thin coats with a foam roller and angled brush. Finish with a protective topcoat for lasting results.
Follow these steps to achieve a smooth, professional finish and uncover more tips for best results.
Key Takeaways
- Clean your cabinets thoroughly with degreasers or mild soap to get rid of grease and dirt before painting.
- Use liquid deglossers or bonding primers to help the paint stick without the need for sanding.
- Apply primers like adhesion, oil-based, or shellac, especially if your cabinets are smooth or already painted.
- Paint with good-quality acrylic latex or alkyd-based paints, using foam rollers and angled brushes for smooth, even coverage.
- Finish with a tough polyurethane or polycrylic topcoat to protect your cabinets and make them easier to maintain.
Why You Don’t Need to Sand Kitchen Cabinets Before Painting
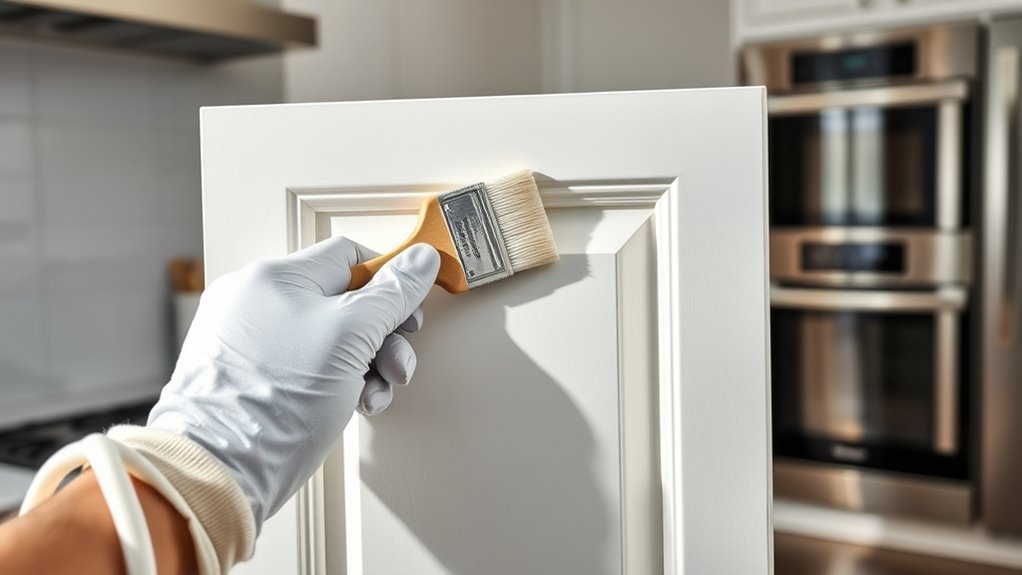
Although sanding has long been considered a necessary step before painting kitchen cabinets, you don’t always need to do it. Depending on your cabinet finishes, you can skip sanding by using effective alternatives like deglossing solutions or chemical primers.
These products help create a rough surface that paint can grip without the dust and effort of sanding. For example, cabinets with a smooth or glossy finish often respond well to liquid deglossers, which dull the surface and improve paint adhesion.
Create a rough surface for paint to grip using liquid deglossers, avoiding sanding dust and effort.
If your cabinets have laminate or previously painted finishes, special bonding primers can also replace traditional sanding. By choosing the right alternatives, you save time and avoid potential damage from aggressive sanding.
Just make sure you understand your cabinet finishes before picking a method. This way, you get a clean, durable paint job without the hassle of sanding, making your kitchen cabinet makeover faster and easier.
How to Clean Cabinets for the Best Paint Adhesion
First things first, you want to make sure all the grease and grime are wiped away from your cabinets. This step is super important if you want your paint to stick well and look great in the end.
To do that, grab a good cleaning solution — something like a degreaser or even just a mild dish soap works perfectly. Using the right stuff makes the cleaning way easier and more effective. When you take the time to do this right, you’re setting yourself up for a smooth paint job that will last a long time.
Remove Grease And Grime
Before you start painting, make sure to remove all grease and grime from your kitchen cabinets. This step is key to making sure the paint sticks properly. Even a thin layer of grease can prevent paint from adhering, which might cause peeling or chipping later on.
Start by wiping down the surfaces with a damp cloth to get rid of loose dirt. Then, use a mild detergent or a degreaser to tackle stubborn grease spots. Focus especially on areas around handles and edges where buildup tends to happen.
Don’t skip this step because it creates a smooth, clean surface. Once your cabinets are grease-free and dry, you’re all set to move on to the next stage of painting—no sanding needed.
Use Appropriate Cleaning Solutions
Choose the right cleaning solutions to ensure your paint sticks smoothly and lasts longer. Proper surface prep starts with removing dirt, grease, and residues that can prevent paint from adhering.
Use cleaning solutions made for kitchen surfaces, like TSP alternatives or mild degreasers. This helps you get a clean surface without damaging your cabinets.
| Cleaning Solution | Best For | Application Tips |
|---|---|---|
| TSP Substitute | Heavy grease and grime | Dilute with water, scrub well |
| Mild Dish Soap | Light dirt and dust | Use warm water, rinse thoroughly |
| Vinegar & Water | Natural, chemical-free | Mix 1:1 ratio, wipe with cloth |
Picking the right cleaning solutions makes surface prep easier and gives your paint the perfect base.
How to Remove Hardware and Protect Areas When Painting Cabinets Without Sanding
Before you dive into painting, it’s a good idea to take off all the cabinet hardware. This way, you’ll get a smooth surface and avoid any paint buildup on knobs and handles. It might seem like a small step, but it can make a big difference in how neat and professional your finish looks.
Next, grab some painter’s tape and drop cloths. Use the tape to cover any areas you want to protect, like the walls, floors, or countertops. The drop cloths will catch any drips or splatters, keeping everything else clean. Doing this makes the whole process much easier and helps you avoid extra cleanup later on.
Removing Cabinet Hardware
Start by carefully removing all cabinet hardware, like knobs, handles, and hinges, to make painting easier. Different styles might need specific tools, usually a screwdriver or drill, so you don’t damage anything.
Keep track of where each piece goes as you remove them. Laying the hardware out in an organized way helps prevent losing or mixing things up later. If screws are stubborn, a little penetrating oil can help loosen them without stripping.
Removing hardware lets you paint every surface evenly and avoids missed spots around fixtures. Taking your time with this step sets you up for a professional look without needing to sand much.
Protecting Surrounding Areas
Once you’ve removed the hardware, the next step is to protect the areas around your cabinets so paint doesn’t get on countertops, floors, or walls. Start by laying down drop cloths on the floor to catch drips or spills. Use heavy-duty cloths or plastic sheeting depending on your workspace.
Next, carefully apply painter’s tape along the edges where your cabinets meet walls, countertops, and appliances. Proper tape application guarantees clean, sharp paint lines and prevents paint from bleeding onto surfaces. Press the tape down firmly to seal edges, especially around trims and corners.
Taking these precautions saves you time on cleanup and protects your kitchen from accidental damage. Once your surrounding areas are secure, you’re ready to move on to painting your cabinets confidently.
Best Primers for Painting Cabinets Without Sanding
Choosing the right primer can make all the difference when painting kitchen cabinets without sanding. Focus on the best bonding primers designed to stick directly to smooth or glossy surfaces, so your paint stays put without extra prep.
Look for primers labeled as “bonding” or “adhesion”—these are made to grip surfaces like laminate, melamine, or previously painted wood. They’re your best bet for a smooth, hassle-free finish.
Oil-based and shellac primers work great on stubborn surfaces. They offer top-notch adhesion and stain-blocking qualities. Water-based bonding primers are easier to clean and have low odor, making them perfect for indoor projects.
Avoid standard primers that need sanding to work well. Stick with bonding or adhesion primers for a cleaner, quicker cabinet makeover.
How to Choose the Right Paint for Cabinets Without Sanding
Picking the right paint is key when you want a smooth, durable finish on kitchen cabinets without sanding. Start by choosing paint types that stick well to slick surfaces. Acrylic latex paints are popular because they adhere nicely and are durable. Plus, they’re low in odor and easy to clean.
Alkyd-based paints give a tougher finish but need good ventilation because of stronger fumes. Next, think about the finish. Satin and semi-gloss are the best choices for cabinets since they resist moisture and are easy to wipe clean. Avoid flat or matte finishes—they’re harder to clean and less durable.
Finally, look for paints labeled specifically for cabinets or furniture. These are designed to resist chipping and yellowing. Picking the right paint type and finish will help your cabinets look fresh and last longer without the hassle of sanding.
How to Apply Primer Without Sanding
Applying primer without sanding starts by making sure your cabinets are clean and free of grease or dust. Choose the right primer type—adhesion primers work best on slick surfaces without the need for sanding.
Use a good-quality brush or foam roller for smooth application. Apply thin, even coats following the grain of the wood or the direction of the cabinet surface. Let each coat dry completely before adding another layer.
Here’s a quick overview of primer types and how to apply them:
| Primer Type | Best Surface | Application Technique |
|---|---|---|
| Adhesion Primer | Glossy, non-porous surfaces | Thin coats with a foam roller |
| Oil-Based Primer | Wood, laminate | Brush in long, smooth strokes |
| Shellac Primer | Stains, knots | Light coats with a brush |
How to Paint Kitchen Cabinets Smoothly Without Sanding
Once you’ve properly primed your cabinets without sanding, the next step is to paint them smoothly for a professional look. Choose a high-quality paint that’s designed for cabinets, and think about current color trends to give your kitchen a fresh update.
Use a high-density foam roller on flat surfaces; it avoids brush marks and gives an even coat. For edges and detailed areas, an angled brush works best. Apply thin, even layers rather than thick ones to prevent drips and uneven texture.
Between coats, lightly wipe the surface with a tack cloth to remove dust. Be patient and let each coat dry completely before applying the next. Proper techniques like rolling in one direction and brushing with the grain help create a smooth finish.
How to Apply a Durable Topcoat for Long-Lasting Cabinets
Want your kitchen cabinets to stay looking great for years? The key is choosing the right topcoat that can handle everyday use without chipping or peeling. When you’re ready to apply it, take your time to spread it evenly — this helps ensure a smooth finish and long-lasting protection. Let’s go over some of the best options and tips to help you keep your cabinets in top shape!
Choosing The Right Topcoat
Although choosing the right topcoat might seem like a small step, it’s really important for protecting your kitchen cabinets from wear and tear.
You’ll want to carefully evaluate different topcoat options. Polyurethane offers great durability, while water-based polycrylic dries faster and resists yellowing. Oil-based finishes give a rich look but take longer to cure.
Think about the finish too—matte, satin, or gloss can change how your cabinets look and hide imperfections.
When selecting your topcoat, keep in mind the application techniques. Some finishes need specific brushes or sprayers for the best results.
Choosing the right topcoat sets the foundation for lasting protection, so pick one that fits your needs and works well with your painting process.
Applying Techniques For Durability
Selecting the right topcoat is just the start; how you apply it makes all the difference in durability. To get long-lasting finishes, work in thin, even coats. Use a high-quality synthetic brush or foam roller to avoid streaks and bubbles.
Apply the first protective layer and let it dry completely before lightly sanding with fine-grit sandpaper to improve adhesion. Wipe off the dust before adding a second coat. This extra step creates stronger protective layers, making your cabinets more resistant to scratches, moisture, and everyday wear.
Remember to work in a dust-free environment and keep temperature and humidity steady for the best results. Proper application ensures your kitchen cabinets stay beautiful and durable for years to come.
Common Mistakes to Avoid When Painting Cabinets Without Sanding
When you skip sanding before painting kitchen cabinets, you risk poor paint adhesion that can lead to peeling or chipping. To avoid this, don’t overlook thorough surface preparation—you must clean and degrease cabinets well. Also, avoid rushing your project; proper planning ensures you respect drying times between coats to prevent smudging or uneven finishes.
Be careful with color choices and finish types. Glossy finishes highlight imperfections, so pick one suited for your cabinet condition. Use the right application tools—brushes, rollers, or sprayers—to achieve a smooth, even coat. Avoid applying paint too thickly, which can cause drips and extended drying.
Lastly, don’t underestimate prep work like removing hardware and labeling doors to streamline repainting. By steering clear of these common mistakes, you’ll create a durable, attractive cabinet finish without sanding.
How to Maintain Painted Cabinets for a Long-Lasting Finish
Proper preparation and careful painting set the foundation for beautiful kitchen cabinets, but maintaining that finish is what keeps them looking fresh over time. To make sure your painted cabinets last, follow some essential maintenance tips.
Clean them regularly with a soft cloth and mild detergent to remove grease and dirt without damaging the paint. Avoid harsh chemicals or abrasive scrubbing, which can wear down the finish.
Think about applying protective sealants like polyurethane or water-based clear coats. These add durability and help resist scratches and moisture. Reapply sealants as needed, especially in high-traffic areas.
If you notice chips or scratches, address them quickly by touching up with matching paint. This prevents further damage and keeps your cabinets looking their best.
Frequently Asked Questions
Can I Paint Kitchen Cabinet Interiors Without Sanding?
Yes, you can paint kitchen cabinet interiors without sanding if you focus on proper prep. Clean the surfaces thoroughly to remove grease and dirt, then use a degreaser or a mild abrasive pad to create a slightly rough texture. This helps improve paint adhesion.
Applying a high-quality bonding primer designed for slick surfaces is essential. With these steps, your paint will stick well, and your cabinets will look great without the hassle of sanding.
How Long Should I Wait Between Primer and Paint Coats?
You should wait about 1 to 4 hours between primer and paint coats, depending on the primer types you use. Water-based primers dry faster, usually within an hour, while oil-based primers need closer to 4 hours.
Always check the label for specific drying times. Make sure the primer feels completely dry and no longer tacky before applying paint.
This will help you get a smooth, lasting finish on your cabinets.
Are There Eco-Friendly Paint Options for Cabinets Without Sanding?
Yes, you can definitely find eco-friendly options for cabinet finishes that don’t require sanding. Look for low-VOC or zero-VOC paints and primers specifically designed for cabinets. These reduce harmful fumes and are better for your indoor air quality.
Water-based acrylic paints are popular eco-friendly choices that give you durable finishes without harsh chemicals. Choosing these paints helps protect the environment while giving your cabinets a fresh, smooth look.
Can I Use a Spray Gun Instead of a Brush for Cabinet Painting?
You can definitely use a spray gun for cabinet painting. Imagine Sarah, who quickly transformed her kitchen by spraying paint evenly and avoiding brush marks. Spray guns offer faster coverage and a smooth finish.
For the best results, keep a few tips in mind: hold the gun about 6-8 inches from the surface, use steady, overlapping strokes, and work in a well-ventilated area.
This method saves time and helps you achieve professional-looking cabinets.
How Do Temperature and Humidity Affect Cabinet Paint Drying Times?
Temperature and humidity directly affect drying conditions and paint adhesion on your cabinets. If it’s too cold or humid, paint takes longer to dry and may not stick well, leading to drips or peeling.
On the other hand, warm, low-humidity environments speed up drying and improve adhesion. You’ll want to paint when conditions are moderate—ideally between 65 and 75°F with humidity under 50 percent—to guarantee smooth, durable results.
Conclusion
Now that you know the secrets to painting your kitchen cabinets without sanding, you’re closer than ever to a stunning makeover.
But here’s the twist—skipping sanding isn’t just about saving time. It’s about mastering the right prep and products to make your cabinets look flawless and last.
Ready to transform your kitchen effortlessly? Follow these steps carefully, and watch your cabinets reveal a professional finish that will surprise everyone—including you.