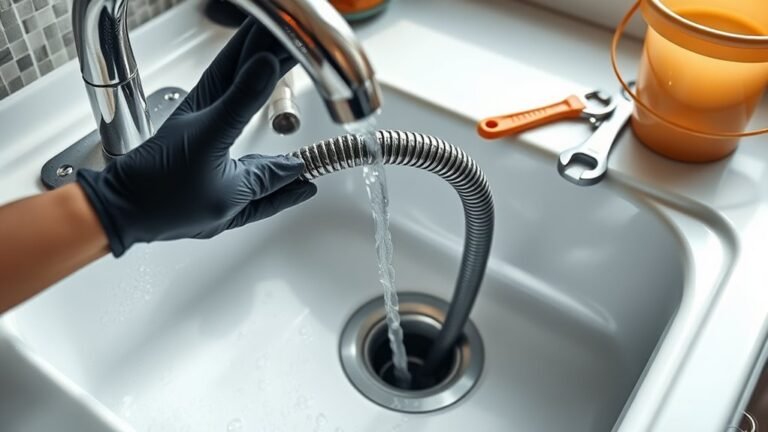
How to Remove a Kitchen Sink: A Step-by-Step Guide
Many homeowners find removing a kitchen sink to be a daunting task. If you’ve ever struggled with figuring out where to start or worried about damaging your fixtures, you’re not alone.
Luckily, with a little guidance, you can tackle this project confidently.
To remove your kitchen sink, start by clearing and protecting the workspace. Turn off the water supply, then disconnect the water lines with a wrench.
Next, loosen the drain assembly and, if you have one, detach the garbage disposal safely.
Lift the sink carefully, using proper posture or asking for help if it’s heavy.
After removal, clean plumbing and check for issues.
Follow these practical steps, and you’ll be well on your way to a smooth sink removal process.
Key Takeaways
- Turn off the water supply valves under the sink or the main valve, then open the faucet to drain any remaining water.
- Use an adjustable wrench and basin wrench to disconnect the water supply lines. Carefully loosen the drain slip nuts.
- Detach the garbage disposal by turning the mounting ring counterclockwise. Support its weight and make sure the power is off before proceeding.
- Remove any old sealant around the sink with a putty knife. Gently pry the sink loose from the countertop.
- Lift the sink with proper posture. Inspect the plumbing for damage, clean out debris, and prepare the area for the new sink installation.
Preparing Your Kitchen: Clear and Protect the Area
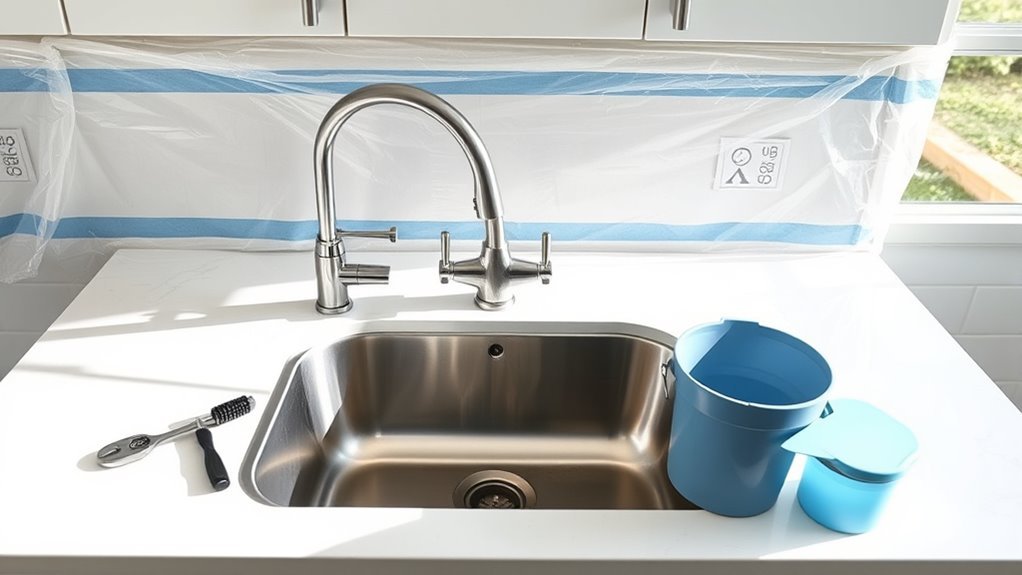
Before you start removing your kitchen sink, clear the area around it completely. Removing clutter makes your kitchen more organized and gives you plenty of space to work efficiently.
Clear the area around your sink to create space and work more efficiently.
Take out dishes, small appliances, or cleaning supplies near the sink. This helps prevent accidental damage and reduces tripping hazards, making your workspace safer.
Next, protect your countertops and flooring with drop cloths or old towels. This catches any drips or debris and keeps your surfaces in good shape during the process.
Make sure the area is well-lit so you can see clearly what you’re doing. Good lighting makes everything easier and safer.
How to Turn Off Your Water Supply Safely
Since turning off the water supply is essential to avoid leaks and water damage, you’ll want to locate the shut-off valves under the sink or the main water supply valve for your home. Start by closing the individual shut-off valves beneath the sink if they’re available. Turn them clockwise until they’re firmly closed.
If you can’t find these valves or they’re stuck, head to your home’s main water supply valve and shut it off. Before proceeding, open the faucet to drain any remaining water in the pipes. This relieves pressure and prevents spills during removal.
Always follow safety precautions by wearing gloves and confirming the area is dry to avoid slips or electrical hazards. Double-check that no water is flowing before disconnecting any plumbing. Taking these steps guarantees you handle the water supply safely, protecting your home from damage and making your sink removal process smoother.
Tools Needed for Kitchen Sink Removal
Once you’ve safely shut off the water supply and drained the pipes, gathering the right tools will make removing your kitchen sink much easier. You’ll need an adjustable wrench to loosen nuts and bolts, a basin wrench for those hard-to-reach fittings under the sink, and a screwdriver set for removing clips or screws securing the sink.
A putty knife helps scrape away old sealant, while a bucket or towels catch any remaining water during removal. A utility knife is handy for cutting through caulk or sealant to free the sink from the countertop. These tools are essential not only for sink removal but also for future sink installation or routine plumbing maintenance.
Having them ready ensures you can work efficiently and avoid damage to your plumbing system or cabinetry. Preparing your workspace with these tools will save you time and frustration throughout the entire process.
How to Disconnect Water Supply Lines
Before you begin, it’s a good idea to turn off the water supply first. That way, you won’t have any surprises or water spraying everywhere. Once the water is shut off, grab your wrench and start loosening the nuts that connect the supply lines to the faucet. Just take your time with it—being careful not to strip or damage the fittings as you disconnect them.
Turning Off Water Supply
Although it might seem simple, turning off the water supply is a crucial step to prevent leaks and water damage when removing your kitchen sink. First, find the shutoff valves under the sink—they control the water flow to the faucet.
If you can’t find them there, check near the main water line or in the basement. Once you locate the valves, turn each one clockwise to stop the water flow.
Keep in mind that residual water pressure in the pipes might cause a brief drip when you disconnect the lines, so have a towel ready. After turning off the valves, open the faucet to release any remaining water pressure.
This step helps ensure the water lines are fully depressurized and safe to disconnect without causing a mess.
Loosening Supply Line Nuts
After you’ve turned off the water supply and relieved the pressure by opening the faucet, you’re ready to disconnect the water supply lines.
First, identify the supply line types connected to your sink—common ones include braided stainless steel, plastic, or copper. Each may need a slightly different approach, but the main goal is to carefully loosen the nuts attaching these lines to the faucet and shutoff valves.
Use an adjustable wrench or pliers, turning counterclockwise to loosen the nuts. Keep in mind that nut tightening varies by line type and connection size, so don’t force them to avoid damage.
Once the nuts are loose, gently pull the supply lines away. If you hit resistance, double-check for any remaining pressure or hidden fasteners before moving forward.
Removing the Drain and Garbage Disposal (If Applicable)
Start by disconnecting the drain pipes and, if present, the garbage disposal unit. This step is essential before you can move on to removing the sink itself.
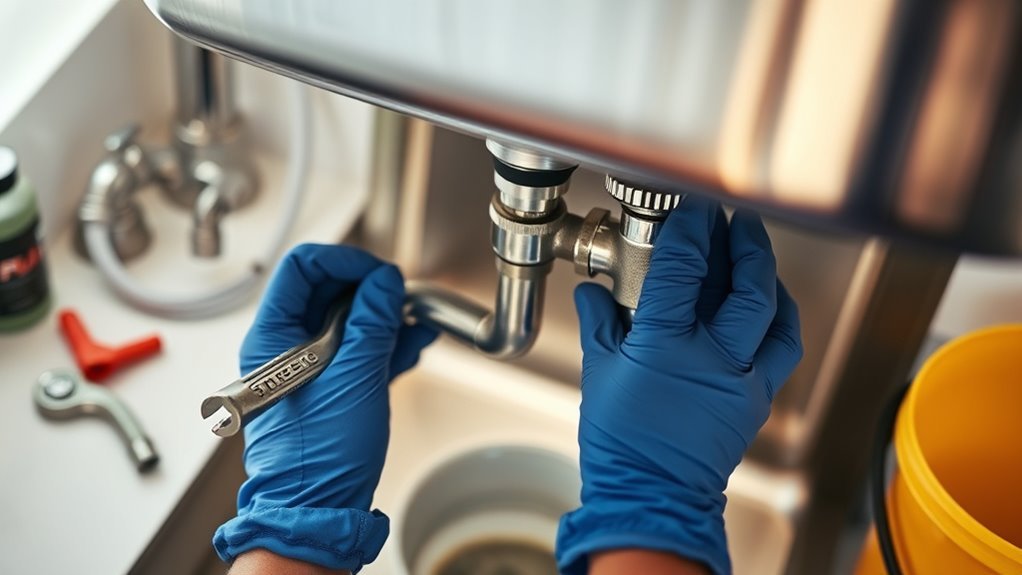
- Drain Assembly Removal: Use a wrench or pliers to loosen the slip nuts that hold the drain assembly together. Carefully detach the drain pipes beneath the sink to free the drain assembly. Be prepared for some residual water to spill out.
- Disposal Removal: If you have a garbage disposal, locate the mounting ring at its top. Turn it counterclockwise to release the disposal from the sink flange. Support the unit’s weight as you detach it to prevent damage or injury.
- Disconnect Power: Before disposal removal, verify the unit is unplugged or the circuit breaker is turned off. This step is essential for safety during disposal removal.
Removing Sink Clips and Sealants
Now that you’ve taken out the drain and disposal, the next step is to loosen those sink clips holding the sink in place. Just keep in mind, be gentle so you don’t accidentally damage anything. Once the clips are free, you’ll want to carefully scrape away the old sealant around the edges. This makes removing the sink much easier and helps prevent any damage to your countertop.
Loosening Sink Clips
Grip the sink clips firmly and turn them counterclockwise to loosen their hold on the sink. Depending on the clamp type—whether screw clamps, toggle clamps, or spring clips—you might need pliers or a screwdriver for extra support. Here’s how to handle them effectively:
- First, identify the clamp type to choose the right tool and avoid damage.
- Apply steady pressure while turning to prevent stripping screws or snapping clips.
- Keep track of all clips and fasteners so you can reinstall or replace them easily.
For installation tips, note where each clip was placed for future reference. Regularly inspecting the clips can help you catch corrosion or wear early. If any clips are damaged, replace them promptly to keep your sink secure.
Removing Old Sealant
Peel away any remaining sink clips carefully before tackling the old sealant around the edges. Different sealant types like silicone, latex, or butyl need specific removal methods.
Use a utility knife or putty knife to gently cut through and lift the sealant without damaging the countertop or sink. Applying heat with a hairdryer softens stubborn sealants, making them easier to remove.
Understand how the sealant was originally applied so you can anticipate where it bonds strongest. Scrape away the residue thoroughly to ensure a clean surface for your new sealant.
After removing the old sealant, clean the area with rubbing alcohol or a suitable solvent. This step removes oils and dirt, helping your new sealant adhere properly and preventing leaks.
How to Lift and Remove Your Kitchen Sink
Start by carefully loosening any remaining clips or fasteners holding the sink in place. Once free, prepare to lift your kitchen sink, keeping in mind the sink weight—it can be surprisingly heavy, especially if it’s made of cast iron or stone. Use proper lifting techniques to avoid injury and damage.
Carefully loosen clips and lift your heavy sink properly to avoid injury and damage.
Follow these steps:
- Position yourself with feet shoulder-width apart to maintain balance.
- Bend your knees, not your back, and grip the sink firmly on both sides.
- Lift slowly and steadily, keeping the sink close to your body to distribute the weight evenly.
If the sink feels too heavy, get a helper to assist. Avoid twisting your torso while lifting to prevent strain. Once lifted, carefully maneuver the sink away from the countertop, watching out for any remaining connections or sharp edges. With these techniques, you’ll remove your sink safely and efficiently.
Inspecting Plumbing and Cleaning Up After Removal
Now that you’ve removed the sink, it’s a good idea to take a look at the water supply lines. Check for any leaks or signs of damage—it’s better to catch these early on.
Once that’s done, don’t forget to clean up any residue or debris left behind. Keeping the area tidy not only makes the space look better, but it also helps you spot any potential issues before moving on to your next step.
Check Water Supply Lines
Before you disconnect the sink entirely, take a close look at the water supply lines for any damage or leaks. Spotting leaks early helps prevent water damage later on.
Here’s what you should do:
- Turn on the water supply valves and check the water pressure. Low pressure could mean a blockage or leak.
- Examine the supply lines carefully for cracks, corrosion, or moisture. Even tiny drips are a sign of trouble.
- Use a dry cloth to wipe connections and fittings. If you see moisture on a dry surface, it confirms a leak.
If you find any damage or leaks, replace the supply lines before reinstalling the sink. This ensures safe and reliable water flow. Following these steps now saves you from costly repairs later.
Clean Residue And Debris
Once you’ve disconnected the sink, take a moment to inspect the plumbing and clear away any residue or debris left behind. Removing residue is important to prevent clogs and keep your work area clean.
Use a putty knife or scraper to gently remove old caulk or plumber’s putty around the drain and edges. For debris cleanup, wipe down pipes and surrounding surfaces with a damp cloth to get rid of dust, dirt, and bits of broken sealant.
Check the drain trap and pipes for any trapped debris, clearing them out to avoid future blockages. Proper residue removal and debris cleanup help ensure a smooth installation when you’re ready to put in the new sink and keep your plumbing system working well.
Handling Common Problems During Kitchen Sink Removal
Although removing a kitchen sink may seem straightforward, you’ll likely face some common issues that can slow you down or cause frustration. Here are some essential troubleshooting tips to handle these problems efficiently:
Removing a kitchen sink can be tricky—expect common challenges and use these tips to ease the process.
- Stubborn Plumbing Connections: If nuts and bolts won’t budge, try applying penetrating oil and letting it sit for 10-15 minutes. Then, use a wrench with a longer handle for extra leverage.
- Old Sealant and Caulk: Hardened sealant can make lifting the sink tough. Score around the edges with a utility knife to break the seal, then gently pry the sink loose.
- Tight or Rusted Clips: Sink clips might be rusted or stuck. Use penetrating oil and a screwdriver or pliers to carefully loosen them without damaging the countertop.
Finishing Up: What to Do After Removing Your Kitchen Sink
After removing your kitchen sink, take some time to clean the area thoroughly. Clear away any debris, old caulk, and dirt from the countertop and cabinet edges. This makes installing the new sink easier and helps ensure a proper seal.
Next, check the plumbing for any damage or leaks. It’s a good time to fix or replace worn-out pipes or fittings to prevent future problems. Tighten any loose connections or think about upgrading to more durable materials.
If you’re installing a new sink, double-check the measurements to make sure it will fit correctly. Also, confirm that the water supply valves are turned off before starting the installation. Finally, dispose of the old sink and any leftover materials responsibly.
Frequently Asked Questions
Can I Remove a Kitchen Sink Without Professional Help?
Yes, you can handle DIY sink removal yourself if you have the right tools like a wrench, screwdriver, bucket, and plumber’s putty.
Just turn off the water supply, disconnect the plumbing, and carefully loosen the mounting clips.
It takes patience, but many find it manageable without professional help.
If you’re comfortable with basic plumbing and have these tools ready, you’ll save money and gain confidence tackling this project on your own.
How Long Does Kitchen Sink Removal Usually Take?
Like a quick magic trick, kitchen sink removal usually takes about 1 to 2 hours if you follow sink removal tips and time-saving techniques.
You’ll want to shut off water, disconnect plumbing, and carefully unseal the sink. Staying organized and using the right tools helps you breeze through the process without delays.
With a little focus, you’ll have that sink out faster than you’d expect!
What Are the Signs I Need to Replace My Kitchen Sink?
You should consider replacing your kitchen sink if you see major damage like cracks, chips, or rust that can’t be fixed.
Persistent plumbing problems such as leaks, slow drainage, or water pooling under the sink also indicate it might be time for a new one.
If your sink looks outdated or stained beyond cleaning, upgrading can boost both its function and your kitchen’s style.
Don’t ignore these signs—they can turn into bigger issues later on.
Can I Reuse My Old Plumbing Fixtures With a New Sink?
You can reuse your old plumbing fixtures if they match the plumbing fixture compatibility with your new sink.
Before installation, check that the pipes, drain, and faucet connections align properly to avoid leaks or extra work.
When prepping for sink installation, remember these sink installation tips: tighten fittings carefully and test for leaks.
If your fixtures don’t fit well, replacing them guarantees a smoother, more reliable setup.
What Materials Are Best for a Durable Kitchen Sink?
Choosing a kitchen sink is like picking a reliable teammate for daily battles.
Stainless steel stands out for its durability and ease of sink maintenance, resisting dents and stains.
Composite materials offer toughness and a variety of colors, blending strength with style.
Ceramic sinks bring classic beauty but require gentle care to avoid chips.
You’ll want a sink that balances durability with your maintenance habits to keep your kitchen running smoothly.
Conclusion
Now that you’ve tackled removing your kitchen sink like a pro, you’re practically a plumbing superhero! No drip or stubborn pipe can stand in your way.
Remember, preparation and patience make this challenging task much easier. With your kitchen cleared and plumbing inspected, you’re ready for the next step—whether that’s installing a new sink or just celebrating a job well done.
You’ve officially earned your handyman cape, especially after mastering how to remove a kitchen sink!