How to Clean Painted Kitchen Cabinets: A Step-by-Step Guide
Many homeowners know the struggle of keeping painted kitchen cabinets looking fresh and new. Between everyday splashes and cooking messes, it’s easy for them to look dull or greasy. You’re not alone—many people find cleaning and maintaining their cabinets to be a challenge.
Luckily, with a simple routine, you can restore their beauty and protect your investment.
To clean your painted kitchen cabinets, start by emptying them and dusting surfaces with a soft microfiber cloth. Use a gentle mix of warm water and mild dish soap or vinegar, avoiding harsh chemicals.
For grease and stains, try a baking soda paste applied gently with a soft cloth. Rinse and dry thoroughly to protect the finish. Regular cleaning preserves their look and lifespan.
If you want to refresh your cabinets or tackle tougher spots, there’s plenty more helpful advice ahead.
Key Takeaways
- Wipe painted kitchen cabinets weekly with a soft microfiber cloth and mild soap to keep grease and grime from building up.
- Check what type of paint your cabinets have—latex, oil-based, or acrylic—so you can pick the right cleaning method and products.
- Use a gentle mix of dish soap and warm water or a vinegar-water solution for cleaning. Avoid harsh chemicals and abrasive tools that can damage the paint.
- To remove grease or stains, apply a baking soda paste or mild detergent. Then rinse well and dry thoroughly with a microfiber cloth.
- Deep clean your cabinets every few months and keep an eye out for signs of wear or dullness. Regular care helps maintain their look and extends their life.
Why Cleaning Painted Kitchen Cabinets Matters
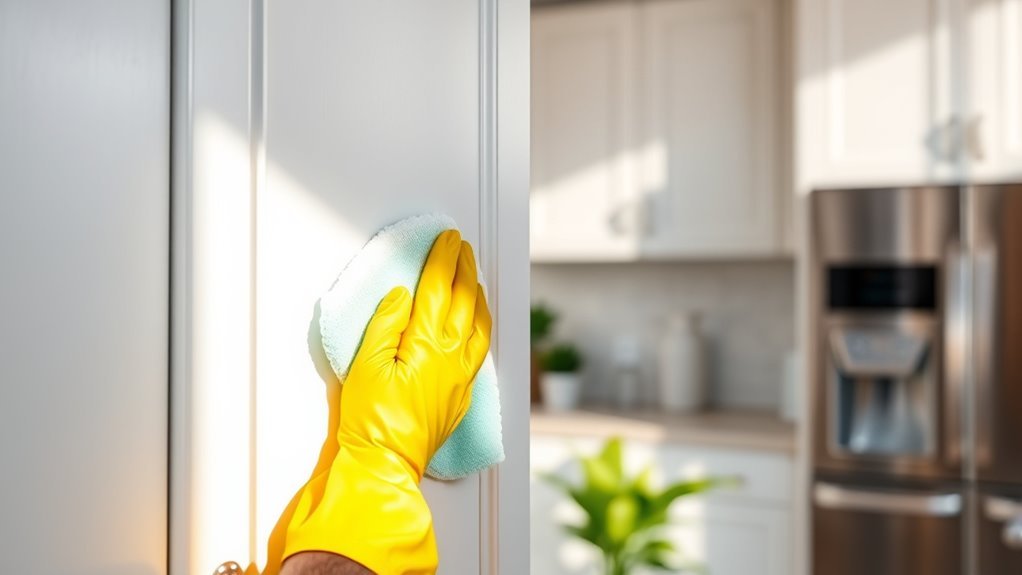
Maintaining the appearance of your painted kitchen cabinets is essential because it preserves their beauty and extends their lifespan. When you focus on cabinet maintenance, you prevent dirt, grease, and grime from building up, which can dull the paint and cause damage over time.
Using effective cleaning techniques guarantees you remove contaminants without harming the paint finish. You’ll want to avoid harsh chemicals and abrasive tools that could chip or scratch the surface. Instead, opt for gentle cleaning solutions and soft cloths to keep your cabinets looking fresh and vibrant.
Regular cleaning not only improves your kitchen’s overall look but also helps you spot early signs of wear or damage, letting you address issues promptly. By staying consistent with proper cabinet maintenance, you protect your investment and enjoy a cleaner, more inviting kitchen space every day.
How Often to Clean Painted Kitchen Cabinets
You’ll want to give your painted kitchen cabinets a good clean pretty regularly to keep them looking fresh. Usually, doing a quick wipe-down once a week does the trick. But, of course, if you start noticing grease spots or sticky areas, it’s a good idea to clean them more often.
Keep an eye out for dullness or stains too—that’s your cue that your cabinets could use some extra attention. Regular cleaning helps prevent buildup and keeps your kitchen looking great!
Cleaning Frequency Guidelines
Cleaning painted kitchen cabinets once a week helps prevent grime and grease buildup while keeping their finish looking good. Use gentle tools like microfiber cloths and mild detergents to avoid damaging the paint.
For regular maintenance, wipe down high-touch areas such as handles and edges more often, especially if you cook daily. Remember to dry the cabinets after cleaning to prevent moisture damage.
If you notice stubborn spots, spot-clean them right away using the right cleaning tools to stop dirt from accumulating. Depending on how often you use your kitchen, deep cleaning every few months is a good idea to keep your cabinets looking fresh.
Following these cleaning frequency tips helps maintain your cabinets’ beauty and durability without extra effort or harsh chemicals.
Signs Cabinets Need Cleaning
Although regular cleaning is essential, knowing when your painted kitchen cabinets actually need attention can save you time and effort. Paying attention to certain signs helps maintain your cabinets effectively and enjoy the cleanliness benefits longer.
Look out for these indicators:
- Visible grease buildup or sticky residue that affects the cabinet’s surface texture.
- Noticeable discoloration or stains, especially near handles and edges.
- Foul odors or dust accumulation around cabinet corners and crevices.
Identify Your Kitchen Cabinet Paint Type
Before you get started with cleaning, it’s a good idea to figure out what kind of paint is on your kitchen cabinets. That’s because different types like latex, oil-based, or acrylic paint can react in their own way to cleaning methods. A quick trick is to test a small, hidden area with some water or rubbing alcohol—this will help you see how the paint responds without risking damage to the whole surface.
Also, don’t forget about the finish—whether it’s matte, satin, or gloss. Each finish can affect how gentle or thorough you should be when cleaning, so keeping that in mind will help you avoid any unwanted damage.
Common Paint Types
Since different paint types react differently to cleaning methods, it’s important to identify what kind of paint your kitchen cabinets have.
Your cabinets probably feature one of these common types:
- Acrylic paints and latex options: Both are water-based and easy to clean with mild soap and water, but they can be sensitive to harsh chemicals.
- Oil-based paints: These are durable with a smooth finish, so use gentler cleaning agents to avoid damaging the surface.
- Enamel finishes: They have a hard, glossy surface that resists stains well, but avoid abrasive scrubbers to keep them looking their best.
Knowing your paint type helps you pick the right cleaning method, protecting your cabinets and keeping them looking fresh without damage.
How To Test Paint
Wondering how to figure out what type of paint covers your kitchen cabinets? Start by testing paint adhesion and durability.
First, pick an inconspicuous spot on a cabinet and gently rub it with a damp cloth. If the paint easily comes off, it’s likely a less durable latex or acrylic paint.
Next, try a small spot with a mild solvent like rubbing alcohol. If it softens, you probably have latex paint.
If the paint resists rubbing and solvents, it’s likely oil-based, known for its strong adhesion and higher durability.
Knowing your paint type helps you choose the right cleaning methods without damaging the surface.
Taking these simple steps guarantees you protect your cabinets while keeping them spotless.
Paint Finish Effects
Although identifying your kitchen cabinet’s paint type is important, recognizing its finish can tell you even more about how to clean and maintain it properly. Different paint finish effects affect durability, gloss levels, and texture, all of which influence cleaning and how it looks.
For example, high-gloss finishes resist stains and show less color fading but may reveal scratches. Matte finishes hide imperfections but can be harder to clean.
Here’s what to keep in mind:
- Gloss Levels: Higher gloss makes cleaning easier but shows more wear.
- Texture Variations: Smooth finishes wipe down easily; textured ones tend to trap dirt.
- Maintenance Tips: Use gentle cleaners on matte finishes; stronger solutions are okay for gloss.
Knowing these factors helps you protect your cabinets and keep them looking fresh longer.
What You’ll Need to Clean Painted Cabinets
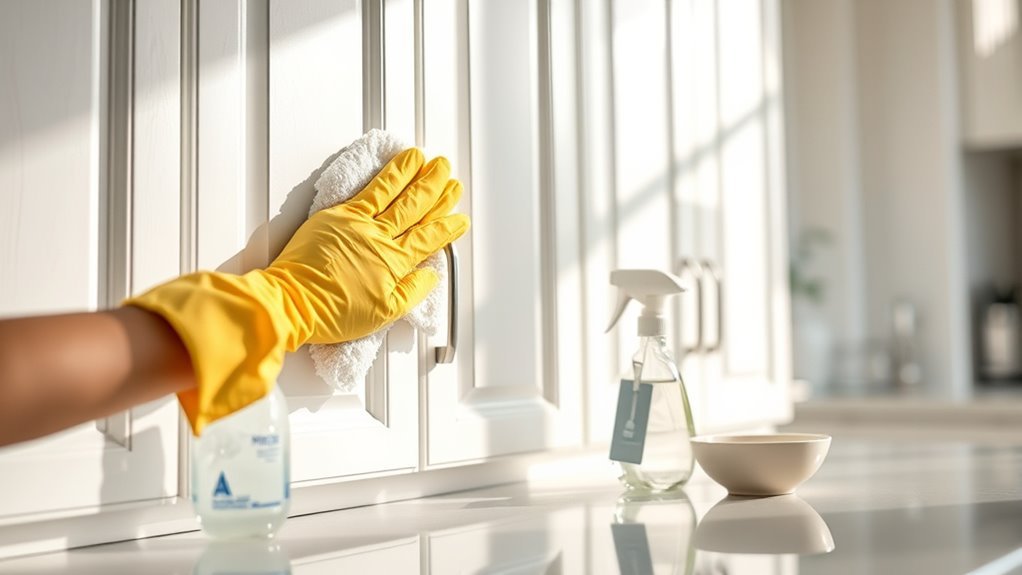
You’ll need just a few essential supplies to clean painted kitchen cabinets effectively. Start with gentle cleaning tools like a soft microfiber cloth or sponge to avoid scratching the paint. A mild dish soap mixed with warm water works well as a cleaning solution, but you can also use a vinegar-water mix for a natural alternative.
Keep a bucket handy for rinsing your cloth and another dry microfiber cloth for wiping down surfaces afterward. Avoid abrasive scrubbers or harsh chemicals that can damage the finish. In addition to these basics, have a soft-bristled toothbrush or small detailing brush for tight corners and crevices.
These cleaning tools will help you reach every spot without harming the paint. Following these maintenance tips guarantees your cabinets stay clean and vibrant without wear. With these supplies ready, you’ll be set to tackle your painted cabinets confidently and keep them looking their best.
How to Prepare Your Cabinets for Cleaning
First things first, go ahead and empty out your cabinets. That way, you’ll have plenty of space to really get in there and clean everything thoroughly. Once they’re empty, take a moment to dust off any loose dirt or crumbs sitting on the surfaces—that’ll make the deep cleaning much easier.
After you’ve dusted, grab a dry cloth and give the cabinets a good wipe down. This step helps remove any leftover particles and prepares the surface for a more thorough cleaning later on. Now you’re all set to dive into the deep cleaning without any clutter in your way!
Remove Cabinet Contents
Before you start cleaning, take everything out of your kitchen cabinets. This makes it easier to clean and keeps things organized.
Emptying the cabinets lets you spot any damage, expired food, or clutter that needs sorting. It also prevents cleaning products from damaging your belongings.
As you remove items, try to group them by type or how you use them. This will make putting everything back easier.
Check for expired or unused products and toss them out. Use this opportunity to wipe down the shelves and reorganize for better access.
Dust and Wipe Surfaces
With your cabinets emptied and shelves wiped, it’s time to remove dust and grime from all surfaces. Start by choosing the right cleaning tools for your cabinet’s surface types—soft microfiber cloths work well on painted finishes without scratching.
Use a dry cloth or a vacuum with a brush attachment to gently remove loose dust. For stubborn grime, lightly dampen your cloth with warm water or a mild cleaner suited for painted surfaces. Always avoid abrasive tools that can damage paint.
Wipe down every corner, including cabinet doors, edges, and inside frames. This careful dusting and wiping step guarantees your cabinets are fully prepped, making the deeper cleaning process more effective and protecting the paint from wear during cleaning.
Choose Safe Cleaning Solutions for Painted Cabinets
Although painted cabinets can be sturdy, you’ll want to avoid harsh chemicals that might damage their finish. Choosing safe cleaning solutions is key to preserving their look and longevity. Instead of strong commercial cleaners, focus on gentle, effective options.
You can even make your own with common household ingredients. Consider these eco-friendly options that protect both your cabinets and the environment:
- Mild dish soap diluted in warm water
- A mixture of white vinegar and water (test first on a hidden spot)
- Homemade cleaners with baking soda for tough spots
These options clean effectively without stripping paint or leaving residue. Avoid bleach, ammonia, or abrasive scrubbing pads, which can dull or chip your cabinets.
Clean Your Painted Cabinets Step-by-Step
Cleaning your painted cabinets involves a few simple steps that will restore their shine without damaging the finish. First, gather your cleaning tools: a soft microfiber cloth, a gentle sponge, a bucket of warm water, and a mild soap solution. Avoid abrasive scrubbers that can scratch the paint.
Start by wiping down the cabinets with the damp cloth to remove dust and loose dirt. Next, dip the sponge into the soapy water, wring it out well, and gently clean the cabinet surfaces, paying attention to corners and edges.
Begin by dusting with a damp cloth, then gently clean with a wrung-out sponge, focusing on corners and edges.
After cleaning, use a dry microfiber cloth to remove any moisture, preventing water damage. For ongoing care, follow maintenance tips such as wiping spills immediately and dusting regularly.
This routine keeps your cabinets looking fresh and extends their lifespan. With these straightforward steps and the right cleaning tools, your painted cabinets will stay vibrant and well-maintained.
Remove Grease and Stubborn Stains From Painted Cabinets
Two common challenges you’ll face when maintaining painted kitchen cabinets are grease buildup and stubborn stains. Effective grease removal is essential because grease can dull the finish and attract dirt over time. To tackle these issues, follow these simple steps:
- Mix a mild detergent with warm water and use a soft cloth to gently scrub greasy areas.
- For tougher stains, try a baking soda paste (baking soda + water) applied with a soft sponge. Let it sit briefly before wiping clean.
- Rinse the surface with clear water to remove any residue, then dry with a microfiber cloth.
Regularly addressing grease and stains not only improves appearance but also helps prevent future stains, keeping your cabinets looking fresh longer. Avoid harsh chemicals that can damage the paint. By sticking to gentle cleaning methods, you’ll maintain your painted cabinets’ beauty and durability with minimal effort.
Avoid Damaging Painted Cabinet Paint While Cleaning
While it’s important to keep your painted cabinets clean, you need to be careful not to damage the paint during the process. Using the right cleaning techniques is key to preventing damage. Avoid harsh chemicals, abrasive scrubbers, and excessive water, as these can strip or dull the paint.
Instead, opt for a gentle, pH-balanced cleaner or a mild soap solution applied with a soft cloth or sponge. Always test your cleaner on a small, hidden area first to make sure it won’t harm the finish.
When wiping down your cabinets, use light pressure and circular motions to lift dirt without scratching the surface. Avoid letting water or cleaner sit on the paint for too long because it can cause swelling or peeling.
Dry the cabinets promptly with a clean, dry cloth to prevent moisture damage. By following these careful cleaning techniques, you’ll keep your painted cabinets looking fresh and beautiful for years to come.
When Repainting Painted Kitchen Cabinets Is a Better Choice
If your painted kitchen cabinets show signs of wear like chipping, fading, or stubborn stains that cleaning can’t fix, repainting might be the better option. Repainting benefits include restoring the fresh look of your cabinets and protecting the wood underneath from damage. It also allows you to update your kitchen’s style without a full renovation.
Repainting worn cabinets refreshes their look, protects the wood, and updates your kitchen style without major renovations.
Before you start, consider these key points:
- Surface condition: Deep scratches or peeling paint often require repainting rather than cleaning.
- Cost considerations: Repainting is generally more affordable than replacing cabinets but involves time and materials.
- Desired update: If you want a new color or finish, repainting offers flexibility.
Weighing these factors helps you decide if repainting is worth the investment. When done right, repainting can extend your cabinets’ life and keep your kitchen looking vibrant.
Frequently Asked Questions
Can I Use Vinegar to Clean Painted Kitchen Cabinets?
Yes, you can use vinegar to clean painted kitchen cabinets. Vinegar is great because it cuts through grease and grime without using harsh chemicals.
Just mix equal parts white vinegar and water, then gently wipe your cabinets with a soft cloth. Be careful not to soak the paint, since too much moisture could cause damage.
Using vinegar as a cleaner keeps your cabinets fresh and safe, without leaving harsh residue behind.
How Do I Fix Scratches on Painted Cabinets?
Every scratch on your cabinet tells a story, but you don’t have to let them define your space. For effective scratch repair, start by gently sanding the affected area. Then, apply a matching touch-up paint or a colored wood filler to blend the imperfection.
Seal it with a clear coat to protect your work. This simple act of cabinet maintenance keeps your kitchen looking fresh and lets your space shine without scars.
Are Microfiber Cloths Safe for Painted Cabinet Surfaces?
Yes, microfiber cloths are safe for painted cabinet surfaces. They’re gentle but effective at lifting dirt and grease without scratching your paint.
Using them regularly helps with cabinet maintenance by preventing buildup and keeping the finish looking good. Just make sure the cloth is clean and slightly damp when you wipe your cabinets.
Avoid harsh chemicals, and your painted cabinets will stay looking fresh and beautiful for longer.
Can Cleaning Products Cause Paint Discoloration Over Time?
Think of your painted cabinets like a delicate garden; harsh chemicals are like strong winds that can fade the blooms. Yes, cleaning products can cause paint discoloration over time, especially if you clean too often or with abrasive cleaners.
To protect your paint’s life, choose gentle, pH-balanced products and don’t clean too frequently. This way, your cabinets stay vibrant and fresh, just like a well-tended garden in full bloom.
What Should I Do if Paint Starts Peeling After Cleaning?
If you notice peeling paint after cleaning, stop using harsh chemicals right away and gently remove any loose flakes.
Next, lightly sand the area to create a smooth surface. This helps the new paint or primer stick better.
Apply a primer first, then match your paint and apply it in thin, even coats. Make sure each layer dries completely before adding the next.
Following these steps will prevent more damage and keep your cabinets looking fresh.
Conclusion
You might think cleaning painted kitchen cabinets is just routine, but it’s also a chance to protect your investment and refresh your space. Sometimes, all it takes is the right approach to make a big difference.
By knowing your paint type and following these simple steps, you can keep your cabinets looking great for years. Regular cleaning helps maintain their appearance and prolongs their lifespan.
And if stains won’t budge, it might be the perfect moment to give your kitchen a fresh new look with a repaint. Proper cleaning and maintenance can really make your cabinets stand out.