How to Replace a Kitchen Sink Faucet: A Step-by-Step Guide
Feeling overwhelmed by your outdated or leaking kitchen sink faucet? You’re not alone—many people struggle with DIY faucet replacements, but don’t worry.
Replacing a kitchen sink faucet can actually be straightforward with a little guidance.
To replace your kitchen sink faucet, first turn off the water supply and clear the space under the sink for easy access.
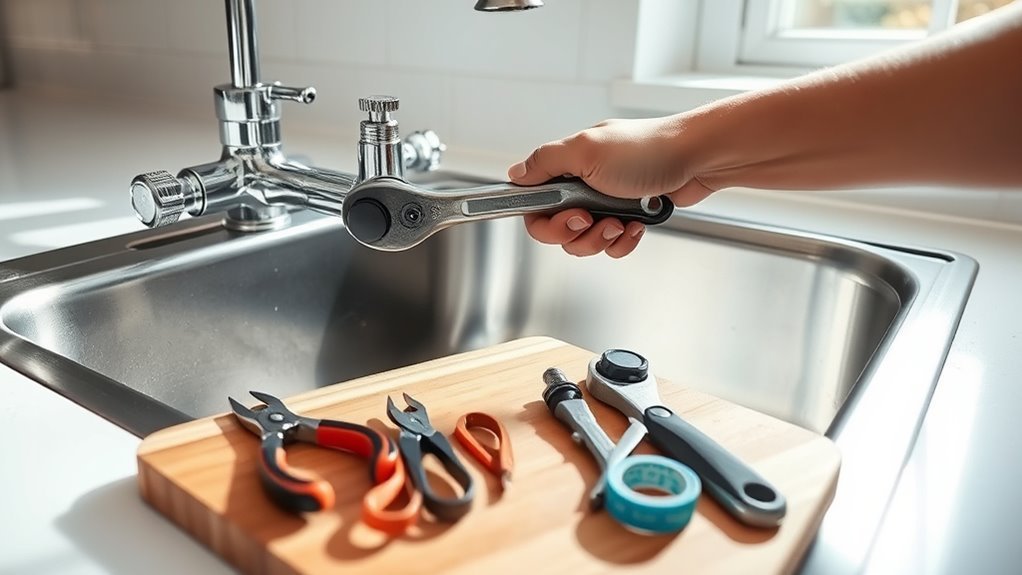
Use tools like a basin wrench to remove the old faucet carefully.
Then, choose a new faucet that fits your sink’s size and style.
Install it by securing the mounting nuts, connect the water lines without twisting, and check for leaks when you turn the water back on.
Keep following for detailed tips on troubleshooting and maintenance.
Key Takeaways
- Turn off the water supply and open the faucet to drain any remaining water before you start replacing it.
- Carefully remove the old faucet and clean the sink area to get ready for the new one.
- Place the new faucet with a gasket or putty, then tighten the mounting nuts evenly from underneath to secure it.
- Connect the hot and cold water lines first by hand, then use a wrench to tighten them without overtightening.
- Turn the water on slowly, check for leaks, and tighten fittings or add plumber’s tape if needed. Don’t forget to clean the aerator if you notice pressure issues.
Replacing Your Kitchen Faucet: A Quick Overview
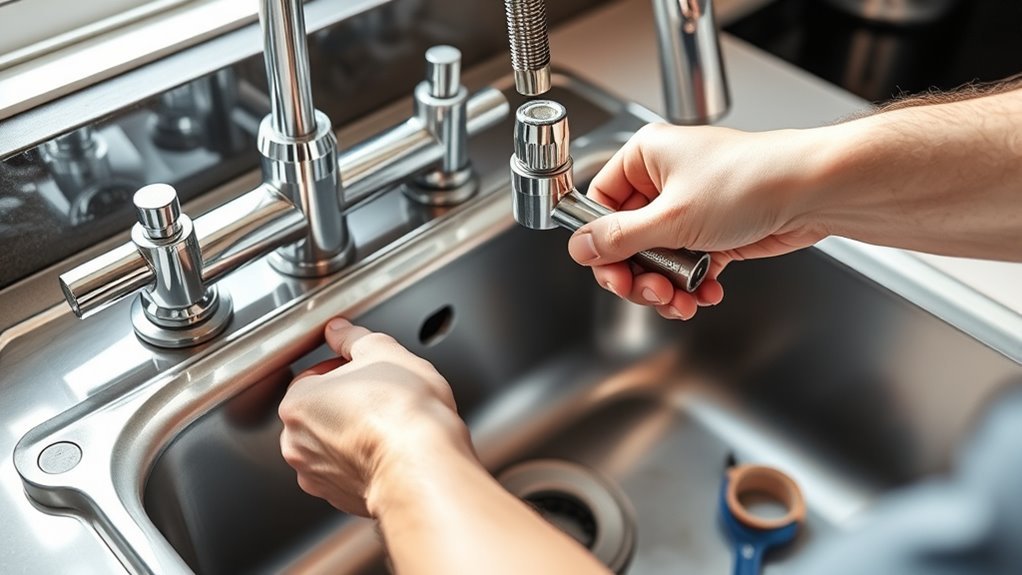
Replacing your kitchen faucet can seem challenging, but with the right tools and a clear plan, you can finish the job efficiently. First, gather basic tools like an adjustable wrench, plumber’s tape, and a basin wrench.
Before starting, turn off the water supply and clear out the space under your sink for easy access. You’ll want to remove the old faucet carefully, loosening connections without damaging pipes.
Shut off water and clear under-sink space before carefully removing the old faucet to avoid pipe damage.
When you’re ready to install the new faucet, consider different styles that best suit your sink—single-handle, double-handle, or pull-down models. Follow manufacturer instructions closely, as installation tips vary slightly by design.
Make sure to tighten connections securely and use plumber’s tape to prevent leaks. Finally, turn the water back on and check for any drips.
With these steps, replacing your faucet becomes a manageable DIY task that saves time and money without needing a professional.
How to Choose the Right Kitchen Faucet: Style, Size, and Features
How do you pick the perfect kitchen faucet that fits both your style and practical needs? Start by considering faucet design trends like sleek matte finishes or vintage-inspired brass that complement your kitchen’s look.
Next, size matters—make sure the faucet height and reach fit your sink and workspace comfortably. It’s all about finding the right fit for your kitchen setup.
Finally, look for features that boost convenience and sustainability. Options like pull-down sprayers and eco-friendly low-flow aerators can really make a difference.
Here’s a quick guide to help you decide:
| Aspect | What to Look For | Why It Matters |
|---|---|---|
| Style | Modern, traditional, or rustic | Matches your kitchen decor |
| Size | Height and spout reach | Fits sink size and workspace |
| Features | Eco-friendly, sprayers, sensors | Saves water and adds function |
Choosing wisely guarantees your new faucet looks great and works efficiently.
Tools Needed to Replace a Kitchen Faucet
You’ll want to gather a few basic tools to get started on replacing your kitchen faucet. An adjustable wrench and some plumber’s tape are must-haves—they’ll help you loosen fittings and create a watertight seal.
If you want to make things even easier, you might consider grabbing a basin wrench or some silicone sealant. These extras can really help smooth out the process. Before you dive in, let’s run through what you’ll need so you’re all set to go.
Essential Replacement Tools
Gathering the right tools before starting your kitchen faucet replacement can save you time and frustration. You’ll need an adjustable wrench to loosen nuts, a basin wrench for hard-to-reach areas, and a screwdriver for removing mounting hardware.
Plumbers’ tape guarantees a watertight seal on threaded connections, while a bucket helps catch any residual water. Depending on your faucet style, you might also require Allen wrenches or a utility knife to remove old caulk or gaskets.
These essential tools align with common installation tips, making the process smoother and avoiding damage to your sink or new faucet. Having everything ready means you can focus on each step confidently, guaranteeing a successful faucet replacement without unnecessary delays or complications.
Optional Helpful Equipment
Although you can complete most faucet replacements with basic tools, having some optional equipment can make the job easier and faster. A basin wrench, for example, helps you reach tight spots under the sink, saving you frustration.
You might also want a flashlight or headlamp to improve visibility in dark areas. When choosing finishes, a soft cloth and mild cleaner will help you maintain your faucet’s look without causing damage—these are great for ongoing faucet maintenance tips.
Furthermore, a silicone grease can ease the installation of seals and prevent leaks. Having these optional tools and supplies on hand not only streamlines the replacement process but also helps guarantee your new faucet stays in great shape for years to come.
Turning Off the Water Supply Safely
Before you start any work on your kitchen faucet, make sure to turn off the water supply to prevent leaks or flooding. Locate the shut-off valves under the sink—usually two, one for hot water and one for cold. Turn each valve clockwise until it stops to close them securely.
If you don’t find shut-off valves under the sink, you’ll need to turn off the main water supply to your home. When doing this, follow all safety precautions to avoid accidental water damage.
After turning off the valves, open the faucet to drain any remaining water from the lines. This step relieves pressure and ensures no water spills during removal.
Remember to double-check that the water is completely off before proceeding. Taking these safety precautions seriously will protect your kitchen and make the faucet replacement process smoother and safer.
How to Remove the Old Kitchen Faucet Without Damage
Start by clearing out the cabinet under your sink to give yourself plenty of space to work. Once it’s empty, disconnect the water supply lines with an adjustable wrench, turning counterclockwise.
Next, use gentle faucet removal techniques that help protect your sink’s surface. Don’t use too much force; if nuts are stuck, spray them with penetrating oil and wait a few minutes before trying again.
Use gentle removal techniques and penetrating oil to loosen stuck nuts without damaging your sink’s surface.
Use a basin wrench to reach tight spots without scratching the sink. When loosening mounting nuts, protect the finish by placing a cloth or rubber padding between your tools and the sink.
As you lift the faucet, work slowly to avoid damaging the sink or countertop. Keep a bucket handy to catch any leftover water that might spill out.
Cleaning the Sink Area Before Installing Your New Faucet
Once you’ve removed the old faucet, take the time to thoroughly clean the sink area to ensure a secure and leak-free installation for your new fixture. Start by wiping down the sink surface with a damp cloth to remove any loose debris.
Next, use gentle cleaning products designed for your sink material. These sink maintenance tips help avoid damage while effectively eliminating grime, mineral deposits, and old plumber’s putty residue. Pay close attention to the faucet mounting holes and surrounding edges, making sure they’re completely clean and dry.
Avoid harsh chemicals that might corrode seals or metal parts. After cleaning, inspect the area for any cracks or wear that could affect the new faucet’s seal. Taking these steps ensures a smooth installation and helps prevent leaks or future maintenance issues.
Proper sink maintenance before installation not only protects your investment but also extends the lifespan of your new faucet.
Step-by-Step Installation of Your New Kitchen Faucet
With the sink area clean and dry, you’re ready to install your new kitchen faucet. Start by placing the gasket or putty under the faucet base to prevent leaks.
Then, position the faucet through the mounting holes, making sure everything lines up properly. Hold it steady as you tighten the mounting nuts from underneath the sink. Tighten them evenly to avoid uneven pressure, which can cause leaks or damage.
Position the faucet carefully and tighten mounting nuts evenly to ensure a secure, leak-free fit.
Next, check your faucet for any specific instructions or features unique to your model, like touchless sensors or pull-out sprayers. These modern elements might need extra attention during installation to work properly.
Be patient and don’t rush. Improper alignment or loose fittings can lead to costly repairs later. By following these steps carefully, you’ll have a smooth installation and enjoy your stylish, updated kitchen faucet without any hassle.
Connecting Water Lines and Securing the Faucet
Now that your faucet is in place, it’s time to connect the water supply lines. Just take your time to make sure everything lines up properly—that way, you won’t run into any issues later on. When you’re tightening the connections, make sure they’re secure, but be careful not to overtighten, as that can cause damage.
Once everything’s connected, go ahead and turn the water back on. Keep a close eye on the faucet and the connections for any leaks. If you notice any drips, tighten the fittings a bit more until they stop. When you’re all set and everything looks good, you’re all finished!
Aligning Water Supply Lines
Two main water supply lines need to be aligned carefully to guarantee a leak-free connection. Start by positioning the hot and cold water lines so they match the faucet’s inlet ports. Proper water flow depends on this precise alignment.
Use tips like making sure the lines aren’t twisted or sharply bent, which can cause damage or leaks later. Hold the supply lines close to the faucet connections and gently adjust them until they line up perfectly.
Don’t force the lines, as this might strain the fittings. Once aligned, the water flow will be smooth and consistent when you turn the faucet on. Taking your time here helps prevent leaks and makes tightening the connections easier.
Tightening Connections Securely
Start by firmly tightening the water supply lines to the faucet’s inlet ports using an adjustable wrench or basin wrench. Different connection types—compression, threaded, or push-fit—each require specific tightening techniques to guarantee a secure fit without damaging components.
Follow these steps for the best results:
- Hand-tighten the connection first to avoid cross-threading.
- Use the wrench to apply an additional quarter to half turn, depending on the connection type.
- Avoid over-tightening to prevent stripping threads or cracking fittings.
Checking For Leaks
Turn on the water supply slowly and watch closely for any drips or moisture around the connections and faucet base. This careful leak detection step is essential to guarantee your faucet is properly installed and sealed.
Check all water lines where they connect to the faucet and the shutoff valves. If you spot any leaks, don’t panic; common repair methods include tightening connections further or applying plumber’s tape to threaded joints.
For minor drips at the faucet base, reseating the faucet or replacing worn gaskets can help. After addressing any leaks, monitor the area for a few minutes to confirm the repair was successful.
Testing Your New Kitchen Faucet for Leaks
Check all connections carefully once your new kitchen faucet is installed and the water supply lines are reconnected. Testing your new faucet for leaks is key to making sure it works well and avoids water damage. Start by turning on the water supply slowly and watch every joint and connection closely.
Here’s how to test effectively:
- Turn on both hot and cold water, and look under the sink for any drips.
- Inspect the faucet base and handles for water seepage.
- Wipe dry all areas, then watch again for slow leaks that might appear.
Troubleshooting Common Kitchen Faucet Installation Problems
If you see leaks around your connections, usually tightening or resealing them does the trick. It’s pretty common, and most of the time, a quick tighten-up will stop the drip.
Low water pressure, on the other hand, is often caused by clogs or shutoff valves that aren’t fully open. Checking those valves and giving the faucet a good clean can usually get the flow back to normal.
And when you’re working in tight spots, don’t forget to use the right tools and move carefully. It might be a bit tricky, but taking your time makes the whole installation much smoother.
Leaky Connections Fixes
Tighten each connection firmly to stop leaks from forming around your kitchen sink faucet. Proper leak detection is essential to avoid water damage and keep your connection in good shape.
Start by inspecting all visible joints for drips or moisture. If you spot leaks, follow these simple steps:
- Turn off the water supply and dry the area thoroughly.
- Use a wrench to snugly tighten the compression nuts or fittings without over-tightening.
- Replace any worn-out washers or O-rings to restore a watertight seal.
Perform regular checks to catch leaks early and maintain your faucet’s integrity. Consistent maintenance prevents small drips from turning into costly repairs and keeps your kitchen sink faucet working smoothly.
Water Pressure Issues
Sometimes, low water pressure can sneak up after installing a new kitchen faucet, disrupting your daily routine. To fix this, start by checking the aerator for clogs that might restrict water flow. Unscrew it, clean out any debris, and then reinstall it.
Next, inspect the shutoff valves under the sink. If they aren’t fully open, they can limit pressure. Make sure both valves are turned all the way. If the problem still persists, look at the faucet itself—some models have built-in flow controls you can adjust.
Also, check the supply lines for kinks or blockages that could reduce water flow. Fixing these common issues should restore proper water pressure and ensure your new faucet works smoothly without frustrating dips in performance.
Tight Space Challenges
After addressing water pressure issues, you might find yourself struggling with limited room under the sink when installing your new faucet. Tight space challenges can slow you down, but using smart techniques helps you work more efficiently.
To tackle these constraints, try using compact toolkits designed for cramped areas to reach bolts and fittings easily. Removing unnecessary items from under the sink can also help maximize your workspace.
Opting for flexible connectors instead of rigid pipes makes installation easier in tight spots. These approaches let you maneuver better and avoid frustration.
Frequently Asked Questions
How Do I Recycle or Dispose of My Old Kitchen Faucet?
You can recycle metal faucets by taking them to your local scrap metal recycling center, which is one of the best faucet disposal options. Before dropping it off, remove any non-metal parts like rubber or plastic to ensure proper recycling.
If recycling isn’t available nearby, check if your municipal waste program accepts faucets for disposal. Don’t just toss it in the trash—recycling metal faucets helps reduce waste and supports sustainability.
Can I Install a Kitchen Faucet Without Turning off the Main Water Supply?
You might think you can skip turning off the main water supply, but hold on—don’t risk a flood!
While faucet installation tips sometimes mention shutting off local valves under the sink, skipping this step can lead to leaks or water damage.
Always verify water is off before starting. It’s safer and makes the job smoother.
Trust me, avoiding a mess is worth the extra caution!
What Are the Best Brands for Long-Lasting Kitchen Faucets?
You’ll want to consider brands like Moen, Delta, and Kohler for long-lasting kitchen faucets. These brands are known for using durable materials and offering advanced features like ceramic disc valves and spot-resistant finishes.
When comparing brands, pay attention to warranty length, customer reviews, and how easy the faucet is to maintain. A reliable brand means your faucet will perform well over time.
This can save you the hassle of frequent repairs or replacements. Don’t forget to consider these key factors when you’re shopping around!
How Do I Maintain My Kitchen Faucet to Prevent Future Leaks?
To maintain your kitchen faucet and prevent future leaks, focus on regular faucet care. Clean the aerator monthly to avoid buildup, and check for loose parts or worn-out washers every few months.
Tighten connections gently but firmly, and replace damaged seals promptly. Avoid harsh chemicals that can damage finishes or internal parts.
Are There Eco-Friendly Kitchen Faucets That Save Water?
Yes, you can find eco-friendly kitchen faucets that save water by using water-saving technology like aerators and flow restrictors.
When choosing one, look for faucets made from eco-friendly materials such as recycled metals or BPA-free plastics.
These faucets help reduce water waste without sacrificing performance, so you’ll lower your utility bills and shrink your environmental footprint.
You’ll feel good knowing your kitchen stays efficient and sustainable.
Conclusion
Now that you’ve danced through each step, your new kitchen faucet is ready to shine like the crown jewel of your sink. With water flowing smoothly, you’ve turned a challenging task into a seamless symphony of skill.
Remember, every drip you stop is a victory, and every twist of the wrench brings you closer to home improvement mastery. So, take pride in your handiwork—your kitchen just got a fresh splash of brilliance with your new kitchen sink faucet.