Why Is My Ice Maker Not Working? The Complete Answer
Having a working ice maker is a small luxury we often take for granted—until it stops producing ice. Many people struggle with this frustrating issue, especially when they need ice for parties or everyday refreshment. If your ice maker isn’t working, don’t worry—you’re not alone.
Your ice maker isn’t working because water flow, temperature, or key components might be failing. Check that the water supply line is secure and free of clogs, and guarantee your freezer stays between 0°F and 5°F.
A frozen inlet valve, clogged filter, or faulty control board can also stop ice production. Regular maintenance and proper temperature settings often fix the problem quickly.
If issues persist, exploring detailed causes and solutions can help you get your ice maker back on track.
Key Takeaways
- Check the water supply line to make sure it’s securely connected, free of damage, and providing enough water pressure for the ice maker to work properly.
- Keep your freezer temperature between 0°F and 5°F to help produce ice efficiently and prevent it from clumping or freezing up.
- Regularly inspect and clean the ice maker, water inlet valve, and filters to avoid blockages and mechanical problems that can stop ice production.
- Watch out for control board issues like intermittent cycles or no ice coming out, even if the water supply seems fine.
- When deciding whether to repair or replace, consider the repair costs, the age of the ice maker, and how energy-efficient it is.
Quick Tips to Fix Your Ice Maker Not Making Ice
If your ice maker isn’t making ice, there are a few quick fixes you can try before calling a technician. First, check the water supply line to verify it’s connected and turned on, because no water means no ice.
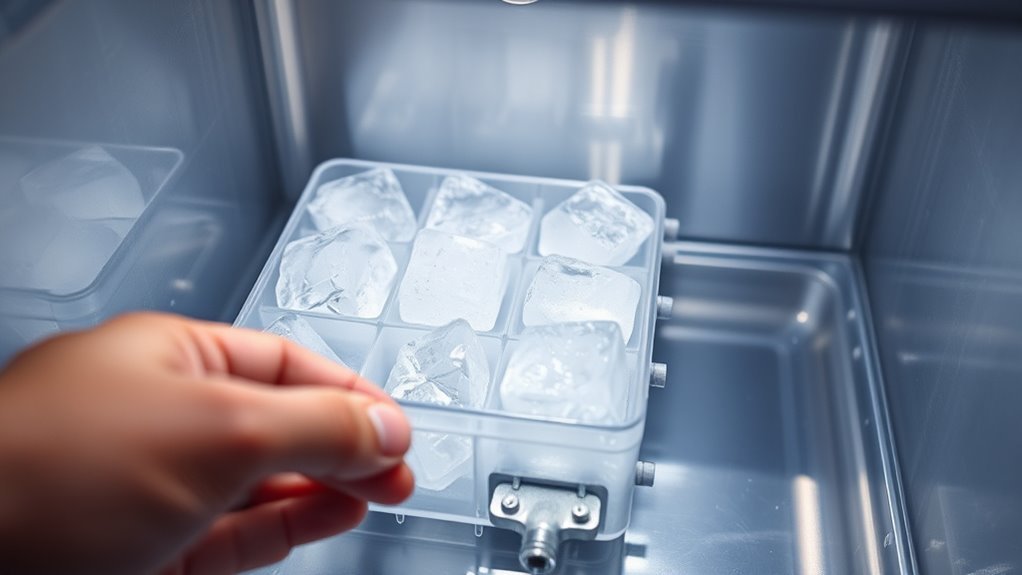
Next, inspect the ice bin—if it’s full, your ice maker might have stopped producing more. Also, clean the ice maker and surrounding area regularly since debris buildup can affect ice quality and machine performance.
Check the ice bin for fullness and clean regularly to prevent debris from affecting ice quality and performance.
Use maintenance tips like wiping down the ice mold and checking for any blockages in the chute. Make sure the freezer temperature stays between 0°F and 5°F. Too warm can halt ice production, while too cold can freeze water lines.
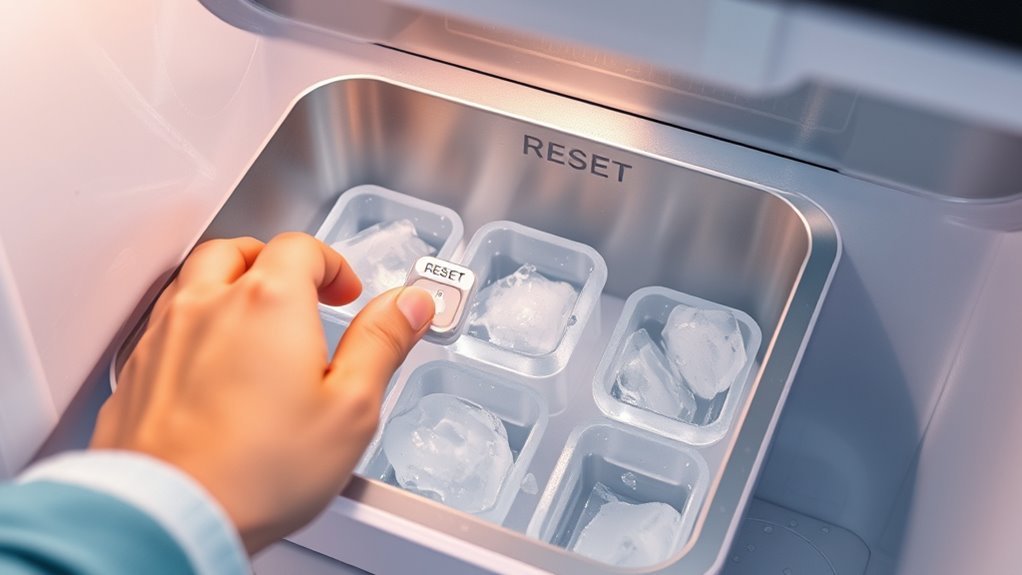
Finally, reset your ice maker if it has a reset button or unplug your fridge for a few minutes to reboot the system. These simple steps often restore proper ice-making function without extra cost.
How Your Freezer’s Ice Maker Actually Works
Knowing how your ice maker works can help you troubleshoot problems more easily. The mechanics involve a few key steps that work together smoothly. First, water fills the ice mold. Then, it starts freezing, turning water into ice cubes. Once frozen, a heating element warms the mold just enough to release the cubes. Finally, the ice is pushed into the storage bin.
Here’s a simple breakdown:
| Step | Function |
|---|---|
| Water Fill | Sends water into the ice tray |
| Freezing Process | Cools water until it turns into solid ice cubes |
| Ice Ejection | Releases cubes into the storage bin |
Each part depends on the previous step to finish the cycle. If any component fails, the freezing process stops or the ice won’t eject properly. Understanding this flow can help you figure out which part might be causing your ice maker to stop working.
Top Common Ice Maker Problems and How to Spot Them
If your ice maker isn’t filling up with water like it should or seems to be making ice more slowly than usual, chances are you’re dealing with some common issues. Catching these problems early can really save you a lot of hassle down the line. So, let’s go over some signs that your ice maker might need a little extra attention.
Ice Maker Not Filling
When your ice maker isn’t filling with water, it can quickly disrupt your routine and leave you without ice when you need it most. Start by checking the water supply line.
A common issue is a frozen water supply, which blocks water flow and stops the ice maker from filling. To fix this, turn off the ice maker and thaw the frozen line using a hairdryer or warm cloth.
Also, inspect the water inlet valve for clogs or damage. If it’s faulty, water won’t enter the ice maker. Finally, verify that the water filter isn’t clogged, as this can restrict water flow.
Addressing these points can restore proper water filling and get your ice maker working again.
Ice Production Slow
After making sure your ice maker fills properly, you might still notice that ice production feels slower than usual. This can be frustrating, especially when you need ice quickly. Poor ice quality often indicates a deeper issue that’s affecting the speed.
To fix slow ice production, focus on these simple maintenance tips. First, check the water filter. A clogged filter can reduce water flow, which slows down ice formation.
Next, inspect the temperature settings. If your freezer is too warm, it can cause ice production to drop. Keeping it at the right temperature helps the process run smoothly.
Finally, make sure to clean the ice maker regularly. Mineral buildup or debris can impair its function and reduce how much ice it makes.
How to Check If Your Water Supply Is Causing Ice Maker Issues
Why might your ice maker stop producing ice? One common cause is an issue with the water supply. First, check the supply line connected to your ice maker. Make sure it’s securely attached and not kinked, bent, or damaged in any way.
Any obstruction can reduce water flow and halt ice production. Next, assess the water pressure feeding the supply line. Low water pressure means less water reaches the ice maker, resulting in fewer or no ice cubes.
You can test this by turning on a nearby faucet. If the flow seems weak, the pressure might be too low for your ice maker to work properly. If you suspect water pressure is the problem, contact your local water provider or a plumber for help.
How a Frozen or Clogged Inlet Valve Blocks Ice Production
If your inlet valve freezes up or gets clogged, it can prevent water from reaching your ice maker. And when that happens, no water means no ice — your machine just can’t produce any. It’s pretty frustrating, right? So, let’s dive into what causes that valve to freeze or get blocked, and how that messes with your ice supply.
Inlet Valve Freezing Causes
When your ice maker stops producing ice, a frozen or clogged inlet valve might be the cause. Knowing what causes it can help you fix the problem more easily.
Here are some common reasons your inlet valve could freeze up:
- Low freezer temperature. If the freezer gets too cold, water inside the valve can freeze and block the flow.
- Faulty valve insulation. Damaged or missing insulation can expose the valve to cold temperatures, leading to ice buildup.
- Water pressure problems. Low or inconsistent water pressure can slow down water flow, which may cause ice to form and clog the valve.
Water Flow Blockage Effects
A frozen or clogged inlet valve can disrupt the water flow your ice maker needs to work properly. When the valve is blocked, less water gets through, which means smaller or misshapen ice cubes and inconsistent ice quality.
This blockage can also cause your ice maker to stop making ice altogether. Colder winter temperatures often cause freezing inside the valve, while mineral buildup over time can clog it.
To avoid these issues, make sure to do regular maintenance. Check the water line for kinks, clear out any debris, and keep your freezer’s temperature set correctly. Fixing water flow problems quickly helps your ice maker run smoothly and produce good-quality ice.
How to Identify and Fix a Faulty Ice Maker Motor
Three common signs can help you spot a faulty ice maker motor: the ice maker stops cycling, the motor makes strange noises, or the ice ejector arm doesn’t move. Recognizing these issues early can prevent more damage down the line. Use these troubleshooting tips to fix the motor:
Spot a faulty ice maker motor by watching for stopped cycles, strange noises, or a stuck ejector arm.
- Inspect the motor for any visible damage or debris that might block its movement.
- Test the electrical connections with a multimeter to make sure it’s getting power.
- Manually rotate the motor shaft to check for stiffness or resistance, which could mean mechanical failure.
If the motor doesn’t respond after these checks, it probably needs replacing. Always disconnect power before working on it to stay safe. Fixing or replacing the motor usually gets your ice maker working smoothly again and stops the annoying noises. Address these problems quickly to keep the ice flowing without interruption.
How to Tell If Your Ice Maker’s Control Board Is Broken
If your ice maker isn’t making ice anymore or it suddenly stops in the middle of a cycle, there might be a problem with the control board. You should keep an eye out for things like buttons that don’t respond or error codes popping up on the display. Those can be good clues that something’s not right.
To really figure out if the control board is the culprit, you can test it with a multimeter. It’s a handy tool that helps you see if the board is still working or if it’s definitely broken. Just a bit of testing can save you time and help you decide whether to repair or replace it.
Symptoms of Control Board Failure
You might notice your ice maker acting up when its control board starts to fail. Catching these signs early can save you time and hassle.
Here are three common signs to keep an eye on:
First, your ice maker stops making ice altogether, even though the water supply looks fine.
Second, ice production becomes unpredictable—sometimes it makes ice, other times it doesn’t.
Third, the ice maker keeps cycling on and off without finishing a full cycle.
These issues often point to problems with the control board. Before jumping to conclusions, try running diagnostics to confirm.
Once you’re sure, look into replacement options that fit your model and budget.
Addressing these signs quickly will help get your ice maker back in smooth working order.
Testing Control Board Functionality
Although control board issues can be tricky to diagnose, testing its functionality is key to pinpointing the problem. Start by unplugging your ice maker and locating the control board, usually behind a panel.
Carefully inspect all electrical connections for signs of damage or corrosion. Loose or faulty wiring often causes malfunctions. Use a multimeter to perform control board diagnostics, checking for proper voltage and continuity according to your ice maker’s manual.
If the readings fall outside the specified ranges, the control board might be defective. Also, look for burnt components or a burnt smell, which often indicate failure. If you’re unsure about performing these tests, consider consulting a professional technician to avoid causing further damage or risking electrical hazards.
How Temperature Settings Can Stop Ice Maker Production
When your freezer’s temperature isn’t set correctly, your ice maker might not produce ice efficiently. The temperature control is key to creating the right environment for ice to form. If it’s too warm, water won’t freeze properly. If it’s too cold, the ice maker could freeze solid, leading to jams or malfunctions.
Correct freezer temperature is essential for efficient ice production and preventing ice maker jams or malfunctions.
Here’s why you should check and adjust your freezer’s temperature control:
- Prevent slow or no ice production: Temperatures above 10°F (-12°C) can slow down freezing or stop ice from forming altogether.
- Avoid ice clumping and blockages: Temperatures below 0°F (-18°C) might cause ice to build up inside the mechanism.
- Ensure consistent ice quality: Proper temperature control keeps ice cubes clear and solid, making for better quality and usability.
Set your freezer’s temperature to the recommended 0°F (-18°C) for optimal ice production. Regularly check and adjust your settings to keep your ice maker running smoothly.
When Should You Repair or Replace Your Ice Maker?
Adjusting your freezer’s temperature can fix many common ice maker issues, but sometimes the problems run deeper. If your ice maker keeps malfunctioning or stops working despite troubleshooting, it’s time to decide whether to repair or replace it.
First, consider repair costs—if they are close to or more than half the price of a new unit, replacing it might be more cost-effective. Also, check the age of your ice maker; units over 7-10 years often have frequent breakdowns and outdated parts, making replacement a better option.
If the issue is isolated and repair costs are reasonable, fixing the ice maker can help extend its life without a big investment. Don’t forget to think about the convenience and energy savings of new models compared to repairing the old one.
In the end, choosing between repair and replacement depends on what makes the most sense financially, reliably, and for your long-term needs.
How to Prevent Ice Maker Problems in the Future
To keep your ice maker running smoothly, it’s important to do regular maintenance and handle it carefully. Skipping upkeep can lead to annoying breakdowns and poor ice quality.
Here’s how to prevent problems before they start:
- Schedule regular cleaning. Cleaning the ice maker every few months helps remove mineral buildup and bacteria, keeping your ice fresh and the machine working efficiently.
- Check the water supply. Make sure the water line isn’t kinked or leaking. Consistent water flow stops ice from forming improperly or stopping altogether.
- Inspect and replace filters. Dirty filters can lower water quality and clog the system. Replace them as recommended to keep everything running smoothly.
Frequently Asked Questions
What Is the Average Lifespan of an Ice Maker?
You can expect the average lifespan of an ice maker to be around 7 to 10 years. To keep it running smoothly, regular ice maker maintenance is essential.
Performing common troubleshooting, like checking water supply lines and cleaning the ice mold, can extend its life. If you stay on top of these tasks, you’ll avoid many issues and get the most out of your ice maker over the years.
Can Using Filtered Water Improve Ice Quality?
You know what they say: “You are what you eat,” and the same goes for ice. Using filtered water can really improve ice quality by cutting down on impurities and odors.
The benefits of filtered water include clearer, tastier ice cubes that won’t mess with your drinks’ flavor. So, if you want crisp, clean ice, switching to filtered water is a simple change that makes a big difference in every cube you make.
Are There Eco-Friendly Ice Maker Options Available?
Yes, you can find eco-friendly ice maker options that use sustainable materials and focus on energy efficiency. When you choose one made from recycled or biodegradable components, you help reduce environmental impact.
Plus, energy-efficient models cut down on electricity use, saving you money and helping the planet. Look for certifications like Energy Star to make sure your ice maker meets green standards.
This way, you get ice without sacrificing sustainability.
How Much Energy Does an Ice Maker Consume?
Think of your ice maker as a small engine humming in your kitchen. It typically consumes about 100 to 200 watts per hour, depending on its size and ice production rate.
To keep energy efficiency high, choose models designed to use less power while still making enough ice. This way, you won’t waste electricity, and your ice will keep flowing without increasing your energy bill.
Can an Ice Maker Be Used Outside the Freezer?
You can use an ice maker outside the freezer, but proper placement is key. Most ice makers are made for indoor use, so taking them outdoors can be tricky.
Weather, temperature changes, and humidity can affect how well they work. If you want to use one outside, look for a model designed for outdoor use or place it in a sheltered, temperature-controlled spot.
This way, you’ll keep it running smoothly and avoid damage from the elements.
Conclusion
Think of your ice maker as a delicate clockwork, where every part—from water supply to control board—ticks in harmony. When it stops making ice, it’s a sign to tune up your machine, just like caring for a garden that’s not blooming.
By understanding and fixing these issues, you’re not just repairing ice. You’re restoring the flow of everyday comfort and convenience. It’s all about turning frozen frustration into rejuvenating relief.