How to Unclog My Kitchen Sink: A Step-by-Step Guide
Dealing with a clogged kitchen sink is a common frustration many of us face. You’re not alone—lots of people struggle with slow drainage or gurgling sounds that make everyday chores annoying.
Luckily, there are simple steps you can take to get your sink flowing smoothly again.
To unclog your kitchen sink, start by spotting slow drainage or gurgling sounds. Pour boiling water slowly to break up minor clogs, or use a baking soda and vinegar mix to fizz away buildup.
If those don’t work, try plunging with a tight seal or feed a drain snake gently to clear deeper blockages.
Avoid harsh chemicals and flush your sink regularly with hot water to prevent future clogs.
Keep going to uncover easy tools and habits for smooth drainage.
Key Takeaways
- Identify clogs by noticing slow drainage, gurgling sounds, water backup, or foul odors before starting any unclogging method.
- Pour boiling water into the drain in intervals or mix baking soda and vinegar to naturally dissolve minor clogs.
- Use a plunger with a sealed overflow and plunge vigorously to dislodge visible blockages causing standing water.
- Insert and rotate a drain snake clockwise to break up deeper clogs, then flush with hot water to clear debris.
- Call a professional if clogs persist, odors worsen, or water backs up into other drains despite your efforts.
How to Figure Out What’s Causing Your Kitchen Sink Clog
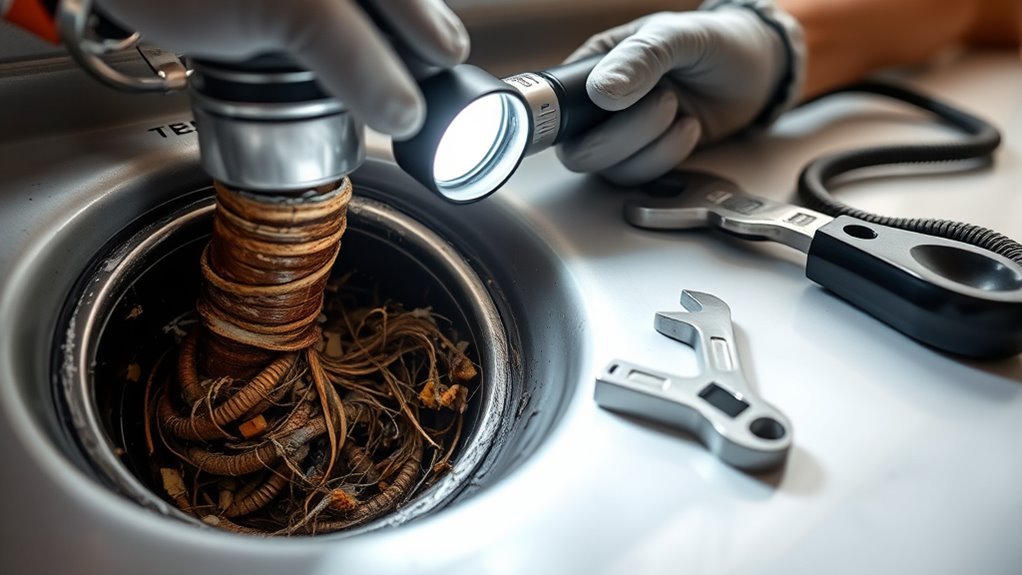
Before you can fix your clogged kitchen sink, you need to figure out what’s causing the blockage. Start by noticing signs like slow drainage, gurgling sounds, or water backing up. These clues help you understand if the clog is minor or more serious.
Next, check the drain for visible debris or buildup. Run water and watch how it flows—if it pools or drains unevenly, that’s a sign of a problem. Don’t forget to look at the P-trap under the sink, which often collects food particles and grease that can cause blockages.
If you smell a foul odor, it might mean organic matter is trapped and decomposing. By paying attention to these symptoms and diagnosing the issue step by step, you’ll get a clearer idea of what’s causing the clog. This helps you pick the best method to clear it without unnecessary hassle or damage.
Easy Ways to Clear Your Kitchen Sink Using Boiling Water
One of the simplest ways to clear a minor kitchen sink clog is by pouring boiling water down the drain in stages. This method helps dissolve grease and soap buildup, making your sink flow smoothly again. To do it right, follow these steps:
Pour boiling water in stages to dissolve grease and soap buildup, clearing minor kitchen sink clogs effectively.
- Boil a full kettle of water and carefully pour it directly into the drain in a steady stream.
- Wait a few minutes to let the hot water work through the clog and break down deposits.
- Repeat the process two to three times, giving it time between each pour for the best results.
Regularly using boiling water can prevent clogs and keep your sink clear. Just be cautious not to pour boiling water into PVC pipes repeatedly, as it might cause damage over time. This simple trick is a quick, chemical-free way to maintain your sink and avoid costly plumbing issues.
How to Make a Natural Baking Soda and Vinegar Cleaner for Your Kitchen Sink
Making a natural cleaner with baking soda and vinegar for your kitchen sink is super simple and really effective. You just need a few basic ingredients, and you’re good to go.
First, gather your baking soda and vinegar. It’s almost like a little science experiment in your own kitchen! When you’re ready, sprinkle the baking soda directly into your drain. Then, slowly pour in the vinegar—watch it fizz and bubble! That reaction helps loosen up any gunk or clogs.
Once you’ve let it sit for a few minutes, flush the drain with hot water to wash everything away. It’s a natural way to keep your sink fresh, clean, and free of buildup—no harsh chemicals needed.
Ingredients Needed
Although many commercial cleaners contain harsh chemicals, making a natural cleaner with baking soda and vinegar is simple and safe for your kitchen sink. This approach supports effective kitchen sink maintenance and helps prevent clogs without risking damage to your pipes.
To create this natural cleaner, you’ll need just a few basic ingredients:
- Baking Soda – Acts as a gentle abrasive and deodorizer, breaking down grime and buildup.
- White Vinegar – Reacts with baking soda to dissolve stubborn clogs and kill bacteria.
- Hot Water – Flushing out loosened debris clears the drain.
With these ingredients on hand, you’re ready to maintain your kitchen sink naturally and effectively.
Step-by-Step Mixing
Start by pouring half a cup of baking soda directly into your kitchen sink drain. Next, prepare your vinegar solution using proper mixing ratios to ensure an effective reaction.
For the best results, combine one cup of white vinegar with one cup of hot water. Using these mixing techniques guarantees a natural, powerful cleaner without harsh chemicals.
Pour the vinegar and hot water mixture slowly into the drain over the baking soda. This combination creates fizzing that helps break down clogs naturally.
Stick to these mixing ratios and techniques for a safe, eco-friendly way to unclog your drain.
Application Tips
When you apply the baking soda and vinegar mixture, pour it slowly to let the fizzing action work effectively on the clog. This natural cleaner is great for kitchen maintenance and helps you understand plumbing basics without harsh chemicals.
Follow these tips for the best results: Sprinkle baking soda directly into the drain, then slowly pour vinegar to activate the fizz. Cover the drain with a plug or cloth to keep the reaction focused on the clog.
Wait 15-20 minutes before flushing with hot water to clear debris and refresh your pipes. Using this method regularly supports smooth drainage and helps prevent stubborn blockages.
It keeps your kitchen sink in top shape without needing professional help.
When and How to Use a Plunger on Your Kitchen Sink
Using a plunger is one of the quickest ways to clear a clogged kitchen sink, especially when water drains slowly or not at all. You should reach for a plunger when standing water is visible and other simple fixes, like running hot water, haven’t worked. Before plunging, make sure to block any overflow openings with a wet cloth to create a tight seal.
To maximize success, use proper plunger techniques. Position the plunger cup over the drain, ensuring a firm seal. Push down gently at first, then plunge vigorously in short bursts. Avoid lifting the plunger too quickly, as this can break the suction. Effective plunging creates pressure that dislodges blockages without damaging your pipes.
Repeat the process several times if needed, checking drainage after each attempt. If the sink remains clogged, it might be time to investigate alternative methods. Remember, patience and consistent plunging often clear most kitchen sink clogs quickly.
Gather Tools and Ingredients to Unclog Your Kitchen Sink
If plunging doesn’t clear the clog, gathering the right tools and ingredients can help you tackle the problem more effectively. Choosing the correct items is key for efficient clog prevention and quick resolution. Here’s what you should have on hand:
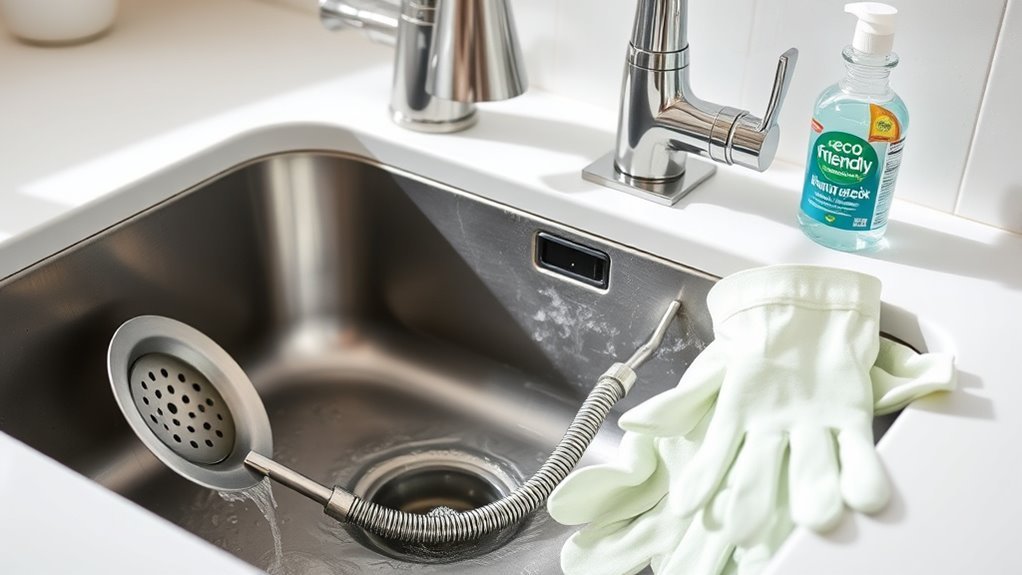
- Drain Snake or Auger – This flexible tool reaches deep blockages beyond the plunger’s reach, breaking up stubborn clogs without damaging pipes. Proper tool selection here saves time and effort.
- Baking Soda and Vinegar – These natural ingredients create a fizzing reaction that helps dissolve grease and food particles, supporting clog prevention and clearing minor blockages.
- Rubber Gloves and Bucket – Protect yourself and catch any spills when working under the sink or handling tools.
Having these essentials ready guarantees you’re prepared for most blockages. This step sets the stage for effective unclogging while promoting long-term clog prevention through proper maintenance.
How to Remove and Clean the Sink Trap to Clear Blockages
One of the most effective ways to clear a stubborn clog is to remove and clean the sink trap, the curved pipe beneath your sink that often collects debris. Start by placing a bucket underneath the trap to catch any water. Use a wrench or your hands to loosen the slip nuts holding the trap in place, then carefully remove it.
Empty out trapped gunk and rinse the pipe thoroughly with hot water. To keep your sink flowing smoothly, clean the trap every few months using simple techniques like scrubbing with a bottle brush or soaking it in vinegar to break down buildup.
Reinstall the trap by tightening the slip nuts securely but avoid overtightening to prevent damage. Regular trap cleaning not only clears existing blockages but also helps prevent future clogs, saving you time and money on plumbing repairs.
How to Use a Drain Snake to Clear Deep Kitchen Sink Clogs
When the clog is way down deep in your sink and you can’t reach it with just your hands or a plunger, a drain snake is really your best friend. Basically, it’s a long, flexible tool that helps you get to those stubborn blockages.
Just make sure you pick the right size of snake for your pipes — using one that’s too big or too small can cause problems. When you’re ready to use it, gently insert the snake into the drain and slowly work it in, being careful not to force it and damage your pipes. With a bit of patience and the right technique, you’ll be able to clear out those tough clogs and get your sink flowing smoothly again.
Choosing The Right Snake
Choosing the right drain snake can make all the difference in clearing deep kitchen sink clogs effectively. When selecting your tool, focus on snake types and determining length to suit your clog’s location and severity. Here’s what to think about:
- Snake Types: Choose a manual hand-crank snake for minor blockages, or go for an electric auger for tougher, deeper clogs. Each offers different power and control levels.
- Determining Length: Measure roughly how far the clog is. Shorter snakes, around 15-25 feet, work well for kitchen sinks. Longer ones are better for deeper pipes.
- Snake Diameter: Thinner snakes can navigate narrow pipes easily, while thicker ones handle stubborn clogs more effectively.
Pick a snake that matches your sink’s plumbing and the clog’s depth to make the job easier and more efficient.
Inserting The Drain Snake
After choosing the right drain snake for your kitchen sink clog, it’s time to get started. Gently feed the end of the snake into the drain opening.
Depending on the type of snake you’re using, you might turn a hand-crank or use a powered model. Push the snake in slowly and steadily to avoid damage.
If you hit resistance, try rotating the snake clockwise. This can help it navigate bends and break through any obstructions. Twisting and pulling back slightly can also help dislodge debris further down.
Keep feeding the snake until you no longer feel resistance or you reach the clog. Once it’s properly inserted, you’re ready to move on to clearing the blockage safely.
Removing Clogs Safely
Although it might seem tricky at first, you can safely remove deep clogs by carefully maneuvering the drain snake through your kitchen sink’s pipes. Follow these steps to avoid damage and keep things safe.
First, slowly rotate the snake handle clockwise as you push it deeper to break up the clog without harming the pipes. Be gentle and patient during this step.
Once you feel resistance lessen, pull the snake out gently to clear debris and avoid splashing trapped water. Take your time to prevent any messes.
Finally, flush the drain with hot water after removal to rinse out remaining particles and help prevent future clogs.
Simple Habits to Prevent Kitchen Sink Clogs
Because prevention is easier than fixing, developing simple habits can keep your kitchen sink running smoothly. Start with regular drain maintenance by flushing your sink with hot water after each use. This helps clear any lingering debris and prevents buildup.
Avoid pouring grease, coffee grounds, or large food scraps down the drain; instead, scrape your plates into the trash or compost bin. If you have a food disposal, run cold water while using it to help grind food waste efficiently and avoid clogs.
Clean the disposal by grinding small ice cubes and citrus peels occasionally. This sharpens blades and reduces odors. Also, avoid using harsh chemical cleaners frequently, as they can damage your pipes.
Signs Your Kitchen Sink Clog Needs a Professional Plumber
If your kitchen sink drains slowly despite your best efforts, it might be time to call a professional plumber. Recognizing the signs can save you from making the problem worse and ending up with costly repairs.
Here are three key indicators that your clog needs expert attention:
- Water backs up into other drains. This points to a blockage deeper in your plumbing, which usually requires specialized tools to fix.
- Persistent foul odors. If bad smells stick around even after cleaning, it might mean debris or buildup is too extensive for DIY solutions.
- Repeated clogs after trying to fix it. If plunging or using drain cleaners doesn’t help, it’s likely a more serious problem.
Ignoring these signs can turn a minor inconvenience into a full-blown sink emergency. Calling a professional early on helps ensure your sink works properly and prevents damage to your plumbing system.
Easy Tips to Keep Your Kitchen Sink Draining Smoothly
Want to keep your kitchen sink draining smoothly? It’s all about developing some simple, regular cleaning habits to prevent those pesky buildups. One key tip is to avoid letting food scraps go down the drain—they’re often the main culprits behind clogs. With just a little bit of care and attention, you can catch problems early and stop clogs before they even start.
Regular Cleaning Habits
While occasional clogs can happen, maintaining regular cleaning habits helps you prevent buildup and keeps your kitchen sink draining smoothly. Sticking to a simple kitchen maintenance routine makes all the difference. Set up a cleaning schedule that fits your lifestyle to avoid unpleasant blockages.
Here are three easy steps to follow:
- Flush your drain weekly with hot water to dissolve grease and soap residue.
- Use a mixture of baking soda and vinegar monthly to break down buildup naturally.
- Clean your sink strainer daily to catch debris before it enters the drain.
Preventing Food Blockages
Keeping your kitchen sink clear goes beyond regular cleaning habits. To prevent food blockages, you need smart waste management and proper cooking practices. Avoid pouring grease down the drain since it causes buildup and clogs pipes.
Use a food disposal unit wisely—only soft scraps should go in. Maintaining sink hygiene means scraping plates into the trash or compost bin before washing. Good kitchen organization helps keep waste contained and your area tidy.
Composting tips like collecting vegetable peelings can reduce sink waste. This makes drain maintenance much easier. Remember, scraping food scraps first and using the disposal properly are key steps.
Don’t pour grease down the drain or overload the disposal unit. Avoid letting food sit in the drain or ignoring signs of slow drainage. These habits help keep your pipes clear and prevent costly problems.
Frequently Asked Questions
Can Chemical Drain Cleaners Damage My Kitchen Pipes?
Yes, chemical drain cleaners can damage your kitchen pipes, especially if they’re old or made from materials like PVC or galvanized steel. These harsh chemicals can corrode or weaken your pipes over time.
To protect your plumbing, consider using alternatives like baking soda and vinegar or a plunger. Always check your pipe material before using any product.
When in doubt, opt for safer, eco-friendly methods to keep your drains clear. They’re usually gentler and just as effective.
How Often Should I Inspect My Kitchen Sink Plumbing?
Imagine Sarah, who caught a minor leak early during her monthly plumbing inspections and avoided a costly repair. You should inspect your kitchen sink plumbing at least once a month as part of regular kitchen maintenance.
Frequent plumbing inspections help you spot leaks, corrosion, or blockages early, keeping your system efficient and preventing damage. Staying consistent saves you time and money, ensuring your kitchen runs smoothly without unexpected plumbing issues.
What Are the Best Gloves to Wear When Unclogging a Sink?
You should wear gloves made from nitrile or rubber when unclogging a sink because these materials resist chemicals and punctures.
Look for gloves with safety features like textured palms to improve grip on slippery tools and water.
They also protect your hands from bacteria and harsh drain cleaners. Make sure the gloves fit well so you can work comfortably without losing dexterity while tackling the clog.
Can Food Waste Disposals Cause Frequent Sink Clogs?
Yes, food waste disposals can cause frequent sink clogs if you don’t practice proper food disposal maintenance.
You should avoid putting fibrous, starchy, or hard materials down the disposal and run plenty of cold water while it’s on.
Regularly cleaning your disposal helps prevent buildup that leads to blockages.
How Do I Dispose of Grease Instead of Pouring It Down the Sink?
Don’t let grease slip into your pipes like a sneaky villain. Catch it first!
Pour cooled grease into a sealable container or jar, then toss it in the trash.
You can also mix it with absorbent materials like paper towels before discarding.
Avoid pouring grease down the sink to prevent clogs and reduce environmental impact.
This simple habit keeps your plumbing happy and protects waterways from harmful buildup.
Conclusion
Unclogging your kitchen sink doesn’t have to be a headache. With these simple steps, you can handle most clogs yourself and keep things flowing smoothly.
Just remember, sometimes you’ve got to bite the bullet and call a professional if the problem runs deeper than you can handle.
Stick to good habits, and you’ll keep your sink in tip-top shape—no need to let a clog throw a wrench in your day.
And if you’re dealing with a stubborn clog, using a plunger or a drain snake can be real lifesavers.
Regular maintenance and mindful use can prevent future clogs and save you time and frustration.
So don’t stress—most kitchen sink clogs are fixable with a little effort and know-how.