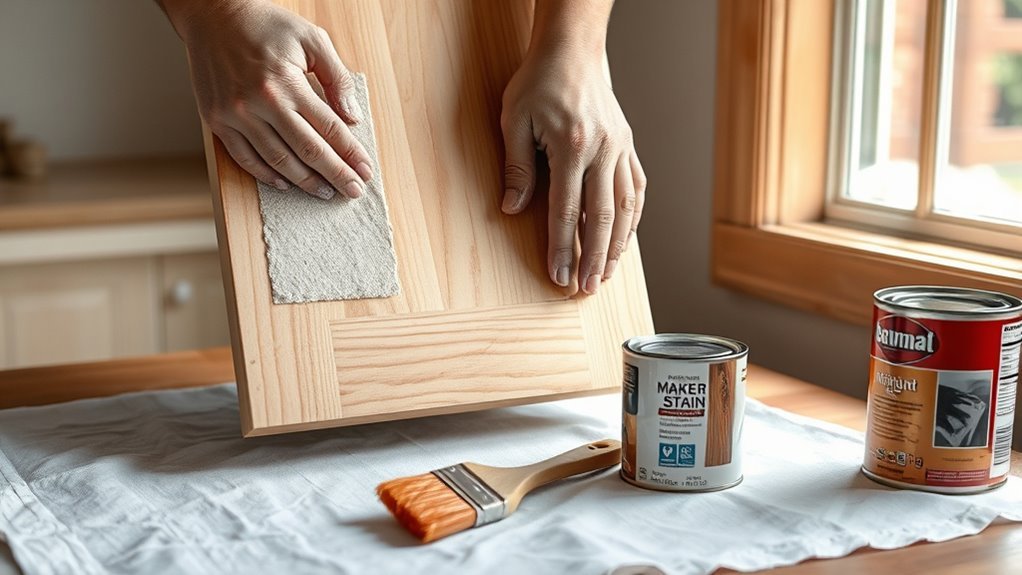
How to Restain Kitchen Cabinets: A Step-by-Step Guide
Thinking about giving your kitchen a fresh new look but feeling overwhelmed by the idea of restaining your cabinets? You’re not alone—many people struggle with figuring out where to start or worry about ending up with uneven results.
Restaining kitchen cabinets can seem daunting, but with the right steps, you can achieve a professional finish right at home.
To restain your kitchen cabinets, start by removing doors and hardware carefully, keeping everything organized.
Sand the surfaces with progressively finer grit sandpaper, then wipe away dust.
Apply wood conditioner to prevent blotches, followed by an even stain applied with a cloth or brush going with the grain.
Finish with a protective sealant, let dry, and reinstall doors gently.
Want to transform your kitchen with a detailed, professional touch? Keep going for expert tips.
Key Takeaways
- Carefully remove cabinet doors and hardware, making sure to label and organize all parts so reassembly is straightforward.
- Sand the cabinets gradually using coarse, medium, and fine grit sandpaper. Always sand along the wood grain for the best finish.
- Apply a thin, even coat of wood conditioner. This helps prevent blotchy stain absorption and gives you more control over the stain.
- Stain the cabinets evenly with a quality applicator, working with the grain and keeping a wet edge for a smooth look.
- Finish by sealing the cabinets with thin, even coats of polyurethane. Let each coat dry completely before reinstalling doors and hardware securely.
Is Restaining Right for Your Kitchen Cabinets?
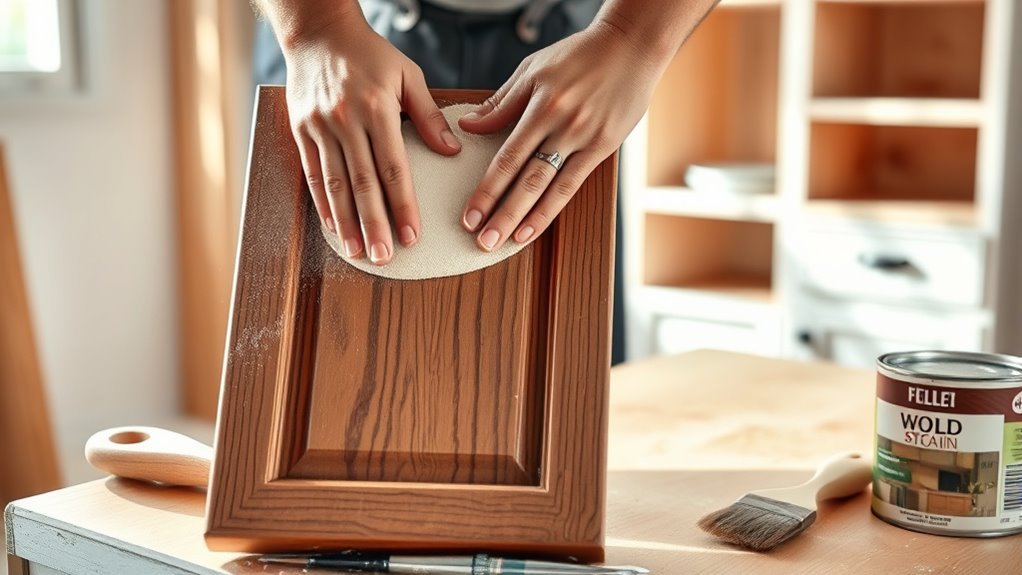
Why consider restaining your kitchen cabinets? Restaining benefits include revitalizing the look of your kitchen without the cost of full replacement. If your cabinets show signs of wear, scratches, or faded finishes, restaining can restore their natural beauty.
Restaining your kitchen cabinets refreshes their look affordably, restoring beauty without the expense of full replacement.
It’s a practical way to update your space while preserving the quality of the wood. You also gain the flexibility to explore new cabinet color options that better match your style or current trends. Whether you want a darker, richer tone or a lighter, more modern shade, restaining lets you customize your cabinets without starting from scratch.
This approach not only improves your kitchen’s aesthetic but can also increase your home’s value. If your cabinets are structurally sound and you’re looking for an affordable upgrade, restaining is a smart choice that combines beauty and function effectively.
It’s all about giving your kitchen a fresh look with less hassle.
Gather Your Tools and Materials
Before you jump into restaining, it’s a good idea to gather all your tools and materials first. Things like sandpaper, brushes, and rags should be ready to go so you don’t have to stop halfway through. Picking the right stain is also super important—you want a color and finish that matches what you have in mind.
And don’t forget to set up your workspace properly. Make sure it’s clean, well-ventilated, and protected from dust. That way, everything will go smoothly, and you’ll get the best results!
Essential Tools Checklist
Gathering the right tools and materials is the first step to successfully restaining your kitchen cabinets. Proper stain application and cabinet maintenance depend on having everything ready before you start. Here’s a quick checklist to keep you organized:
- Sanding supplies – Sandpaper (various grits) or a sanding block to prep surfaces.
- Cleaning materials – Tack cloths and degreaser to remove dust and grime.
- Application tools – High-quality brushes, foam applicators, or rags for smooth stain application.
Having these essentials on hand guarantees you work efficiently and achieve a professional finish. Skipping or improvising tools can lead to uneven stain application or damage, making cabinet maintenance harder later. By preparing your workspace and tools carefully, you set yourself up for success in your kitchen cabinet restaining project.
Choosing the Right Stain
Although choosing the right stain might seem simple, it’s key to getting the look and durability you want for your kitchen cabinets. You’ll want to carefully consider different stain types—oil-based stains give rich color and last a long time, while water-based stains dry faster and have less odor.
Gel stains are great for tricky surfaces with uneven grain. Next, think about color matching to match your kitchen’s style and existing décor. Testing samples on a small area helps you see how the wood reacts and if the color fits your vision.
Keep in mind that lighting can change how the stain looks, so check your samples in different lighting conditions. Taking the time to pick the right stain type and color will make sure your cabinets look fantastic and last for years.
Preparing Your Workspace
Three essential steps will set you up for success as you prepare your workspace for restaining kitchen cabinets. First, focus on organizing your workspace. Clear the area of clutter and cover surfaces with drop cloths to protect from spills.
Next, gather all your tools and materials—sandpaper, stain, brushes, rags, and gloves—so everything is within easy reach. This keeps your project running smoothly and avoids unnecessary trips.
Finally, prioritize safety precautions. Make sure your space is well-ventilated, wear a mask to avoid inhaling fumes, and put on gloves to protect your skin.
Here’s a quick checklist:
- Organize your workspace and protect surfaces.
- Collect all tools and materials beforehand.
- Follow safety precautions like ventilation and protective gear.
These steps will make your project safer, easier, and more efficient.
Remove Cabinet Doors and Hardware Safely
First things first, grab the right tools before you start. Using the correct ones will help you avoid damaging your cabinets or the hardware. As you start removing the doors and hinges, keep all the screws and hardware organized—maybe in a small container or a labeled bag—so you won’t lose any parts. Trust me, this little step will make putting everything back together much easier once you’re ready to restain your cabinets.
Organize Screws and Hinges
Before removing the cabinet doors, gather small containers or labeled bags to keep screws and hinges organized. Proper organization will save you time and frustration later.
Follow these simple steps:
- Label each container or bag with the name of the cabinet door or drawer to avoid confusion.
- Put all screws from one door or drawer into its designated container to keep everything together.
- Store hinges flat in the same labeled container to prevent losing small parts or mixing them up.
This system makes sure you won’t waste time searching for hardware during reassembly. Taking a moment now to organize your screws and hinges will make the restaining process go smoothly and efficiently.
Use Proper Tools
When you’re ready to remove cabinet doors and hardware, using the right tools will protect both your cabinets and yourself. Choose ergonomic tools to reduce strain and guarantee a firm grip. Keep your tools sharp and well-maintained to avoid slipping or damaging surfaces. Proper tool maintenance extends their life and improves safety.
| Task | Recommended Tool |
|---|---|
| Removing screws | Phillips screwdriver |
| Handling hinges | Flathead screwdriver |
| Lifting doors | Suction cup or helper |
| Protecting surfaces | Painter’s tape |
| Storing hardware | Small containers |
Using these tools carefully helps you work efficiently and avoid accidents during cabinet removal.
—
Modified Version:
When you’re ready to remove cabinet doors and hardware, using the right tools is key to protecting your cabinets and yourself. Choose ergonomic tools to reduce strain and ensure a firm grip.
Keep your tools sharp and well-maintained to prevent slipping or damaging surfaces. Proper tool maintenance not only extends their lifespan but also keeps you safe.
| Task | Recommended Tool |
|---|---|
| Removing screws | Phillips screwdriver |
| Handling hinges | Flathead screwdriver |
| Lifting doors | Suction cup or helper |
| Protecting surfaces | Painter’s tape |
| Storing hardware | Small containers |
Using these tools carefully helps you work efficiently and avoids accidents during cabinet removal.
Clean and Degrease Your Cabinets
Scrub your cabinets thoroughly to remove built-up grease, dirt, and grime that can prevent the stain from adhering properly. Effective kitchen cleaning is essential for successful cabinet maintenance, so don’t skip this step. Here’s how to get your cabinets ready:
- Choose the right cleaner: Use a degreaser or a mixture of warm water and mild dish soap. Avoid harsh chemicals that could damage the wood.
- Wipe down all surfaces: Use a sponge or soft cloth to clean every nook and cranny, paying special attention to areas around handles and edges where grease tends to build up.
- Rinse and dry: After cleaning, wipe the cabinets with a damp cloth to remove soap residue, then dry them thoroughly to prevent moisture damage.
Sand Cabinets for a Smooth, Even Surface
When you’re getting ready to sand your cabinets, the first thing to consider is picking the right grit sandpaper. This helps prevent any damage and makes the whole process smoother.
Next, when you’re actually sanding, go for smooth, even strokes and always sand with the grain of the wood. It might take a bit more time, but taking your time and using proper techniques will give you a super smooth, even surface. That way, your cabinets will be perfectly prepared for staining!
Choosing The Right Grit
Although sanding might seem straightforward, choosing the right grit is key to getting a smooth, even surface on your kitchen cabinets. Different grit types serve different purposes, and knowing them helps you sand effectively without damaging the wood.
Here’s how to pick the right grit:
Start with coarse grit (60-80) to remove old finish or rough spots quickly. Then, move to medium grit (120-150) to smooth out scratches left by the coarse paper. Finish with fine grit (220-320) for a polished surface that absorbs stain evenly.
Choosing the right grit prevents uneven surfaces and helps your cabinets look professionally refinished. Remember, the proper grit sets the stage for a flawless restaining job.
Sanding Techniques And Tips
Mastering the right sanding techniques guarantees your cabinets have a smooth, even surface ready for staining. Begin by sanding along the grain to avoid scratches that show through the stain. Use a sanding block or an orbital sander for consistent pressure and control.
Start with a coarser grit to remove old finish, then switch to a finer grit for surface preparation, securing an even texture. Don’t forget to sand edges and corners carefully to prevent uneven spots.
After sanding, wipe the cabinets with a tack cloth to remove dust, which can affect the finish. Proper sanding techniques not only improve adhesion but also guarantee your stain looks flawless and lasts longer.
Taking your time here pays off in the final result.
Apply Wood Conditioner to Cabinets to Prevent Blotching
Apply a wood conditioner evenly to your cabinets before staining to ensure a smooth, uniform finish. It helps prevent blotchy, uneven stain absorption, especially on softwoods like pine or maple. Plus, it seals the wood’s surface, giving you better control over the final look.
Follow these tips for the best results:
- Use a clean, lint-free cloth or brush to apply the conditioner in the direction of the wood grain.
- Apply a thin, even coat to avoid buildup, which can cause an uneven finish.
- Let the conditioner penetrate for 15-30 minutes, then wipe off any excess before applying your stain.
Choose the Right Stain Color and Finish
Picking the right stain color and finish can totally change your kitchen cabinets and set the mood for your space. Think about stain color psychology: lighter stains make things feel airy, while darker tones add warmth and sophistication. Your choice should match your kitchen’s vibe and style.
Next, check out the finish durability comparison to make sure your cabinets can handle daily life. Matte finishes hide scratches but might be less resistant to moisture. Glossy finishes are tougher and add more shine, making them more durable overall.
How to Apply Stain Evenly on Cabinets
Once you’ve picked your perfect stain color and finish, the next step is applying it smoothly and evenly. Getting this right is key to avoiding streaks and achieving a professional look.
Start by working with the grain of the wood. Applying stain in the direction of the grain helps it soak in evenly and prevents streaks from forming.
Use a quality applicator like a clean, lint-free cloth or a foam brush. These tools spread the stain smoothly without soaking up too much product.
Make sure to maintain a wet edge by applying stain to small sections at a time. This way, you can blend each area seamlessly without lap marks.
Dry Stain and Apply Additional Coats
Let the stain dry completely before moving on to the next step to guarantee an even finish. Proper drying time is essential after your initial stain application. Depending on the product and environmental conditions, this can take anywhere from a few hours to overnight. Avoid rushing this process to prevent uneven spots or smudges.
Once the stain is dry, assess the color depth. If you want a richer tone, apply additional coats using the same technique as before. Remember to maintain consistent stain application to avoid streaks or blotches. Lightly sand between coats if the surface feels rough, then wipe away dust before reapplying.
Each additional coat requires its own drying time, so plan accordingly. This step-by-step patience guarantees your cabinets will have a smooth, uniform finish that enhances the wood’s natural beauty. Taking your time during stain drying and application will ultimately lead to a professional-looking restoration.
Seal Cabinets and Reinstall Doors Without Damage
After the stain has fully dried and you’ve achieved your desired color, it’s time to protect your work by sealing the cabinets. Proper sealing helps preserve the finish and makes the surface more durable against daily wear.
Here’s how to seal and reinstall doors without causing damage:
- Apply Sealant Evenly: Use a high-quality polyurethane or clear coat, applying thin, even layers. Let each coat dry completely to prevent tackiness or bubbles.
- Check Door Alignment: Before reinstalling, inspect hinges and hardware for warping or misalignment. Adjust screws as needed so doors sit flush and open smoothly.
- Reinstall Carefully: Attach doors gently, supporting each to avoid putting stress on the hinges. Tighten screws securely, but don’t overtighten to prevent stripping holes or damaging the wood.
Following these steps will give you a smooth finish and perfect door alignment, making your cabinets look professionally refinished without any damage.
Frequently Asked Questions
Can I Restain Cabinets Made of Laminate or Veneer?
You generally can’t restain laminate cabinets because laminate and wood differ in how they absorb stain. Laminate is non-porous and won’t soak it in, so staining isn’t effective.
Veneer staining is possible since veneer is a thin wood layer, but you need to be careful. Sanding too much can ruin it, so take your time.
For laminate, consider painting instead of staining. If you want that wood look, veneer cabinets respond better to staining, but always test a small spot first to avoid damage.
How Long Does the Entire Restaining Process Usually Take?
Like painting the Sistine Chapel, restaining your cabinets takes patience and precision. You’ll spend several hours on prep work—sanding, cleaning, and stripping old finish.
Then, drying time between coats usually adds up to a full day. Overall, expect the entire process to take two to three days, depending on your workspace and drying conditions.
Don’t rush; good things take time to shine beautifully.
What Safety Precautions Should I Take When Using Wood Stain?
You should always wear protective gear like gloves, goggles, and a mask to prevent skin contact and inhalation of fumes when using wood stain.
Make sure to work in a well-ventilated area. Open windows and use fans to keep fresh air flowing.
Avoid sparks or open flames nearby since stains can be flammable. These ventilation tips and protective gear will keep you safe while you work on your project.
Can I Change the Cabinet Color From Dark to Light by Restaining?
Changing your dark cabinets to a lighter shade isn’t as simple as flipping a switch like Cinderella’s pumpkin transformation. You can achieve a color change, but it takes some careful lightening techniques.
You’ll need to strip the existing stain or sand deeply to remove the dark color before applying a lighter stain or paint.
Without proper prep, the dark tones will bleed through, ruining your fresh, bright look.
How Do I Fix Uneven Stain or Blotches After Application?
If you notice uneven stain or blotches after application, start by gently sanding the affected areas with fine-grit sandpaper to smooth out the surface. This helps remove the uneven spots and prepares it for even staining.
Next, try blending by lightly reapplying a thin coat of stain with a clean cloth. Work quickly to blend the edges seamlessly so the finish looks uniform and natural.
This technique helps hide imperfections and gives your cabinets a smooth, professional-looking finish.
Conclusion
Now, imagine your kitchen glowing with fresh, rich hues, the wood grain popping like art on a gallery wall. Restaining your cabinets isn’t just a project; it’s a transformation that breathes new life into your space.
With your tools ready and patience in hand, you’ll bring warmth and charm back to your kitchen. So, roll up your sleeves and get ready to see your tired cabinets turn into stunning focal points.
This is a simple way to refresh your kitchen and make it feel brand new. Restaining your cabinets can dramatically change the look and feel of your space.
Once finished, you’ll love how your kitchen radiates warmth and personality. Plus, it’s a rewarding project that adds value and style to your home.
So, don’t wait—start your cabinet restaining project today and enjoy a beautiful, renewed kitchen you’ll love every day.