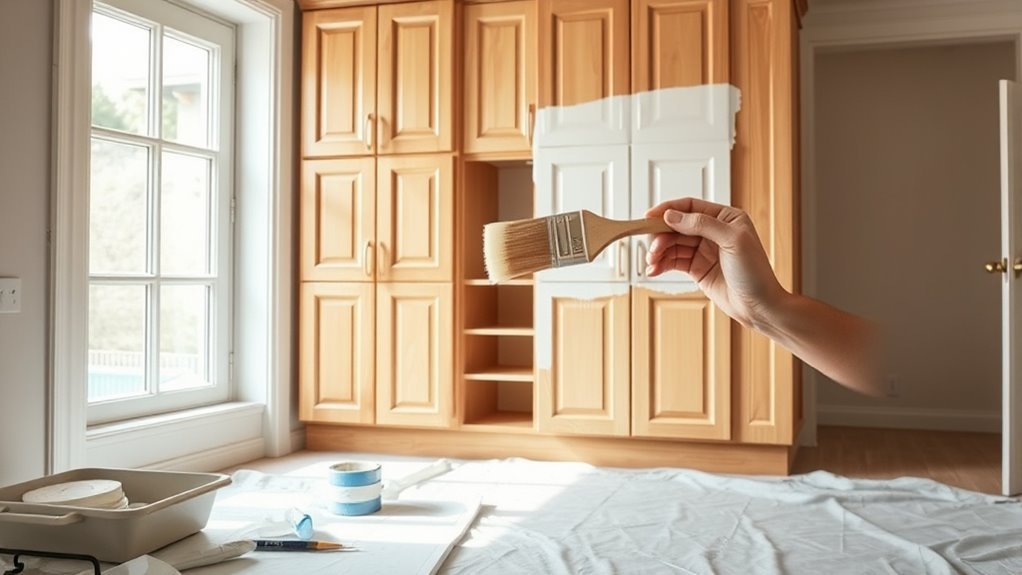
How to Paint Kitchen Cabinets: A Step-by-Step Guide
Feeling unsure about how to give your kitchen a fresh new look? You’re not alone—many people struggle with transforming their cabinets without professional help.
Luckily, painting your kitchen cabinets can be a rewarding DIY project that saves money and adds personality to your space.
To paint your kitchen cabinets, first gather tools like sandpaper, primer, paint, and brushes.
Remove doors and hardware carefully, labeling parts for easy reassembly. Clean and sand surfaces to help paint adhere smoothly.
Apply primer then paint with thin, even coats, letting each dry fully. After curing, reattach doors gently to avoid damage.
Taking your time guarantees a professional finish. Keep following for detailed tips on avoiding mistakes and maintaining your refreshed cabinets.
Key Takeaways
- Carefully remove cabinet doors and hardware, making sure to label each piece so you can easily put everything back together later.
- Clean and sand the surfaces thoroughly to get rid of dust and rough spots, which helps the paint stick better and look smoother.
- Apply a suitable primer evenly across all surfaces, and lightly sand between coats to make the finish more durable and flawless.
- Use thin, even coats of paint with brushes and foam rollers, and let each layer dry completely before adding the next.
- Once the paint has fully cured, reattach the doors and hardware, making sure everything is aligned properly to avoid any damage.
Get Your Tools and Materials Ready
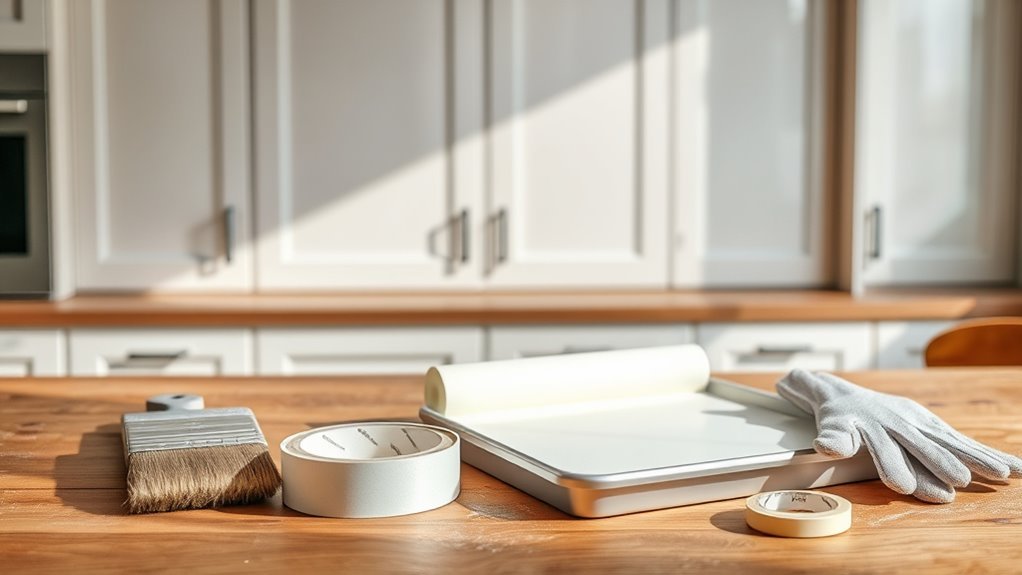
Get your tools and materials ready before you start painting your kitchen cabinets. Gather sandpaper, a screwdriver, painter’s tape, primer, paint, brushes or rollers, and drop cloths. Picking the right paint depends on your cabinet styles—traditional, shaker, or modern—so choose a finish that matches their design.
Keep current color trends in mind. Soft grays, navy blues, and muted greens are popular choices that add freshness without overwhelming your space. Having everything on hand helps prevent interruptions and makes your work more efficient.
Don’t forget cleaning supplies to prep the surfaces thoroughly before painting. Also, think about whether you want latex or oil-based paint, depending on your cabinets’ material and the look you’re going for. By organizing your tools and choosing trendy yet appropriate colors, you’ll set a solid foundation for a smooth cabinet makeover.
How to Remove Kitchen Cabinet Doors and Hardware Safely
To remove your kitchen cabinet doors and hardware safely, you’ll want to gather a few simple tools first, like a screwdriver and maybe a drill if you need to make things easier. It’s best to start by unscrewing the hinges carefully—taking your time here helps prevent any damage to the cabinets or doors. Just follow a clear step-by-step process, and you’ll find the job goes smoothly and efficiently.
Tools Needed
Tools Needed
Removing kitchen cabinet doors and hardware safely just needs a few essential tools to make the process smooth and damage-free. You’ll want a screwdriver or drill to carefully remove hinges and handles without stripping screws.
Wearing protective gear like gloves and safety glasses keeps you safe from dust and sharp edges. Sanding blocks help smooth surfaces after removal, prepping cabinets for your chosen finish options.
If you plan to repaint, having various brush types and paint sprayers on hand guarantees even coverage. Don’t forget cabinet liners to protect the interiors once doors and hardware are off.
With these tools ready, you’ll handle the removal efficiently, setting a solid foundation for the rest of your cabinet painting project.
Step-by-Step Removal
Start by taking off all cabinet doors one at a time, carefully unscrewing the hinges with a screwdriver or drill. Support each door as you remove it to prevent damage.
Next, label the doors and their frames if you have multiple cabinet styles. This makes reassembly much easier later on.
Then, remove the hardware like handles, knobs, and hinges using the right techniques to avoid stripping screws or damaging surfaces. Keep all screws and hardware organized in labeled containers.
If your cabinets have specialty hinges or soft-close mechanisms, handle them gently following the manufacturer guidelines.
Choose the Right Paint Type and Color
When it comes to picking the right paint, you’ll want something that’s durable and easy to clean—think semi-gloss or satin finishes. These types are perfect for kitchens because they can handle splashes and are simple to wipe down.
Choosing the right color is just as important. It can make your space feel brighter and more lively or cozy and inviting, depending on what you want. So, let’s take a closer look at the best paint options out there and how to pick a color that really suits your kitchen perfectly.
Paint Types Overview
Choosing the right paint type and color plays a significant role in transforming your kitchen cabinets. When selecting paint, consider eco-friendly options like water-based acrylics. These are low in VOCs and dry quickly.
These paints also offer durability, which is essential for cabinets that see a lot of use. You’ll find different finish options, such as matte, satin, and semi-gloss.
Matte finishes hide imperfections well but aren’t as easy to clean. Satin and semi-gloss finishes give a smoother surface that’s easier to wipe down and add a subtle sheen.
Oil-based paints are another option. They are known for their tough, durable finish but have stronger odors and longer drying times.
Ultimately, choosing the right paint depends on balancing environmental impact, durability, and the finish that matches your kitchen’s style and maintenance needs.
Color Selection Tips
How do you pick the perfect color to complement your kitchen’s style and lighting? Start by thinking about color psychology. Warm tones like yellows and reds can make your space feel inviting, while cool blues and greens promote calmness.
Next, look at your kitchen’s natural and artificial lighting because colors can look very different under different lights. Don’t forget to check out trending hues; soft pastels and muted earth tones are popular and add a modern touch without overwhelming the space.
When choosing paint, pick a type that suits your kitchen’s needs. Semi-gloss or satin finishes are durable and easy to clean, making them ideal for a busy kitchen.
Finally, test samples on a cabinet door to see how the color works with your overall vibe before you commit. This way, you’ll end up with a fresh, stylish look you’ll love.
Clean and Sand Cabinets for a Smooth Surface
Start by thoroughly cleaning your kitchen cabinets to remove grease, dirt, and grime that can prevent paint from sticking properly. A clean surface is key for a smooth, long-lasting finish. Use a degreasing cleaner or a mix of warm water and mild detergent, scrubbing every surface carefully. Once they’re clean, let the cabinets dry completely.
Thoroughly clean cabinets to remove grease and grime for a smooth, lasting paint finish.
Next, you’ll want to sand the cabinets to create the perfect surface for painting. Here’s how:
- Use medium-grit sandpaper (120-150 grit) to sand the entire surface, especially shiny areas to dull the finish.
- Smooth out rough spots or imperfections with fine-grit sandpaper (220 grit) for an even texture.
- Wipe away all dust with a tack cloth or damp rag to make sure no particles interfere with the paint.
Following these steps ensures your cabinets are perfectly prepped for the next phase of your painting project.
Apply Primer to Prep and Protect Cabinets
Once your cabinets are clean and sanded, the next step is to apply primer. Primer helps seal the surface, improves how the paint sticks, and keeps stains or tannin bleed-through from showing.
Choose a high-quality primer that’s suitable for wood or laminate. Use a brush for corners and detailed areas, and a foam roller for flat surfaces to avoid brush marks. Apply thin, even coats and let each dry completely before applying the next.
| Step | Details |
|---|---|
| Primer Type | Oil-based or latex primer |
| Tools | Brush for edges, foam roller |
| Application Method | Thin, consistent coats |
| Drying Time | Usually 1-2 hours per coat |
Following these steps will prep your cabinets perfectly, giving you a smooth, durable base for painting.
Paint Your Cabinets Step-by-Step
Now that your cabinets are primed, it’s a good idea to get them ready for painting. That means giving the surface a quick sand to smooth out any rough spots and wiping away any dust. This step really helps in getting a nice, even finish.
When you’re ready to paint, try to use steady, even strokes. It might feel a little tricky at first, but taking your time will help you avoid those unwanted brush marks and make your cabinets look professional.
Surface Preparation Techniques
Preparing your kitchen cabinets properly sets the foundation for a smooth and long-lasting paint job. Before grabbing a brush, focus on cleaning and sanding to ensure the paint sticks well.
Start by wiping down the cabinets with a degreaser or mild soap and water. This removes dirt, grease, and grime that can prevent paint from adhering properly.
Next, lightly sand the surfaces with fine-grit sandpaper, like 220 grit. This creates a slight roughness that helps the paint bond better.
After sanding, make sure to remove all dust thoroughly using a tack cloth or vacuum. Leftover particles can ruin the finish and lead to a less professional look.
Taking these steps seriously will make your painting process easier and result in a beautiful, long-lasting finish.
Applying Paint Evenly
Thorough cleaning and sanding set you up for a smooth painting process. When applying paint evenly, start with quality brush techniques. Use long, even strokes, following the wood grain to avoid streaks and brush marks.
For flat cabinet surfaces, roller application works wonders. It guarantees a consistent, smooth finish without brush lines. Choose a small foam roller for tight spots and a larger one for broader areas.
Don’t overload your brush or roller. Thin, multiple coats dry better and look more professional. Let each coat dry completely before lightly sanding with fine-grit sandpaper to remove imperfections.
This prep helps the next coat adhere better and keeps your cabinets looking flawless. With patience and proper technique, your cabinets will have a clean, even paint finish that lasts.
Avoid Common Kitchen Cabinet Painting Mistakes
Although painting kitchen cabinets might seem pretty simple, many DIYers make mistakes that could have been avoided. To get that smooth, professional finish, steer clear of these common errors:
- Skipping Surface Prep – Don’t rush cleaning and sanding. Taking the time to prep the surface ensures the paint sticks well and lasts longer.
- Ignoring Proper Ventilation – Paint fumes can be harmful and slow down drying. Always work in a well-ventilated space to stay safe and help the paint cure properly.
- Using the Wrong Paint or Tools – Pick paint made specifically for cabinets and use good quality brushes or rollers. Cheap tools can cause streaks, bubbles, or uneven coverage.
Let Cabinets Dry and Cure Before Reassembly
After applying paint to your kitchen cabinets, you’ll want to let them dry and cure fully before putting everything back together. Proper drying techniques are key to avoiding smudges or dents.
Place your cabinets in a well-ventilated area with a consistent temperature and low humidity. This helps speed up drying without ruining the finish.
Avoid handling the cabinets too soon, because the paint might feel dry but still needs time to cure completely.
Curing times depend on the type of paint you used. Latex paint usually needs at least 24 to 48 hours, while oil-based paints can take up to a week.
During this period, the paint hardens and becomes more resistant to scratches and wear. Patience is important; rushing can cause damage and require touch-ups.
Respect these drying and curing times to ensure your cabinets look flawless and last longer.
Reattach Doors and Hardware Without Damaging Paint
A careful approach will help you reattach your cabinet doors and hardware without damaging the fresh paint. Take your time to ensure everything fits perfectly and stays pristine.
- Check Door Alignment: Hold the door in place before securing hinges to see if it lines up evenly with the cabinet frame. Gently adjust hinge screws for precise alignment, avoiding stress on the paint.
- Protect Hardware: Wrap screws and hinges with painter’s tape during reattachment to prevent scratches. Use a screwdriver with a comfortable grip to control pressure and avoid slipping.
- Tighten Slowly and Evenly: Tighten screws gradually, switching between them to keep tension even. This helps prevent chipping or cracking the paint around the hardware.
Maintain and Touch Up Painted Kitchen Cabinets
To keep your kitchen cabinets looking fresh and vibrant, you’ll need to perform regular maintenance and touch-ups. Start by inspecting your cabinets monthly for scratches, chips, or worn spots. Promptly addressing these issues is key to prolonging the paint’s life.
For effective cabinet maintenance, clean surfaces gently using a mild detergent and a soft cloth to avoid damaging the finish. When you spot imperfections, use touch-up techniques like applying matching paint with a small brush or a fine-tip marker designed for cabinetry.
Lightly sand the area before painting to ensure proper adhesion. Let each touch-up dry completely and apply a clear protective coat if necessary to blend repairs seamlessly. By staying on top of cabinet maintenance and using precise touch-up techniques, you’ll keep your kitchen cabinets looking like new without the need for a full repaint anytime soon.
Frequently Asked Questions
Can I Paint Kitchen Cabinets Without Removing the Doors?
Yes, you can paint kitchen cabinets without removing the doors, but proper prep is key. Make sure to clean and sand the surfaces thoroughly so the paint sticks well.
Choose a durable, water-based enamel or similar paint that can handle kitchen wear and tear. Taping off edges and working in a well-ventilated space will give you a smooth, professional look without the hassle of taking the doors off.
How Long Does the Entire Cabinet Painting Process Take?
In terms of painting cabinets, it’s not exactly a walk in the park. You’re looking at about 3 to 5 days total. Prep time alone can take a full day since you need to clean, sand, and prime.
Then, factor in drying time between coats, which usually takes several hours. Rushing it won’t do, so plan to take your time to get a smooth, durable finish you’ll love.
What Is the Best Ventilation Method When Painting Cabinets Indoors?
The best way to ventilate when painting cabinets indoors is to use ventilation fans near windows or doors to push fumes outside. Opening windows and doors to create a cross breeze can really help improve air quality and cut down on lingering paint smells.
If you can, set up a fan to draw fresh air in and another to exhaust the air out. This setup keeps your workspace safer and more comfortable while you’re painting.
Can I Use Spray Paint for Kitchen Cabinets Instead of Brushes?
You can use spray paint for kitchen cabinets, and about 75% of pros prefer it for a smooth, even finish. Spray paint makes the process faster and reduces brush marks, giving your cabinets a sleek look.
But keep in mind, spray paint has some limitations like overspray and strong fumes. You’ll need good ventilation and careful masking to avoid messes.
If you’re prepared for those challenges, spray painting can save time and give you professional results compared to using brushes.
How Do I Handle Painting Cabinets With Intricate Designs or Moldings?
When handling cabinets with intricate designs or moldings, start with proper preparation. Clean the detailed areas thoroughly and lightly sand to ensure the paint adheres well.
Use small angled brushes or foam brushes to carefully reach into crevices. This helps you avoid drips and keeps the paint neat.
Apply thin, even coats and take your time. Patience and precision are key to getting a smooth, professional finish on those detailed surfaces.
Conclusion
Now that you’ve learned how to paint your kitchen cabinets step-by-step, are you ready to transform your space with your own hands? With the right tools, careful prep, and patience, you can achieve a professional finish that lasts.
Remember, taking your time to clean, sand, prime, and let everything dry will make all the difference. The key to a great paint job is patience and attention to detail.
So, roll up your sleeves and give your kitchen the fresh look it deserves. Painting your cabinets can be a rewarding project that completely refreshes your space.