How to Unclog Kitchen Sink With Disposal: a Step-By-Step Guide
Dealing with a clogged kitchen sink with disposal can be frustrating, especially when you’re in the middle of cooking or cleaning up. You’re not alone—many people struggle with this common kitchen headache.
Luckily, fixing it isn’t as hard as you might think.
If your kitchen sink disposal is clogged, first turn off and unplug the unit to stay safe. Use a plunger over the drain or manually rotate the blades with an Allen wrench to dislodge jams.
Check and clean the trap under the sink if needed. After clearing the clog, reset the disposal and test it with cold water.
Following these steps helps restore drainage and avoid damage. Keep going to uncover more effective ways to maintain your disposal and prevent future issues.
Key Takeaways
- Turn off and unplug the disposal before starting any unclogging procedure to keep things safe.
- Use a plunger over the drain, creating a tight seal, and push down for 15-20 seconds to loosen minor clogs.
- Manually rotate the disposal blades with an Allen wrench to free any jammed debris inside the unit.
- Check under the sink and clear out debris from the trap and pipes, looking for blockages.
- Reset the disposal by pressing its reset button, then run cold water while turning it on to see if it works.
How To Recognize Signs Of A Clogged Kitchen Sink Disposal
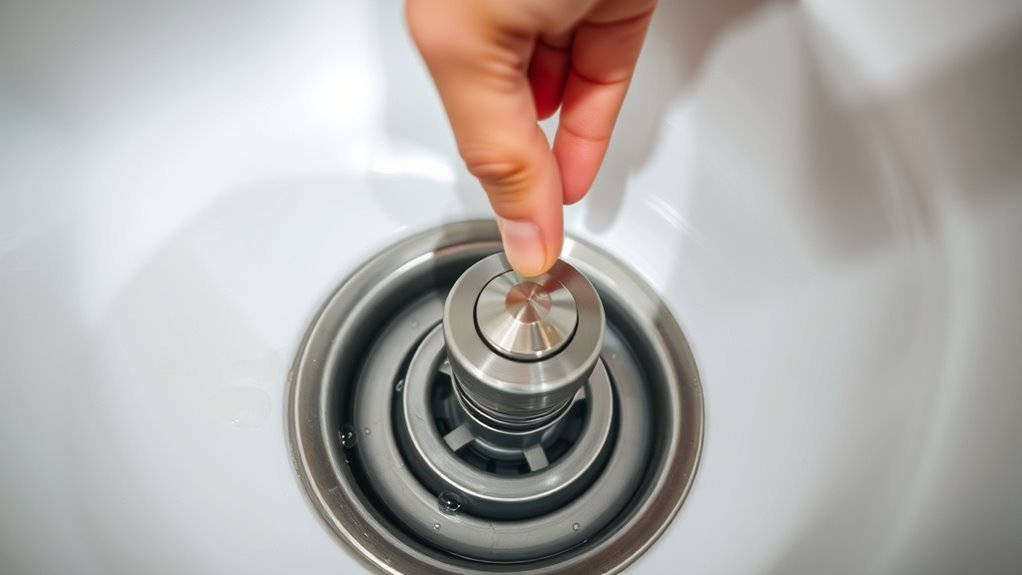
When your kitchen sink disposal is clogged, you’ll usually notice slow drainage or strange noises. These signs often point to common clogging causes like food scraps, grease buildup, or fibrous materials stuck inside.
If you hear a grinding or humming sound but see no water draining, it’s a clear indicator that something’s blocking the disposal. You might also spot water pooling around the sink or smell unpleasant odors, signaling trapped debris.
Paying attention to these symptoms helps you address problems early. Regular disposal maintenance, such as running cold water while operating the unit and avoiding putting unsuitable items down the drain, can prevent clogs.
Ignoring early signs can make the clog worse, making it harder to fix later. By recognizing these warning signals, you can take timely action to keep your kitchen sink disposal running smoothly and avoid costly repairs or replacements.
Tools You’ll Need To Unclog Your Kitchen Sink Disposal
You’ll need a few essential tools to effectively unclog your kitchen sink disposal. Start with a hex wrench or Allen key, which fits into the bottom of most disposals to manually turn the blades and dislodge any stuck debris.
A flashlight is vital to see inside the disposal through the sink drain. You’ll also want a pair of pliers or tongs to safely remove any visible obstructions without risking injury.
A flashlight helps you inspect the disposal, while pliers or tongs safely remove any visible blockages.
Keep a bucket or bowl handy to catch any residual water during the process. A long, flexible brush can help clean out hard-to-reach areas, supporting ongoing disposal maintenance.
Furthermore, having baking soda and vinegar nearby can assist with natural clog prevention after you clear the blockage. These tools not only help you address current clogs but also contribute to regular clog prevention and disposal maintenance.
This will extend your appliance’s lifespan and ensure smooth operation.
Turning Off And Unplugging Your Disposal Safely
Before you get started, make sure you’ve found the power source for your disposal. It’s always a good idea to turn off the disposal first so nothing keeps moving around while you’re working. Then, go ahead and unplug it—that way, you’re totally safe and won’t accidentally turn it on. Taking this simple step helps prevent any accidents and keeps you protected while you’re unclogging it.
Locate Power Source
Two simple steps are essential to guarantee safety: turning off the power and unplugging your disposal.
First, locate the power source. Your disposal is usually plugged into an outlet under the sink. Check for the plug and carefully unplug it to cut power.
If you don’t see a plug, your disposal might be hardwired. In that case, head to your home’s circuit breaker panel. Flip the switch labeled for the kitchen or disposal to cut the power, preventing any risk of accidental startup.
Remember, during a power outage, your disposal won’t operate, but never rely solely on this. Always disconnect power before working on it.
Identifying and controlling the right power source keeps you safe throughout the unclogging process.
Turn Off Disposal
After locating and cutting off the power source, the next step is to turn off your disposal properly. This keeps you safe and prevents accidental activation during maintenance.
Start by pressing the power switch, usually on the wall or under the sink, to the off position. If your disposal has a reset button, avoid pressing it until you’ve cleared the clog.
Turning off the disposal stops the blades from spinning, reducing the risk of injury. Always make sure it’s completely off before moving on with any further steps.
Properly shutting off your disposal not only protects you but also helps it last longer by preventing damage from sudden starts or electrical shorts during maintenance.
Unplug For Safety
One essential step to keep in mind is unplugging your disposal after turning it off. This simple action helps you avoid electrical hazards while working on unclogging your kitchen sink.
Even if the switch is off, residual power can still pose a risk. To prioritize safety, always locate the disposal’s power cord and unplug it from the outlet before proceeding.
If your disposal is hardwired, consider shutting off the circuit breaker to cut the power completely. Taking these measures guarantees you won’t accidentally activate the disposal while clearing the clog.
This prevents injury or damage. Remember, never rely solely on the switch; unplugging or cutting power is critical for your safety during any maintenance task.
Using A Plunger To Clear The Clog
Grab a plunger and position it firmly over the sink drain to create a tight seal. Use quick, forceful plunges to dislodge the clog. Make sure to cover any overflow openings or other drains in a double sink to maximize pressure.
Plunge steadily for about 15 to 20 seconds, then lift the plunger to see if the water drains. If it doesn’t, repeat the process a few more times. This method helps break up blockages without damaging your disposal unit.
Remember, regular disposal maintenance includes avoiding harsh chemicals that can harm the blades and seals. Using a plunger correctly is a simple, effective way to clear clogs while protecting your disposal.
If the clog persists, it might require a different approach, but mastering this plunger technique can save you time and prevent costly repairs.
Manually Rotating The Disposal To Fix Jams
If your kitchen sink disposal jams, you can often fix it by manually rotating the blades to free the obstruction. First, make sure to unplug the disposal or turn off the power at the circuit breaker to avoid accidents.
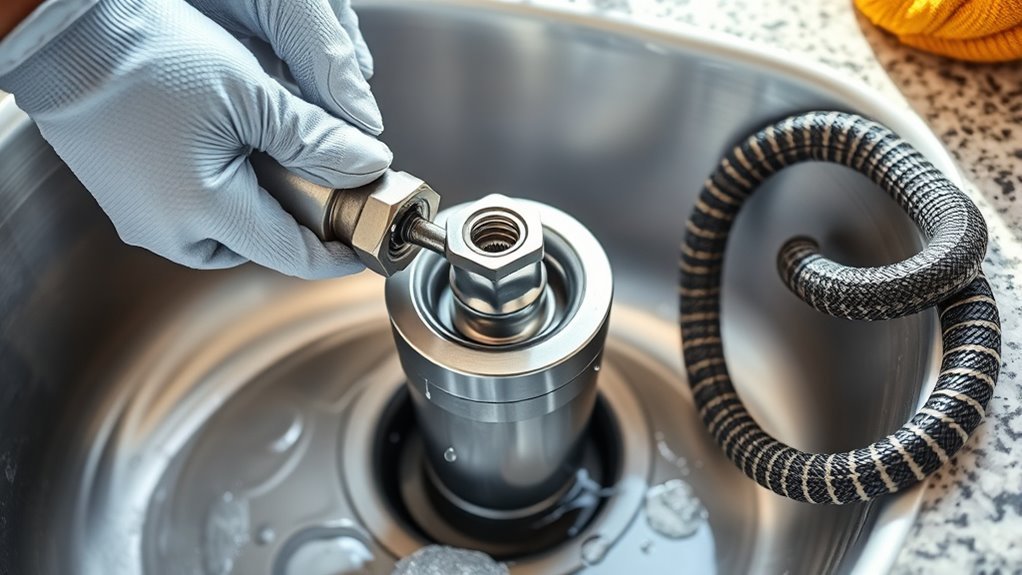
Next, locate the hex-shaped hole at the bottom of the disposal unit. Use an Allen wrench to rotate the blades back and forth, loosening whatever’s causing the jam. This method is a key part of disposal maintenance and helps prevent future jams by restoring blade movement.
Locate the hex-shaped hole and use an Allen wrench to rotate the blades, freeing jams and maintaining smooth operation.
Here’s how to proceed effectively:
- Use steady, firm pressure when turning the wrench to avoid damaging the unit.
- Clear any visible debris inside the disposal after rotating the blades.
- Reconnect the power and test the disposal to verify it runs smoothly.
Regularly performing this manual rotation can extend your disposal’s life and reduce future clogs.
How To Use A Drain Snake On Your Kitchen Sink Disposal
After manually rotating the disposal blades to clear jams, some blockages may still be deeper in the drain. That’s when a drain snake comes in handy. You’ll want to choose the right type—either a handheld or an electric model—depending on how tough the clog is.
Use proper snake techniques: feed it slowly into the disposal drain and turn it clockwise to break up or hook the clog. Be careful not to force it too hard, which could cause damage.
| Drain Snake Types | Snake Usage Techniques |
|---|---|
| Handheld Snake | Insert slowly, turn clockwise |
| Electric Snake | Use for tough blockages |
| Coiled Snake | Flexible for bends |
| Manual Auger | Apply steady pressure |
Remember to wear gloves and keep the power off while working. Once you’ve cleared the clog, carefully retract the snake and run water to flush out any debris. This method is effective for tackling deeper clogs beyond the disposal blades.
Clearing The Trap And Pipes Under Your Kitchen Sink Disposal
Though the disposal blades handle most food waste, clogs often form in the trap and pipes beneath your sink.
For effective trap maintenance and pipe inspection, start by placing a bucket under the trap to catch any water.
Then, loosen the slip nuts holding the trap in place and carefully remove it. Check the trap for debris buildup and clean it thoroughly.
Loosen slip nuts to remove the trap, then check and clean thoroughly to prevent clogs.
Next, inspect the pipes connected to the trap for blockages or damage. Use a flexible brush or a small drain snake to clear any stubborn clogs inside the pipes.
Remember these key steps:
Always wear gloves to protect your hands from grime and sharp objects.
Use a flashlight to spot hidden clogs during pipe inspection.
Reassemble the trap carefully, ensuring all seals are tight to prevent leaks. Regular trap maintenance and pipe inspection help keep your kitchen sink draining smoothly and prevent future clogs.
Resetting And Testing Your Kitchen Sink Disposal After Unclogging
Once you’ve cleared the trap and pipes, it’s time to reset your kitchen sink disposal to get it working again. First, find the reset button, usually a small red or black button on the bottom or side of the disposal unit. Press and hold this button for about 10-15 seconds to reset the internal breaker.
This step is important if the disposal has overheated or tripped because of a clog. After that, plug the disposal back in or turn the circuit breaker back on if you switched it off earlier.
Next, turn on cold water and then switch on the disposal to test if it’s working properly. Listen for smooth operation without any strange noises. If it runs smoothly and drains well, you’ve successfully reset and tested your disposal.
If it still doesn’t work, try repeating the process or check for any remaining obstructions.
Tips To Prevent Future Clogs In Your Kitchen Sink Disposal
To keep your kitchen sink disposal running smoothly, adopt habits that prevent clogs before they start. Practicing proper disposal and regular maintenance can save you time and hassle later on. Here are some essential tips to help you avoid future blockages:
Avoid fibrous and starchy foods like celery, potato peels, or pasta. These can wrap around the blades or swell, causing clogs.
Always run a steady stream of cold water when grinding food waste. This helps solidify grease and flush debris through the pipes.
Clean the disposal regularly with ice cubes and citrus peels. This keeps blades sharp and deodorizes the unit.
Following these simple steps ensures proper disposal and reduces buildup, making maintenance easier. Your kitchen sink disposal will last longer without clogs.
When To Call A Plumber Instead Of DIY
If you’ve tried basic fixes and your kitchen sink remains clogged, it’s time to consider calling a plumber. Persistent blockages that DIY methods can’t clear often point to bigger issues beneath the surface.
Don’t ignore slow drains, foul odors, or water pooling around the sink. These signs could mean more serious problems that need professional attention.
When you’re dealing with plumbing emergencies like water leaks or a completely backed-up disposal, it’s best not to take chances. A licensed plumber has the right tools and expertise to diagnose and fix issues safely and efficiently.
Trying to handle complex clogs or damaged pipes without experience might lead to costly repairs later on. So, if your DIY efforts don’t work or you’re faced with sudden leaks and backups, calling a plumber ensures the job is done right the first time. It saves you time, stress, and mess.
Frequently Asked Questions
Can I Use Chemical Drain Cleaners With My Kitchen Sink Disposal?
You shouldn’t use chemical drain cleaners with your kitchen sink disposal because they can damage the disposal’s components and pipes.
For chemical safety, it’s better to avoid harsh chemicals that might corrode seals or cause leaks. Instead, focus on regular drain maintenance like running cold water during use and cleaning with baking soda and vinegar.
This keeps your disposal working well without risking costly damage or safety issues.
How Often Should I Clean My Kitchen Sink Disposal?
Think of your kitchen sink disposal as a garden that needs regular care. You should clean it at least once a week to keep it fresh and odor-free.
Following disposal maintenance tips like grinding ice cubes or citrus peels helps remove buildup. Cleaning frequency guidelines suggest monthly deep cleans with baking soda and vinegar to prevent clogs.
Staying consistent with these habits keeps your disposal running smoothly and smelling great.
What Foods Should I Avoid Putting Down the Disposal?
You should avoid putting fibrous food waste like celery, corn husks, and onion skins down the disposal because they can tangle and cause clogs.
Greasy or starchy foods like pasta and rice also build up and can harm the disposal. Hard items like bones or fruit pits can damage the blades.
Sticking to soft, small scraps helps keep your disposal running smoothly and reduces the risk of clogs or costly repairs.
Can a Garbage Disposal Cause Bad Odors in the Kitchen?
Just like a forgotten fridge left open, your garbage disposal smells can sneak up on you and fill the kitchen with unwelcome odors. Yes, it can cause bad smells when food particles get trapped and start to rot.
You can prevent odors by regularly cleaning the disposal with citrus peels or baking soda and running cold water while using it. Keeping it fresh helps your kitchen stay inviting and odor-free.
Is It Safe to Put Ice Cubes in the Disposal to Sharpen Blades?
Yes, it’s safe to put ice cubes in your disposal, and it’s actually good for maintenance. The ice helps sharpen the blades by grinding against them, which keeps your disposal running smoothly.
Plus, ice can help loosen debris stuck on the blades or walls. Just remember to run cold water while doing this, and avoid using anything too hard that might damage the unit.
Conclusion
Now that you’ve tackled your clogged kitchen sink disposal, you might realize how simple it is to fix—and just in time for dinner prep!
It’s funny how a little patience and the right tools can save you from a big mess. Keep these steps handy, and you’ll breeze through future clogs.
But if trouble strikes again, don’t hesitate to call a plumber. Sometimes, knowing when to get expert help is the best move.
Remember, knowing how to unclog your kitchen sink with disposal can save you time and money in the long run.