How to Remove a Kitchen Faucet: A Step-by-Step Guide
Are you tired of dealing with a stubborn or leaky kitchen faucet? You’re not alone—many people struggle with removing their old faucet or installing a new one. Luckily, with a little know-how, you can handle this task yourself and save money on professional help.
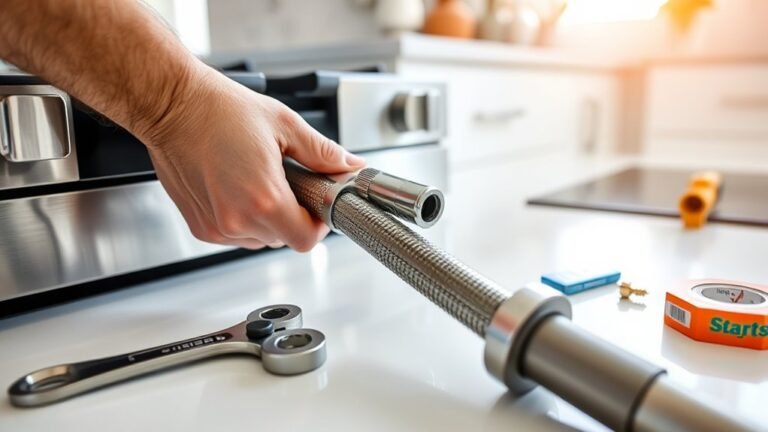
To remove your kitchen faucet, first gather tools like a basin wrench and adjustable wrench. Turn off the water supply valves under the sink, then open the faucet to release pressure.
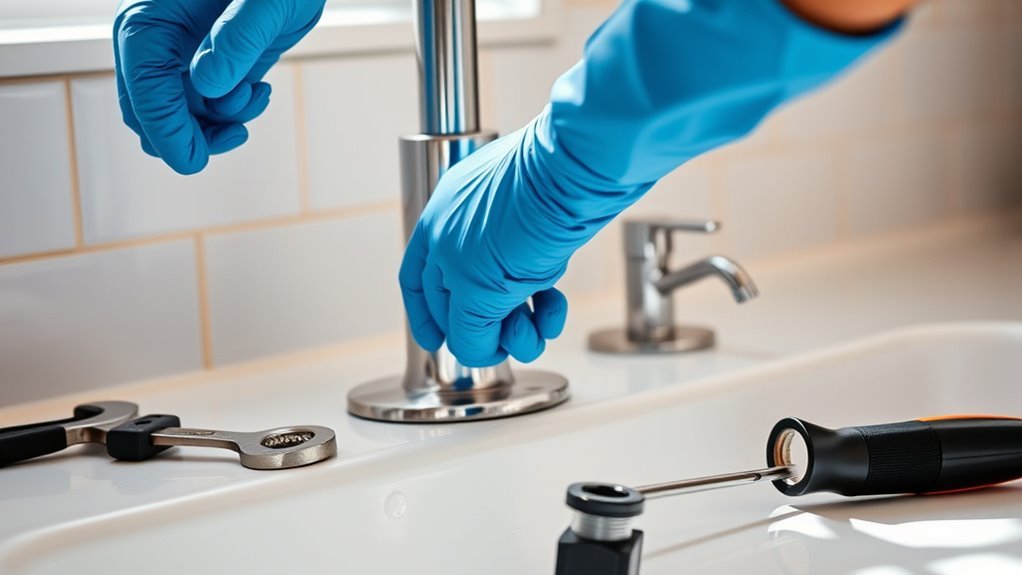
Disconnect the water lines using the wrench, and carefully loosen the mounting nuts holding the faucet in place.
Lift the faucet off the sink surface, watching for any clips or washers. If you face stubborn parts or leaks, there are easy fixes and safety tips to help you out before considering professional help.
Key Takeaways
- Gather the necessary tools like a basin wrench, adjustable wrench, screwdrivers, and a bucket to catch water before you start removing the faucet. Having everything ready makes the process smoother.
- Turn off the main water supply valves under the sink and open the faucet to release any remaining water pressure. It’s a simple step that can prevent messes later.
- Use an adjustable wrench to disconnect the water supply lines, and place a bucket or towel underneath to catch any drips. Take your time to avoid damaging any fittings.
- Loosen and remove the mounting nuts with a basin wrench. Once they’re loose, carefully lift the faucet off the sink surface. Be gentle to avoid scratching or damaging the sink.
- If nuts are stubborn, apply some penetrating oil and give them a light tap. If you run into leaks or complex setups, don’t hesitate to call a plumber for help.
Gather Tools to Remove Your Kitchen Faucet
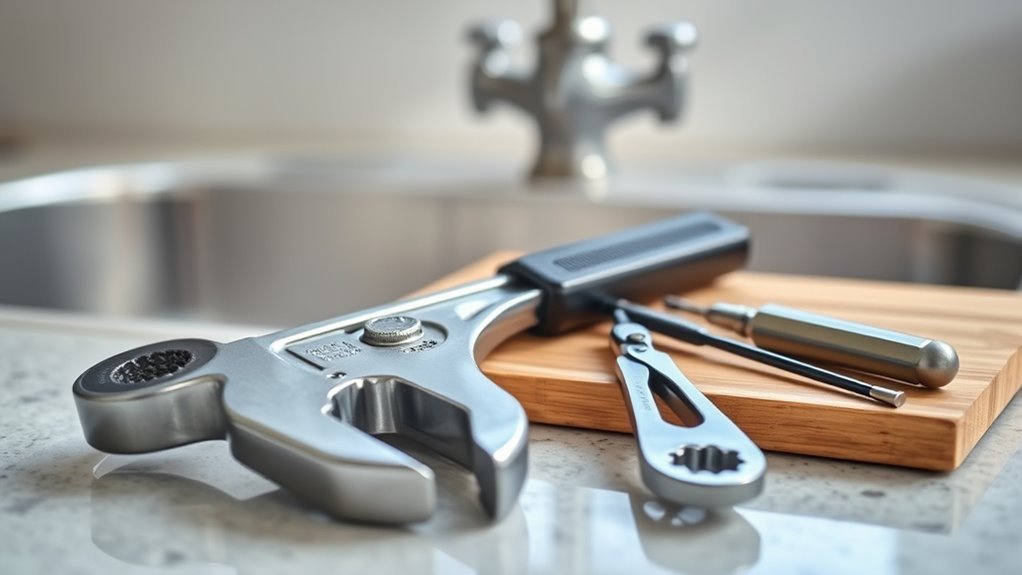
Start by gathering the essential tools you’ll need to remove your kitchen faucet. Knowing your faucet type—whether it’s a single-handle, double-handle, or pull-out—will help you figure out what tools and materials you’ll need.
Typically, you’ll want a basin wrench, an adjustable wrench, a screwdriver set, and pliers. These tools will handle most nuts, bolts, and washers that hold the faucet in place.
Gather a basin wrench, adjustable wrench, screwdriver set, and pliers to easily tackle faucet nuts and bolts.
If your faucet has extra features like a sprayer or soap dispenser, grab some tubing cutters or a utility knife. Having a bucket or towel nearby is smart to catch any leftover water.
Before diving in, double-check that you have replacement parts or new installation materials if you’re planning to install a new faucet afterward. Being prepared with the right tools and knowing your faucet type will make the removal process smoother and less frustrating.
Turn Off Your Water Supply Safely
First things first, you want to locate your main water valve—that’s the big one that controls the water coming into your house. Once you’ve found it, turn it off to stop the overall flow.
Next, head under your sink and turn off both the cold and hot water supplies. It’s always good to double-check they’re fully closed.
Finally, give the faucet a quick test to make sure the water has stopped completely before you start working. That way, you can be confident everything is safe to proceed!
Locate Main Water Valve
Before you start removing your kitchen faucet, you’ll need to find the main water valve to turn off the water supply safely. This valve controls how much water enters your home, so turning it off helps prevent leaks and flooding while you work. Typically, you’ll find the main valve near your water meter.
The water meter is often in the basement, garage, or outside by the street. In colder climates, it might be inside to prevent freezing. Knowing where your valve is located is important—it’s usually a round wheel or a lever handle.
Make sure you can reach it easily. Having quick access allows you to act fast in emergencies and ensures the water pressure is fully off before you begin removing the faucet.
Shut Off Cold And Hot
Two main valves control the water flow to your kitchen sink: one for hot water and one for cold.
Before you start removing your faucet, you need to shut off both valves to prevent water from spraying out. Locate the shut-off valves under the sink, usually near the wall or cabinet back.
Turn each valve clockwise until it stops; this shuts off the water supply. After shutting off the valves, open the faucet to relieve any remaining water pressure in the lines.
This step guarantees no water flows while you work. If you can’t find these valves or they don’t fully shut off the water, you may need to turn off the main water supply to your home for safety.
Test For Water Flow
Check the faucet handles after shutting off the valves to confirm that no water flows. This step makes sure the water pressure is fully cut, which helps prevent unexpected leaks during removal.
If you notice any drips, tighten the valves further or turn off the main water supply. Testing the flow rate now helps avoid faucet leaks and keeps your plumbing system safe.
Here are some quick plumbing tips for this step:
| Action | Purpose |
|---|---|
| Turn off cold and hot valves | Stops water flow |
| Open faucet handles | Releases remaining pressure |
| Check for drips | Ensures valves are sealed |
| Confirm no flow | Prepares for safe faucet removal |
Following these installation tips will help you remove your faucet smoothly without causing water damage.
Disconnect Kitchen Faucet Water Lines Cleanly
Start by turning off the water supply valves under your sink to prevent any leaks. Once the valves are closed, open the faucet to release any remaining water in the lines. This helps reduce pressure and prevents water from spilling during disconnection.
Next, place a bucket or towel beneath the connections to catch drips. Carefully use an adjustable wrench to loosen the nuts connecting the water line to the faucet. Turn the nuts counterclockwise until they detach.
Place a bucket below and use a wrench to carefully loosen and remove the water line nuts.
Be gentle to avoid damaging the water lines or fittings. This is important for proper faucet maintenance. After disconnecting, inspect the water lines for wear or corrosion and replace any damaged parts before installing the new faucet.
Taking these steps ensures a clean disconnection and helps maintain your plumbing system’s integrity. With the water lines disconnected, you’re now ready to move on to removing the mounting nuts under the sink.
Remove Mounting Nuts Under the Sink
To remove the mounting nuts under the sink, you’ll want to grab either a basin wrench or an adjustable wrench — whichever you have on hand. These tools will help you reach those nuts comfortably.
Start by loosening the nuts gently so you don’t accidentally damage the sink or faucet. If you find they’re pretty stubborn and aren’t budging, a little penetrating oil can work wonders. Just spray it on, give it a few minutes to soak in, and then try loosening the nuts again.
Tools Needed
Before loosening the mounting nuts under your sink, gather the right tools to make the process smoother and safer. You’ll need an adjustable wrench to fit various faucet types since mounting nut sizes can vary.
A basin wrench is essential. It’s designed specifically to reach tight spots behind the sink where standard wrenches can’t fit. Have a flashlight handy to improve visibility, and use pliers for extra grip if nuts are stuck.
Don’t forget a bucket or towel to catch any water drips. These tools align well with common installation tips, ensuring you can efficiently access and remove mounting nuts without damaging your sink or faucet.
Preparing properly saves time and prevents frustration during faucet removal.
Loosening Techniques
Having the right tools within reach makes loosening the mounting nuts under your sink much easier. Start by using proper faucet wrench techniques; a basin wrench is ideal because its long handle and pivoting head reach tight spaces.
Position the wrench securely around the nut, then turn counterclockwise to loosen it. If you encounter stubborn nuts that won’t budge, try spraying a penetrating lubricant to break up corrosion. Let it sit for a few minutes before trying again.
You can also tap gently with a hammer to help loosen the nut. Avoid applying excessive force to prevent damage. With these stubborn nut solutions and faucet wrench techniques, you’ll efficiently free the mounting nuts and prepare your faucet for removal.
Detach the Old Faucet From the Sink Surface
Loosen the mounting nuts holding your old faucet firmly to the sink. Depending on your faucet type—whether single-hole, center-set, or widespread—these nuts might be in different spots but are usually accessible from underneath the sink. Use a basin wrench for tight spaces, and don’t hesitate to apply penetrating oil if the nuts resist.
Once the nuts are removed, gently lift the faucet off the sink surface. Some models may have additional clips or washers, so check carefully to avoid damage. Keep in mind installation tips for later: note how your faucet was mounted and what hardware was used.
This knowledge will make installing your new faucet easier later on. With the old faucet detached, you’re one step closer to upgrading your kitchen setup. Just remember to handle all parts carefully to avoid scratching your sink or damaging the countertop.
Clean and Prepare Your Sink for a New Faucet
Before you start installing your new faucet, make sure to clear the sink area of any tools or leftover parts. It’s also a good idea to remove any old debris or buildup so you have a smooth surface to work with.
Once everything is cleared out, give the area a quick wipe-down to dry and sanitize it. This helps prevent grime from sticking and makes your workspace nice and clean for the installation.
Clear Sink Area
Start by clearing everything off your sink and the surrounding countertop to give yourself enough room to work comfortably. Proper sink organization prevents accidents and makes sure you can easily access your tools. Remove dish racks, soap dispensers, and any nearby cleaning supplies.
This step also gives you a chance to check for leaks or damage before installing the new faucet. Store cleaning supplies away from the sink to prevent spills. Clear out the cabinets underneath so you can reach your tools easily.
Wipe down the sink and countertop thoroughly to keep the area clean. Finally, arrange your tools within arm’s reach so you’re ready to get started smoothly.
Remove Old Debris
Scrape away any old caulk, grime, and mineral deposits around your faucet base to ensure a clean surface for the new installation. Different debris types, like hardened caulk or mineral buildup, need specific cleaning techniques.
Use a plastic scraper or putty knife to gently remove caulk without scratching the sink surface. For mineral deposits, apply a vinegar-soaked cloth and let it sit for a few minutes to loosen the buildup before wiping it away.
Avoid harsh abrasives that could scratch your sink. Once you’ve removed the visible debris, rinse the area with warm water to clear out any loosened particles.
Taking the time to thoroughly clean these debris types helps your new faucet sit flush and secure. This prevents leaks and extends the lifespan of your faucet.
Dry and Sanitize
Wipe the sink area thoroughly with a clean cloth to remove any remaining moisture and particles. Proper drying prevents water spots and helps ensure your new faucet fits securely.
After drying, sanitize the surfaces to eliminate bacteria and grime that can affect both hygiene and faucet performance. Use a mild disinfectant that’s safe for kitchen surfaces.
Allow the area to air dry completely after wiping. Then, inspect the sink to make sure no residue or moisture is left behind.
Following these steps will prepare your sink for a smooth faucet replacement, keeping your workspace clean and safe.
Troubleshoot Common Kitchen Faucet Removal Issues
When removing a kitchen faucet, you might run into stubborn parts or unexpected obstacles that slow you down. One common issue is dealing with leaky connections. Before loosening any fittings, place a bucket underneath to catch any water that might spill. Tightening a leaky connection slightly before removal can help minimize drips.
Stubborn nuts can be another challenge—they might be corroded or overtightened. Use penetrating oil and let it sit for a few minutes to loosen rust or buildup. If the nut still won’t budge, try a wrench with a longer handle for better leverage, but be careful not to strip the hardware.
You can also tap lightly around the nut with a hammer to break corrosion. Just make sure you’re turning nuts in the correct direction—usually counterclockwise—to avoid frustration. These steps will help you troubleshoot common faucet removal issues efficiently.
When You Should Call a Plumber
Dealing with stubborn nuts or leaky connections can often be handled on your own with the right tools and patience. However, there are times when you should call a plumber to avoid further damage or frustration. If you encounter any of these, it’s best to rely on their plumbing expertise:
Sometimes a simple fix is possible, but knowing when to call a plumber prevents damage and frustration.
- Persistent leaks that don’t stop after tightening
- Corroded or damaged pipes that risk breaking
- Complex faucet setups with hidden or hard-to-reach connections
- Emergency situations like flooding or major water damage
In these cases, a professional plumber can quickly assess the problem, prevent costly repairs, and guarantee your kitchen faucet is removed safely. Don’t hesitate to reach out if you’re unsure or if the task feels overwhelming. Calling a plumber when necessary saves you time, stress, and potential water damage down the line.
Dispose or Recycle Your Old Faucet Properly
Although it might seem simple, disposing of your old faucet properly is important for safety and the environment. Faucets often contain metals like brass and copper that can be harmful if thrown in regular trash.
Instead, consider faucet recycling programs that accept used plumbing fixtures. These programs recover valuable metals, reducing landfill waste and helping the planet.
Start by checking with your local recycling center or hardware store to see if they offer faucet recycling. You can also look for scrap metal recyclers nearby that accept faucets for eco-friendly disposal.
Before dropping off, remove any non-metal parts like rubber washers or plastic pieces, as these may need to be disposed of separately.
Basic Tips for Installing a New Kitchen Faucet
Installing a new kitchen faucet involves a few straightforward steps that you can easily handle with the right tools and preparation. Before you start, familiarize yourself with different faucet types—single-handle, double-handle, pull-out sprayers, and touchless models—to choose one that fits your sink and needs.
Installing a kitchen faucet is simple with the right tools and understanding different faucet types to suit your needs.
Keep these installation tips in mind to make the process smoother. Turn off the water supply and clear the area under the sink for easy access.
Inspect the mounting holes to guarantee compatibility with your new faucet type. Use plumber’s tape on threaded connections to prevent leaks.
Tighten connections securely but avoid over-tightening, which can damage components. Following these tips helps you avoid common pitfalls and guarantees a proper fit.
With patience and attention to detail, you’ll have your new faucet installed and functioning in no time.
Frequently Asked Questions
What Are the Most Common Types of Kitchen Faucets?
The most common types of kitchen faucets you’ll find are pull down faucets, which have a spray head that pulls straight down, and pull out faucets, with a spray head that pulls out toward you.
Single handle faucets let you control water flow and temperature with one lever, while double handle faucets have separate controls.
Wall mounted faucets save counter space, and pot filler faucets sit near the stove to easily fill pots.
How Do I Choose the Right Faucet for My Kitchen Style?
Choosing the right faucet is like picking the crown jewel for your kitchen. You’ll want to think about faucet color trends—matte black, brushed nickel, or warm bronze can really set the tone.
Don’t forget about functional features like pull-down sprayers, touchless controls, or swivel spouts to match your cooking style. Balance looks with practicality, making sure your new faucet fits your kitchen’s vibe.
Most importantly, pick a faucet that makes daily tasks easier and more enjoyable while enhancing your overall space.
Can I Upgrade to a Touchless Faucet With My Existing Plumbing?
Yes, you can upgrade to a touchless faucet with your existing plumbing, but you’ll want to check if it’s compatible first.
Most touchless faucets work with standard water lines, but they usually need a power source like batteries or a nearby outlet.
Make sure your sink setup can handle the sensor and power needs. If your plumbing is standard, the upgrade should be pretty straightforward.
Plus, it’ll add a lot of convenience to your kitchen.
What Materials Are Best for a Durable Kitchen Faucet?
You might think stainless steel is the only durable choice, but brass and bronze also offer excellent faucet materials with strong durability features. Brass resists corrosion and withstands high temperatures, making it a solid option.
Bronze adds a stylish, long-lasting finish that can enhance your kitchen’s look. Stainless steel is tough and easy to clean, but it can be less resistant to scratches sometimes.
Choosing the right faucet materials depends on how you use your kitchen and your style preferences. Consider both function and aesthetics to ensure lasting performance.
How Often Should I Replace My Kitchen Faucet?
You should replace your kitchen faucet every 10 to 15 years, depending on how long it’s meant to last and how well you take care of it.
If you notice leaks, rust, or your water pressure drops, it’s probably time to get a new one.
Regular cleaning and checking for leaks can help your faucet last longer.
Staying on top of these simple tasks can prevent the need for early replacements and keep your kitchen running smoothly.
Conclusion
Now that you’ve learned how to remove your kitchen faucet step-by-step, isn’t it empowering to tackle this project yourself? By gathering the right tools, turning off the water supply, and carefully disconnecting everything, you’ve made a tricky job manageable.
Remember, if you hit a snag, calling a plumber is always an option. Ready to upgrade your kitchen? Removing the old faucet is just the first step toward a fresh, functional space!