How to Pack Kitchen Items: A Step-by-Step Guide
Moving your kitchen can feel overwhelming, right? Many people struggle with packing everything safely and efficiently. You’re not alone—getting your kitchen items organized for a move takes patience and a good plan.
To pack your kitchen items efficiently, start by sorting and decluttering to keep only essentials. Gather sturdy boxes, bubble wrap, and labels. Wrap fragile glassware individually and nest pots, pans, and utensils with padding to avoid damage.
Organize small tools in zip bags and handle hazardous or perishable items carefully. Label boxes clearly for easy unpacking later.
By following these steps, you’ll protect your kitchen gear and make setup easier in your new space. You’re about to uncover tips that will simplify the entire process.
Key Takeaways
- Sort kitchen items into keep, donate, and discard categories. This makes packing easier and helps reduce clutter.
- Gather sturdy boxes, bubble wrap, packing paper, and labels. These will keep everything organized and protected.
- Wrap fragile items individually with bubble wrap. Nest cookware with padding to prevent any damage.
- Maximize box space by nesting smaller items inside larger ones. Place heavier items at the bottom for stability.
- Clearly label boxes with their contents and the room they belong to. This makes unpacking and setting up much simpler.
Sort and Declutter Your Kitchen Before You Pack
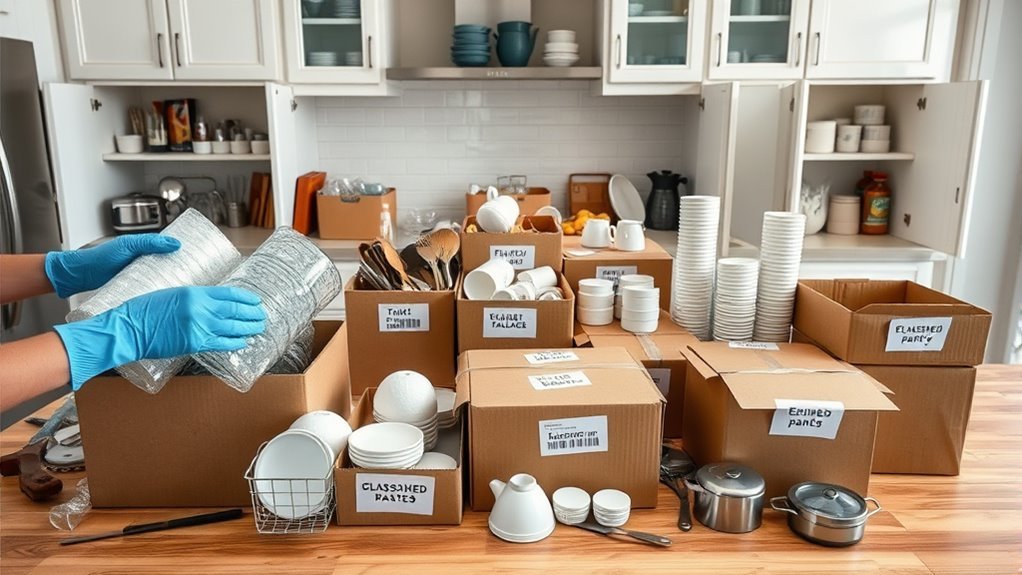
Begin by sorting through your kitchen items to decide what you really need to take with you. Create a kitchen inventory checklist to keep track of everything you plan to pack. This helps you avoid bringing unnecessary items and makes unpacking easier.
As you go through your drawers and cabinets, separate items into categories: keep, donate, or discard. Consider donation options for gently used cookware, utensils, and appliances you no longer need. Local shelters or charity organizations often welcome these contributions, making your decluttering more rewarding.
Be honest about what you truly use and what’s just taking up space. By streamlining your kitchen inventory checklist, you’ll reduce packing time and avoid clutter in your new space. Sorting and decluttering guarantees you only bring essentials, making your move more efficient and less stressful.
Be honest about your essentials to streamline packing, reduce clutter, and make your move smoother and less stressful.
This step is vital before gathering your kitchen packing supplies and starting the packing process.
Gather the Kitchen Packing Supplies You’ll Need
To pack your kitchen efficiently, you’ll want to gather some essential supplies. Start with sturdy boxes of various sizes, along with packing paper, bubble wrap, and packing tape. These materials will help protect your items and make packing easier.
Don’t forget permanent markers and labels. They’re key for keeping your kitchen organized and knowing what’s inside each box. Consider specialty supplies like dish barrels or dividers if you have many fragile items.
Packing techniques like layering dishes with paper and cushioning gaps with bubble wrap can prevent damage. Keep resealable plastic bags handy for small parts like screws or lids. Having everything ready before you start saves time and stress.
With the right materials and methods, you’ll keep your kitchen items secure and well-organized during your move.
Wrap and Protect Fragile Glassware and Dishes
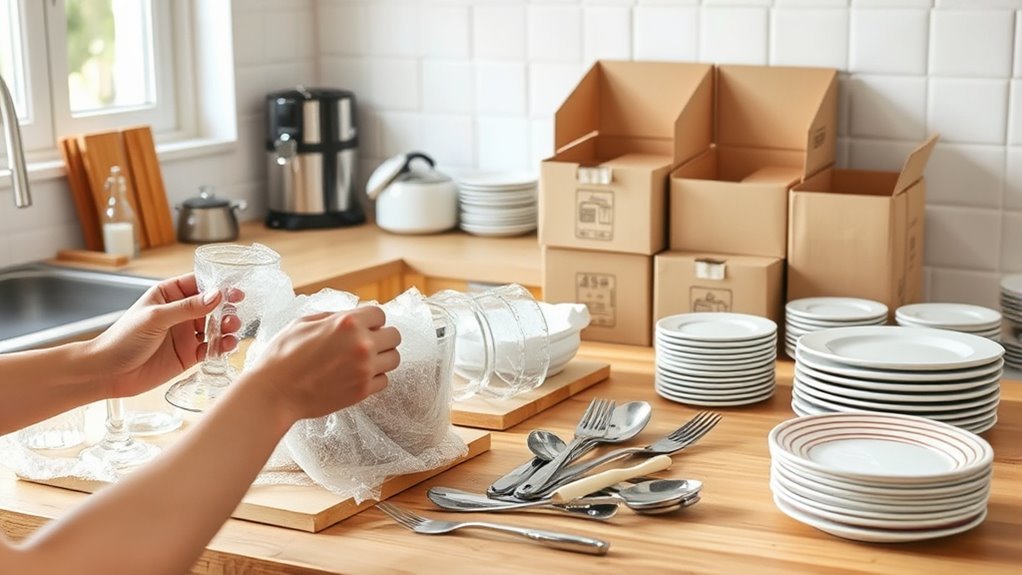
When it comes to packing your fragile glassware and dishes, picking the right materials is key. Think about using bubble wrap or packing paper—they’re great for cushioning and keeping things secure.
Make sure to wrap each piece individually. It might take a bit more time, but it really makes a difference in preventing breakage. And don’t forget to use proper packing techniques, like filling empty spaces with extra padding and layering items carefully.
Choosing Proper Wrapping Materials
Several key materials will make wrapping fragile glassware and dishes easier and safer. You want to choose options that cushion well, reduce breakage, and fit your sustainability goals.
- Bubble Wrap and Foam Sheets: These provide great shock absorption. Use bubble wrap for delicate glasses and foam sheets for extra padding.
- Packing Paper and Newspaper Alternatives: Skip regular newspaper ink by choosing eco-friendly options like kraft paper or recycled packing paper to wrap your dishes gently.
- Padded Boxes and Reusable Containers: Place your wrapped items in padded boxes or sturdy reusable containers to protect against impacts. You can use plastic wrap to secure loose parts, but avoid overwrapping to prevent waste.
With these materials, you’ll keep your fragile kitchenware safe and help reduce environmental impact during your move.
Safe Packing Techniques
When packing fragile glassware and dishes, start with careful wrapping and smart placement. Use bubble wrap or packing paper to individually wrap each piece, then secure with tape.
Place heavier items at the bottom of the box and lighter ones on top to avoid crushing. Fill empty spaces with packing peanuts or crumpled paper to prevent shifting.
These kitchen packing tips help keep everything organized and minimize damage during your move.
| Item Type | Wrapping Material | Placement Tip |
|---|---|---|
| Glassware | Bubble wrap | Stand upright, snug fit |
| Plates | Packing paper | Stack vertically |
| Bowls | Foam sheets | Nest with padding inside |
Following these steps will protect your fragile kitchen items during transport.
Pack Pots, Pans, and Heavy Cookware Safely
Heavy cookware like pots and pans needs careful packing to prevent damage and make moving easier. Protecting your investment and keeping your cookware in good shape is especially important for non-stick surfaces that require special care.
Heavy cookware demands careful packing to avoid damage and protect delicate non-stick surfaces during your move.
Follow these steps to pack safely:
- Clean and dry thoroughly to remove food residues and avoid odors or mold. Be gentle with non-stick coatings to preserve their quality.
- Nest pots and pans carefully by placing paper towels or cloth between each item. This helps prevent scratching and keeps your cookware in top condition.
- Pack in sturdy boxes using small containers to keep the weight manageable. Fill any gaps with bubble wrap or packing paper to reduce movement during transit.
Organize and Pack Small Kitchen Tools and Utensils
A handful of small kitchen tools and utensils can easily get lost or damaged during a move if you don’t organize them properly. Start by gathering all your small tools and grouping similar items together. Use small tool storage containers or zip-top bags to keep utensils like peelers, measuring spoons, and small whisks neatly contained.
For better utensil organization, wrap sharp items like knives in bubble wrap or kitchen towels, then place them in a sturdy box. You can also use drawer organizers or cardboard dividers inside boxes to prevent items from shifting.
Label each container clearly so you can find what you need quickly when unpacking. Keeping small tools and utensils organized not only protects them but also saves you time later.
Securely Pack Kitchen Appliances and Electronics
Because kitchen appliances and electronics can be fragile and costly, you’ll want to pack them carefully to prevent damage during your move. Focus on appliance safety and electronics protection by following these steps:
- Unplug and Clean: Before packing, unplug all devices and give them a thorough clean to remove any residue. Take out detachable parts and wrap cords separately.
- Use Original Packaging or Sturdy Boxes: If possible, pack appliances in their original boxes with foam inserts for the best protection. If not, choose strong boxes and cushion items with bubble wrap or packing paper.
- Label and Position Carefully: Clearly mark boxes as “Fragile” and “This Side Up” to ensure careful handling. Place heavier items at the bottom and avoid overcrowding to prevent shifting.
Save Space When Packing Your Kitchen Boxes
Want to save some space when packing your kitchen boxes? Try using stackable containers that fit snugly together—that way, you can pack more efficiently. Wrapping fragile items carefully is also key; it keeps them safe without taking up too much room.
Finally, take a moment to arrange everything so it fits tightly and stays secure during the move. Little tricks like these can make your packing much easier and less cluttered!
Use Stackable Containers
When you choose stackable containers, you’ll maximize every inch of space in your kitchen boxes. Using the right stacking strategies makes packing efficient and keeps your items secure. Start by selecting container types that nest well together—think uniform shapes and sizes to avoid wasted gaps.
Here’s how to get started:
- Sort containers by shape and size to create stable stacks.
- Place heavier containers at the bottom and lighter ones on top.
- Fill any gaps inside containers with smaller kitchen tools or linens to prevent shifting.
Wrap Items Efficiently
Although packing kitchen items can feel overwhelming, wrapping them efficiently saves space and prevents damage during your move. Start by grouping similar items together and wrapping fragile pieces individually with bubble wrap or packing paper.
Use smart wrapping techniques like nesting smaller items inside larger ones to minimize empty space. Wrap plates vertically, like records, to reduce the risk of breakage, and secure lids on containers with tape or plastic wrap to avoid spills.
Don’t forget to cushion sharp utensils separately to protect yourself and your belongings. By focusing on careful, compact wrapping, you’ll maximize protection while keeping your kitchen boxes organized and manageable.
These kitchen organization tips and wrapping methods make your packing process smoother and help ensure everything arrives safely.
Maximize Box Space
Maximizing box space is key to packing your kitchen efficiently and reducing the number of boxes you need. To get the best results, focus on strategic arrangement and smart item placement. Here’s how you can make the most of every inch:
Nest smaller items inside larger ones, like measuring cups inside bowls, to fill gaps. This helps save space and keeps things organized.
Arrange heavier, sturdier items at the bottom and lighter, fragile ones on top. It keeps your boxes balanced and reduces the risk of damage.
Use soft items like towels or dishcloths to fill empty spaces and cushion fragile goods. This adds extra protection and makes the most of every corner.
Handle Hazardous Materials and Perishables Safely
Since hazardous materials and perishables need special handling, you’ll want to pack them separately and securely to avoid accidents and spoilage. Keep hazardous items like cleaning supplies, aerosols, and batteries in sturdy, sealed containers away from perishable foods such as dairy, meat, and fresh produce.
Use insulated coolers or ice packs for perishables if your move is short. If you’re moving over a long distance, plan to either eat or donate these items before the move. This helps prevent spoilage and messes along the way.
Here’s a quick guide to help you manage these sensitive items:
| Hazardous Materials | Perishable Items |
|---|---|
| Flammable, toxic risks | Spoil quickly |
| Needs sealed packaging | Requires refrigeration |
| Keep away from food | Pack last for easy access |
| Handle with care | Use insulated containers |
Label Kitchen Boxes Clearly for Easy Unpacking
When you’re packing up your kitchen, it’s really helpful to label each box with clear, easy-to-read tags. That way, unpacking later on won’t feel like a mystery! Try grouping similar items together—like all your utensils or pots and pans—so you know exactly what’s inside each box without digging through everything.
And don’t forget to write the destination room on each label. Whether it’s the pantry, the cabinets, or the drawers, this little step makes unpacking way smoother and less stressful. Happy packing!
Use Clear, Visible Labels
When you label your kitchen boxes clearly, you’ll save time and reduce stress during unpacking. Clear, visible labels help you quickly spot what’s inside each box without opening them. Put labels on multiple sides of the box to make sure they stand out.
Use bold, black markers on bright-colored tape or paper for good contrast. Write large, easy-to-read text that can be seen from a distance. Include brief contents and the room destination to avoid confusion.
Categorize By Item Type
Although organizing kitchen items might seem tedious, categorizing them by type makes unpacking much easier and faster. When you separate items like cookware, utensils, glassware, and pantry goods, you streamline the process and avoid confusion.
Use clear labels to mark each box with its contents and handle instructions, so you know exactly where everything belongs. This approach follows essential kitchen organization tips that save time and reduce stress.
Incorporate packing strategies like grouping fragile items together and placing heavy objects in smaller boxes to maintain balance. By categorizing your kitchen boxes, you’ll simplify both packing and unpacking.
It makes your move smoother and sets you up for an efficient kitchen setup in your new home.
Include Room Destination
Labeling each box with its specific room destination can save you a lot of time and hassle during unpacking. When you include the room name on your kitchen boxes, you’ll know exactly where everything goes, speeding up the process and keeping your kitchen organized.
As you finalize your kitchen inventory, assign each item to its appropriate box and clearly mark it with the destination room. Follow this quick checklist to stay on track with your packing timeline:
- Write the room name (e.g., “Kitchen,” “Dining Room”) on each box.
- Add a brief description of the contents, referencing your kitchen inventory.
- Use color-coded labels or markers to visually distinguish rooms.
This simple step makes unpacking smoother and prevents confusion after moving.
Unpack and Set Up Your New Kitchen Efficiently
Since your kitchen is where functionality meets your daily routine, unpacking and setting it up efficiently can save you time and reduce stress. Start by visualizing your kitchen layout to decide where items will go based on how often you use them and your meal planning needs.
Unpack the essentials first: cookware, utensils, and dishes, and place them in spots that are easy to access. Group similar items together—like baking supplies, cooking tools, or cleaning products—to make your workflow smoother.
| Step | Tip | Purpose |
|---|---|---|
| 1. Assess layout | Map zones for cooking, prep | Maximize efficiency |
| 2. Unpack essentials | Prioritize daily-use items | Easy access |
| 3. Organize storage | Use containers and dividers | Keep everything orderly |
| 4. Set up appliances | Test and position appliances | Ensure they’re ready to use |
| 5. Finalize details | Label shelves and clean surfaces | Make future unpacking easier |
Following this plan helps you create a functional kitchen that makes meal planning and daily tasks much easier.
Frequently Asked Questions
How Far in Advance Should I Start Packing My Kitchen Items?
You should start your packing timeline about two weeks before your move. Begin by packing non-essential kitchen items first, like rarely used gadgets or extra dishes.
Keep your kitchen essentials, such as daily cookware and utensils, accessible until the last few days. This way, you won’t disrupt your routine, and you’ll have everything you need while slowly preparing for the move.
Starting early helps reduce stress and keeps you organized.
What Should I Do if I Break a Dish While Packing?
If you break a dish while packing, don’t panic—dish safety is key. First, carefully gather the shards using gloves to avoid cuts, then dispose of them properly.
Next, reinforce your packing techniques by wrapping remaining dishes individually in bubble wrap or towels to prevent future accidents.
This way, you’ll keep your kitchen items safe and intact, turning a mishap into a lesson on improving your packing skills.
Can I Pack Kitchen Knives With Other Utensils?
Yes, you can pack kitchen knives with other utensils, but you should be careful about knife safety. Wrap each knife blade carefully in bubble wrap or a thick cloth to prevent cuts and damage.
If you have a knife sheath, use that for extra protection. Organize your utensils by grouping similar items together, but keep knives separate from spoons and forks inside the box. This prevents shifting and keeps everything safe and neat during your move.
How Do I Dispose of Old or Expired Kitchen Chemicals?
You don’t want to turn your kitchen chemicals into a hazardous science experiment! For chemical safety, never pour old or expired chemicals down the drain or trash.
Instead, take them to a local hazardous waste disposal site or follow community guidelines for eco-friendly disposal.
Seal containers tightly, label them clearly, and keep them away from kids and pets.
Doing this protects your home and the environment—no mad scientist vibes needed!
What’s the Best Way to Keep Spices Fresh During a Move?
To keep your spices fresh during a move, transfer them into airtight containers or resealable bags to prevent moisture and air exposure. Label each container clearly to stay organized.
Use small spice jars or travel-sized containers if possible. Wrap the containers in bubble wrap or place them in a sturdy box with your moving essentials to avoid breakage.
This way, your spice storage stays intact, and you’ll have easy access when unpacking.
Conclusion
You might think packing your kitchen is just about stuffing boxes and hoping for the best. But if you follow these steps, you’ll actually save time, avoid broken dishes, and keep your sanity intact.
Who knew that sorting, wrapping, and labeling could turn chaos into order? So, instead of dreading the move, welcome the process.
You’ll thank yourself when unpacking feels like a breeze, not a disaster waiting to happen. Proper packing makes all the difference when it comes to your kitchen move.