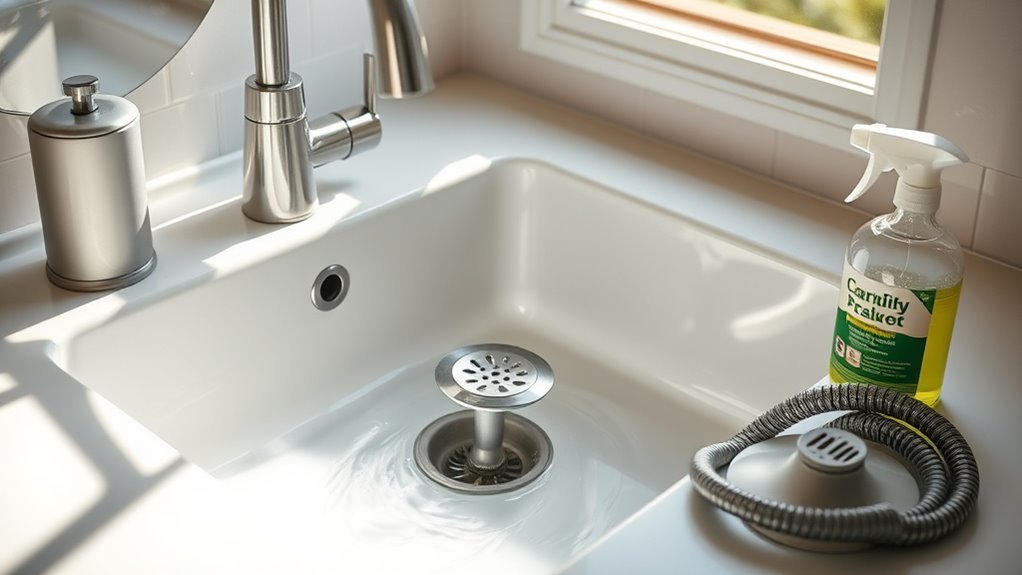
How to Unclog a Kitchen Sink: A Step-by-Step Guide
Dealing with a clogged kitchen sink is one of those everyday frustrations many of us face. You’re not alone—most people struggle with stubborn blockages that disrupt your daily routine.
Luckily, there are simple and effective ways to tackle this common problem without calling in a plumber right away.
To unclog your kitchen sink, start by pouring boiling water to melt grease. Then use a plunger with the overflow hole blocked for better suction.
If that doesn’t work, try a natural mix of baking soda and vinegar, letting it fizz before flushing with hot water.
For stubborn clogs, clean the P-trap or use a drain snake carefully.
Avoid harsh chemicals, and follow simple tips to prevent future blockages.
Keep going to uncover more effective unclogging techniques and when to call a pro.
Key Takeaways
- Pour boiling water down the drain to help dissolve grease and loosen minor clogs.
- Use a plunger with the overflow hole blocked to create suction and dislodge any blockages.
- Mix baking soda and vinegar, then pour it into the drain. Let it fizz for about 15 minutes before flushing with hot water.
- Remove and clean the P-trap by loosening the slip nuts and clearing out any trapped debris.
- For stubborn clogs, carefully use a drain snake to break up the blockage. Follow up by flushing with hot water to clear everything out.
Quick Ways to Unclog Your Kitchen Sink
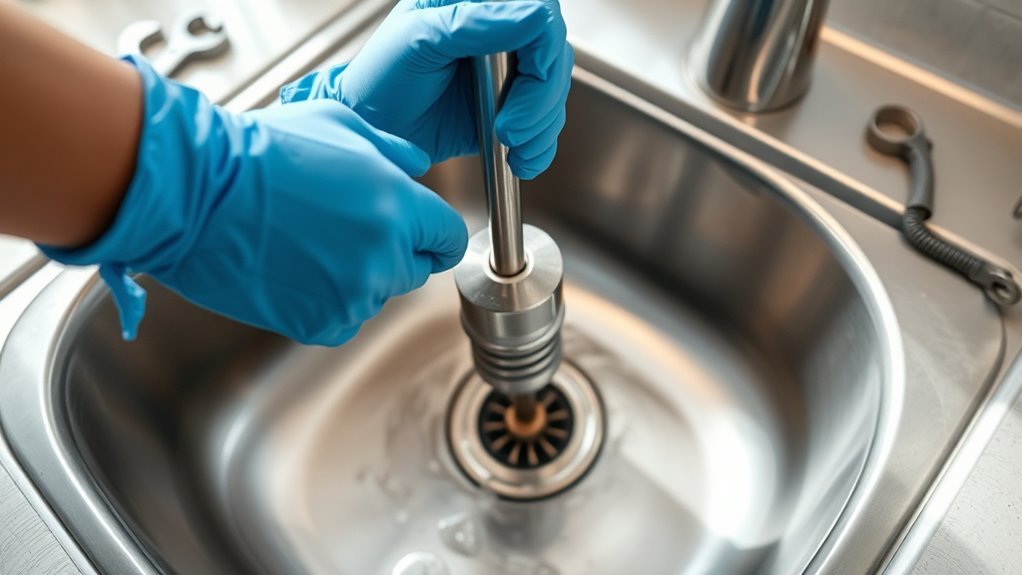
Anyone can quickly tackle a clogged kitchen sink using simple methods you can try right now. Start by pouring boiling water down the drain to break up grease buildup.
Quickly clear a clogged kitchen sink by pouring boiling water down the drain to dissolve grease buildup.
If that doesn’t work, use a plunger to create suction and dislodge the clog. Remember to block the overflow hole with a wet cloth for better pressure.
For a more thorough approach, try a mixture of baking soda and vinegar. Pour baking soda into the drain, then add vinegar, and let it fizz for a few minutes before rinsing with hot water.
While handling these tasks, always prioritize plumbing safety—wear gloves and avoid harsh chemicals that can damage pipes. Regular drain maintenance helps prevent future clogs.
Avoid pouring grease or large food particles down the sink. These quick fixes keep your sink draining smoothly without calling a professional every time.
With a little care and attention, you’ll maintain a functional kitchen sink and avoid frustration.
Common Causes of Kitchen Sink Clogs
Three of the most common causes of kitchen sink clogs are food scraps, grease buildup, and soap residue. When you improperly dispose of food scraps or overuse your sink, grease can coat the pipes and trap debris. Soap residue can mix with minerals in water, forming stubborn deposits.
Foreign objects like hair or small utensils can also block drains. Over time, mineral deposits narrow pipes, making clogs more likely. Knowing these causes helps you take steps to prevent future problems and keep your sink flowing smoothly.
| Cause | Description | Prevention Tip |
|---|---|---|
| Food Scraps | Leftover bits block pipes | Use a strainer to catch debris |
| Grease Accumulation | Solidifies in pipes and creates buildup | Avoid pouring grease down the drain |
| Soap Buildup | Combines with minerals to harden in pipes | Flush with hot water regularly |
| Foreign Objects | Small items like hair or utensils get stuck | Keep the sink clear of debris |
| Mineral Deposits | Harden and narrow pipes over time | Use water softeners if needed |
Tools and Materials Needed to Unclog Your Sink
If your kitchen sink is clogged, having the right tools and materials can make all the difference. You’ll want to grab a few essentials like a plunger, a drain snake, and some basic cleaning supplies.
Having these handy will help you tackle the clog more quickly and with less hassle. It’s always better to be prepared than to scramble for the right tools when you’re already frustrated with a stubborn clog.
Essential Tools Overview
Gathering the right tools makes unclogging your kitchen sink much easier and faster. Proper tools not only speed up sink maintenance but also ensure plumbing safety, protecting you from injury or damage.
Here’s a quick overview of essential tools you’ll need:
| Tool | Purpose |
|---|---|
| Plunger | Clears minor clogs with suction |
| Pipe wrench | Loosens tight plumbing fittings |
| Drain snake | Reaches deep blockages |
| Bucket | Catches water during disassembly |
Using these tools correctly helps you avoid costly repairs and keeps your sink running smoothly. Always handle plumbing tools with care and follow safety guidelines to prevent mishaps.
With these essentials on hand, you’ll be ready to tackle most clogs efficiently and maintain your kitchen sink’s performance.
Common Materials Checklist
Having the right materials on hand makes unclogging your kitchen sink much smoother. Start with a plunger and a plumber’s snake, essential for most blockages. Keep a bucket nearby to catch any water when you disconnect pipes.
For DIY drainage solutions, have a pair of gloves and a wrench ready to handle traps safely. Natural clog removers like baking soda and vinegar offer an eco-friendly way to dissolve grime without harsh chemicals.
You might also want a flashlight to inspect the pipes and a small brush to clean debris. Having these materials prepared guarantees you’re ready to tackle clogs efficiently and safely, saving time and avoiding potential damage to your sink or plumbing system.
How to Use a Plunger to Clear Your Kitchen Sink Drain
Before you start plunging, it’s a good idea to remove any standing water from the sink. You’ll also want to block the overflow hole to help create a tight seal—that way, the pressure from the plunger is more effective.
Next, place the plunger firmly over the drain, making sure it covers the opening completely. Use quick, controlled thrusts to build up pressure. Keep at it, and with the right technique, you’ll probably break up the clog and get your sink draining smoothly again.
Preparing Your Sink
To start preparing your sink for plunging, clear any standing water to a manageable level, leaving just enough to cover the plunger’s cup. This helps create a good seal and better suction.
Next, remove any debris from the drain opening to keep your sink in good shape and improve drain hygiene. It’s also a good idea to block the sink’s overflow hole or second basin with a wet cloth to prevent air leaks.
| Step | Purpose | Tip |
|---|---|---|
| Clear water level | Guarantee plunger coverage | Leave 1-2 inches |
| Remove debris | Prevent pushing clogs deeper | Use gloves for hygiene |
| Block overflow | Maintain suction | Use a damp cloth |
These simple steps set the stage for effective clog removal and help protect your plumbing system.
Plunging Techniques
Once your sink is filled with clear water, debris removed, and the overflow sealed, you’re ready to start plunging to clear the clog. Place the plunger cup firmly over the drain to create a tight seal.
Use quick, forceful thrusts instead of slow, gentle pushes—this is key for effective plunging. Keep the plunger vertical to maintain suction and avoid breaking the seal.
After 15 to 20 plunges, quickly pull the plunger off the drain to see if the water starts draining. If it doesn’t, just repeat the process.
Remember, consistent pressure and keeping the seal intact are essential to dislodge stubborn blockages. Be careful not to use excessive force to avoid damaging the pipes.
With these steps, you’ll often clear the clog without needing harsh chemicals or extra tools.
How to Remove and Clean Your Sink Stopper to Prevent Clogs
Start by lifting your sink stopper to check for trapped debris that can slow drainage. Often, food particles and grease gather around or under the stopper, causing blockages. To remove it, locate the pivot rod underneath the sink connected to the stopper’s shaft. Unscrew or unclip this rod, then lift the stopper out carefully.
Clean it thoroughly with warm, soapy water and a brush, removing any grime or buildup. While you’re at it, wipe down the drain opening to improve sink hygiene.
Regular stopper maintenance prevents clogs and keeps your sink draining smoothly. Reinstall the stopper by reversing the removal process, making sure the pivot rod is securely fastened.
Using Baking Soda and Vinegar to Unclog Your Kitchen Sink
Sprinkle baking soda directly into your sink drain, then pour vinegar on top to create a fizzing reaction that breaks down grime and clogs. This classic combo uses natural cleaners to safely tackle buildup without harsh chemicals.
The baking soda’s gentle abrasiveness scrubs away debris, while the vinegar reacts to help dissolve grease and organic matter trapped inside pipes. Let the mixture fizz for about 15 minutes to get the best results.
After that, flush your drain with hot water to clear any loosened residue. Regular use of baking soda and vinegar not only unclogs your sink but also helps prevent future blockages.
This eco-friendly method is easy, affordable, and gentle on your plumbing. Incorporate it into your cleaning routine every few weeks to keep your kitchen sink running smoothly and smelling fresh.
It’s a great way to reduce reliance on chemical drain cleaners and protect the environment at the same time.
How to Clear the P-Trap Under Your Sink
Loosen the slip nuts on the P-trap beneath your sink to access and clear out trapped debris causing the clog. Place a bucket underneath to catch any water or gunk that spills out.
Once the P-trap is loose, remove it carefully and inspect for buildup like food scraps or grease. Use a brush or old cloth to clean the inside thoroughly.
Remove the P-trap carefully and clean away any food scraps or grease with a brush or cloth.
Rinse the P-trap with hot water to remove any remaining residue. Reattach it securely by tightening the slip nuts, making sure it fits snugly to prevent leaks.
Regular P-trap maintenance helps prevent future clogs and keeps your sink draining smoothly. Doing routine drain cleaning, including clearing the P-trap, reduces odors and improves water flow.
If drainage slows again, check the P-trap first before trying other methods. This simple step often solves common kitchen sink clogs quickly and effectively.
When to Use a Drain Snake for Tough Clogs
If your sink is still clogged after cleaning out the P-trap, it’s time to grab a drain snake.
Drain snakes are especially handy when simple plunging or P-trap cleaning doesn’t do the trick. Carefully feed the snake into the drain, turning it clockwise as you push forward to break up or hook the clog.
Don’t force it if you hit resistance. Instead, slowly rotate and wiggle the snake to avoid damaging your pipes. When you feel the clog loosen, pull the snake out with debris attached.
Flush the drain with hot water afterward to wash away any remaining buildup. Using a drain snake is great for tackling stubborn blockages deep inside the pipes that other tools can’t reach.
This method works well for clogs caused by hair, grease, or food particles stuck further down the line.
Tips to Prevent Future Kitchen Sink Clogs
Want to keep your kitchen sink running smoothly without any annoying clogs? One of the best ways is to be mindful about what you’re throwing down the drain. Try to steer clear of greasy foods and food scraps—they tend to stick around and cause blockages.
And don’t forget, a little regular maintenance can go a long way. Flushing your drain with hot water once in a while helps break down buildup, and using a drain strainer can catch those pesky food bits before they cause trouble.
It’s all about adopting some simple habits—keep things flowing smoothly and your kitchen sink will thank you!
Proper Waste Disposal
Although it might seem convenient to wash all food scraps down the drain, proper waste disposal plays an essential role in preventing future kitchen sink clogs.
You can avoid many blockages by composting food scraps instead of rinsing them away. Composting food not only reduces waste but also keeps your pipes clear of greasy or fibrous debris that causes buildup.
Moreover, be sure to recycle containers properly and avoid tossing items like plastic wrappers or metal caps into the sink. These materials can easily get stuck, leading to clogs and damage.
Regular Maintenance Tips
Three simple maintenance habits can greatly reduce the chances of your kitchen sink clogging. Regular sink maintenance and routine checks help you catch problems early and keep drains flowing smoothly. Here are some effective tips:
| Tip | Frequency | Purpose |
|---|---|---|
| Run hot water daily | Daily | Dissolves grease buildup |
| Use a drain strainer | Always | Prevents food debris entry |
| Flush with baking soda | Weekly | Breaks down organic residue |
| Inspect pipes | Monthly | Detect leaks and blockages |
Signs You Should Call a Professional Plumber
How do you know when it’s time to call a professional plumber? If you’re dealing with plumbing emergencies like persistent clogs, slow drainage, or foul odors, it’s a clear sign you need expert help.
Also, keep an eye out for signs of damage such as water leaks under your sink, swollen cabinet wood, or unusual noises from your pipes. These issues often point to problems beyond simple DIY fixes.
If plunging and basic drain cleaners don’t do the trick, don’t keep risking damage by trying more aggressive methods yourself. A professional plumber can quickly identify and fix complex blockages or pipe damage, saving you money on repairs down the line.
Plus, if your kitchen sink keeps backing up, it might be a sign of a deeper issue in your plumbing system.
In short, when you notice plumbing emergencies or signs of damage, it’s best to call a professional plumber right away to keep your kitchen sink in good shape.
Frequently Asked Questions
Can Clogged Kitchen Sinks Cause Bad Odors in the Entire House?
Yes, clogged drains can definitely cause bad odors throughout your house. When your kitchen sink is clogged, food particles and grease get trapped, becoming major odor sources.
These trapped materials start to decompose, releasing unpleasant smells that can spread beyond the kitchen. If you don’t address clogged drains quickly, the odor can linger and make your whole home smell foul.
Taking care of the clog fast stops the smell right at the source.
Is It Safe to Use Chemical Drain Cleaners Regularly?
You shouldn’t use chemical drain cleaners regularly because 70% of plumbing professionals warn they can damage pipes over time.
While these products offer quick drain cleaning, their harsh chemicals can harm the environment and weaken your pipes.
Instead, try natural methods or mechanical tools like plungers or snakes for regular maintenance.
Save chemical cleaners for tough, occasional clogs to protect your plumbing and health.
How Does Water Temperature Affect Sink Clog Prevention?
You’ll find that using hot water helps reduce water viscosity, allowing it to flow more easily and wash away grease buildup before it solidifies. Cold water, on the other hand, thickens grease, causing it to stick and clog your sink.
Can Food Waste Disposals Contribute to Sink Clogs?
Like a double-edged sword, food waste disposals can both help and harm your sink. If you neglect maintenance, grease, fibrous veggies, and starchy foods can build up and cause clogs.
You’ve got to run cold water while grinding and avoid putting tough scraps down there. Staying on top of these habits will keep your disposal running smoothly and prevent stubborn clogs from sneaking up on you.
Are There Eco-Friendly Alternatives to Unclogging Kitchen Sinks?
Yes, you can use eco-friendly options like a baking soda and vinegar solution to unclog your kitchen sink. Start by pouring half a cup of baking soda down the drain, then add a cup of vinegar.
Let it fizz for about 15 minutes, then flush with hot water. You can also try a salt mixture with hot water to break down grease.
These natural methods work without harsh chemicals, helping keep your sink and the environment safe.
Conclusion
Unclogging your kitchen sink might seem intimidating, but with these simple steps, you can do it yourself without calling a plumber. Even if the clog seems stubborn, imagine the relief of water flowing freely again after just a few easy fixes.
By using the right tools and techniques, you’ll save time and money while keeping the mess to a minimum. So, roll up your sleeves—you’ve got this! Tackling a kitchen sink clog is easier than you think with a little patience and the right approach.