How to Deep Clean Kitchen: A Step-by-Step Guide
Many people struggle with keeping their kitchens spotless and organized, especially when life gets busy. It’s easy for clutter and grime to build up, making your space feel less inviting. Don’t worry—you’re not alone in this.
A deep clean can seem daunting, but with the right steps, it’s totally doable.
To deep clean your kitchen, start by gathering all your cleaning supplies and clearing off countertops. Empty and wipe down appliances like your fridge, oven, and microwave.
Scrub countertops and backsplash with gentle cleaners, then organize and clean cabinets, drawers, and the pantry.
Don’t forget to thoroughly clean the sink, faucet, and floors. Proper waste disposal keeps things fresh.
Follow these steps, and you’ll soon have a spotless, well-organized kitchen that’s easy to maintain and enjoy.
Key Takeaways
- Gather essential, eco-friendly cleaning supplies like gloves, scrub brushes, microfiber cloths, and homemade solutions such as vinegar and baking soda.
- Clear and declutter all kitchen surfaces, sorting items into keep, relocate, or discard categories for an easier cleaning process.
- Deep clean appliances, countertops, and backsplash using gentle, eco-friendly cleaners. Focus on scrubbing carefully to avoid damage.
- Empty, clean, and organize cabinets, drawers, pantry, and fridge. Group similar items and discard expired food for better hygiene and accessibility.
- Maintain the sink, faucet, and floors with appropriate cleaners and techniques. Dispose of waste responsibly, following local recycling and composting guidelines.
Gather Cleaning Supplies
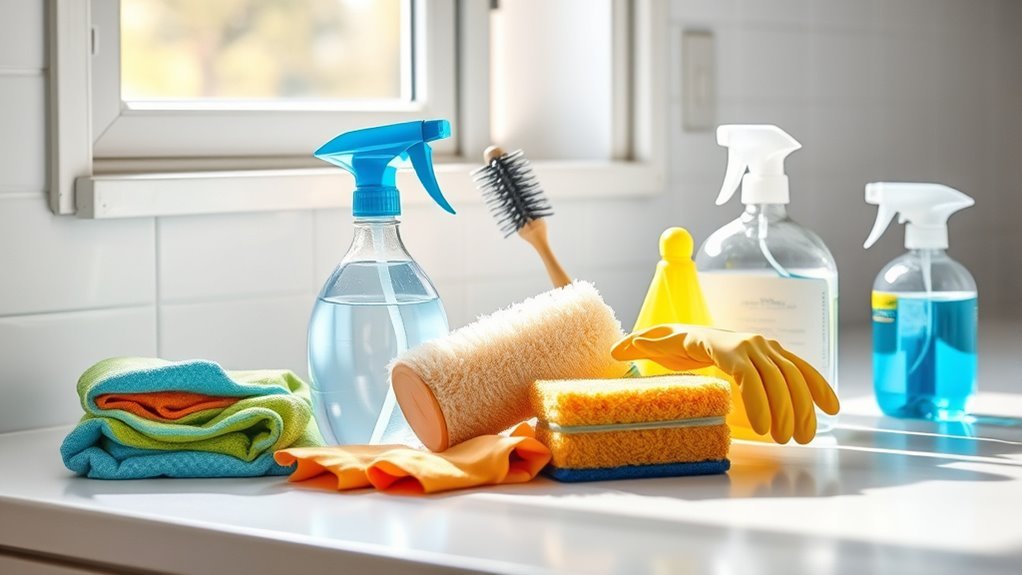
Before you start deep cleaning your kitchen, gather all the supplies you’ll need to save time and stay organized. Collect essential tools like scrub brushes, microfiber cloths, sponges, and a mop.
Having everything ready means you won’t waste time searching for supplies in the middle of cleaning. Don’t forget gloves to protect your hands and a bucket for water or cleaning solutions.
Gather supplies beforehand to avoid interruptions, and remember gloves and a bucket for safe, efficient cleaning.
Think about using eco-friendly options to reduce your environmental impact. Look for biodegradable sponges, natural fiber cloths, and plant-based cleaning sprays.
These alternatives clean well without harsh chemicals. You can even make your own cleaning solutions with vinegar, baking soda, and lemon juice, which are safe and budget-friendly.
Clear and Declutter Kitchen Surfaces
Start by removing every item from your kitchen surfaces to create a blank canvas for cleaning. This helps you see all areas clearly and makes sure you don’t miss spots during your deep clean.
Use surface decluttering strategies like sorting items into categories: keep, relocate, or discard. Focus on the essentials you use daily and store less-used items elsewhere to keep your counters clear.
Set up specific zones for cooking, prep, and storage. Use trays or containers to group small items, which reduces clutter and makes future cleaning easier.
Avoid piling mail, gadgets, or random objects on countertops—they only attract dust and grease buildup. Keeping surfaces tidy makes your kitchen look better and stay cleaner longer.
Clean Kitchen Appliances Inside and Out
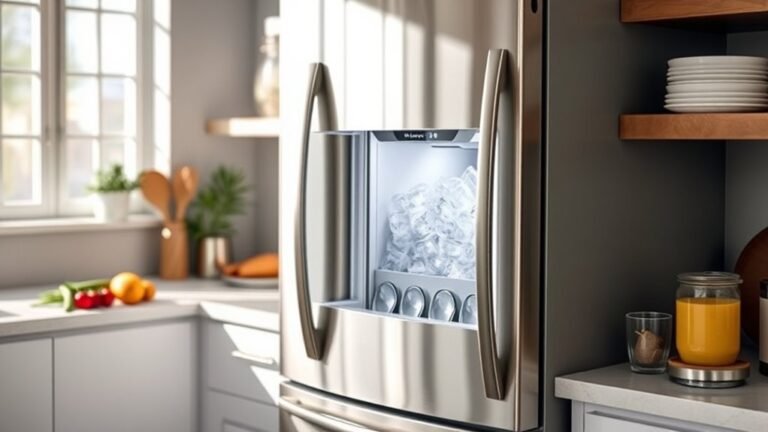
Now’s a great time to give your kitchen appliances a good clean, both inside and out. Think about freshening up your refrigerator—it’s amazing how much brighter and more inviting it feels after a quick wipe-down.
And don’t forget about your oven! Keeping it spotless not only helps it look better but also ensures it works more efficiently. Plus, giving your microwave a quick wipe will make it look fresh and help it run smoother.
These simple steps really make a difference—they’ll have your appliances looking and functioning like new in no time!
Refrigerator Cleaning Tips
Keeping your refrigerator spotless not only extends its lifespan but also keeps your food fresh and safe. Start by emptying the fridge and tossing out expired items to prevent bad smells and contamination.
Use these refrigerator cleaning tips to refresh your appliance:
- Remove all shelves and drawers, soak them in warm soapy water, then wipe the interior with a mixture of baking soda and water to tackle stains and odors.
- Place an open box of baking soda or activated charcoal inside the fridge to absorb unwanted smells.
- Organize your fridge by grouping similar items, labeling leftovers, and keeping frequently used items at eye level for easy access.
Following these steps regularly will keep your fridge hygienic and working efficiently.
Oven Maintenance Steps
Give your oven the attention it deserves by tackling both its interior and exterior surfaces. Start by removing racks and soaking them in warm, soapy water.
Use effective oven cleaning methods like applying a baking soda paste inside the oven, letting it sit for a few hours, then wiping it clean to break down grease and grime. For stubborn spots, spray vinegar to activate the cleaning process.
Don’t forget to clean the oven door glass with a gentle scraper or a microfiber cloth. On the exterior, wipe down knobs, handles, and surfaces with a mild cleaner.
Regularly following these oven maintenance tips prevents buildup and keeps your oven running efficiently. By maintaining cleanliness, you’ll extend your oven’s lifespan and guarantee safer cooking every time.
Microwave Cleaning Tricks
After you’ve thoroughly cleaned your oven, turn your attention to the microwave, another frequently used appliance that can quickly get splattered with food and odors. To give it a refresh, try these simple tricks.
Fill a microwave-safe bowl with water and add a few slices of lemon for a natural freshener. Heat it for 3-5 minutes until you see steam filling the interior.
Let the bowl sit inside for a few minutes to loosen grime and neutralize smells. Carefully remove the bowl, then wipe the interior with a clean cloth or sponge, focusing on corners and the ceiling.
This steam method softens stuck-on food and leaves your microwave smelling fresh and clean without the need for harsh chemicals.
Scrub and Sanitize Countertops and Backsplash
When cleaning your countertops and backsplash, it’s really important to choose the right cleaning solutions. You want something that gets the job done without damaging the surfaces. Picking the wrong cleaner can lead to scratches or dullness, so take a moment to read labels and pick gentle, effective products.
When it’s time to scrub, use gentle techniques to loosen up the grime. You don’t need to go hard—just enough pressure to clean without scratching the surface. Pay special attention to high-touch areas and make sure to disinfect those spots. Keeping your kitchen sanitized helps ensure it’s a safe space for everyone.
Choosing Effective Cleaning Solutions
How do you pick the best cleaning solutions to scrub and sanitize your countertops and backsplash effectively? Start by considering options that are safe for your surfaces and your health. Here are three tips to guide you:
- Choose eco-friendly options like plant-based sprays to reduce chemical exposure and environmental impact.
- Try homemade solutions using simple ingredients—mix equal parts water and vinegar or use a baking soda paste for gentle scrubbing.
- Avoid harsh chemicals on delicate materials like granite or marble. Instead, opt for specially formulated cleaners to prevent damage.
Proper Scrubbing Techniques
Once you’ve selected the right cleaning solutions, it’s time to focus on scrubbing and sanitizing your countertops and backsplash properly. Start by choosing the right scrubbing tools based on your surface types.
For delicate surfaces like granite or marble, use a soft sponge or microfiber cloth to avoid scratches. For tougher surfaces like tile or stainless steel, a nylon scrub brush works well to remove grime effectively.
Apply your cleaning solution evenly, then scrub in circular motions to lift dirt and stains. Rinse thoroughly with clean water to prevent residue buildup.
Finally, wipe dry with a clean cloth to prevent water spots. Tailoring your scrubbing tools and technique to each surface guarantees a deep clean without damage, leaving your kitchen sparkling and hygienic.
Disinfecting High-Touch Areas
Though scrubbing removes dirt and grime, disinfecting high-touch areas like countertops and backsplashes is key to eliminating harmful bacteria and viruses. These surfaces are germ hotspots you interact with daily, so don’t skip this step.
Here’s how to do it effectively: first, clear off any debris or spills from the countertops and backsplashes before applying disinfectant. Next, use an EPA-approved disinfectant spray or wipes designed for kitchen high-touch surfaces.
Finally, let the disinfectant sit for the recommended time to ensure it kills germs, then wipe dry with a clean cloth.
Clean and Organize Cabinets and Drawers
Start by emptying all your cabinets and drawers to see what you have. As you do this, wipe down the shelves and interiors with a mild cleaner to get rid of dust and grime.
Sort through your kitchenware, setting aside duplicates, broken items, or things you no longer use. This makes organizing easier and helps you find things quickly.
When putting everything back, group similar items together—pots with pots, utensils with utensils. Use drawer dividers to keep small tools and utensils neatly separated, so clutter is minimized.
Think about adjusting shelf heights or adding organizers to make the most of your space and keep things accessible.
Good cabinet organization keeps your kitchen tidy and makes cleaning easier over time. With everything in its place, your cabinets and drawers will look neat and be more functional.
Refresh and Deep Clean Your Pantry and Fridge
Now’s a great time to give your pantry a little refresh. Take everything out, and as you do, think about organizing those essentials so you can find what you need quickly. It’s amazing how much easier cooking becomes when everything’s in its place!
While you’re at it, don’t forget to clean your fridge. Remove all the food and give those surfaces a good wipe-down. Sanitizing your fridge not only keeps it smelling fresh but also helps keep your food safe. It’s a simple step that makes a big difference in your kitchen!
Organize Pantry Essentials
Organizing your pantry essentials can really boost your kitchen’s efficiency and keep things tidy. Start by taking everything out and getting rid of expired or unwanted items.
Effective pantry organization makes it easier to find ingredients quickly and helps cut down on food waste. Focus on these three simple steps:
- Group similar items together. Keep baking supplies, canned goods, and snacks in their own zones so you can grab what you need fast.
- Use clear containers. Transfer dry goods into airtight containers for better storage and easy visibility.
- Label everything. Label shelves and containers to keep things organized and help everyone in your household find what they’re looking for.
Sanitize Refrigerator Surfaces
Wipe down every surface inside your refrigerator to eliminate spills, crumbs, and bacteria that can affect your food’s freshness. Start by removing all items and shelves, then use a mild detergent mixed with warm water or a vinegar solution to clean.
This process not only improves refrigerator organization but also boosts food safety by reducing cross-contamination risks. Regularly sanitizing your fridge keeps your kitchen healthy and your food fresher longer.
Remove all food and drawers first. Wash shelves with warm, soapy water to get rid of any grime.
Next, use a disinfectant safe for food areas to sanitize surfaces thoroughly. Finally, return your items and organize them for easy access.
Tackle the Sink and Faucet for a Fresh Finish
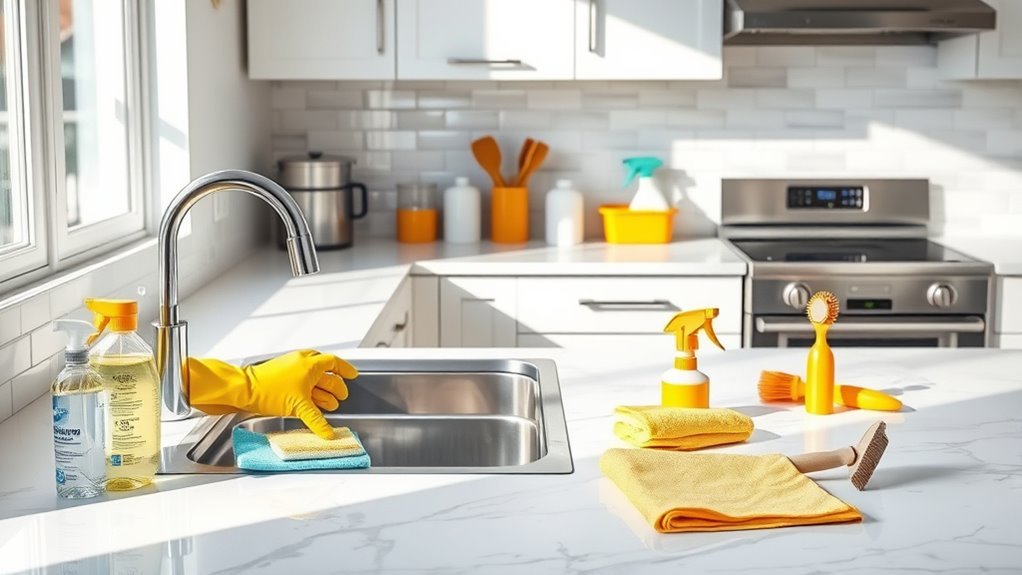
Because your sink and faucet are used constantly, they can quickly gather grime and water spots that dull their look. Cleaning these areas not only refreshes your kitchen but also helps prevent stubborn stains and keeps your faucet working smoothly.
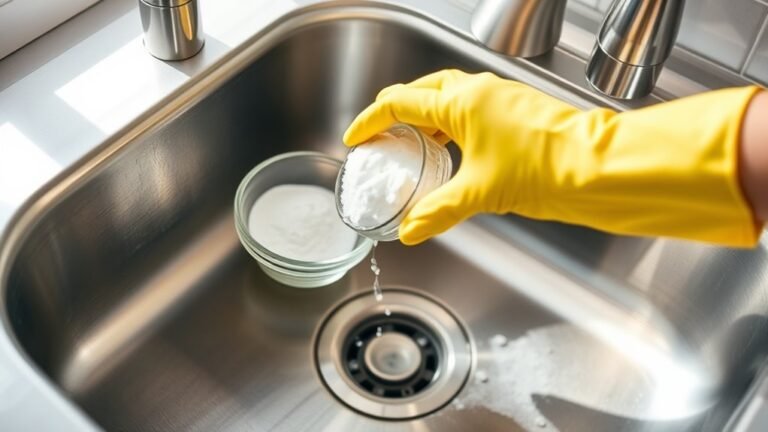
Start by scrubbing the sink with a non-abrasive cleaner or a baking soda and water paste. Focus on the corners and around the drain to effectively remove buildup.
Next, wipe down the faucet using a mix of equal parts vinegar and water to dissolve mineral deposits and water spots. Use an old toothbrush for tight spots and aerators.
Finally, check for leaks regularly and clean the aerators to ensure good water flow. Tighten any loose fittings to prevent future problems.
Wash and Maintain Kitchen Floors Thoroughly
After revitalizing your sink and faucet, turn your attention to the kitchen floors, which often bear the brunt of spills, crumbs, and dirt. Start by sweeping or vacuuming thoroughly to remove loose debris.
Then, choose the right mop techniques based on your floor types. For hardwood or laminate, use a damp mop with a gentle cleaner to avoid water damage.
Select mop methods tailored to your flooring; gentle damp mopping protects hardwood and laminate from water damage.
Tile and vinyl floors can handle a wetter mop, so feel free to use a stronger solution for stubborn stains. Always wring out your mop well to prevent excess moisture.
Move the mop in a figure-eight motion to cover corners and edges effectively. Don’t forget to rinse the mop frequently to avoid spreading dirt around.
After mopping, allow the floors to air dry or wipe them with a dry cloth for a streak-free finish. Regular maintenance keeps your kitchen fresh and extends the life of your flooring.
Dispose of Trash and Recycle Correctly
Sort your waste carefully to keep your kitchen clean and eco-friendly. Proper waste sorting helps prevent odors and pests, and it supports recycling and composting efforts that reduce landfill waste.
Here’s how to dispose of trash and recycle the right way:
- Separate recyclables like paper, glass, and plastics based on your local guidelines to make sure they’re processed properly.
- Use a designated bin for compostable food scraps such as fruit peels, coffee grounds, and vegetable leftovers to boost your composting efforts.
- Dispose of non-recyclable and hazardous waste responsibly by following your community’s disposal rules to avoid contamination and harm.
Keep Your Kitchen Clean After Deep Cleaning
To keep the sparkle and freshness you’ve achieved, develop simple habits that maintain your kitchen every day. Start with easy routines like wiping down counters and sweeping floors after meals. These small actions stop dirt and grime from building up, making deep cleans easier later on.
Use tips like cleaning appliances weekly and emptying the trash regularly to prevent odors and pests. You can also try cleaning hacks like using vinegar and baking soda for quick, natural surface cleaning. They save time and keep your kitchen safe from harsh chemicals.
Finally, adopt organizing strategies to keep clutter in check. Store items in labeled containers and assign spots for frequently used tools. This makes cooking smoother and tidying faster. Stick to these habits, and you’ll enjoy a clean, welcoming kitchen every day.
Frequently Asked Questions
How Often Should I Deep Clean My Kitchen?
You should deep clean your kitchen every 3 to 6 months to keep it hygienic and prevent buildup.
Adjust how often you clean based on how much you cook and how many people use the space.
Regular deep cleaning helps eliminate germs, reduce allergens, and keep your appliances working well.
Sticking to this schedule means a fresher, safer kitchen and longer-lasting counters, cabinets, and gadgets.
What Natural Cleaning Products Are Safe for Kitchen Surfaces?
You don’t need a chemistry degree to pick safe cleaners—just ditch the toxic stuff!
You can totally trust eco-friendly alternatives like vinegar, baking soda, and lemon juice.
These homemade cleaners tackle grease and grime without making your kitchen smell like a lab explosion.
Plus, they’re gentle on surfaces and your health.
Can Deep Cleaning Prevent Kitchen Pests Effectively?
Yes, deep cleaning can effectively prevent kitchen pests by keeping your kitchen hygienic. Regularly removing food crumbs, grease, and spills makes it harder for pests to find food.
Proper pest control starts with a spotless kitchen, including those tricky spots like behind appliances and inside cabinets. Keeping everything clean reduces the chances of an infestation.
How to Remove Tough Stains From Kitchen Walls?
To remove tough stains from kitchen walls, start by mixing warm water with a mild detergent. Use a soft sponge or cloth to gently scrub the stained area during cleaning.
For stubborn stains, try making a paste of baking soda and water. Apply it carefully, let it sit for a bit, then wipe it off.
Always test a small, hidden spot first to make sure it won’t damage the paint. After cleaning, rinse the wall with clean water to remove any leftover residue.
What’s the Best Way to Clean Kitchen Exhaust Vents?
You should start by turning off the power to the exhaust fan for safety. Remove the vent cover and soak it in hot, soapy water to loosen grease buildup.
Use a degreaser or baking soda paste to scrub away stubborn grease. Wipe down the fan blades carefully, avoiding moisture on electrical parts.
Regular exhaust fan maintenance like this prevents buildup and keeps your kitchen air clean and fresh.
Conclusion
Now that you’ve tackled deep cleaning your kitchen, you’re not just making it sparkle—you’re also protecting your health. Did you know that kitchen sponges can harbor up to 10 million bacteria per square inch? That’s pretty surprising!
By following these steps, you’re reducing germs and creating a safer space for your family. Regular deep cleaning with the right techniques helps keep bacteria at bay and your kitchen fresh.
Keep up the habit of deep cleaning your kitchen regularly. This way, it stays inviting and hygienic every day. Remember, a clean kitchen is a healthier kitchen.
You’ve got this—happy cleaning!