How to Build a Kitchen Island: A Step-by-Step Guide
Feeling overwhelmed by the idea of building your own kitchen island? You’re not alone—many people struggle with turning a vision into reality, especially when it comes to creating a functional and stylish centerpiece.
But don’t worry, with some guidance, you can craft a beautiful, personalized island that fits your space and needs.
To build a kitchen island, start by planning your space, size, and layout to guarantee good flow and clearance. Choose durable materials like hardwood and quartz for lasting style and function.
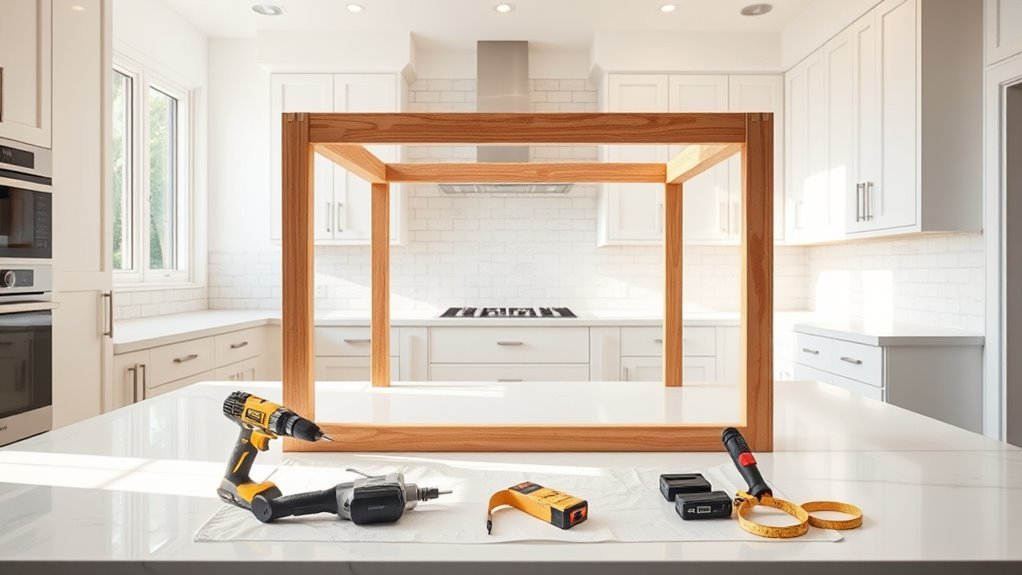
Gather essential tools such as a circular saw and drill, then construct a sturdy frame using 2×4 lumber.
Add storage with cabinets, shelves, or drawers to suit your needs. Finish with a well-leveled countertop and customize colors or seating.
Keep going to uncover tips for a perfect, personalized island.
Key Takeaways
- Plan your island size and layout by checking the space in your kitchen, considering workflow zones, where appliances will go, lighting needs, and seating options.
- Avoid common mistakes like not leaving enough clearance, skimping on practical storage, choosing materials that aren’t durable, or taking inaccurate measurements.
- Gather your essential tools, including a circular saw, drill, jigsaw, orbital sander, nail gun, and other hand tools, along with safety gear.
- Build a sturdy frame using 2×4 lumber, making sure it’s square and level, and fasten everything securely with vertical and horizontal supports.
- Add storage with cabinets, shelves, and drawers. Finish up with durable countertops, edge trims, and some personal touches to make it your own.
How to Plan Your Kitchen Island Size and Layout
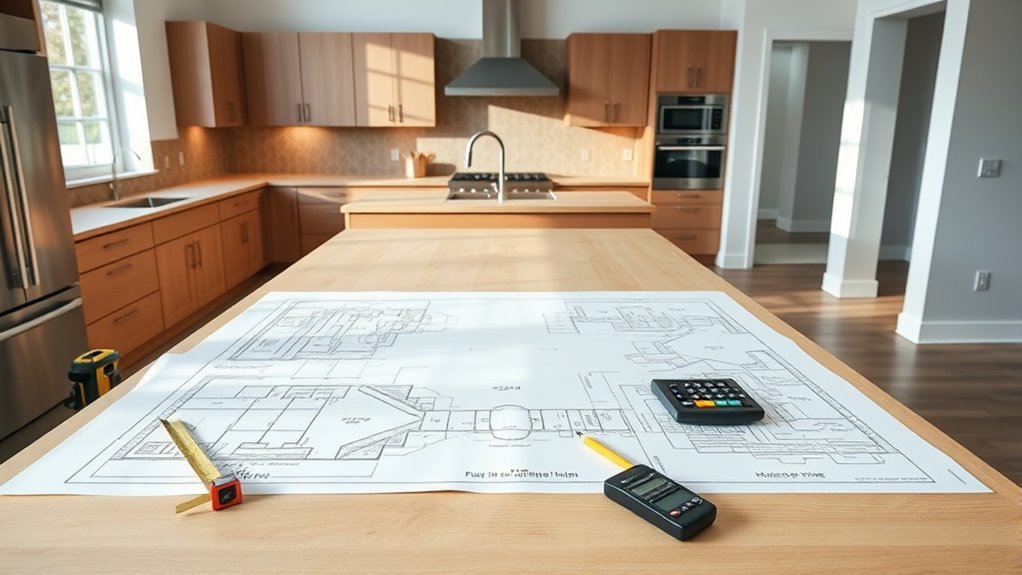
Where should you start when planning your kitchen island size and layout? Begin by checking out your kitchen’s available space to figure out the right size. You want enough room to move around comfortably without blocking traffic flow.
Next, think about how to create functional zones like prep, cooking, and cleanup areas. This makes your workflow smoother and more efficient. Also, consider appliances early on since fitting a cooktop, sink, or dishwasher into the island impacts its size and plumbing or electrical needs.
Lighting is important too. Place task lighting over prep zones and add ambient lighting to enhance the island’s look. If you want the island to serve as a casual dining or social spot, plan your seating arrangements carefully.
Common Mistakes to Avoid When Planning or Building Your Island
When you’re planning your kitchen island, don’t forget to leave enough space around it so you can move comfortably. It’s easy to overlook, but having enough room makes a big difference in how you use your kitchen day-to-day.
Also, think about your storage needs. You want your island to be practical, not just pretty to look at. Make sure it has enough cabinets or drawers to keep things organized and within easy reach.
And don’t forget about the materials. Pick surfaces that can stand up to daily wear and tear — things like spills, heat, and scratches. That way, your island will stay looking good and functional for years to come.
Ignoring Space Requirements
Although a kitchen island can really change your space, forgetting about the necessary clearance around it can make your upgrade more of a hassle.
You want to prioritize space optimization to keep your kitchen flow smooth.
Without enough room to move freely, you’ll find yourself bumping into the island or struggling to open cabinets and appliances.
Aim for at least 36 to 48 inches of clearance on all sides to keep traffic flowing and ensure safety.
Ignoring these space needs limits how functional your kitchen is and can lead to frustration during meal prep or cleanup.
Before building, measure carefully and picture how the island will fit with your layout.
Proper planning here guarantees your island improves your kitchen’s usability rather than becoming an obstacle you’ll regret.
Overlooking Storage Needs
Making sure your kitchen island fits comfortably in your space is just one part of the equation. Don’t forget to consider storage needs when planning your island. Without good storage options, clutter can easily take over and waste space.
Think about what you’ll store—pots, pans, utensils—and design drawers, shelves, or cabinets that suit those items. Incorporate organizers to keep everything within reach and tidy. Using vertical storage or pull-out compartments can really maximize space, especially in smaller kitchens.
Choosing Wrong Materials
Picking the wrong materials can quickly turn your kitchen island from a functional centerpiece into a costly headache. You need to balance durability with looks to make sure your island can handle daily use while boosting your kitchen’s style.
Don’t just go for the cheapest option. Think about long-term value and costs. For example, hardwood is durable but needs more maintenance, while laminate is affordable but less sturdy.
Also, consider how much upkeep each material requires. Some need regular sealing or special cleaners, which can add up over time. Pick materials that fit your lifestyle and cleaning habits.
Selecting Wood, Metal, and Countertop Materials
When choosing materials for your kitchen island, you’ll want to balance durability, style, and functionality. Start with wood selection by considering hardwoods like maple or oak for strength and a timeless look.
If you prefer a modern twist, investigate metal types such as stainless steel or brushed aluminum, which offer sleekness and resilience. For countertops, granite and quartz provide durability and easy maintenance, while butcher block adds warmth and character.
Don’t forget finish choices. They protect surfaces and improve appearance. For wood, opt for a water-resistant sealant; for metal, a powder-coated finish prevents rust.
Your selections should complement your kitchen’s overall design while standing up to daily use. By thoughtfully choosing wood, metal, and countertop materials, you’ll create a kitchen island that’s both functional and stylish, tailored to your needs and taste.
What Tools You’ll Need to Build Your Island
To build your kitchen island smoothly, you’ll want to have a good set of power tools on hand. A drill and saw are pretty much must-haves to get the job done efficiently.
And don’t forget about your hand tools! Things like a tape measure and clamps are super helpful to keep everything precise and secure.
Getting all your tools ready before you start will make the whole process way easier and more enjoyable.
Essential Power Tools
Although building a kitchen island might seem challenging, having the right power tools makes the process much smoother and more efficient. You’ll need specific tools to handle cutting, drilling, and assembling tasks safely and accurately.
Always follow safety precautions like wearing goggles and gloves, and keeping your workspace clean. This helps prevent accidents and keeps your project on track.
Here’s a quick overview of essential power tools:
| Tool | Purpose | Safety Precautions |
|---|---|---|
| Circular Saw | Cutting wood panels | Secure material, use guard |
| Drill | Making holes, driving screws | Check bit tightness, avoid loose clothing |
| Jigsaw | Cutting curves | Use sharp blades, keep hands clear |
| Orbital Sander | Smoothing surfaces | Wear dust mask, use dust collection |
| Nail Gun | Fastening parts | Keep finger off trigger until ready |
These tools will help you build your island efficiently and safely.
Hand Tools Checklist
Five essential hand tools will make building your kitchen island easier and more precise. Start with a good claw hammer for framing and assembling. A tape measure guarantees accurate cuts and fitting. Use a combination square to keep your angles perfect.
A set of screwdrivers, both flathead and Phillips, comes in handy for fastening hardware. Finally, a utility knife helps with trimming and scoring materials. These hand tools cover basic construction needs without overcomplicating your workspace.
Don’t forget tool maintenance. Keep blades sharp, handles clean, and moving parts lubricated. Proper care extends tool life and improves safety. Before starting, inspect each tool to verify it’s in good condition.
With the right hand tools and proper maintenance, your kitchen island project will move smoothly from start to finish.
Build the Frame and Support Structure
Start by laying out the base for your kitchen island carefully, making sure it’s square and level. Use good quality frame materials like 2×4 lumber for a strong foundation. Measure twice and cut accurately to keep everything precise.
Assemble the base by joining the frame pieces with wood screws, and use a carpenter’s square to check that the corners are right angles. Then, focus on support techniques to stabilize the structure. Add vertical studs at corners and along the frame, spaced evenly for strength.
Reinforce joints with metal brackets or wood glue for extra durability. Don’t forget to install horizontal supports between the studs to prevent wobbling. Once the frame is built, double-check that it’s level and securely fastened before moving on.
Building the frame and support structure properly ensures your kitchen island will be safe, stable, and ready for the next steps in your project.
Add Storage: Cabinets, Shelves, and Drawers
Now that your island’s frame is all set, it’s time to think about adding some storage. Cabinets, shelves, and drawers are great options to keep everything organized and within reach.
When choosing cabinet styles, make sure they fit your space and your style. Do you want closed cabinets for a sleek look or glass-front ones to display pretty dishes? Planning where to put shelves is also key—think about what you’ll need quick access to and place those items accordingly.
And don’t forget about drawers! Organizing them well can really make your kitchen more efficient, keeping everything tidy and easy to find. All these little choices will help turn your kitchen island into a functional, stylish centerpiece.
Cabinet Options Overview
Choosing the right cabinet options can transform your kitchen island into a highly functional centerpiece. Start by exploring various cabinet styles that match your kitchen’s aesthetic, whether modern, rustic, or traditional.
Pay close attention to cabinet finishes, as they affect both durability and style. Consider your storage solutions carefully—drawers, shelves, and pull-outs can improve cabinet organization and accessibility.
Measure cabinet dimensions precisely to guarantee everything fits perfectly without crowding your workspace. Don’t forget cabinet hardware; handles and knobs should complement your design while providing ease of use.
If standard options don’t meet your needs, custom cabinetry lets you tailor storage and style exactly how you want. Prioritizing these elements will help you create an island that’s both beautiful and practical.
Shelf Placement Tips
Where should you position shelves and drawers to get the most out of your kitchen island’s storage? Start by thinking about shelf height so you can easily reach your most-used items without bending or stretching.
Use sturdy shelf materials like plywood or hardwood for strength and durability. Pay attention to shelf spacing so tall items like mixing bowls fit comfortably, and short items like spice jars don’t waste vertical space.
Prioritize accessibility by placing frequently used items on open or easy-to-reach shelves. Less-used items can go higher or lower. Adjustable shelves are a great option since they offer flexibility as your needs change.
Drawer Organization Ideas
Three simple drawer organization ideas can transform your kitchen island into a highly efficient workspace. Start by installing drawer dividers and utensil trays to keep cutlery and tools neatly separated.
Use organizational bins and drawer inserts to store smaller items without clutter. Incorporate pull-out shelves with soft-close mechanisms for easy access and quiet operation.
Finally, consider tiered storage for better visibility and labeling systems to quickly find what you need.
| Feature | Benefit |
|---|---|
| Drawer Dividers | Keeps utensils separated |
| Organizational Bins | Organizes small items |
| Pull-Out Shelves | Easy access, soft close |
| Tiered Storage | Maximizes visibility and space |
These ideas will make your kitchen island both functional and organized.
Install the Countertop and Finishing Surfaces
Before you secure the countertop, make sure your base is perfectly level to avoid problems later on. Pick a material that matches your style and needs—granite, butcher block, quartz, or laminate are popular choices. Measure carefully, then apply a bead of construction adhesive on the island frame to hold the countertop firmly in place. Once it’s positioned, clamp it down and check for gaps or uneven spots.
Next, focus on finishing touches. Add edge trim or molding to cover raw edges for a polished look. Think about sealing porous surfaces like wood or stone to protect against stains and moisture. Lastly, inspect for minor imperfections and touch up with paint or sealant if needed. These steps will make sure your kitchen island’s countertop is both functional and attractive.
Seating Options for Your Kitchen Island
How do you choose the best seating for your kitchen island? Start by considering height to ensure comfortable use. Bar stools are a popular choice, offering flexibility and easy movement, especially if you go for swivel options.
For a cozier vibe, cushioned chairs provide extra comfort. Just make sure they fit well under the countertop. If space is limited, bench seating can be a smart solution, fitting multiple people without crowding.
Next, think about style and color matching. Your seating should complement the island’s design and your overall kitchen decor for a cohesive look. Pick materials and hues that match your theme—whether modern, rustic, or traditional.
Consider style and color to ensure your seating enhances the island and complements your kitchen’s overall design.
Ultimately, your seating should balance style, comfort, and functionality. This will make your kitchen island a welcoming spot for meals, work, or hanging out.
Painting and Sealing for Long-Lasting Finish
Once you’ve chosen the perfect seating for your kitchen island, it’s time to protect and enhance the surface. Start with careful color selection; pick a shade that complements your kitchen’s style and holds up well to wear and tear.
Lighter colors can brighten the space, while darker tones hide stains better. Before painting, sand the surface smoothly and clean off dust to ensure good adhesion. Use quality brushes or rollers, and apply thin, even coats with proper technique to avoid drips and streaks.
Let each coat dry completely before adding another. After painting, seal the surface with a durable polyurethane or water-based sealer. This protects against moisture, scratches, and stains.
Sealing is key to a long-lasting finish that keeps your island looking fresh. By following these steps, you’ll create a kitchen island that’s not only beautiful but also built to endure everyday use.
Tips for Customizing Your Kitchen Island Design
When you want your kitchen island to reflect your personal style and meet your specific needs, customizing its design is essential. Embracing custom island styles lets you create a centerpiece that’s both functional and visually appealing. Focus on unique design features that uplift your kitchen’s vibe while maximizing usability. Here are four tips to help you customize your kitchen island:
Customize your kitchen island to blend style and function, creating a unique centerpiece that enhances your space.
- Choose materials wisely. Mix wood, metal, or stone to complement your kitchen’s theme.
- Incorporate storage solutions. Add drawers, shelves, or cabinets tailored to your cooking habits.
- Add seating options. Include an overhang or built-in stools for casual dining or socializing.
- Integrate appliances or fixtures. Consider adding a prep sink, cooktop, or wine fridge to improve functionality.
Frequently Asked Questions
How Do I Incorporate Electrical Outlets Into My Kitchen Island?
To incorporate electrical outlets into your kitchen island, plan the outlet placement carefully for convenience, like near prep areas or seating.
Make sure to follow safety considerations by hiring a licensed electrician to install GFCI outlets, which protect against shocks.
Keep cords away from water sources and use weather-resistant covers if needed. Proper wiring and outlet placement will make your island both functional and safe.
This way, you can power appliances and charge devices without any hassle.
Can I Add Plumbing for a Sink in My Kitchen Island?
Yes, you can add plumbing for a sink in your kitchen island, but you’ll need to consider some plumbing details carefully.
Start by planning where you want the sink to go to make sure water supply and drainage lines are easy to access.
You might need to run pipes through the floor or ceiling, which can be a bit complicated and might cost more.
It’s a good idea to talk to a plumber early on.
That way, you can avoid surprises and make sure your island’s sink works well without leaks or blockages.
What Are the Best Lighting Options for Kitchen Islands?
Think of your kitchen island as the stage, with lighting as the spotlight that makes everything shine. The best options include pendant lights hanging above to create a focal point. Under cabinet lighting adds a subtle glow, perfect for ambiance.
Task lighting helps brighten your work areas, making cooking easier. Don’t forget ambient lighting — it sets the mood and ties the whole room together. Mixing these types ensures your island looks great and functions perfectly for cooking or entertaining.
How Do I Make My Kitchen Island Child-Friendly?
To make your kitchen island child-friendly, focus on safety features like rounded edges and non-slip surfaces to prevent injuries.
Incorporate storage solutions with child-proof locks or higher shelves to keep sharp objects and cleaning supplies out of reach.
You can also add soft-close drawers to avoid pinched fingers. These adjustments help create a safe, functional space where your kids can be around without you worrying about hazards.
What Are the Average Costs of Building a Kitchen Island?
Think of building your kitchen island like planting a tree: the cost depends on the seed you choose. On average, you’ll spend between $1,000 and $5,000, influenced by your material choices—from affordable laminates to pricey hardwoods.
Design styles also matter, whether you want a sleek modern look or a classic farmhouse vibe. The right mix shapes your space and budget, so pick wisely to watch your kitchen flourish without breaking the bank.
Conclusion
As you plan and build your kitchen island, you’ll find that the very tools you choose shape not just the structure but your confidence too. Just like selecting the perfect wood or countertop, every decision reflects your style and needs.
And isn’t it funny how the island you build to hold meals also holds memories? By avoiding common mistakes and customizing thoughtfully, you’re not just creating a countertop. You’re crafting a centerpiece for your home.
Remember, building a kitchen island with care ensures it becomes a functional and beautiful part of your space. Plus, incorporating the right tools and materials makes the process more enjoyable and rewarding.