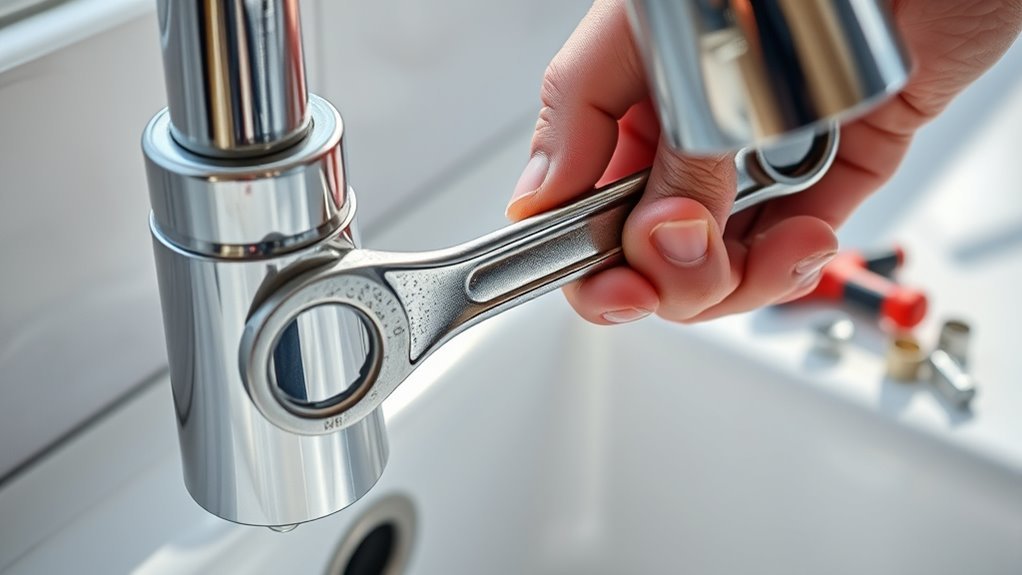
How to Fix a Leaky Kitchen Faucet: A Step-by-Step Guide
Dealing with a leaky kitchen faucet can be frustrating and messy, and you’re not alone in this struggle. Many people find it annoying to hear that constant drip or worry about water waste every day.
Luckily, fixing it is often easier than you think with a little know-how.
To fix your leaky kitchen faucet, start by turning off the water supply under the sink and draining any leftover water.
Identify your faucet type—single or double handle—and gather tools like an adjustable wrench and screwdrivers.
Remove the handle carefully, then inspect and replace worn washers, O-rings, or cartridges causing the leak.
Reassemble everything snugly without overtightening, then test for leaks and smooth water flow.
Keep following for a thorough step-by-step repair and troubleshooting tips.
Key Takeaways
- Turn off the water supply valves under the sink and open the faucet to drain any remaining water before starting repairs.
- Identify your faucet type, whether it’s a single-handle, double-handle, or pull-out, so you can follow the right repair steps.
- Gather essential tools like an adjustable wrench, screwdrivers, replacement washers, O-rings, and pliers for disassembly and repair.
- Carefully remove the faucet handle, then inspect washers, O-rings, and cartridges for any damage. Replace any faulty parts as needed.
- Reassemble the faucet correctly, making sure no parts are pinched. Turn the water supply back on and test for leaks and proper flow.
How to Stop Your Kitchen Faucet Leak Quickly
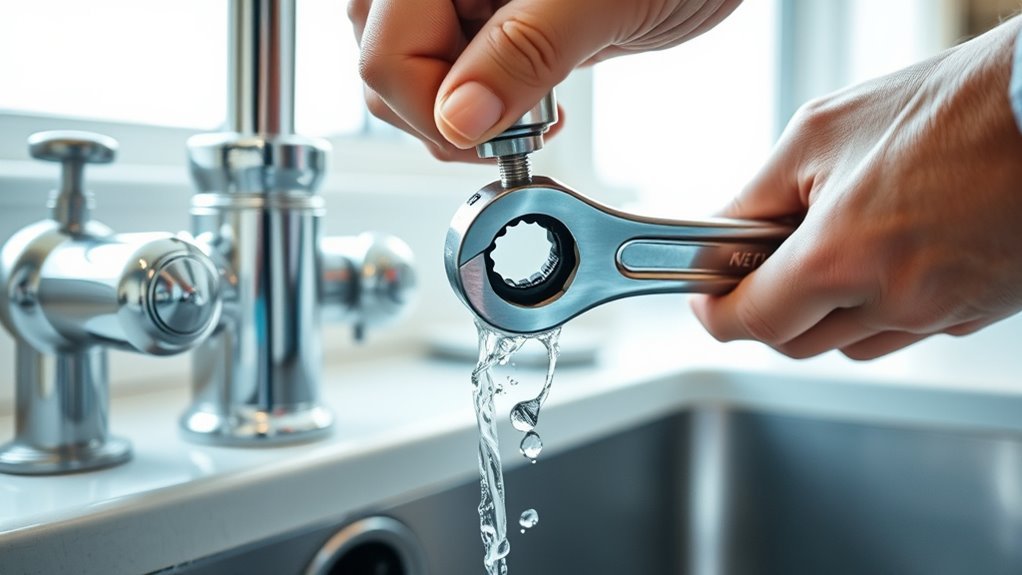
If your kitchen faucet starts leaking, the first step is to turn off the water supply valves under the sink. This quick move helps prevent water damage and waste. After shutting the valves, open the faucet to drain any remaining water.
This simple action gives you a little time to figure out what’s wrong without the leak getting worse. Next, grab a towel or bucket to catch drips and keep things clean. If you don’t see obvious damage, try tightening the faucet handle or spout connections carefully. Sometimes a loose part is all it takes to cause a leak.
Remember, these quick fixes only provide immediate relief. They aren’t permanent solutions, so you’ll want to plan a proper repair or call a professional soon. Acting fast and following these emergency tips can help minimize water loss and prevent further damage to your kitchen.
Stay calm and work methodically—this approach helps you manage the leak efficiently.
How to Identify Your Kitchen Faucet Type
To fix that annoying leak in your kitchen faucet, the first thing you need to do is figure out what kind of faucet it is. Take a good look at the handle and the spout—these are the main clues. You’ll often find that faucets fall into a few common types like single-handle, double-handle, or pull-out faucets. Recognizing these features will make it much easier to figure out the right way to fix it.
Common Faucet Types
Understanding the type of faucet you have is the first step toward fixing a leaky kitchen faucet. Common faucet types include compression, cartridge, ball, and ceramic disk models.
Each type uses different mechanisms and faucet materials, which affect how you’ll approach repairs. Compression faucets rely on rubber washers, while cartridge and ceramic disk faucets use cartridges or disks that wear out over time.
Ball faucets have a single handle that controls a ball inside the faucet body. Knowing your faucet type helps you pick the right repair kits, ensuring you replace the correct parts.
Before starting, check your faucet’s manufacturer details or model number to find compatible repair kits. Identifying your faucet type precisely saves time and prevents unnecessary part purchases.
Visual Identification Tips
Three visual clues can help you quickly identify your kitchen faucet type before starting any repairs. Knowing your faucet type is key for effective leak detection and faucet maintenance.
First, check the number of handles. Single-handle models control both hot and cold water, while double-handle faucets have separate controls.
Next, observe the spout design—some faucets have a high arc, while others are more compact or straight.
Finally, look at the base. Some faucets have a single-hole installation, while others need three holes on the sink or countertop.
Spotting these features helps you prepare the right tools and parts, making leak detection and faucet maintenance easier and faster.
Handle and Spout Styles
Handling and recognizing different handle and spout styles in your kitchen faucet is key to picking the right replacement parts and tools. Start by looking at the handle design—whether it has one handle, two separate handles, or a lever. This will influence how you access internal parts for repairs.
Next, check the spout height. Some faucets have a high-arc spout for more clearance, while others are low-profile and compact. The shape of the spout can also vary, like straight, curved, or pull-out sprayers.
Knowing these details helps you buy compatible washers, cartridges, or seals. Also, note if the handle rotates, lifts, or pushes, as these movements match different internal mechanisms.
With this info, you’ll avoid guesswork and fix your leaky faucet more efficiently.
Tools You’ll Need to Fix a Leaky Kitchen Faucet
Before you start fixing your leaky kitchen faucet, gather the essential tools to make the job easier and faster. Having the right tools on hand saves you time, frustration, and helps you follow good leak prevention tips.
Here are three must-have tools to keep nearby:
- Adjustable wrench. It’s great for loosening and tightening nuts without damaging your faucet.
- Phillips and flathead screwdrivers. These help you remove screws from faucet handles or other parts.
- Replacement washers and O-rings. These small parts often cause leaks and need swapping out.
With these tools ready, you’ll be prepared to tackle common issues quickly and confidently. Proper preparation is key to successful faucet repairs and preventing future leaks, so don’t skip this step before you begin fixing your faucet.
How to Turn Off the Water Supply Before Repairs
Before you get started fixing that leaky kitchen faucet, you’ll want to turn off the water supply first. Usually, you can find the main water valve or the shut-off valves right under the sink. Just give those a turn to close them up.
Once you’ve done that, it’s a good idea to double-check that the water is really off. You can do this by turning on the faucet and seeing if any water comes out. If there’s no water flowing, you’re good to go!
Locate Main Water Valve
One essential step in fixing a leaky kitchen faucet is turning off the main water supply to prevent any unwanted flooding. Before you start, you need to locate the main valve in your home. Water valve types vary, so get familiar with common ones like gate valves, ball valves, and globe valves.
Usually, the main valve is near the water meter or where the main line enters your house. Look for a round wheel handle (gate valve), a lever handle (ball valve), or a metal box or pipe near your foundation or basement wall. Labels or signs saying “Main Water Shutoff” can also help.
Knowing the main valve’s location and type helps you quickly stop the water flow and avoid water damage during repairs.
Shut Off Under-Sink Valves
Two small valves are usually located under your kitchen sink, controlling the water flow to the faucet. Before starting any repairs, you’ll want to shut off these under-sink valves to stop the water supply.
Turn each valve clockwise until it stops to close them completely. This step is essential for effective under-sink maintenance and helps prevent unexpected leaks during your repair.
While you’re at it, do a quick inspection of the valves—look for any signs of corrosion, cracks, or stiffness. If the valves seem damaged or don’t turn smoothly, consider replacing them to avoid future problems.
Properly shutting off and inspecting these valves ensures a safer, smoother repair process without water damage or interruptions.
Verify Water Supply Is Off
After shutting off the under-sink valves, double-check that the water supply is fully off to prevent surprises during your repair. Turn on the faucet and watch carefully—if water still flows, the supply isn’t completely off.
This step helps you avoid accidental water pressure bursts or worsening leaks. For effective leak detection, look for these signs:
- No dripping or steady water flow when the faucet is open
- Absence of hissing sounds from pipes or valves
- Dryness around connections and fittings
If any water remains, shut off the main water valve for your home. Verifying the water supply is off ensures a smooth, safe repair process without unexpected flooding or damage.
Removing the Faucet Handle Safely
Before you remove the faucet handle, make sure to turn off the water supply. This helps prevent leaks or spills.
Once the water is off, locate the screw holding the handle in place. It’s often hidden under a decorative cap.
Locate the handle screw, usually hidden beneath a decorative cap, after turning off the water.
Use a flathead screwdriver or a small knife to gently pry off the cap. Be careful not to force it, as this could damage the handle or faucet.
When removing the handle, use an Allen wrench or screwdriver to carefully loosen the screw.
If the handle feels stuck, wiggle it slightly while pulling upward. This can help ease it off without applying too much force.
Keep all screws and parts together so you don’t lose anything.
Working methodically and using the right tools makes this step easier and helps prevent damage.
Following these safety tips sets you up for a smoother repair and the next steps.
Inspecting and Replacing Worn Washers, O-Rings, and Cartridges
Start by closely examining the faucet’s internal parts for signs of wear, such as cracked washers, brittle O-rings, or damaged cartridges. These components often cause leaks when they deteriorate, so it’s important to identify the problem first.
Pay attention to washer materials because rubber washers tend to wear out faster than silicone ones. Also, check the O-ring sizes carefully—using the wrong size can cause improper sealing and leaks to continue.
When inspecting, look for cracked or hardened washers that no longer flex properly. Also, check O-rings for brittleness, cracking, or misshapen shapes. For cartridges, look for visible damage, corrosion, or mineral buildup.
To replace, remove the worn parts and match them precisely with new washers, O-rings, or cartridges. Ensuring the correct washer materials and O-ring sizes will help restore a tight seal and stop leaks effectively.
This step is vital before you reassemble your faucet.
How to Fix Common Kitchen Faucet Leak Causes
Fixing common kitchen faucet leaks usually comes down to three main causes: worn washers, damaged O-rings, and faulty cartridges.
Start by turning off the water supply and removing the faucet handle to access these parts. Replace worn washers with new ones that fit exactly; a good fit helps stop leaks effectively.
Next, check O-rings for cracks or flattening. If they’re damaged, replace them to get a tight seal again. Faulty cartridges can also cause leaks, so swapping them out with the right type from your faucet’s brand usually solves the problem.
Regular faucet maintenance, like cleaning and lubricating parts, can help extend their life and prevent leaks from starting.
By addressing these issues early and staying on top of maintenance, you’ll avoid wasting water and costly repairs.
How to Reassemble Your Kitchen Faucet Correctly
Carefully align all the faucet components in their proper order to guarantee a smooth reassembly. Using proper reassembling techniques is key to avoiding common mistakes like cross-threading or misplacing washers. Begin by placing the cartridge or valve in its housing, making sure it fits snugly without forcing it.
Next, reattach any retaining clips or nuts, tightening them just enough to hold parts securely but not overtighten. Visualize the process like this: positioning the cartridge straight into the faucet body, sliding the retaining clip into its groove perfectly, and screwing the handle back on with gentle, even pressure.
Take your time to confirm every part sits correctly. Double-check that no seals or O-rings are pinched or out of place, as these errors often lead to leaks after reassembly. By following these steps carefully, you’ll restore your kitchen faucet’s functionality without frustration or extra repairs.
How to Test and Troubleshoot Your Kitchen Faucet Leak
Now that you’ve put your faucet back together, it’s a good idea to test it out for any leaks. Just turn on the water and keep an eye on all the usual spots—like around the handle and spout. It’s helpful to check each part carefully so you can spot where the water might be sneaking through.
While you’re at it, also take a quick look at the water pressure to make sure everything’s flowing smoothly. If you notice any drips or leaks, don’t worry—you’ll have a better idea of what needs fixing next. Just take your time, and you’ll be able to figure out what’s going on.
Identifying Leak Sources
Where exactly is your kitchen faucet leaking? Pinpointing the leak source is key to fixing it properly. Start by drying the faucet and surrounding area, then watch closely as you turn the water on and off.
Look for these common leak points:
- Around the base of the faucet where it meets the sink
- Underneath the handle or spout connections
- At the water supply line fittings beneath the sink
Each spot can tell you what might be worn or damaged. Finding the exact leak location helps you decide if you need to replace washers, O-rings, or tighten connections.
Keep a towel handy and inspect carefully. Accurate leak detection saves you time and prevents water waste.
Checking Water Pressure
How can you tell if your kitchen faucet’s water pressure is causing the leak? Start by watching the water flow carefully. If it’s unusually strong or erratic, high pressure could be stressing out your faucet’s parts and causing leaks.
To be sure, use a pressure gauge. Attach it to an outdoor faucet or the water line feeding your kitchen. Normal residential pressure is usually between 40 and 60 psi.
If your reading is above 80 psi, that’s likely the problem. High pressure can wear out seals and joints faster than normal. If pressure is the issue, think about installing a pressure regulator to protect your faucet and prevent leaks.
Inspecting Faucet Components
Start by carefully inspecting three main faucet components: the cartridge, O-rings, and seals. These parts often cause leaks when worn or damaged. Begin by removing the faucet handle to access the cartridge.
Look for cracks or buildup that might hinder performance. Check the O-rings for signs of wear or brittleness, as they create watertight seals. Finally, examine the seals themselves to verify they aren’t cracked or hardened.
- A cartridge with mineral deposits or broken parts
- O-rings appearing cracked or flattened
- Seals showing discoloration or rigidity
Following these faucet maintenance tips helps you spot issues early. It improves component longevity and prevents future leaks. Proper inspection guarantees your kitchen faucet stays leak-free and functions smoothly.
When to Replace Your Kitchen Faucet and How to Prevent Future Leaks
A persistent drip or constant corrosion means it’s time to replace your kitchen faucet. Faucets usually last about 10 to 15 years, but frequent leaks or low water pressure can also be signs. If you see cracks, rust, or parts that don’t respond after repairs, replacing it is the best move to prevent water damage and higher bills.
To keep leaks at bay, follow some simple maintenance tips. Regularly clean aerators and handles to remove mineral buildup. Tighten connections and swap out worn washers or seals early. Avoid harsh chemicals that can harm faucet parts. Checking your faucet now and then helps catch issues early and makes it last longer.
Frequently Asked Questions
Can a Leaky Faucet Increase My Water Bill Significantly?
Yes, a leaky faucet can really bump up your water bill over time. Even a slow drip wastes water constantly, and that adds up fast.
You might not notice the impact every day, but all that wasted water can lead to higher plumbing costs and more repairs if you ignore it.
Fixing leaks quickly helps you save money and conserve water, preventing extra expenses on your bill and future plumbing issues.
Are There Eco-Friendly Options for Faucet Repair Parts?
Yes, you can find eco-friendly materials for faucet repair parts that support sustainable plumbing. Many brands now offer washers, cartridges, and seals made from recycled or biodegradable materials.
Choosing these parts not only helps reduce your environmental impact but also guarantees your plumbing lasts longer. When shopping, look for certifications or labels highlighting eco-friendly materials to make a responsible choice that benefits both your home and the planet.
How Do I Maintain My Faucet to Extend Its Lifespan?
You can extend your faucet’s lifespan by practicing regular faucet care. Start with routine inspections to catch leaks or loose parts early.
Clean aerators and handles to prevent buildup that can cause damage over time. Avoid harsh chemicals and use gentle cleaners instead.
Tighten any loose screws or connections promptly. By staying proactive with maintenance, you’ll keep your faucet functioning smoothly and avoid costly repairs down the line.
Can Hard Water Cause My Kitchen Faucet to Leak?
Funny enough, hard water can actually cause your kitchen faucet to leak. When minerals in hard water build up inside your faucet, they can wear down seals and cause drips.
If you’ve been skipping faucet maintenance, that buildup only gets worse, increasing leak chances. So, keeping up with regular cleaning and checking for mineral deposits helps you avoid leaks and extends your faucet’s life.
Hard water and neglect often go hand in hand.
Is It Safe to Fix a Faucet Leak Without Professional Help?
Yes, it’s generally safe to fix a faucet leak yourself if you have basic plumbing tools and feel comfortable with DIY repairs. Just make sure to turn off the water supply first to avoid any mess.
If you follow step-by-step instructions carefully, you can fix most leaks without professional help. However, if the problem seems complex or you’re unsure, calling a plumber is the safer choice to prevent further damage.
Conclusion
Fixing your leaky kitchen faucet might feel like facing a modern-day Odyssey, but with each step, you’re closer to victory. By identifying your faucet type, turning off the water, and carefully replacing worn parts, you’ll conquer the drip and restore peace to your kitchen.
Remember, regular maintenance is your shield against future leaks. So, roll up your sleeves and tackle the task—your faucet’s transformation is just a few steps away.