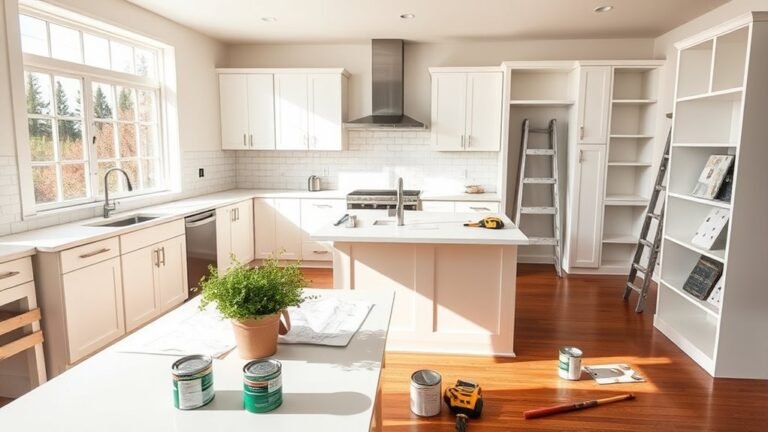
How to Install Kitchen Backsplash: A Step-by-Step Guide
Installing a kitchen backsplash can feel overwhelming, especially if you’re new to DIY projects. Many people struggle with getting the tiles just right or worrying about making mistakes that are hard to fix. But don’t worry—you’re not alone, and with a little guidance, you can achieve a beautiful, professional-looking finish.
To install a kitchen backsplash, start by measuring and preparing your wall, ensuring it’s clean and smooth. Choose the right tile and adhesive, cut tiles precisely around outlets, and use spacers to keep gaps even.
Apply grout carefully after setting the tiles, then seal the grout to protect your work.
By following these steps, you’ll create a durable, stylish backsplash that truly enhances your kitchen. Keep going to uncover tips for a flawless, professional finish.
Key Takeaways
- Measure and prepare the wall by cleaning it, filling any holes, sanding, and making sure the surface is flat for good tile adhesion.
- When cutting tiles around outlets and cabinets, use the right tools and follow safety tips to get accurate cuts.
- Spread the adhesive evenly with a notched trowel and press the tiles firmly into place, using spacers to keep everything aligned.
- Use tile spacers to create consistent gaps, and pick a grout type that fits your joint width and style.
- After the grout cures, seal it to protect against stains and moisture, and keep up with regular maintenance to make your backsplash last longer.
Materials and Tools Needed for Kitchen Backsplash Installation
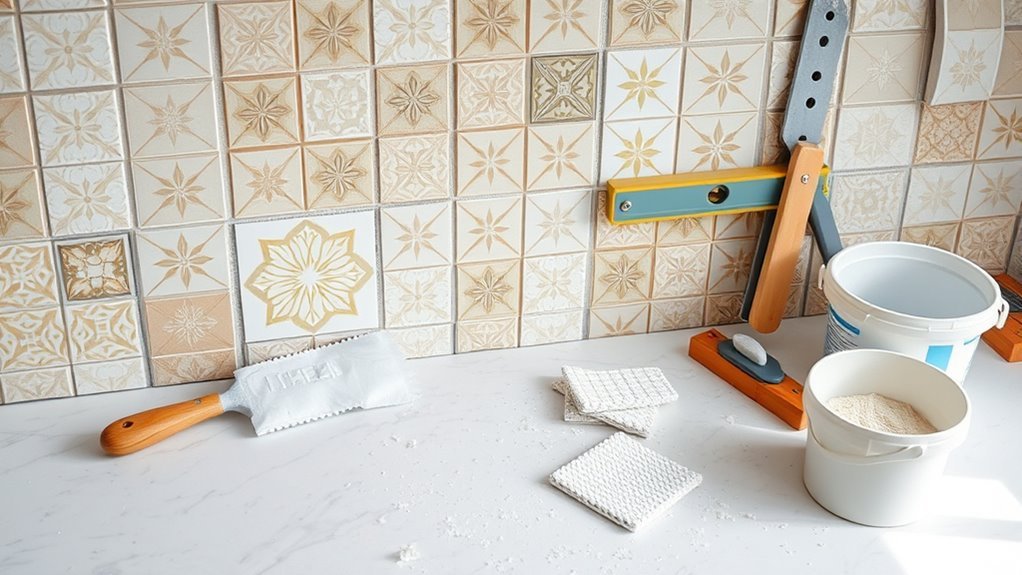
Before you start installing your kitchen backsplash, gather the right materials and tools to make everything go smoothly. First, pick the tile type that fits your style and needs—ceramic, glass, or natural stone. Each offers different textures and durability.
Next, choose your adhesive. Thinset mortar is ideal for porous tiles, while mastic works well for smaller, lighter tiles indoors.
Choose thinset mortar for porous tiles and mastic for smaller, lighter indoor tiles for best adhesion.
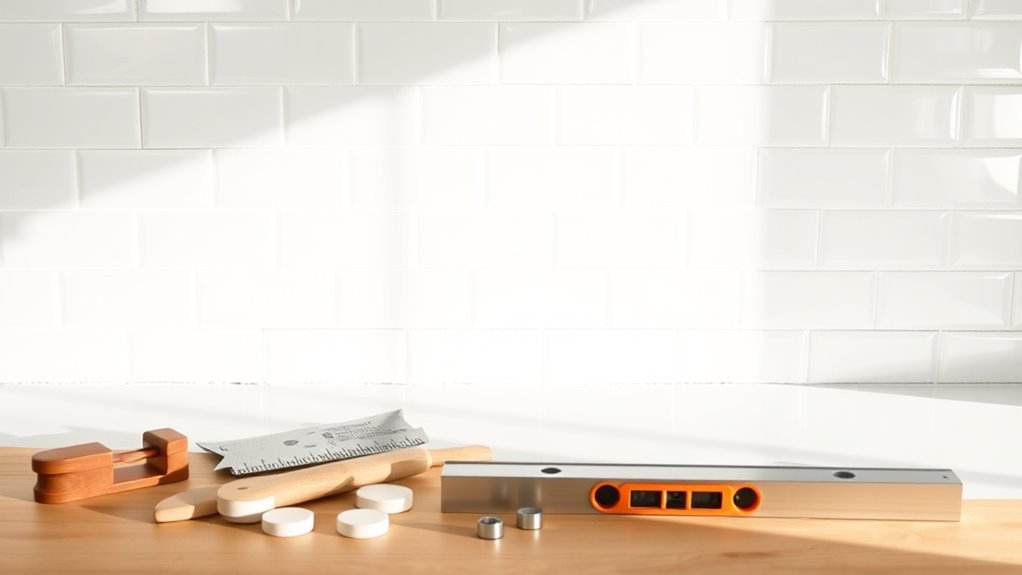
You’ll also need some essential tools. A tile cutter or wet saw helps with precise cuts, and a notched trowel spreads adhesive evenly. Tile spacers keep your gaps consistent.
Don’t forget grout and a grout float for filling those gaps after laying the tiles. A level, measuring tape, pencil, and sponge will help keep everything accurate and make cleanup easier.
Having all these materials and tools ready will make your backsplash installation efficient and give it a professional look.
How to Measure Your Wall for the Perfect Kitchen Backsplash
Accurately measuring your wall is the first essential step to ensure your kitchen backsplash fits perfectly and looks seamless. Start by checking out your wall layout—note any outlets, windows, or cabinets that might affect where tiles go. Use a tape measure to find the width and height of the area you want to cover.
If your wall isn’t perfectly flat, break the surface into smaller sections and measure each one separately. Make sure to measure twice so you don’t make mistakes, and write down all your measurements clearly. Don’t forget to account for corners or edges where tiles will wrap around.
Once you have all your measurements, calculate the total square footage to know how much tile you’ll need. Keeping your layout and measurements organized will save you time and help cut down on waste during installation. This careful approach will make sure everything fits just right, giving your backsplash a professional, polished look.
Preparing Your Wall Surface for Tile Installation
Preparing your wall surface properly is key to guaranteeing your kitchen backsplash adheres well and lasts. Start with thorough wall cleaning—remove grease, dust, and old adhesive using a mild detergent and a sponge. Any residue left behind can prevent tiles from sticking securely.
After cleaning, inspect your wall for uneven areas. Surface leveling is essential; fill holes or dents with a suitable patching compound and sand smooth once dry. This creates a flat, even base for your tiles, preventing cracking or misalignment later.
Level uneven walls by filling holes and sanding smooth to ensure a flawless tile surface and prevent future issues.
If your wall is glossy or painted with latex, lightly sand it to improve adhesion. Finally, wipe down the wall again to remove sanding dust. Taking these preparation steps guarantees your backsplash will look professional and stay firmly in place for years.
Don’t rush this part. It sets the foundation for a successful tile installation.
How to Choose Kitchen Backsplash Tiles for Style and Durability
Once your wall is ready, the next step is choosing backsplash tiles that match your kitchen’s style and are durable enough for daily use. Start by thinking about your kitchen’s color scheme—pick tiles that complement or contrast to get the look you want. Light colors can brighten the space, while darker tones add depth.
Don’t forget about tile textures. Smooth, glossy tiles are easier to clean, perfect for busy kitchens. Matte or textured tiles add visual interest but might need more upkeep.
Next, consider durability. Ceramic and porcelain tiles resist moisture and stains well, making them ideal for backsplashes. Glass tiles give a sleek, modern look and wipe down easily but can be more fragile. Natural stone looks beautiful but usually requires sealing to prevent stains.
Cutting Tiles Around Outlets and Cabinets Safely
Measure the space around outlets and cabinets carefully before cutting your tiles to guarantee a perfect fit. Use a tape measure and mark the tile precisely where cuts need to be made.
For tile cutting around outlet openings, prioritize outlet safety by turning off the power at the breaker to avoid any accidents. Use precision tools like a tile nipper or a wet saw with a diamond blade to make clean, accurate cuts.
When working near cabinet edges, confirm the tiles fit snugly without gaps by trimming carefully and checking alignment frequently. Avoid forcing tiles into tight spaces, as this can cause cracking.
Always wear safety glasses and gloves during tile cutting to protect yourself from sharp edges and debris. Taking these steps guarantees your backsplash looks professional, fits securely around outlets and cabinets, and maintains a safe working environment throughout your tile cutting process.
Step-by-Step Guide to Applying Adhesive and Setting Tiles
Applying adhesive and setting tiles needs careful attention to make sure your backsplash looks good and lasts. First, pick the right adhesive for your tile and wall surface. Thinset mortar is great for most ceramic tiles, while mastic works better for smaller or lighter tiles.
Use a notched trowel to spread the adhesive evenly. Be sure to cover only a small section at a time so the adhesive doesn’t dry out before you set the tiles.
Press each tile firmly into the adhesive, following your chosen pattern—whether straight, diagonal, or staggered. Make small adjustments if needed before the adhesive sets.
| Step | Task | Tip |
|---|---|---|
| 1 | Select adhesive type | Match adhesive to tile material |
| 2 | Spread adhesive | Use a notched trowel |
| 3 | Place tiles | Follow your tile pattern |
| 4 | Adjust tiles | Press firmly, align carefully |
Work steadily to keep everything consistent and get a professional-looking finish.
Using Spacers to Keep Kitchen Backsplash Tiles Even
To make sure your kitchen backsplash tiles turn out looking great, you want to pick the right spacers for the size of your tiles. It’s pretty straightforward—just choose spacers that match the gap you’re aiming for.
When you’re placing the tiles, put the spacers in between each one carefully. This helps keep the gaps even all the way across, giving your backsplash a nice, professional finish. Plus, it makes the grouting process much smoother and cleaner.
Choosing The Right Spacers
Although selecting the right spacers might seem like a small detail, it plays an essential role in keeping your kitchen backsplash tiles evenly spaced and aligned. You’ll find various spacer types—such as T-shaped, cross, and wedge—that suit different tile layouts.
Spacer materials matter too. Plastic spacers are durable and affordable, while rubber ones offer flexibility for uneven surfaces. Choosing the right spacer guarantees consistent grout lines and a professional finish.
| Spacer Type | Material | Best Use |
|---|---|---|
| T-shaped | Plastic | Straight grout lines |
| Cross | Plastic/Rubber | Intersections of tiles |
| Wedge | Rubber | Uneven surfaces |
| L-shaped | Plastic | Corners and edges |
Pick spacers that fit your tile size and surface to make the installation process smoother.
Proper Spacer Placement
Three key steps will help you place spacers correctly to keep your kitchen backsplash tiles even and aligned. First, understand the different spacer types—wedge, T-shaped, or cross spacers—each designed for specific tile layouts.
Next, choose spacer materials like plastic or rubber that suit your tile and adhesive. Plastic spacers are common and sturdy, while rubber ones offer flexibility.
Then, insert spacers at every tile corner and along edges to maintain uniform gaps. Always press tiles firmly against spacers to avoid shifting.
- Select spacer types that match your tile pattern.
- Pick spacer materials that won’t damage tiles.
- Place spacers consistently between tiles.
- Check alignment frequently as you work.
Using proper spacer placement guarantees a smooth, professional backsplash finish.
Maintaining Consistent Tile Gaps
When you keep your tile gaps consistent, your kitchen backsplash looks really polished and professional. Using tile spacers is a simple way to make sure your tiles stay evenly spaced. After applying the adhesive, put spacers at each corner of your tiles to keep the gaps uniform.
Make sure to choose the right size spacers based on how wide you want your grout lines. As you work, check your tile alignment often with a level or straightedge to avoid uneven rows. Measuring the distance between tiles regularly helps you adjust spacers before the adhesive dries.
Keeping gaps consistent not only makes your backsplash look better but also makes grouting much easier. By following these tips for tile alignment and gap measurement, you’ll end up with a flawless backsplash that really stands out.
Choosing and Applying the Right Grout for Your Kitchen Backsplash
When you’re selecting a grout for your kitchen backsplash, it’s important to pick the right type that matches both your style and how tough you need it to be. Whether you’re going for a sleek, modern look or something more textured and traditional, there’s a grout out there that fits perfectly.
And don’t forget about the color! The right grout color can really make your tiles stand out or help them blend beautifully into the background. It’s all about the look you want to achieve.
Finally, make sure to seal your grout properly once it’s installed. This step is key to keeping it looking fresh and new, and it makes cleaning a lot easier in the long run.
Types Of Grout
Selecting the right grout is essential for a durable and attractive kitchen backsplash. You’ll want to understand the main types to make the best choice for your project. Here are four common grout types:
- Epoxy grout is highly durable and stain-resistant. It’s perfect if you want a long-lasting, low-maintenance finish.
- Sanded grout is ideal for wider joints, over 1/8 inch. It provides strength and helps prevent cracking.
- Unsanded grout works best for narrow joints, under 1/8 inch. It’s smoother and won’t scratch delicate tile surfaces.
- Grout colors can dramatically change your backsplash’s look and feel. We’ll cover this more in the next section.
Choosing the right grout type guarantees your backsplash stays beautiful and functional for years.
Grout Color Selection
Although grout color might seem like a small detail, it plays a big role in defining your kitchen backsplash’s overall look. When choosing grout color, think about grout finish options like matte or glossy to match your tile’s texture.
If you want your backsplash to appear seamless, pick a grout color that closely matches your tiles. This creates a unified, subtle effect. On the other hand, choosing a contrasting grout color can highlight the tile pattern, adding visual interest and depth.
Keep in mind that grout color also affects style and maintenance. Lighter colors can show stains easily, while darker shades hide dirt better. Take time to test samples against your tiles in different lighting before making your final decision so your kitchen backsplash looks exactly how you want it.
Sealing And Maintenance
Sealing and maintenance are key to keeping your backsplash looking great. The grout color sets the tone, but how you protect and care for it makes all the difference in lasting freshness.
Choosing the right grout type, whether sanded or unsanded, depends on your tile spacing and how tough you need it to be. After applying, sealing your grout is crucial to prevent stains and moisture damage.
Be sure to apply a high-quality grout sealer right after the grout cures. Re-seal every 6 to 12 months to keep up the protection.
For cleaning, use gentle methods like a pH-neutral cleaner and soft cloth. Avoid harsh scrubbing, which can wear down the grout and invite stains.
Sealing Your Kitchen Backsplash for Long-Lasting Protection
Once you’ve finished installing your backsplash, sealing it is key to protecting your work from moisture, stains, and wear. To ensure long-lasting protection, focus on effective sealing techniques. Start by choosing the right protective coatings for your backsplash material—whether it’s tile, stone, or glass.
Use a high-quality sealer that penetrates the surface and fills porous areas. This helps prevent water and grease from causing damage. Apply the sealer evenly with a brush or sponge, working in small sections to avoid streaks or missed spots.
Let the coating sit for the recommended time before wiping off any excess. For best results, apply multiple thin layers and let each dry completely. Reseal your backsplash every one to two years, depending on how much use it gets.
Mastering these sealing techniques and choosing the right coatings will keep your kitchen backsplash looking fresh and durable for years to come.
Common Kitchen Backsplash Installation Mistakes to Avoid
Sealing your backsplash properly protects it, but avoiding common installation mistakes is just as important to guarantee a flawless finish. If you want your kitchen backsplash to look professional and last long, keep these installation tips in mind.
Here are four common mistakes you should avoid:
- Skipping surface preparation – Don’t install tiles on dirty or uneven walls. It can cause poor adhesion and uneven surfaces.
- Ignoring proper measurements – Cutting tiles without accurate measurements can lead to gaps and wasted material.
- Using too much adhesive – Over-applying adhesive can make tiles slip and create a messy finish.
- Neglecting grout application – Forgetting to grout or sealing grout poorly invites water damage and mold.
Avoiding these mistakes will help your backsplash look great and stand the test of time. Follow these tips closely, and you’ll be proud of your kitchen upgrade.
Frequently Asked Questions
Can I Install a Backsplash Over Existing Tile?
Yes, you can install a backsplash over existing tile, but you’ll need to prepare the surface properly. First, clean the tiles thoroughly to remove grease and dirt.
Then, lightly sand them to create a rough texture that helps the new adhesive stick better. If the existing tiles are damaged or uneven, it’s a good idea to consider removing them for a smoother base.
Taking these steps will make sure your new backsplash stays put and looks great without any issues later on.
How Long Does Backsplash Installation Typically Take?
Your backsplash installation usually takes anywhere from a few hours to a full day. The exact time depends on factors like your kitchen size, the type of tile you choose, and your experience level.
If your design is simple and straightforward, you’ll probably finish faster. But if you have complex patterns or tricky cuts, it might take longer.
Planning ahead and prepping properly can really help manage the installation process. This way, you can stay on schedule and avoid surprises.
What Is the Average Cost of a Kitchen Backsplash?
Backsplash budgets bring big benefits. On average, you’ll spend between $200 and $1,000 depending on material options and design trends. Choosing classic ceramic tiles keeps costs low, while trendy glass or natural stone tiles can bump the price up.
You’ll want to balance beauty and budget by selecting materials that match your kitchen’s style without overspending. Remember, investing in durable, stylish backsplashes boosts your space’s value and vibe instantly.
Can I Install a Backsplash Myself Without Prior Experience?
Yes, you can install a backsplash yourself without prior experience by following some DIY tips. Start by gathering essential tools like a tile cutter, adhesive, spacers, and a level.
Take your time measuring and cutting tiles carefully. Watching tutorial videos can really help boost your confidence. With patience and attention to detail, you’ll create a professional-looking backsplash that adds style to your kitchen, even as a beginner.
How Do I Clean and Maintain My Kitchen Backsplash?
You should clean your backsplash regularly using gentle cleaning techniques to avoid damage. Different backsplash materials need different care. For example, ceramic tiles handle mild soap and water well, while natural stone requires special cleaners.
Avoid harsh abrasives that can scratch surfaces. Wipe spills quickly to prevent stains and keep grout in good shape by sealing it yearly. Staying consistent with these cleaning tips will keep your backsplash looking fresh and protect its materials over time.
Conclusion
Installing a kitchen backsplash not only boosts your space’s style but can also increase your home’s value by up to 6%.
Follow these steps to create a stylish, durable backsplash that will last. Pay close attention to measuring carefully, cutting tiles properly, and sealing everything well.
Avoid common mistakes, and you’ll end up with a beautiful, functional kitchen upgrade. A well-done backsplash adds real appeal and stands the test of time—plus, it makes your kitchen look amazing when it’s time to sell.