How to Reface Kitchen Cabinets: A Step-by-Step Guide
Feeling stuck with outdated or worn kitchen cabinets? You’re not alone—many people struggle with how to give their kitchen a fresh, new look without a full remodel. Refacing your cabinets is a cost-effective way to transform your space, and we’re here to guide you through the process step-by-step.
To reface your kitchen cabinets, start by measuring all cabinet boxes, doors, and drawer fronts accurately. Remove items and clean surfaces thoroughly before prepping.
Choose materials like laminate, wood veneer, or thermofoil, then attach new doors and drawer fronts using the right adhesive and screws. Update hardware to match your style, ensuring holes align and finishes complement.
Fix any issues like warped doors or gaps. Keep cabinets maintained for lasting beauty. Keep following these steps to transform your kitchen efficiently and beautifully.
Key Takeaways
- Measure your cabinet dimensions carefully, including doors and drawer fronts, so everything fits perfectly when you reface.
- Take off the cabinet doors and hardware, then give all surfaces a thorough clean before you start applying new veneers or laminates.
- Pick the right materials like wood veneer, laminate, or thermofoil, considering how durable you want them and your budget.
- When applying adhesive, do it carefully and then use clamps to hold the veneers in place. Sand the edges if needed to keep everything smooth.
- Once done, reinstall the doors, update the hardware, and make sure the hinges are adjusted for proper alignment and smooth operation.
When Should You Reface Kitchen Cabinets Instead of Remodeling?
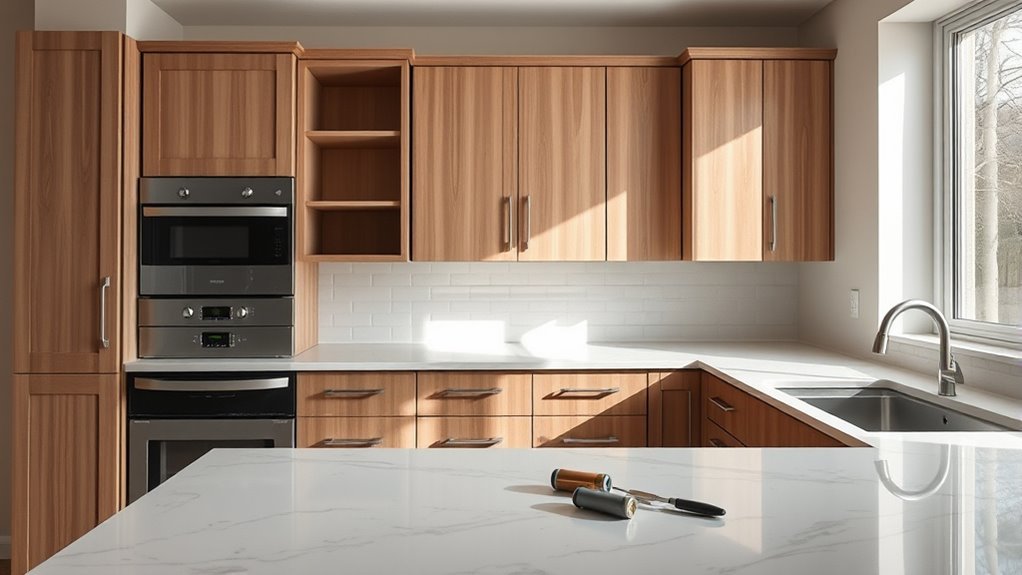
When should you reface kitchen cabinets instead of remodeling? You should consider refacing when your cabinet boxes are still solid but the surfaces look outdated or worn. It’s a quick way to give your kitchen a fresh look without a full tear-out.
Opt for refacing when cabinets are sturdy but surfaces appear outdated or worn for a quick refresh.
Refacing benefits include a faster upgrade with less mess since you’re just replacing doors and veneer, not the entire cabinetry. This means you keep your existing layout and avoid costly plumbing or electrical changes.
From a cost perspective, refacing usually costs 50-70% less than a full remodel. You save on both labor and materials because you’re working with your current framework. If you want a new look without a lengthy renovation, refacing is a smart choice.
However, if your cabinets have major damage or you want to change the layout, remodeling might be better. For most situations, refacing allows you to refresh your kitchen efficiently and cost-effectively.
What Materials Work Best for Cabinet Refacing
Choosing the right materials is key to how your kitchen cabinet refacing will turn out. You want something durable, stylish, and maybe eco-friendly that doesn’t harm the planet.
The best laminate options give a sleek look and resist scratches, making them perfect for busy kitchens. Wood veneers provide a warm, natural feel but need more care.
PVC and thermofoil are budget-friendly and easy to clean, but they might not last as long. Here’s a quick look at popular materials:
| Material | Pros | Cons |
|---|---|---|
| Laminate | Durable, easy to clean | Can chip over time |
| Wood Veneer | Natural, elegant | Needs maintenance |
| PVC | Affordable, waterproof | Less durable |
| Thermofoil | Smooth finish, budget-friendly | Prone to peeling |
| Bamboo | Eco-friendly, renewable | Can be pricey |
Pick materials that match your lifestyle and design goals for the best refacing results.
How to Measure Your Cabinets Accurately
Accurately measuring your cabinets is the key to a successful refacing project. Before you begin, gather a tape measure, notepad, and pencil. Using precise measuring methods ensures your new doors and veneers fit perfectly, helping you avoid costly mistakes.
Follow these simple steps to get your cabinet dimensions right:
- Measure the height, width, and depth of each cabinet box, noting any irregularities.
- Record the sizes of doors and drawer fronts separately, since they often differ.
- Double-check all measurements to make sure they’re accurate, especially for corner and base cabinets.
Pay close attention to the thickness of the cabinet frames and any molding, as these affect your refacing materials. Consistent measuring throughout your kitchen will keep your project running smoothly and your new surfaces fitting flawlessly. Taking the time to measure carefully now will save you headaches later in the process.
Choosing Doors, Drawer Fronts, and Hardware for Your Kitchen
Since your cabinet measurements are set, it’s time to select doors, drawer fronts, and hardware that match your kitchen’s style and functionality. Start by exploring various door styles—shaker, flat-panel, or raised-panel—to see what fits your design vision.
Consider color options that enhance your kitchen’s palette and reflect current design trends. When choosing materials, think about durability versus budget—MDF and solid wood are popular choices but differ in cost and upkeep.
Hardware finishes like brushed nickel, matte black, or brass can dramatically change your kitchen’s look. Pick one that coordinates well with your doors and drawer fronts for a cohesive style.
For installation, make sure the hardware is aligned correctly and the doors fit snugly without gaps. This helps keep everything looking neat and functioning smoothly.
Finally, follow maintenance tips to keep your surfaces looking fresh. Regular cleaning with mild products and avoiding harsh chemicals will help your kitchen stay beautiful over time. Thoughtful choices here lay the groundwork for a stylish, functional kitchen makeover.
Prepping Your Kitchen: Cleaning and Clearing Before Refacing
Before you start refacing your kitchen cabinets, make sure to clear and clean the entire workspace thoroughly. This step is key for a smooth process and to avoid any damage. Keeping your space organized will help keep tools and materials within easy reach, making everything less frustrating.
Follow these steps to prep efficiently:
- Remove all items from cabinets, drawers, and countertops to create an open workspace.
- Use proven cleaning techniques, like a mixture of warm water and mild detergent, to wipe down surfaces. This removes grease and grime that can affect adhesion.
- Sweep and mop the floor to eliminate dust and debris, ensuring a safe, clean environment.
Removing Old Doors and Drawer Fronts Safely
Once your kitchen is clean and cleared, it’s time to carefully remove the old cabinet doors and drawer fronts. Always put safety first: wear gloves and eye protection, and keep your workspace organized to avoid accidents.
Choosing the right tools makes this job easier and helps prevent damage. A screwdriver or drill with the correct bit is essential for removing hinges and screws efficiently.
Use the table below to help you pick the right tool and technique:
| Task | Recommended Tool | Safety Precautions |
|---|---|---|
| Removing door hinges | Phillips screwdriver | Wear gloves to avoid cuts |
| Unscrewing drawer fronts | Drill with screwdriver bit | Secure the drawer before unscrewing |
| Handling screws/hinges | Magnetic tray | Keep screws in the tray to avoid loss |
| Removing stuck parts | Putty knife | Work gently to prevent damage |
Installing New Doors and Drawer Fronts Step-by-Step
Now that you’ve taken out the old doors and drawer fronts, it’s time to get the new ones in place. Take your time to line everything up just right—this will make a huge difference in how your cabinets look. Once they’re aligned, you can secure them with the correct hardware. Just follow each step carefully, and you’ll end up with cabinets that look fresh and fit perfectly without any hassle.
Removing Old Doors
Start by carefully removing the old cabinet doors to create a clean slate for your new ones. Use proper door removal techniques to avoid damaging the cabinet frame. Before you begin, remember to wear safety glasses and gloves to protect yourself from splinters or sharp edges.
Follow these steps:
- Open each door fully and use a screwdriver or drill to remove the hinge screws attaching the door to the cabinet.
- Support the door with one hand while removing the last screws to prevent it from falling.
- Place the removed doors and screws in a safe spot for disposal or reuse.
Taking your time during this process will ensure a smooth transition to your kitchen cabinet refacing project.
Attaching New Fronts
Attach the new doors and drawer fronts carefully to guarantee a perfect fit and smooth operation. Start by aligning each piece with the cabinet frame, making sure your new front designs match the original dimensions. Use the right adhesive or screws depending on your cabinet style. Adhesive gives a seamless look, while screws add strength. Adjust hinges as needed to prevent misalignment or sticking.
| Step | Tool Needed | Tip |
|---|---|---|
| Align fronts | Measuring tape | Double-check measurements |
| Choose adhesive | Wood glue or epoxy | Pick based on cabinet type |
| Secure fronts | Screwdriver | Tighten screws without stripping |
Proper installation boosts durability and looks, giving your kitchen a fresh, professional update.
How to Update Your Cabinet Hardware During Refacing
Updating your cabinet hardware during refacing can instantly change the look and feel of your kitchen. Picking the right hardware that matches your cabinet styles can really boost the overall aesthetic. Here’s how you can update your hardware effectively:
- Choose the Right Hardware Finishes: Match or contrast finishes like brushed nickel, matte black, or antique brass with your cabinets to create a cohesive look.
- Measure Existing Holes: Check if the new handles or knobs line up with your current holes. This helps avoid extra drilling and keeps your cabinet fronts looking neat.
- Install with Care: Use a level and screwdriver to attach hardware securely. Make sure each piece is straight and tight for a professional finish.
Fixing Common Problems When Refacing Cabinets
Once you’ve updated your cabinet hardware, you might notice a few issues during the refacing process. Troubleshooting early can save you time and frustration.
For example, if the veneer doesn’t stick properly, clean the surface again and use a stronger adhesive. Warped doors or uneven surfaces are common damages you’ll need to fix before moving forward.
Use clamps or weights to hold veneers in place while drying, and gently sand uneven edges to get a smooth finish. If you see chips or scratches, fill them with wood filler, then sand and stain to match.
Pay attention to cabinet alignment—hinges might need adjusting after refacing to ensure doors close properly. By fixing damages quickly and following the right techniques, you’ll prevent small problems from becoming bigger headaches.
Taking these troubleshooting steps helps your cabinets look professional and last for years.
Caring for Your Refaced Cabinets to Keep Them Looking New
Keeping your refaced cabinets looking fresh requires consistent care and attention. To keep them in top shape, follow a simple maintenance routine and use some effective cleaning tips. Here’s how you can keep them looking new:
- Clean Regularly: Wipe down your cabinets weekly with a soft cloth and mild detergent. Steer clear of harsh chemicals that might damage the finish.
- Address Spills Immediately: Quickly wipe up any spills or stains to prevent moisture damage and staining.
- Check Hardware: Periodically tighten screws and lubricate hinges to keep doors opening smoothly and avoid unnecessary wear.
Frequently Asked Questions
Can I Reface Cabinets Myself Without Professional Help?
Yes, you can reface cabinets yourself without professional help if you have the right tools, like a drill, screwdriver, sandpaper, and clamps.
You’ll save on labor costs, but you’ll need to buy materials such as veneer or laminate, new hardware, and paint or stain.
Doing it yourself usually lowers the overall cost, but be prepared to spend time and effort to achieve a polished, professional-looking finish.
How Long Does the Cabinet Refacing Process Typically Take?
Time management is key because, as they say, “Rome wasn’t built in a day.” Typically, refacing your cabinets takes about 2 to 5 days. The exact time depends on how well you’ve prepared and your experience level.
If you’ve prepped everything and have your tools ready, you’ll likely get through it faster. Good project prep, like gathering your materials beforehand, helps avoid delays and keeps things running smoothly from start to finish.
Will Refacing Cabinets Increase My Home’s Resale Value?
Yes, refacing cabinets can boost your home’s resale value, especially if you focus on resale factors like quality materials and a modern look. You’ll elevate kitchen appeal, making it more inviting to buyers without the cost of a full remodel.
Keep in mind, the improvement depends on your local market and how well the new cabinet style matches current trends. But in most cases, it’s a smart investment that pays off.
Are There Eco-Friendly Materials for Cabinet Refacing?
Yes, you can choose sustainable options for cabinet refacing that help reduce environmental impact. Look for eco-friendly finishes like water-based paints or low-VOC stains, which minimize harmful emissions.
Bamboo and reclaimed wood veneers are also great sustainable options, offering durability and style. By selecting these materials, you’re making an eco-conscious choice that improves your kitchen’s look while supporting greener living.
Can I Change the Cabinet Layout While Refacing?
You generally can’t change the cabinet layout while refacing because refacing focuses on updating surfaces, not altering structure. However, if you want layout considerations and design flexibility, you might combine refacing with partial cabinet replacement or custom installations.
This approach lets you adjust functionality and flow without a full remodel. Keep in mind, significant layout changes often require more extensive work beyond standard refacing.
Conclusion
Refacing your kitchen cabinets can transform your space without the hassle of a full remodel. By choosing the right materials and measuring carefully, you’ll get a fresh, stylish look that lasts.
Remember, the key is in the prep and attention to detail during installation. Some say refacing can’t match a remodel’s impact, but with the right approach, it can be just as rewarding and much more budget-friendly.
Ready to give it a try?