How to Tighten Kitchen Faucet: A Step-by-Step Guide
Many homeowners find themselves frustrated when their kitchen faucet starts wobbling or leaks, but you’re not alone. Fixing it can seem tricky, especially if you’re unsure where to start.
Luckily, tightening your faucet is a straightforward DIY task that can save you time and money.
To tighten your kitchen faucet, start by turning off the water supply valves under the sink and open the faucet to drain excess water.
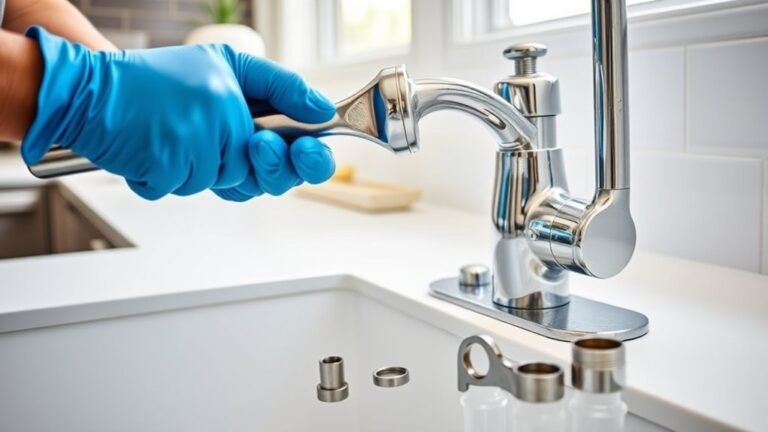
Remove the handles by unscrewing or prying off decorative caps, then access the mounting nuts below. Use a wrench to tighten these nuts clockwise, stabilizing the faucet without overtightening.
Afterward, check and replace any worn washers or O-rings to stop leaks.
Test the faucet for drips and wobbling, then investigate further tips for common fixes and when to call a plumber.
Key Takeaways
- Turn off the water supply valves under the sink and open the faucet to release any pressure before you start.
- Remove the faucet handles by unscrewing or gently prying off the decorative caps to access the mounting hardware.
- Use an adjustable or basin wrench to tighten the mounting nuts beneath the sink clockwise to secure the faucet.
- Be careful not to overtighten, as this can cause damage. Check the faucet’s stability from above as you tighten.
- Finally, turn the faucet on and off to test for leaks, and inspect all connections and water pressure carefully.
Signs Your Kitchen Faucet Needs Tightening
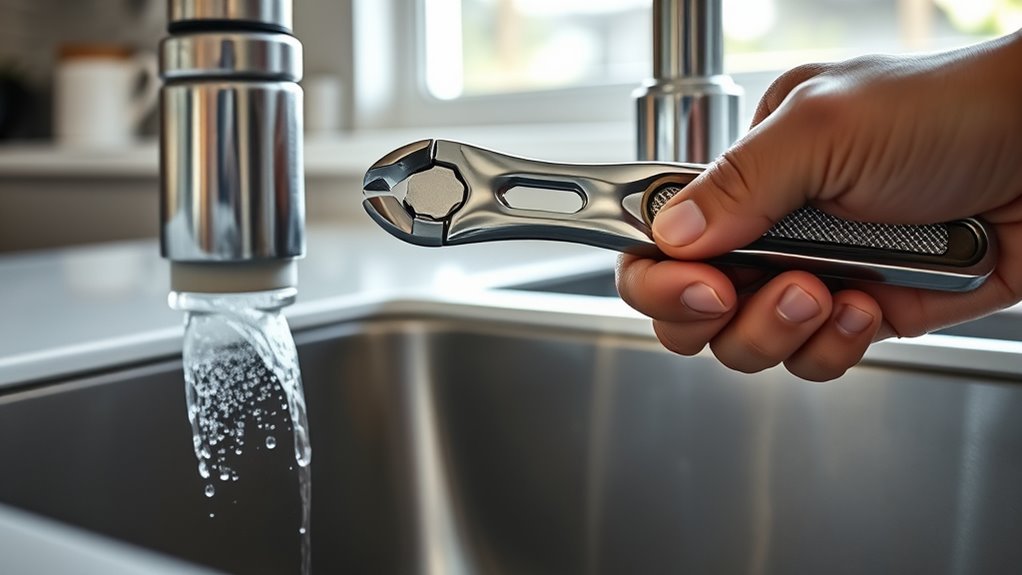
How do you know when it’s time to tighten your kitchen faucet? One clear sign is if you notice it wobbling when you use it. If the faucet feels loose or shifts noticeably when you turn it on or off, it’s likely that the mounting nuts or screws have loosened over time.
Another sign is inconsistent water pressure. If the flow suddenly weakens or fluctuates without any changes to your home’s supply, a loose connection could be the cause.
You might also notice small leaks around the base, which often happen when the faucet isn’t secured tightly.
Ignoring these signs can lead to more serious damage or water waste. So, pay attention to how stable your faucet feels and how steady the water pressure is.
These simple checks help you catch when it’s time to tighten your kitchen faucet before problems get worse.
Tools You’ll Need to Tighten Your Kitchen Faucet
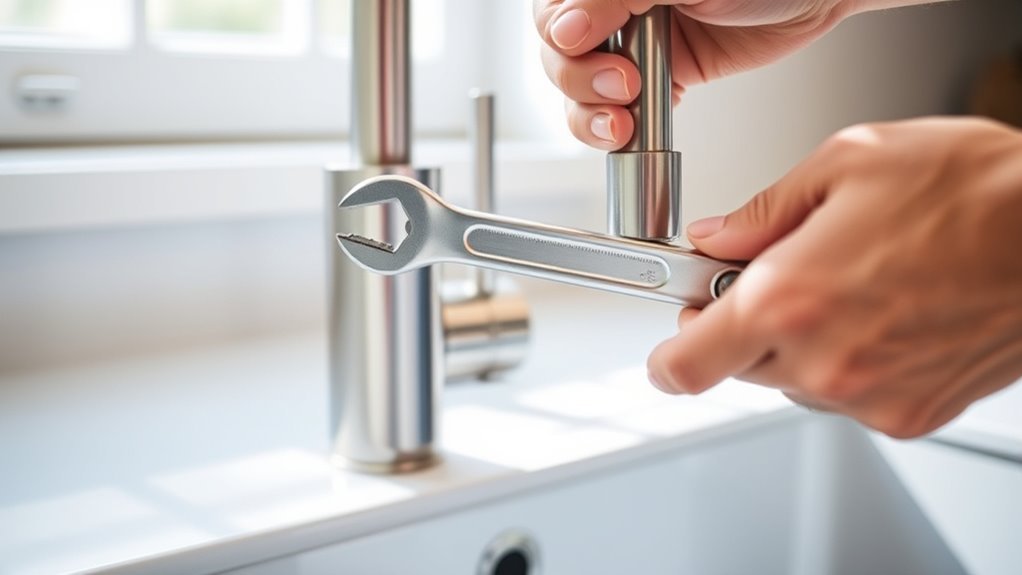
To tighten your kitchen faucet effectively, you’ll need a few essential tools on hand. Start with an adjustable wrench—it’s perfect for gripping nuts and bolts of various sizes without damaging them. A basin wrench is also handy, especially for hard-to-reach areas under the sink.
Essential tools for tightening your kitchen faucet include an adjustable wrench and a basin wrench for tight spaces.
Don’t forget a screwdriver set; depending on your faucet, you might need Phillips or flathead screwdrivers to remove or tighten screws. Having a flashlight nearby helps you see clearly in the cramped space beneath your sink.
These tools align with basic DIY plumbing basics, making your faucet maintenance straightforward. Furthermore, keep a small bucket or towel ready to catch any drips during the process.
Having these tools prepared not only speeds up the job but also guarantees you follow essential faucet maintenance tips effectively. With the right tools, you’ll tackle tightening your kitchen faucet confidently and prevent leaks or wobbling.
How to Turn Off Your Kitchen Faucet’s Water Supply Safely
Once you have your tools ready, the next step is to shut off the water supply to your kitchen faucet. Find the shutoff valves under your sink—usually, there’s one for hot water and one for cold. Turn both valves clockwise until they’re tightly closed. This stops the water flow and keeps leaks from happening while you work on the faucet.
If you can’t find individual shutoff valves, you’ll need to turn off the main water supply for your home. This valve is usually near your water meter or where the main line enters your house. After shutting off the water, open the faucet to release any remaining pressure and drain out excess water.
Removing Faucet Handles to Access Mounting Hardware
Start by locating the screws or caps on your faucet handles, which often hide the mounting hardware you’ll need to access. Different handle types require specific removal techniques, so identifying yours is important. Some handles have visible screws, while others use hidden set screws or snap-on caps.
Follow these steps to remove your faucet handles safely:
- Inspect your handle type—lever, knob, or cross—to figure out the best removal method.
- Use a flathead screwdriver or an Allen wrench to remove any visible or hidden screws.
- Carefully pry off decorative caps with a small flat tool if screws are concealed.
- Gently pull the handle straight up or twist it off, depending on the design.
How to Tighten the Faucet Base to Stop Wobbling
If your faucet is wobbling, don’t worry—it’s usually pretty easy to fix. First, you’ll want to find the mounting nuts underneath the sink. These nuts hold the faucet in place, so tightening them should do the trick.
Just grab a wrench and turn those nuts clockwise. Make sure to do it gradually and check if the faucet feels steadier as you go. Once it’s firm and doesn’t wobble anymore, you’re all set!
Locate Mounting Nuts
Anyone looking to tighten a kitchen faucet should first locate the mounting nuts underneath the sink. These nuts secure the faucet at the mounting point and directly affect its stability.
To find them, start by clearing out any items stored under the sink to give yourself some room to work. Then, shine a flashlight up into the mounting area to spot the nuts holding the faucet base.
Next, use your hand or a wrench to feel around for the threaded rods attached to the faucet. Identify the nuts that clamp the faucet tightly against the sink surface.
Knowing exactly where these mounting nuts are is essential before you tighten them. This will help stop your faucet from wobbling and make sure it’s securely in place.
Tighten Underneath Sink
Grab a wrench and carefully tighten the mounting nuts beneath your sink to secure the faucet base. As you turn the nuts clockwise, the faucet will become more stable, stopping any wobbling.
Make sure not to overtighten, as this could damage the sink or faucet components. Remember to follow plumbing safety precautions by turning off the water supply before starting, and wear gloves if needed to protect your hands.
After tightening, check the faucet from above to confirm it’s firmly in place. This simple step is one of the most effective faucet maintenance tips to extend your faucet’s lifespan and prevent leaks.
Regularly inspecting and tightening these nuts keeps your kitchen faucet secure and reliable.
Securing Your Kitchen Faucet With Mounting Nuts and Brackets
Although it may seem straightforward, securing your kitchen faucet with mounting nuts and brackets is an essential step that guarantees stability and prevents leaks. Proper mounting techniques ensure your faucet stays firmly in place, avoiding wobbling or water damage.
Start by identifying the bracket type your faucet uses—common types include metal straps or plastic clips. Each needs a slightly different approach but always involves tightening the mounting nuts underneath the sink.
Follow these steps to secure your faucet effectively:
- Position the faucet firmly on the sink.
- Place the mounting bracket over the faucet tailpiece.
- Hand-tighten the mounting nuts onto the threaded shanks.
- Use a basin wrench to snugly tighten nuts without over-tightening.
How to Check and Replace Worn Washers and O-Rings
To keep your faucet from leaking, it’s a good idea to check the washers and O-rings for any signs of wear, like cracks or if they seem flattened out. When you see any damage, it’s usually a pretty simple fix — just replace those tiny parts.
Make sure you get the right replacements for your faucet, and then swap them out. It’s a quick job that can really help restore a tight, leak-free seal.
Identifying Worn Components
Before tightening your kitchen faucet, you should check the washers and O-rings because worn parts can cause leaks and make the faucet feel loose.
To spot worn washers and loose connections, start by turning off the water supply and removing the faucet handle.
Next, look at the washers for cracks, flattening, or brittleness—these are signs they need replacing.
Then, examine the O-rings for cracks, brittleness, or deformities that might lead to leaks.
Finally, check for any mineral buildup or corrosion around the washers and O-rings, as these can also cause loose connections.
Replacing Washers And O-Rings
Start by carefully removing the worn washers and O-rings from your faucet assembly. Inspect them closely for cracks, flattening, or brittleness.
Choosing the right washer materials and O-ring types guarantees a tight, leak-free fit. Rubber washers are common for flexibility, while silicone offers longer durability.
For O-rings, EPDM suits hot water, and nitrile handles oil resistance well. Replace worn parts with matching sizes and materials.
Lubricate O-rings lightly to make installation easier and prevent damage. This step tightens your faucet and stops leaks effectively.
Testing Your Kitchen Faucet for Leaks After Tightening
Once you’ve tightened the faucet, check all connection points for any signs of dripping or moisture. Proper leak detection guarantees your repair holds and prevents water damage.
After tightening, always inspect connections carefully to ensure no leaks and protect against water damage.
Turn on the water supply slowly to monitor water pressure and watch for leaks during regular use. Here’s how to test effectively:
- Turn the faucet on and off several times, watching joints and handles.
- Inspect under the sink for any water pooling or dampness.
- Use a dry cloth to wipe connections, then check again for fresh moisture.
- Observe the water pressure; if it’s too low, double-check your tightening work.
If you spot leaks, tighten connections a bit more but avoid overtightening. Consistent leak detection after tightening helps maintain your faucet’s function and prevents costly repairs.
Common Problems When Tightening Faucets and How to Fix Them
Although tightening a kitchen faucet usually fixes minor leaks and looseness, you might run into some common problems that make it trickier. One frequent issue is stripped or corroded mounting nuts, which can stop you from tightening properly. If you notice this, it’s best to replace those damaged parts before moving on.
Another problem is misaligned faucet components that cause persistent leaks even after tightening. To find the exact leak points, try leak detection tricks like placing a dry paper towel under the joints to catch drips. Sometimes, worn-out washers or O-rings are the culprit, and tightening won’t fix those leaks.
If that’s the case, you’ll need to remove and replace those parts during your repair. Also, be careful not to overtighten, as this can crack the faucet base or damage seals. By tackling these issues quickly and correctly, you’ll ensure a secure faucet installation and keep leaks at bay.
When to Call a Plumber Instead of DIY Tightening
If you keep seeing leaks that just won’t stop or if the problem seems pretty complicated—like damaged pipes or tricky fittings—it’s probably best to call a plumber. Sometimes, these issues need special tools and skills that you might not have lying around.
Trying to fix things yourself is great for small stuff, but when it gets more serious, it’s smarter to let a pro handle it. That way, you avoid making the problem worse and can get it sorted safely and quickly.
Signs of Complex Issues
When you notice persistent leaks despite tightening or hear unusual noises coming from your faucet, it’s a sign that the problem might be more complicated than a simple fix.
Proper leak detection and routine faucet maintenance can often prevent these issues, but sometimes you’ll need professional help. Here are signs you should call a plumber instead of continuing DIY tightening:
- Water keeps dripping even after you’ve tried tightening the connections multiple times.
- You see corrosion or damaged parts that can’t be easily replaced.
- The faucet handle feels loose or wobbly beyond what tightening can fix.
- Strange noises like banging or screeching keep happening, which could mean internal damage.
Recognizing these signs early can save you time and help prevent costly water damage.
Tools and Experience Needed
Handling a kitchen faucet repair requires more than just basic tools and a bit of elbow grease. If you’re comfortable with plumbing basics and have a reliable wrench, screwdriver, and plumber’s tape, you can tackle simple tightening tasks using common faucet maintenance tips.
However, if you notice corrosion, damaged parts, or complicated internal mechanisms, it’s best to call a plumber. Without experience, you risk causing leaks or making the problem worse.
Also, if the faucet needs disassembly beyond removing visible screws or involves the water supply lines, a professional’s help is the safest option. Knowing when to stop and seek expert assistance saves you time and money and protects your home’s plumbing system.
When Leaks Persist
Even after tightening your kitchen faucet, leaks can still happen because of worn-out seals, damaged cartridges, or hidden cracks.
If you notice continuous dripping or water pooling, it might be time to call in a professional. Spotting tricky leak sources yourself can be tough and might cause more damage.
Call a plumber if:
- Tightening doesn’t stop the leak.
- You see corrosion or cracked parts.
- Fixing it involves complex disassembly.
- Water damage or mold shows up around the sink.
Frequently Asked Questions
What Types of Kitchen Faucets Are Easiest to Tighten?
You’ll find cartridge types of kitchen faucets easiest to tighten because they have fewer parts and simpler mechanisms. When you work with popular faucet brands like Moen or Delta, their cartridge designs make access and repairs straightforward.
These brands also offer clear instructions and replacement parts, which makes fixing them easier. So, if you want hassle-free tightening, focus on cartridge-type faucets from reputable brands.
Can Tightening a Faucet Improve Water Pressure?
Tightening your faucet can improve water pressure, just like tightening a loose lid to stop leaks. When parts of your faucet are loose, water can escape or flow weakly, making things less efficient.
Regular faucet maintenance helps keep everything snug and working well. By ensuring all connections are tight, you reduce leaks and help boost water flow.
How Often Should I Tighten My Kitchen Faucet?
You should tighten your kitchen faucet whenever you notice leaks, wobbling, or reduced water flow. Regular tightening every six months is a good tip to keep things running smoothly.
Make it part of your routine to prevent bigger problems down the line. Staying proactive helps avoid costly repairs and keeps your faucet secure and efficient over time.
Don’t wait for issues to pop up—incorporate tightening into your regular upkeep and enjoy peace of mind.
Are There Eco-Friendly Tools for Faucet Repairs?
Yes, you can find eco-friendly tools for faucet repairs made from sustainable materials like bamboo or recycled metals. Using these helps support green plumbing practices by reducing waste and conserving resources.
When you choose tools crafted with the environment in mind, you’re not only fixing your faucet effectively but also minimizing your carbon footprint. Look for brands that focus on sustainability to make sure your repairs align with eco-friendly values.
Can Tightening a Faucet Prevent Future Leaks?
Absolutely, tightening a faucet can prevent future leaks. Think of it like tightening loose shoelaces before a run—fixing small issues early can save you from bigger problems later.
By following simple faucet maintenance tips and taking steps to prevent leaks, you’ll stop drips that waste water and raise your bills.
Regularly checking and securing your faucet helps keep it leak-free, so your kitchen runs smoothly and your wallet stays happy.
Conclusion
Tightening your kitchen faucet is like giving your sink a firm handshake—reliable and solid.
Just follow these steps to stop leaks and wobbling, saving water and avoiding frustration.
First, make sure to turn off the water supply before you start. Keep an eye on washers and O-rings for signs of wear and tear.
If things get too tricky or leaks keep happening, don’t hesitate to call a plumber.
A well-tightened faucet means a smoother kitchen experience every day, so it’s worth doing right.