How to Clean Kitchen Appliances: A Step-by-Step Guide
Many people struggle with keeping their kitchen appliances clean and looking fresh. It can feel overwhelming trying to maintain shiny, spotless appliances amid busy schedules. But don’t worry—you’re not alone, and with a little guidance, it’s easier than you think.
To clean your kitchen appliances, first unplug them and remove detachable parts for separate washing. Use mild soap, vinegar, or baking soda to tackle grime, wiping surfaces with microfiber cloths or soft sponges.
For appliances like microwaves, ovens, and refrigerators, apply specific cleaning steps like steaming or soaking racks.
Regularly clearing crumbs and wiping handles helps keep everything fresh. Follow these easy steps to keep your appliances working well and looking great. You’ll find more tips to make cleaning faster and more effective.
Key Takeaways
- Always unplug appliances and remove detachable parts before cleaning. This keeps things safe and makes cleaning easier.
- Use mild dish soap, white vinegar, and baking soda for gentle but effective cleaning of surfaces and interiors.
- Clean specific appliances by following tailored steps, like steaming microwaves with vinegar or soaking oven racks in soapy water.
- Wipe exterior surfaces based on material type. Use gentle cleaners for stainless steel and mild soap solutions for plastic or painted metal.
- Maintain appliances regularly by checking filters, avoiding overloads, and scheduling professional servicing. This helps extend their lifespan and keeps them working well.
Why Regular Cleaning Matters for Kitchen Appliances
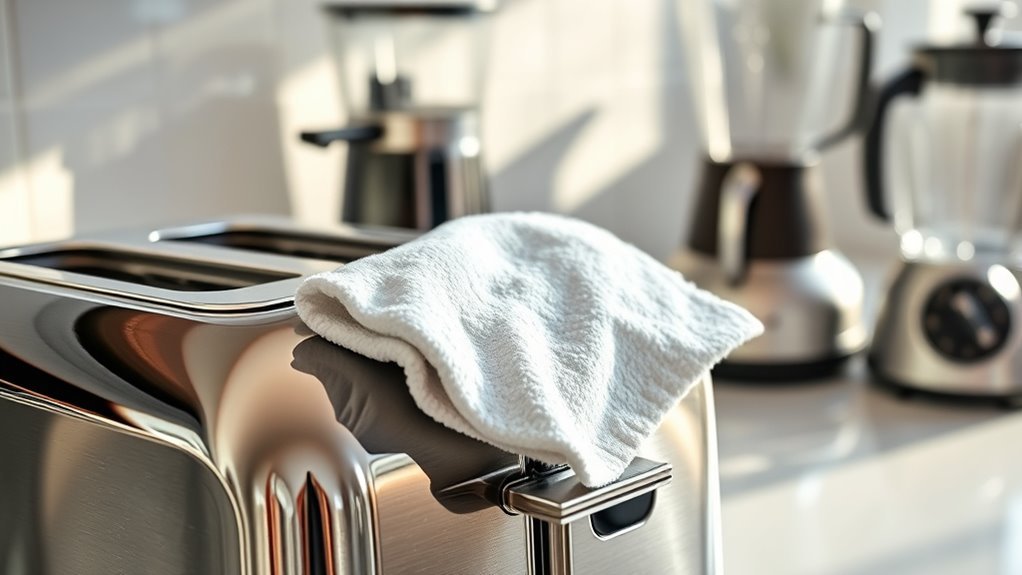
Although it might seem like a hassle, regular cleaning keeps your kitchen appliances running efficiently and extends their lifespan. When you clean your appliances consistently, you help prevent buildup that can cause malfunctions or reduce performance. This directly helps your appliances last longer, saving you money on repairs and replacements.
Beyond saving costs, cleaning offers big hygiene benefits. Leftover food particles and grease can harbor bacteria and mold, which pose health risks. Wiping down surfaces and removing debris keeps your cooking area cleaner and safer for your family.
Plus, clean appliances work better and look more appealing, making your kitchen a more inviting space. Regular upkeep also helps eliminate unpleasant odors caused by trapped food residues. So even if it feels tedious sometimes, staying on top of cleaning pays off by protecting your investment and creating a healthier home.
How to Prepare Kitchen Appliances for Cleaning
Before you start cleaning your kitchen appliances, there are some important steps to get them ready.
First, always unplug each appliance to prevent electrical hazards. If your appliance has removable parts, carefully take them off and set them aside for separate cleaning.
Check your appliance’s manual for any specific prep instructions that could help prevent damage. Make sure your cleaning schedule matches how often you use each appliance.
Regular maintenance helps prevent grime buildup and keeps your appliances working longer. Clear the area around your appliances so you have enough space to work comfortably and avoid accidents.
Finally, let any hot appliances cool completely before you start cleaning to avoid burns. Taking these steps will make your cleaning safer, easier, and more effective, keeping your kitchen appliances in great shape.
Household Items You Need to Clean Kitchen Appliances
When you’re ready to clean your kitchen appliances, having the right household items on hand makes the process much smoother. Essentials include a soft microfiber cloth, a sponge, mild dish soap, and white vinegar. These basics tackle grime without damaging surfaces.
For tougher spots, baking soda works as a gentle abrasive, perfect for scrubbing without scratching. You’ll also want a spray bottle for applying vinegar or diluted cleaning solutions evenly.
Don’t forget a toothbrush or small brush to reach tight crevices and vents. Rubber gloves protect your hands during longer cleaning sessions. Keeping these supplies ready promotes regular appliance maintenance.
This helps your appliances run efficiently and last longer. By gathering these simple household items before you start, you’ll ensure a thorough, hassle-free cleaning that keeps your kitchen appliances sparkling and in top shape.
How to Clean Small Kitchen Appliances (Blender, Toaster, Mixer)
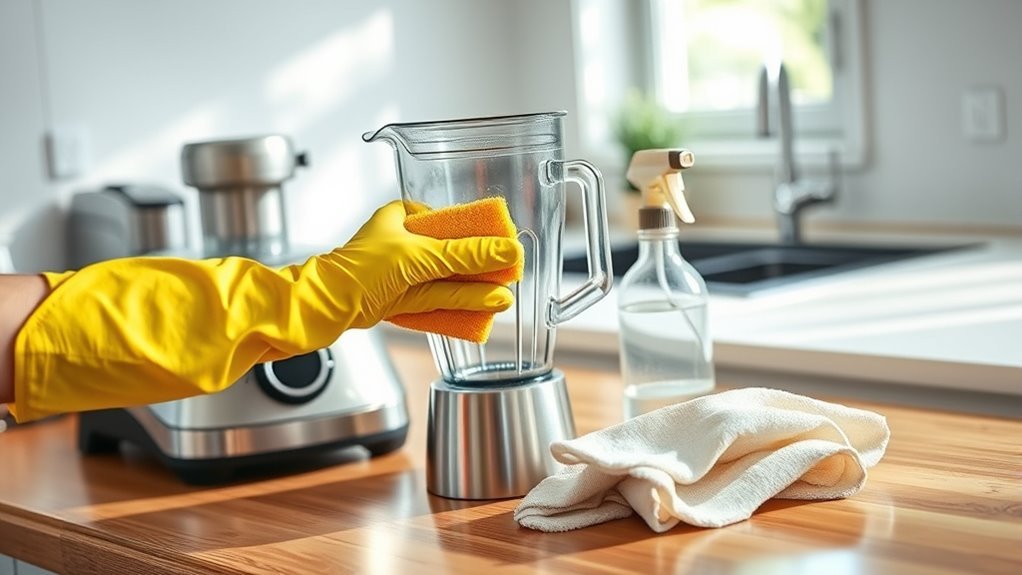
Cleaning small kitchen appliances like blenders, toasters, and mixers keeps them performing well and extends their lifespan. Start with your blender by unplugging it and carefully disassembling it—remove the jar, blades, and gasket. Wash these parts with warm, soapy water, then wipe down the base with a damp cloth, avoiding water near the motor.
For your toaster, always unplug it first, then slide out the crumb tray. Empty and wash the tray to prevent buildup, which can cause unpleasant odors or even fires. Wipe the toaster’s exterior with a soft cloth.
When cleaning your mixer, remove detachable parts like beaters or dough hooks and wash them thoroughly. Wipe the mixer’s body with a damp cloth, taking care around buttons and switches.
Regularly cleaning these small appliances not only keeps them hygienic but also guarantees they work efficiently every time you use them.
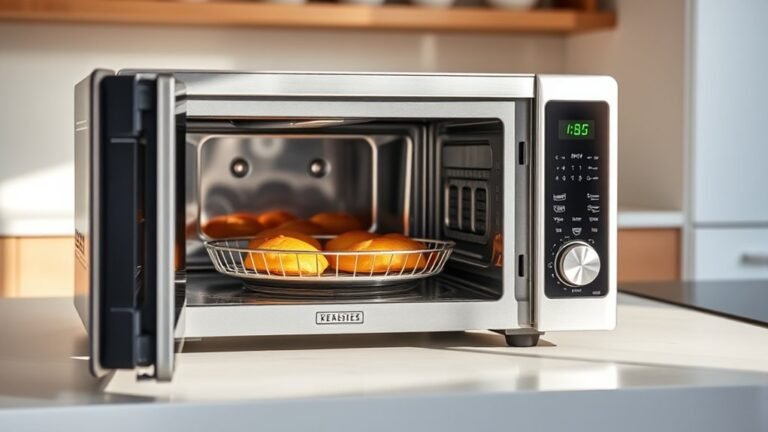
How to Deep Clean Your Microwave Quickly
Anyone who uses a microwave knows how quickly food splatters and spills can build up inside.
To deep clean your microwave quickly, start by mixing a vinegar solution—combine equal parts water and white vinegar in a microwave-safe bowl.
For a quick deep clean, mix equal parts water and white vinegar in a microwave-safe bowl.
Place it inside and run the microwave on high for about 5 minutes. The steam created will loosen stubborn grime and food particles. After it stops, leave the door closed for a couple more minutes to let the steam work its magic.
Next, carefully remove the bowl and wipe down the interior with a clean cloth or sponge. The grime should come off easily without scrubbing.
Don’t forget to clean the turntable; lift it out and wash it with dish soap and warm water.
Finally, wipe the exterior with a damp cloth. Using this vinegar steam method, you’ll have a fresh, spotless microwave in no time.
How to Clean Your Coffee Maker Effectively
After freshening up your microwave, turn your attention to your coffee maker, which can also harbor residue that affects flavor and performance. Regular maintenance ensures every cup tastes great and your machine runs smoothly.
Start by emptying any leftover coffee grounds and rinsing removable parts. Next, use a descaling solution or a mix of equal parts water and vinegar to remove mineral buildup inside your coffee maker.
Run the solution through a brewing cycle, then follow with two cycles of clean water to rinse thoroughly.
Here’s a quick checklist for effective cleaning:
- Remove and wash the filter basket and carafe with warm, soapy water
- Fill the reservoir with descaling solutions for mineral buildup
- Run a full brewing cycle, then rinse with fresh water
- Wipe down the exterior and warming plate with a damp cloth
Stick to this routine monthly for peak coffee maker maintenance and better-tasting coffee.
How to Remove Grease From Your Oven and Stovetop
Because grease can build up quickly and become stubborn, it’s important to clean your oven and stovetop regularly. This helps keep them looking fresh and working efficiently.
To start, remove the oven racks and soak them in warm, soapy water. For the oven interior, use a degreaser or make a baking soda paste to tackle the grime.
For the stovetop, wipe down the burners and knobs with a damp cloth and mild detergent. Be gentle—avoid abrasive tools that could damage the surface.
Here’s a simple guide to make your grease removal routine easier:
| Task | Recommended Method |
|---|---|
| Oven racks | Soak in warm, soapy water |
| Oven interior | Apply baking soda paste or degreaser |
| Stovetop surface | Wipe with damp cloth and detergent |
| Burners and knobs | Clean gently with a soft brush |
Following these steps will help keep your oven and stovetop grease-free, safe, and running smoothly.
How to Clean Your Refrigerator Inside and Out
First, take out all the shelves so you can give them a good wash with warm, soapy water. It’s a bit of a hassle, but it really makes a difference in getting rid of sticky spots and grime. Once those are soaking, move on to wiping down the inside walls and door seals—these areas tend to collect crumbs and spills, so a thorough clean here is key.
And don’t forget about the outside! Wipe down the exterior surfaces to keep your fridge looking fresh and shiny. A little elbow grease on both the inside and outside will make your refrigerator look and smell much better.
Cleaning Refrigerator Shelves
Remove the shelves from your refrigerator to make cleaning easier and more thorough. Once out, wash them with warm, soapy water to get rid of spills and crumbs that can affect food safety. Rinse well and let them air dry completely before putting them back.
This process keeps your fridge hygienic and helps maintain good shelf organization. It makes it easier to find and store items properly.
Here’s how to clean your refrigerator shelves:
- Use a non-abrasive sponge to avoid scratches.
- Pay special attention to corners and edges where grime builds up.
- Avoid harsh chemicals that could leave harmful residues.
- Regularly check shelves for cracks or wear to prevent contamination.
Keeping shelves clean supports both food safety and efficient organization.
Wiping Exterior Surfaces
After cleaning the inside shelves, focus on the exterior surfaces. The cleaning method depends on the material—whether it’s stainless steel, plastic, or painted metal.
For stainless steel, use a gentle cleaner or a mix of water and vinegar to avoid streaks. For plastic or painted surfaces, mild soap and water usually do the trick.
Pay close attention to handles and edges, where grime tends to build up. Wipe down the exterior at least once a week to keep it looking fresh and prevent buildup.
Regular cleaning not only keeps your fridge looking good but also helps extend its lifespan by preventing corrosion or damage to the surface.
Tips for Maintaining Kitchen Appliances for Long-Lasting Use
Although regular cleaning is essential, maintaining your kitchen appliances goes beyond just wiping them down. To ensure they serve you well for years, follow appliance longevity tips and set a clear maintenance schedule. This helps prevent breakdowns and keeps your appliances running smoothly.
Regular cleaning is vital, but setting a maintenance schedule ensures your kitchen appliances last longer and run smoothly.
Here are some practical tips to keep your kitchen appliances in top shape for a long time:
- Check and replace filters, belts, or seals when needed.
- Don’t overload appliances, as this can cause extra wear and tear.
- Schedule professional servicing once a year or as recommended by the manufacturer.
- Keep appliances dry to avoid rust and electrical problems.
Quick Cleaning Hacks to Keep Your Kitchen Appliances Sparkling
Maintaining your kitchen appliances means keeping them clean and ready to use at all times. To save time, use quick scrub techniques like wiping your microwave interior with a vinegar-soaked cloth or using a baking soda paste on stubborn oven stains.
For your blender or food processor, blend warm water with dish soap for a fast, effective clean. These simple hacks prevent buildup and keep appliances sparkling without hassle.
Incorporate appliance maintenance tips such as regularly emptying crumb trays, cleaning seals, and unplugging devices before cleaning. These small steps protect your appliances and extend their lifespan.
Don’t forget to clean appliance exteriors with a microfiber cloth to remove fingerprints and spills quickly.
Frequently Asked Questions
Can I Use Vinegar to Clean All Kitchen Appliances Safely?
You can use vinegar to clean many kitchen appliances because of its natural benefits like cutting grease and disinfecting.
However, you shouldn’t use it on all surfaces—avoid vinegar on natural stone, aluminum, or certain finishes to keep your appliances safe.
Always dilute vinegar with water and test it on a small area first. Using vinegar properly keeps your appliances sparkling without risking damage.
How Often Should I Replace Appliance Filters?
You should replace appliance filters based on the filter type and manufacturer’s recommendations, usually every 3 to 6 months. Regular filter maintenance keeps your appliances running efficiently and prevents buildup.
For example, water filters might need changing more often than air filters. Check your appliance manual for specific guidance, and don’t wait until you notice reduced performance.
Staying proactive with filter maintenance guarantees better appliance longevity and cleaner results.
Are There Specific Cleaning Methods for Stainless Steel Appliances?
Yes, you should use specific cleaning methods for stainless steel appliances to keep them looking great. For maintenance, avoid abrasive cleaners and opt for a soft cloth with warm, soapy water.
After cleaning, you can restore shine and prevent streaks by using a microfiber cloth with a little olive oil or a specialized stainless steel polish. Regular care helps keep that sleek, fingerprint-free finish.
Can I Clean Appliances With a Steam Cleaner?
Yes, you can clean appliances with a steam cleaner! They’re great for sanitizing surfaces without using harsh chemicals and can easily reach tight spots.
When using a steam cleaner, remember to unplug your appliances first and avoid sensitive electrical parts. Steam works really well on ovens, microwaves, and refrigerators, helping to cut through grease and grime.
Just make sure to test a small area first to ensure your appliance’s finish stays intact. Enjoy a chemical-free clean and keep your appliances looking their best!
What Should I Do if My Appliance Has a Strong Odor After Cleaning?
If your appliance has a strong, stubborn smell after cleaning, start with swift odor removal. Sprinkle baking soda inside, let it sit overnight, then wipe away the residue.
Next, use vinegar or lemon juice for natural neutralizing power. To keep odors at bay, make sure to keep your appliance dry and clean it regularly.
This way, foul smells will be replaced with fresh, lovely fragrances in no time!
Conclusion
Regularly cleaning your kitchen appliances not only keeps them looking great but also extends their lifespan and improves efficiency. While some people think you need harsh chemicals, you’ll find that simple household items often do the trick without causing damage.
By following these easy steps, you’ll maintain a healthier kitchen environment and avoid costly repairs. Remember, consistency is key. Small, frequent cleanings work better than infrequent deep scrubs, keeping your appliances sparkling and reliable.
Keeping up with regular cleaning is the best way to ensure your appliances stay in top shape and last longer. Plus, a clean kitchen is a healthier and more enjoyable space to cook and gather.