How to Replace a Kitchen Sink: A Step-by-Step Guide
Replacing a kitchen sink can feel daunting, especially if you’re not sure where to start. Many homeowners struggle with plumbing or worry about making a mess. But don’t worry—you’re not alone, and with a little guidance, you can do it yourself.
To replace your kitchen sink, first turn off the water supply and clear the area. Measure your existing sink and choose a suitable replacement that fits.
Carefully disconnect plumbing, then remove the old sink using the right tools and safety gear.
Apply sealant, position the new sink, and secure it with mounting clips.
Reconnect plumbing and test for leaks and proper drainage.
Keep following these steps to master sealing techniques, plumbing connections, and maintenance tips for lasting results.
Key Takeaways
Turn off the water supply and drain any leftover water before disconnecting the plumbing. This helps prevent spills and makes the process cleaner.
Measure the existing sink cutout and basin depth to make sure your new sink will fit properly. It’s better to check now than deal with surprises later.
Disconnect the drain pipes and water lines carefully, using the right tools and wearing protective gear. Take your time to avoid any damage.
Apply silicone sealant around the sink opening, then position your new sink in place. Secure it with the mounting clips provided.
Finally, test the water flow and drainage to check for leaks. Once everything’s working well, keep your sink clean and inspect it regularly.
Essential Tools and Materials for Replacing Your Kitchen Sink
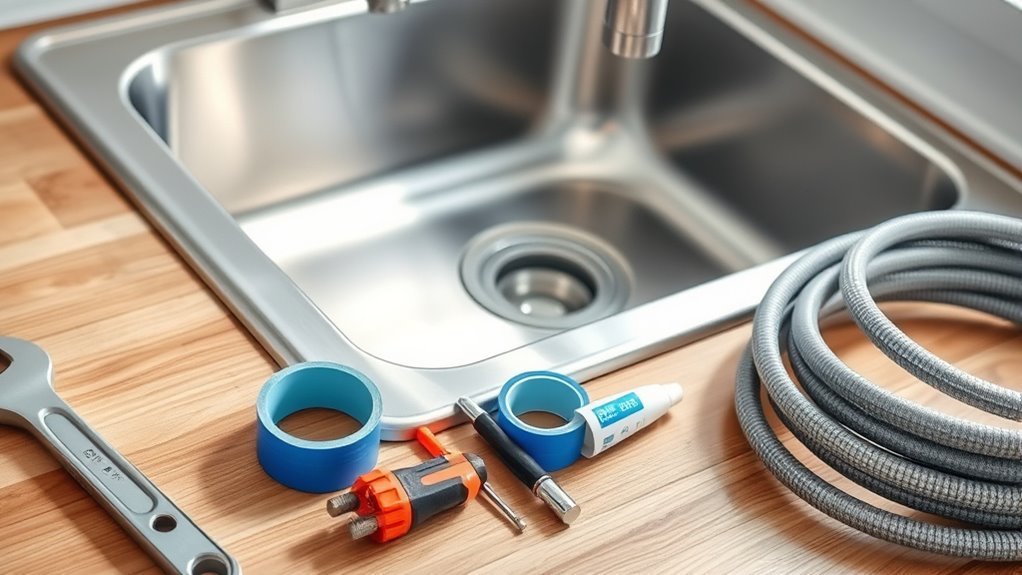
Before you start replacing your kitchen sink, gather all the essential tools and materials to make the process smooth. First, choose the right sink type for your kitchen—whether stainless steel, porcelain, or composite granite—as each needs specific handling.
Next, collect installation materials like plumber’s putty, silicone sealant, mounting clips, and a new set of faucet gaskets to ensure everything fits tightly and doesn’t leak. You’ll also need a basin wrench, adjustable wrench, screwdriver, plumber’s tape, and a utility knife.
Don’t forget a bucket and towels to catch any water spills during removal. Having everything ready beforehand helps prevent interruptions and keeps things running efficiently.
How to Turn Off Water and Prepare Your Kitchen for Sink Removal
Start by turning off the water supply to your kitchen sink to avoid leaks and water damage. Find the shutoff valves, usually located underneath the sink, and turn them clockwise until they stop. If you can’t find individual valves, shut off the main water supply for your home.
After turning off the water, open the faucet to let any remaining water drain out of the pipes.
Open the faucet to drain any remaining water from the pipes before proceeding.
Next, get your kitchen ready. Clear the area around the sink by removing dishes, cleaning supplies, and personal items. Place a towel or bucket nearby to catch any drips when disconnecting the pipes.
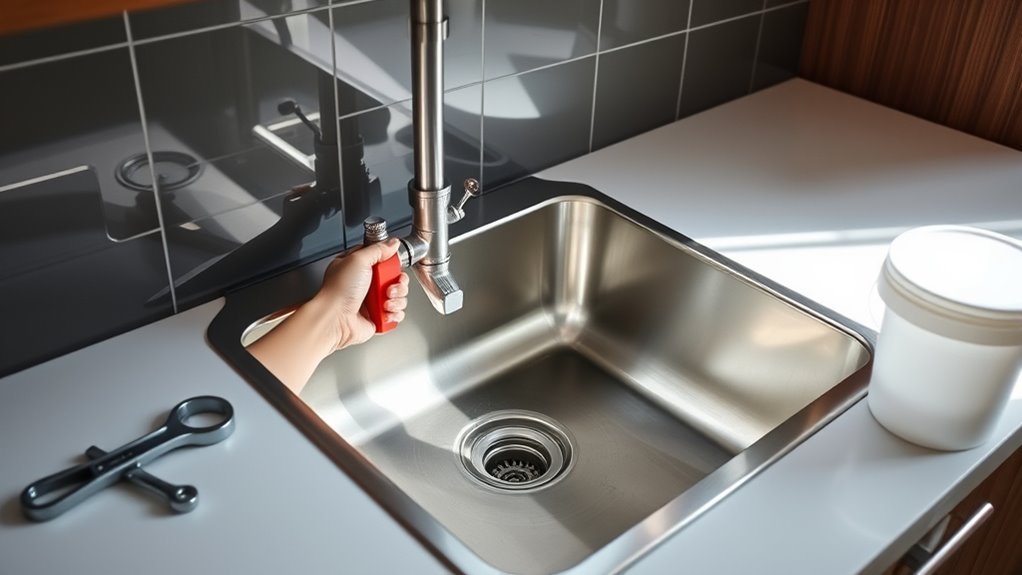
Use an adjustable wrench to disconnect the water supply lines, and be prepared to catch any leftover water.
Measuring Your Kitchen Space to Choose the Right Replacement Sink
Measuring your kitchen space accurately is key to making sure your new sink fits and works well. Start by measuring the length and width of the existing sink’s cutout on your countertop. Write down these dimensions carefully because they help you find a sink that fits without needing extra modifications.
Next, measure the depth of the sink basin to ensure it matches your plumbing setup and cabinet space. Think about the type of sink you want—drop-in, undermount, or farmhouse—and how that choice impacts your measurements.
Don’t forget to check the space around the sink for faucet placement and accessories like soap dispensers. Also, verify any clearance needed underneath for plumbing connections or a garbage disposal.
Taking precise measurements and considering installation details will save you time and hassle. It helps ensure your new sink fits seamlessly with your kitchen’s layout and existing fixtures.
How to Safely Disconnect Plumbing and Remove Your Old Sink
First things first, you want to turn off the water supply. That way, you won’t have any water spilling everywhere while you’re working. Once that’s taken care of, go ahead and carefully disconnect the plumbing underneath the sink. This includes the drain pipes and the water lines. Taking your time with these steps will make sure you remove your old sink safely and without making a big mess.
Turn Off Water Supply
Before you disconnect any plumbing, make sure to turn off the water supply to your kitchen sink. This helps prevent leaks and water damage.
Find the water supply valves under the sink—usually, there are separate ones for hot and cold water. Turn both valves clockwise to shut off the flow. If you don’t see individual valves, use the main emergency shutoff valve for your home, often near the water meter or where the main line enters.
After shutting off the water, open the faucet to release any remaining pressure and drain leftover water from the lines. This step keeps your workspace dry and avoids unexpected drips when you detach the plumbing.
Make sure the water is fully off before moving on to disconnect your old sink.
Detach Plumbing Connections
Once the water supply is fully shut off and the lines are drained, you can start detaching the plumbing connections. Remember to wear gloves and eye protection for safety.
Use a wrench to carefully loosen the nuts on drain pipes and water lines. If the pipes are insulated, gently remove the insulation to avoid damage.
Keep a bucket handy to catch any leftover water. Label the disconnected parts to make reassembly easier and quicker.
Top Mistakes to Avoid When Replacing a Kitchen Sink
Avoiding common pitfalls can save you time, money, and frustration when replacing your kitchen sink. Many installation mistakes come from poor planning and inaccurate measurements. To keep things running smoothly, keep these tips in mind.
- Skip thorough measuring. Don’t guess the sink or countertop dimensions. Measure twice to avoid costly mistakes.
- Ignore tool selection. Using the wrong tools slows you down and can cause damage. Make sure you gather the right tools before you start.
- Overlook debris management. Debris can clog drains or damage your new fixtures. Clean the area often to prevent problems.
- Neglect budget considerations and materials. Pick materials that match your style and budget. Avoid cheap options that will need replacing soon.
How to Install and Secure Your New Kitchen Sink
Careful planning and preparation set the stage for a smooth kitchen sink installation. Start by choosing a sink style that matches your kitchen and fits the cutout in your countertop. Then, apply a bead of silicone sealant around the opening to keep everything leak-proof.
Lower your new sink gently into place, making sure it lines up perfectly with the countertop. Follow these tips to secure your sink firmly:
| Step | Action |
|---|---|
| 1. Position the sink | Center it in the cutout |
| 2. Attach mounting clips | Tighten clips underneath for stability |
| 3. Seal edges | Wipe away any excess sealant |
Double-check that the sink is level and tighten the clips evenly. Once everything is secure, let the sealant cure as per the manufacturer’s instructions. Following these steps will help you install and secure your new kitchen sink smoothly, creating a sturdy and stylish focal point in your kitchen.
How to Connect Plumbing to Your New Kitchen Sink
Begin by gathering all your plumbing tools and materials, including a wrench, plumber’s tape, and new supply lines. Connecting your new kitchen sink’s plumbing needs careful attention to avoid leaks and ensure it lasts.
Wrap plumber’s tape around the threaded ends of the supply lines to create a tight seal. Then, attach the hot and cold water supply lines to their respective valves with a wrench, tightening securely but not overtightening.
Next, connect the drain assembly to the sink’s drain hole, making sure the gasket is properly seated to prevent leaks. Reattach the P-trap and tighten all slip nuts by hand, finishing with a wrench for a snug fit.
Following these steps will give you confidence that your sink’s plumbing is secure and working properly, helping you avoid future leaks and water damage.
How to Seal Your New Kitchen Sink to Keep It Leak-Free
Want to make sure your new kitchen sink doesn’t leak? The key is picking the right sealant that’s made for plumbing fixtures. When you’re applying it, take your time to spread it evenly and press it firmly around all the edges and joints. Rushing through this step can cause leaks later on, so it’s worth doing carefully for a tight, lasting seal.
Choosing The Right Sealant
Selecting the right sealant is key to preventing leaks and keeping your new kitchen sink secure. When choosing, think about durability, water resistance, and how easy it is to clean up.
Silicone sealants are popular because they’re flexible and last a long time. Acrylic options are easier to apply but might not be as durable.
To pick the best sealant, focus on:
- Making sure it’s compatible with your sink material to prevent damage.
- Choosing one that resists mold and mildew for a clean, hygienic kitchen.
- Considering the drying time to fit your schedule.
- Following recommended application techniques for a tight, lasting seal.
Making an informed choice means fewer repairs and peace of mind, so you can enjoy your kitchen without leaks or mess.
Applying Sealant Properly
Although applying sealant might seem straightforward, doing it correctly is essential to keep your kitchen sink leak-free.
First, pick the right sealant type—silicone is popular for its waterproof flexibility, while plumber’s putty works well for certain fixtures.
Clean the sink edge and countertop thoroughly, removing any old sealant or debris. When applying, use a steady hand and a caulking gun for even bead placement.
Smooth the sealant with a wet finger or a sealant tool to make sure it fills gaps and sticks properly.
Avoid using too much since excess sealant can cause mess and weaken the seal.
Following proper techniques ensures a tight, durable seal that protects your sink from water damage and leaks for years.
How to Test Your New Kitchen Sink for Drainage and Water Flow
Before you finalize your new kitchen sink installation, it’s important to run a thorough test to make sure everything’s working right. This helps you catch any issues with drainage or water flow early on, so you won’t face problems later.
Start by turning on the faucet at full pressure and watching how the water flows. It should be steady and strong without sputtering or sputtering. If it’s weak or irregular, there might be a problem.
Next, fill the sink halfway and then release the drain stopper. Keep an eye on how quickly the water drains. If it’s slow, that could mean there’s a blockage or something wasn’t installed properly.
While the water’s running, check all the pipe connections under the sink for leaks. Tighten any loose fittings if needed.
Finally, listen carefully for any gurgling sounds. These can be signs of venting issues that might be affecting your drainage efficiency.
Simple Tips to Maintain Your New Kitchen Sink for Years
Once you’ve confirmed your new kitchen sink is working properly, keeping it in great shape becomes your next priority. Regular cleaning prevents grime buildup and keeps surfaces shining. Use gentle cleaners to avoid damaging the finish.
Taking care of your faucet is just as important. Wipe it down daily and check for leaks to help it last longer. Don’t forget about the drain—flush it monthly with hot water and a baking soda-vinegar mix to prevent clogs and odors.
Protect your countertop by using cutting boards and steering clear of harsh chemicals that can stain or damage it. Keep an eye on your water quality too, since hard water can leave mineral deposits on your sink and faucet, affecting how well they work.
Installing a water softener or filter can really help maintain both your sink and plumbing. By following these simple tips, you’ll keep your kitchen sink looking great and functioning properly for years to come.
Frequently Asked Questions
What Types of Kitchen Sinks Are Best for Small Spaces?
For small spaces, you’ll want to choose space-saving designs that maximize every inch. Compact sinks, like single-bowl or corner models, work great because they fit snugly without overwhelming your countertop.
You might also consider undermount or farmhouse styles with slim profiles to keep things sleek. These options help you maintain functionality without sacrificing precious space.
They make your kitchen feel less cramped and more efficient, which is key in smaller areas.
Can I Replace My Kitchen Sink Without Professional Plumbing Help?
Yes, you can replace your kitchen sink without professional plumbing help if you follow some sink installation tips.
Make sure you have the right plumbing tools like a wrench, plumber’s putty, and a basin wrench. Turn off the water supply first, carefully disconnect pipes, and remove the old sink.
Take your time to measure and seal properly to avoid leaks. With patience and the right tools, you’ll manage the job confidently.
How Do I Choose Between Stainless Steel and Porcelain Sinks?
You should choose between stainless steel and porcelain sinks by considering durability comparison and maintenance tips. Stainless steel is more durable, resistant to chipping, and easier to maintain, making it ideal if you want something low-maintenance.
Porcelain offers a classic look but can chip and stain, requiring gentle care. Think about your lifestyle and how much upkeep you’re willing to do to decide which suits your kitchen best.
What Is the Average Cost of Replacing a Kitchen Sink?
Replacing a kitchen sink can feel like assembling your own version of a “kitchen symphony.” The average cost usually falls between $200 and $800, depending on materials and labor. Your total includes the sink, faucet, plumbing parts, and installation fees.
For smooth sailing, follow some installation tips like turning off the water, measuring carefully, and sealing the edges well. This way, you’ll avoid costly mistakes and enjoy your new sink with confidence.
Are There Eco-Friendly Kitchen Sink Options Available?
Yes, you’ll find plenty of eco-friendly kitchen sink options made from sustainable materials like recycled stainless steel, bamboo composites, and natural stone. These choices not only reduce environmental impact but also offer impressive durability, so you don’t have to sacrifice quality.
When picking your new sink, look for products certified for sustainability and long-lasting performance. That way, your kitchen upgrade is both green and practical.
Conclusion
Replacing your kitchen sink might seem challenging, but with the right tools and steps, it flows smoothly—just like water through a well-sealed drain.
As you turn off the water and disconnect pipes, picture the old sink slipping away like a fading ripple.
Then, installing and sealing your new sink creates a fresh, steady stream of function and style.
With care and patience, your kitchen will shine as bright and seamless as the perfect faucet’s flow.
Replacing your kitchen sink with the right approach ensures a smooth transition to a beautiful, functional space.