How to Build Kitchen Cabinets Free Plans: A Step-by-Step Guide
Building your own kitchen cabinets might seem overwhelming, especially with so many options out there. Many people struggle with finding reliable plans that are easy to follow and budget-friendly. You’re not alone—creating custom cabinets can feel intimidating, but with the right guidance, it’s totally doable.
To build kitchen cabinets using free plans, start by gathering quality hardwood or cost-effective plywood, plus essential tools like a table saw, drill, and clamps. Find reliable plans with clear measurements and material lists to guide you.
Assemble cabinet boxes carefully, ensuring all pieces fit snugly. Attach doors with precise hinge alignment so everything opens smoothly. Finish with sanding and staining to make your cabinets durable and attractive.
Don’t forget safety gear and make sure your cabinets are securely installed. Stick with these steps, and you’ll soon master creating sturdy, beautiful cabinets tailored perfectly to your space.
Key Takeaways
- Gather quality materials like hardwoods and essential tools including a table saw, drill, and clamps for precise cabinet building.
- Choose reliable free kitchen cabinet plans with clear measurements, complete materials lists, and user reviews.
- Assemble cabinet boxes by securing panels with glue and fasteners, making sure corners are square and joints are gap-free.
- Install and align cabinet doors using adjustable hinges for smooth operation and even spacing.
- Finish cabinets by sanding, staining evenly, and sealing with protective finishes like polyurethane for durability.
What Materials Do You Need for Kitchen Cabinets
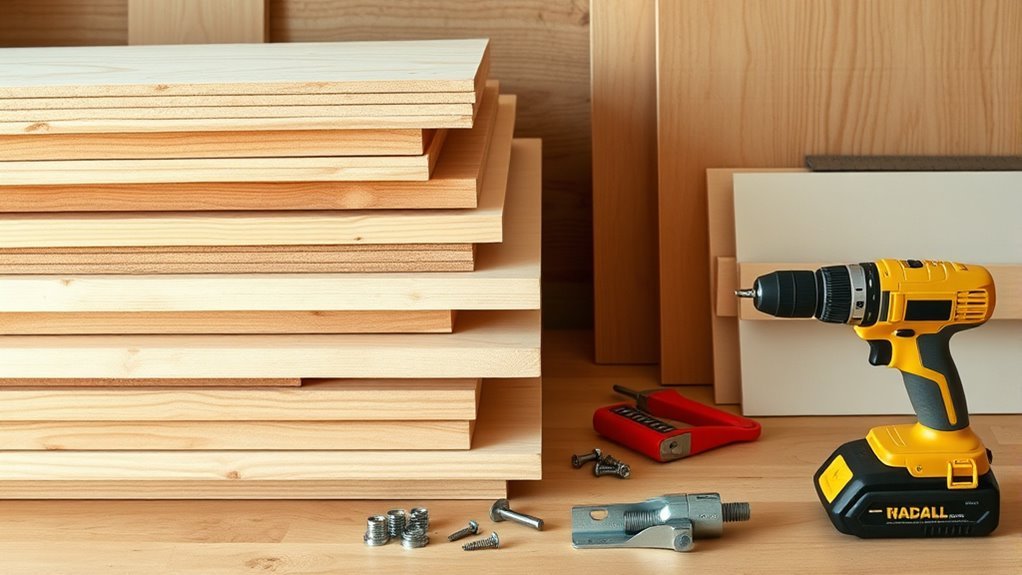
Building kitchen cabinets starts with choosing the right materials. Your wood selection plays a vital role in the durability and appearance of the cabinets. Hardwoods like maple, oak, and cherry are popular choices because they’re sturdy and offer a beautiful finish.
If you’re on a budget, plywood or MDF can work well for cabinet boxes while still providing a smooth surface for paint or veneer. Next, consider the cabinet styles you want. Shaker, flat-panel, and raised-panel styles each have different construction requirements that affect material needs.
For example, shaker styles often use simple, straight boards, while raised-panel cabinets require additional molding and panel pieces. Don’t forget to gather essential hardware like hinges, drawer slides, and handles.
These accessories complement your wood and style choices. By carefully selecting your wood and understanding the cabinet styles, you’ll guarantee your build is both functional and visually appealing.
Understanding and Using Free Kitchen Cabinet Plans
First things first, you’ll want to find some trustworthy free kitchen cabinet plans from reliable sources. It’s a good idea to check out well-known websites or woodworking communities to make sure the plans are accurate and detailed. Once you’ve got a plan in hand, take your time to go through it carefully—pay attention to all the measurements and materials listed. This way, you’ll avoid making mistakes and end up with cabinets that fit just right and look great. Understanding these details really makes a difference in getting professional-looking results.
Locating Reliable Free Plans
Where can you find reliable free kitchen cabinet plans that fit your style and skill level? Start by exploring online resources dedicated to DIY woodworking.
Websites that focus on home improvement often have downloadable plans that are reviewed and approved by experienced builders. Community forums are another great resource; members share their own designs, tips, and honest feedback.
Engaging in these forums allows you to ask questions and ensure the plans you pick are practical and achievable. Look for plans with clear measurements and complete material lists that match your skill level.
Prioritize sources that include user reviews or project photos to help verify their reliability. By combining trusted online resources with active community input, you’ll confidently find free kitchen cabinet plans that are perfect for your project.
Interpreting Plan Details
Once you’ve found kitchen cabinet plans that suit your needs, the next step is to interpret the details accurately. Focus on plan clarity to avoid mistakes during construction. Start by reviewing the dimensions overview carefully, noting height, width, and depth for each cabinet part. Check labels and symbols to understand assembly instructions.
| Detail Type | What to Look For | Why It Matters |
|---|---|---|
| Dimensions | Height, width, depth | Guarantees proper fit |
| Materials | Wood type, hardware | Guides your purchases |
| Assembly Notes | Joinery, fasteners | Aids correct construction |
| Finishing Details | Paint, stain, seals | Completes the look |
Interpreting these plan details guarantees your build matches the design intent perfectly.
Tools Needed for Building Kitchen Cabinets
Before you dive into building your kitchen cabinets, it’s important to have the right tools on hand. Having the right equipment can really make the whole process smoother and help you get those precise cuts and measurements. You’ll want to gather some essential tools like saws, drills, clamps, and measuring devices.
And don’t forget safety gear! Goggles and gloves are a must to protect yourself as you work through the project. Now, let’s take a closer look at what you’ll need to get everything done safely and efficiently so your cabinets turn out just the way you want.
Essential Cabinet Building Tools
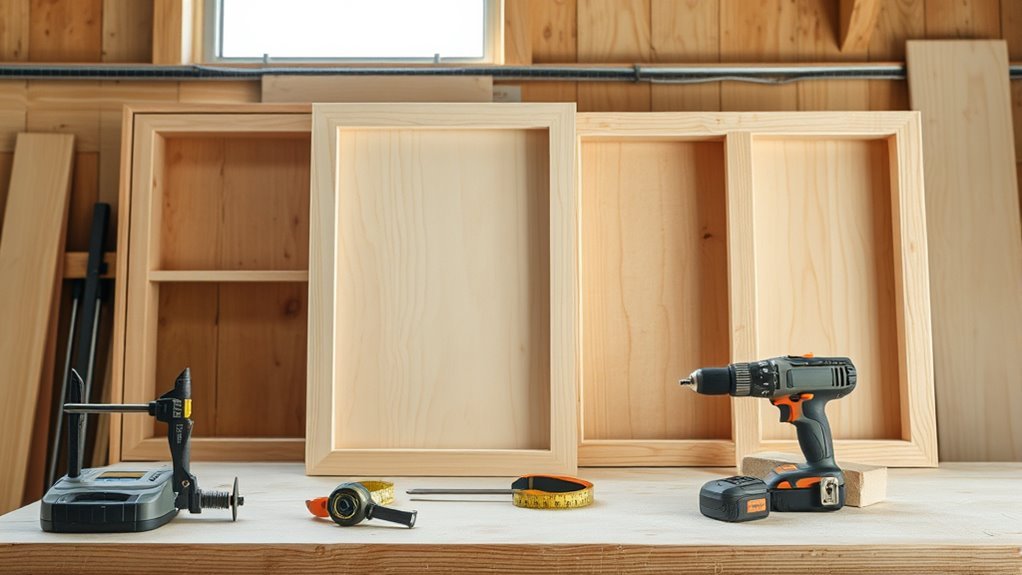
Building kitchen cabinets requires having the right tools at your disposal to secure accuracy and efficiency. To craft various cabinet styles, you’ll need essential tools like a table saw for precise cuts, a drill for assembling parts, and clamps to hold pieces firmly.
A router helps shape edges and create grooves, while a sander guarantees smooth surfaces. Don’t forget measuring tools like a tape measure and square to maintain exact dimensions.
Proper tool maintenance is vital; regularly clean blades and bits, and check for wear to keep your tools sharp and reliable. With these essentials ready and well-maintained, you’ll confidently tackle building cabinets that match your design vision and stand the test of time.
Safety Equipment Requirements
Having the right tools is only part of the process; protecting yourself while using them is just as important. Before you start building kitchen cabinets, make sure you have the proper safety gear.
Personal protection like safety glasses, earplugs, and dust masks shields you from flying debris, loud noise, and harmful dust. Wear sturdy gloves to protect your hands from splinters and sharp edges.
Closed-toe shoes help prevent injuries from dropped tools or materials. If you’re working with power tools, consider a face shield and avoid loose clothing that can get caught.
Always keep your workspace clean to reduce tripping hazards. By prioritizing safety equipment requirements, you’ll create a safer, more efficient environment for building your kitchen cabinets.
Measuring Your Kitchen Space for Custom Cabinets
Although it might seem straightforward, measuring your kitchen space accurately is key to ensuring your custom cabinets fit perfectly. Start by sketching out your kitchen layout, including walls, windows, doors, and any existing appliances.
Use a tape measure to record precise measurements—height, width, and depth—at several points because walls and floors can be uneven. Note any obstacles like vents or plumbing that could impact cabinet placement.
Focus on making the best use of space by identifying areas that are underutilized, where cabinets can add storage without crowding the room. Double-check your measurements to avoid costly mistakes later.
Be sure to measure clearances for doors and drawers to make sure they open fully without hitting anything. Finally, transfer your measurements to your design plans, keeping everything organized and easy to reference.
Taking your time to measure carefully lays a solid foundation for building cabinets that fit your kitchen perfectly and maximize your space.
Cutting and Preparing Wood Pieces Accurately
Once your measurements are set and your design plans are clear, it’s time to focus on cutting and preparing the wood pieces with precision. Choosing the right wood is key to making sure your project is durable and looks professional. For cabinet frames, go for hardwoods like maple or oak, and use plywood for shelves to balance strength and cost.
Precision cutting is really important—you want each piece to fit perfectly so there are no gaps or misalignments. Follow these simple steps for accuracy: First, mark each piece clearly with a pencil and a square to keep your lines straight. Then, use a table saw or circular saw with a guide for clean, straight cuts.
After cutting, sand the edges smoothly to remove splinters and ensure tight joints. Before moving on to assembly, double-check each piece against your plans to make sure everything lines up perfectly.
Assembling Kitchen Cabinet Boxes
Start assembling your kitchen cabinet boxes by carefully aligning the side panels with the bottom and back pieces. Use clamps to hold everything in place as you work, making sure the edges meet flush.
Use reliable cabinet assembly techniques like pocket hole screws or dowel joinery to secure the panels effectively. These methods provide strength and durability, which is important for cabinets that will hold weight over time.
Before fastening, double-check that all corners are square using a carpenter’s square. You can apply wood glue at the joints for extra bonding power, but don’t rely on glue alone.
Fasten the pieces firmly, but avoid overtightening screws to prevent wood splitting. Once the box is assembled, inspect all joints for gaps or misalignment and make adjustments if needed.
Mastering these steps guarantees your kitchen cabinet boxes are sturdy, well-fitted, and ready for the next stage of your build.
Installing Cabinet Doors and Hardware
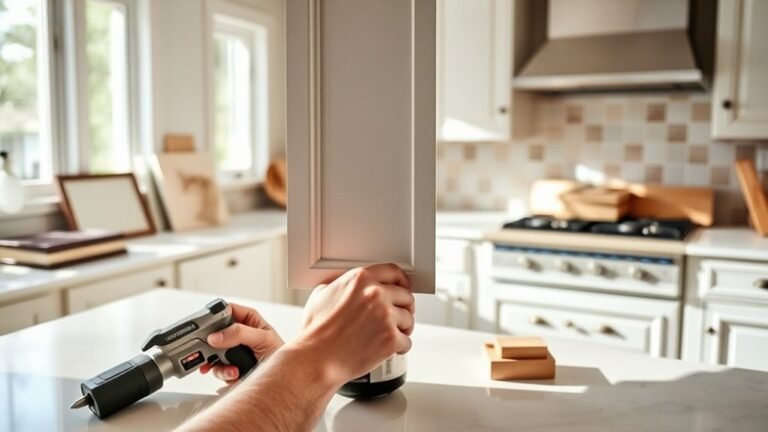
Great, your cabinet boxes are all set! Now, it’s time to move on to installing the doors and hardware. Take your time to carefully align each door so they fit smoothly and look even. It’s a bit of a balancing act, but with patience, you’ll get it just right.
Once everything is aligned, you can attach the hinges and handles securely. This will not only make your cabinets look polished but also ensure they function properly. Just double-check that everything is tight and in the right place, and you’re all set to enjoy your new cabinets!
Aligning Cabinet Doors
Carefully positioning cabinet doors ensures they hang evenly and work smoothly. Mastering door alignment techniques helps your cabinets look professional and function without sticking or gaps.
Start by loosely attaching the hinges, giving yourself room for adjustments. Use these hinge adjustment tips to get the perfect fit:
- Adjust the side screws to move the door left or right.
- Use the depth screws to control how close the door sits to the cabinet frame.
- Modify the height screws to raise or lower the door.
- Check gaps and alignment visually, making small tweaks as needed.
Attaching Handles And Hinges
Attach handles and hinges with precision to complete your cabinet doors and ensure they operate smoothly. Start by choosing handle styles that match your cabinet’s look, like knobs or bar pulls.
Next, carefully mark where you’ll place the hinges—usually about 2 to 3 inches from the top and bottom edges for stability. Pre-drill holes to avoid splitting the wood, then secure the hinges and hang the doors.
Align the handles consistently to keep things looking neat and make opening comfortable.
| Step | Details |
|---|---|
| Handle Types | Knobs, bar pulls, cup handles |
| Hinge Placement | 2-3 inches from edges |
| Installation Tip | Pre-drill screw holes |
| Final Check | Make sure doors swing smoothly |
Following these simple steps will help your cabinets look great and work perfectly.
How to Finish Cabinets for Lasting Beauty
Although building your cabinets is a major step, finishing them properly guarantees they stay beautiful and durable for years. To get that flawless look, explore different cabinet staining techniques and finishing options that highlight the wood’s natural beauty while keeping it protected.
Properly finishing your cabinets ensures lasting beauty and durability while showcasing the wood’s natural charm.
Here’s how to finish your cabinets for lasting beauty:
- Sand thoroughly – Smooth every surface to remove imperfections and prepare for staining.
- Choose your stain – Pick a cabinet staining technique that matches your kitchen style, whether light, dark, or colored.
- Apply stain evenly – Use a brush or cloth to apply stain, wiping off excess to prevent blotches.
- Seal with finish – Select a finishing option like polyurethane or lacquer to protect the wood from moisture and wear.
Safety Tips for Installing Kitchen Cabinets
Before you start installing your kitchen cabinets, it’s important to prioritize safety so you can avoid accidents and damage. Following proper techniques and safety rules will keep you and your workspace secure. Always wear protective gear like gloves and safety glasses.
Use sturdy ladders and make sure your cabinets are secured properly to prevent falls or drops. Check that your power tools are in good condition and use them only for their intended purposes.
Here’s a quick safety guide to keep in mind:
| Safety Tip | Explanation |
|---|---|
| Wear Protective Gear | Use gloves, goggles, and dust masks |
| Use Proper Tools | Choose and maintain the right tools |
| Secure Cabinets | Fasten cabinets firmly to studs |
| Follow Safety Regulations | Stick to local building codes |
| Work with a Partner | Get help for heavy lifting and steadying |
Keep these tips in mind to make your installation smooth, safe, and accident-free.
Common Mistakes to Avoid When Building Cabinets
When building kitchen cabinets, it’s important to avoid common mistakes that can affect their look and durability. Paying attention to design and assembly helps you achieve a professional finish. Make sure your layout planning is spot on so each cabinet fits perfectly in your space.
Here are four mistakes to watch out for:
- Measurement mistakes – Double-check every measurement because small errors can lead to big problems later.
- Poor material choices – Pick quality wood and finishes that are suited for kitchens to prevent damage and wear.
- Tool misuse – Use the correct tools properly to avoid harming materials or making uneven cuts.
- Hardware selection and finish issues – Choose sturdy hardware that matches your style and apply finishes evenly for protection and a nice look.
Frequently Asked Questions
How Long Does It Typically Take to Build Kitchen Cabinets From Scratch?
It usually takes about one to two weeks to build your kitchen cabinets from scratch, depending on your skill level and tools.
To keep things on track, try breaking the project into stages like cutting, assembling, and finishing. Don’t rush—taking your time with measurements and prep will save you headaches later.
If you plan well and stay organized, you’ll make steady progress and finish your cabinets efficiently without feeling overwhelmed.
Can I Customize Cabinet Designs for Irregular Kitchen Layouts?
Yes, you can definitely customize cabinet designs for irregular kitchen layouts.
By choosing custom cabinet styles, you’ll make the most of every nook and cranny, maximizing storage in tricky spots.
Tailoring cabinets to fit your kitchen’s unique shape helps you avoid wasted space and creates a cohesive look.
Don’t hesitate to experiment with angled or corner units and adjustable shelves to perfectly suit your layout and storage needs.
What Are Eco-Friendly Wood Options for Building Kitchen Cabinets?
You should choose eco-friendly wood options like bamboo, reclaimed wood, or FSC-certified hardwoods for your kitchen cabinets. These sustainable materials come from responsible sourcing practices that reduce environmental impact.
Bamboo grows quickly, making it a renewable choice, while reclaimed wood gives new life to old timber. FSC certification ensures the wood is harvested sustainably.
Picking these options helps you build beautiful, durable cabinets while supporting eco-conscious choices.
How Do I Maintain and Clean My Homemade Kitchen Cabinets?
Oh, sure, just ignore your cabinets until they beg for mercy! But if you actually want to keep them looking sharp, you’ll want gentle cleaning techniques—like wiping with a damp cloth and mild soap.
Avoid harsh chemicals that’ll ruin their finish. For maintenance tips, tighten hinges regularly and apply wood polish to keep them vibrant.
Treat your homemade cabinets with care, and they’ll stay stunning, not sorry, for years to come.
Are There Budget-Friendly Alternatives to Traditional Cabinet Hardware?
Yes, you’ll find plenty of budget hardware options that won’t break the bank. Look for DIY cabinet fittings at thrift stores, online marketplaces, or discount home centers.
You can even repurpose vintage knobs or handles for a unique touch. Choosing simple, classic designs often costs less, and buying in bulk can save you more.
Don’t hesitate to mix and match styles. You’ll create a custom look while sticking to your budget.
Conclusion
Building your kitchen cabinets is like crafting the foundation of a masterpiece—you’re shaping both function and style. Choosing the right materials and following free plans makes the process easier and more enjoyable.
Pay close attention to measurements and finishing touches to create cabinets that last and impress. Using the right tools and staying safe are key to a smooth build.
Avoid common pitfalls by taking your time and staying patient throughout the project. With care and effort, your kitchen will transform into a space that truly feels like home.
Remember, building your kitchen cabinets with free plans is a great way to save money while creating a beautiful, functional space.