How to Install Kitchen Sink: A Step-by-Step Guide
Many homeowners feel overwhelmed when it’s time to install a new kitchen sink. You’re not alone—this project can seem tricky, especially if you’re new to DIY plumbing. But with the right steps and tools, you can get it done smoothly and confidently.
To install your kitchen sink, first pick a style and size that fits your space and needs. Gather tools like a wrench, plumber’s putty, and silicone sealant.
Turn off the water supply, then remove the old sink carefully. Position the new sink, seal it, and secure mounting clips evenly. Attach faucet components and the drain assembly, then test for leaks.
If you follow these steps, you’ll guarantee a smooth fit and durable setup—and there’s more to learn about fine-tuning and upkeep.
Key Takeaways
- Turn off the main water valve and disconnect the water lines before removing your old sink.
- Place the new sink into the countertop opening and secure it with the mounting clips, tightening them evenly.
- Apply a bead of silicone sealant around the edge of the sink to prevent leaks.
- Attach the faucet and connect the water supply lines, making sure everything lines up properly and fittings are tight.
- Finally, turn the water back on and test for leaks by running the water. Check all connections for any moisture or drainage problems.
Pick the Right Kitchen Sink for Your Space
Where should you start when choosing a kitchen sink? Begin by thinking about styles that match your kitchen layout and personal taste.
Next, look at material options like stainless steel, porcelain, or composite granite. Each has different durability and maintenance needs.
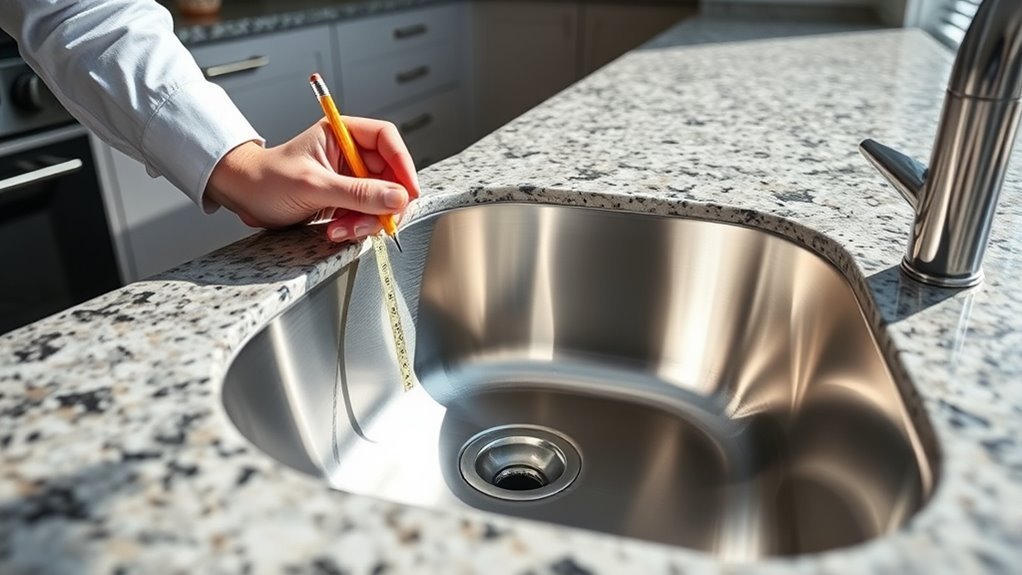
Size is important too. Measure your countertop and cabinet space to make sure the sink fits comfortably without feeling crowded.
Consider what you need in terms of functionality. Do you want a single basin for big pots or a double basin for multitasking?
Think about your daily tasks: a single basin for large items or a double basin for multitasking efficiency.
Your style preferences should match your kitchen’s overall look, whether it’s modern, rustic, or traditional.
Budget is also a factor. Sinks come at various prices, so find a balance between quality and what you can afford.
Finally, think about installation. Some sinks need undermount setups, while others are designed for drop-in installation.
Keeping these points in mind will help you choose a sink that’s practical, stylish, and fits your space perfectly.
Gather Essential Tools and Materials
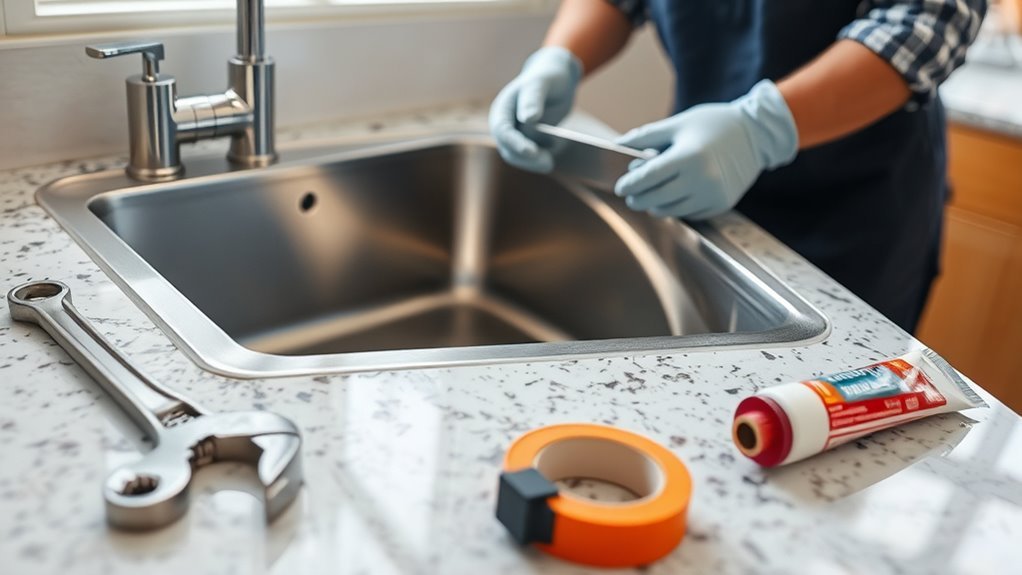
Before you start installing your kitchen sink, gather all the essential tools and materials to ensure a smooth process. Having everything ready will save you time and frustration. Focus on the right sink materials and installation tools to make sure your new sink fits perfectly and works well.
Here’s a quick checklist to help you visualize what you’ll need:
- Sink materials: Pick durable options like stainless steel, cast iron, or composite granite, based on your style and needs.
- Installation tools: Grab a wrench, plumber’s putty, and a screwdriver to handle tightening, sealing, and securing.
- Additional supplies: Don’t forget plumber’s tape, a bucket to catch water, and silicone sealant for a watertight finish.
Turn Off Water and Prep Your Workspace
Before you get started, find the main water valve and turn it off. This will help prevent any leaks while you’re working. Next, clear out the space under the sink so you have plenty of room to move around comfortably. It’s also a good idea to gather all your tools beforehand, so everything’s within reach and the whole process goes smoothly.
Locate Main Water Valve
Although you might be eager to get started, you’ll need to locate and turn off the main water valve first. This is important to prevent leaks or flooding while you’re working on your kitchen sink.
Finding the valve is key because it controls the water pressure coming into your home. Usually, you’ll find it near your water meter or where the main line enters the house.
To help you see it better:
- Look for a round wheel or a lever attached to a pipe.
- Check in the basement, crawl space, or outside walls.
- Look for labels or signs that say “main shutoff” or similar.
Once you’ve found it, turn the valve clockwise until it’s fully closed. This makes sure no water flows while you’re working, keeping things safe and dry.
Clear Under-Sink Area
Two key steps will make your installation smoother: turning off the water supply and clearing the under-sink area. After shutting off the main water valve, empty everything stored beneath your sink. This gives you a clean workspace and prevents any items from getting damaged or in the way.
Use this opportunity to organize your supplies. Sort through what to keep, toss, or relocate. Clearing under-sink storage makes installation easier and helps you stay organized afterward.
Consider installing shelves or pull-out bins to maximize space and keep plumbing accessible. By prepping your workspace thoroughly, you’ll avoid delays and make your kitchen sink installation straightforward and efficient.
Gather Necessary Tools
Gathering the right tools is key to making sure your kitchen sink installation goes smoothly. Before you begin, turn off the water supply to prevent leaks and clear your workspace for easy movement.
Knowing which tools you’ll need helps you avoid interruptions in the middle of your project. Also, check your tools for proper maintenance—clean and sharpen blades, tighten loose parts, and make sure everything works smoothly.
Here are the essential tools to have ready:
- An adjustable wrench for tightening fittings
- Plumber’s putty and sealant for waterproofing
- A pipe wrench for securing plumbing connections
Remove Your Old Kitchen Sink Safely
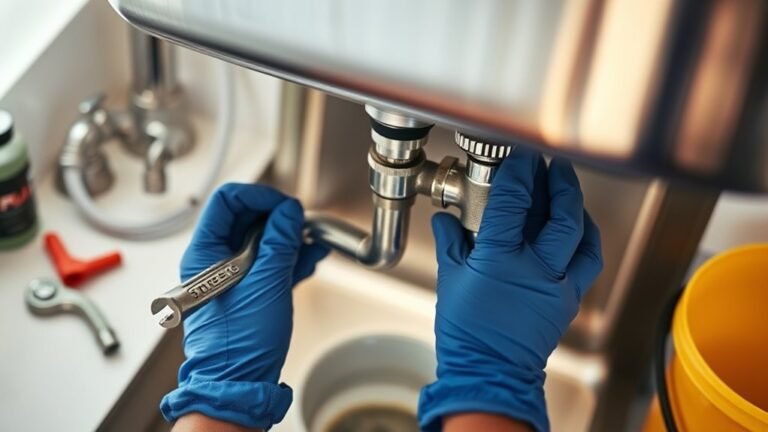
Start by turning off the water supply valves under your sink to prevent leaks. Next, disconnect the water lines using an adjustable wrench, and have a bucket ready to catch any remaining water.
If your sink has a sink disposal, unplug it and carefully disconnect the mounting assembly. Keep safety precautions in mind: wear gloves to protect your hands from sharp edges, and use safety goggles to shield your eyes from debris.
Loosen and remove the clips or screws holding the sink in place. Gently cut through any old caulk or sealant with a utility knife to free the sink from the countertop.
Carefully lift out the old sink, asking for help if it’s heavy or awkward. Finally, clean the countertop surface thoroughly to remove residue, preparing it for your new sink installation.
Following these steps guarantees you remove your old kitchen sink safely and efficiently.
Install the New Sink Basin and Secure It
Now that you’ve taken out the old sink, it’s time to get the new one set up. Carefully place the new basin into the opening in the countertop, making sure it sits nicely and is centered.
Next, run a bead of sealant around the edge of the sink to help prevent any leaks later on. Once that’s done, secure the sink by tightening the mounting clips underneath. Just make sure everything feels snug — you don’t want to overtighten and end up damaging the sink or the countertop.
Positioning The Sink Basin
Before placing the sink basin into the countertop, make sure the edges are clean and dry. This helps create a strong seal and prevents leaks.
Position the sink carefully, considering the height and style of the basin. You want it to fit comfortably and look balanced in the space.
Align the basin so it sits evenly within the cutout, avoiding any gaps or overhangs. Visualize that the sink edge is flush with the countertop surface, centered for the best workspace, and has enough clearance underneath for plumbing.
Once in place, gently press to check that the sink doesn’t shift. Proper placement is key to preventing leaks and making sure your kitchen looks and functions just right.
Taking your time here will set a solid foundation for a successful installation.
Applying Sealant Correctly
Two key steps guarantee a watertight seal when installing your sink basin: applying the right amount of sealant and securing the sink firmly in place. First, choose the appropriate sealant type. Silicone is popular because it’s flexible and water-resistant, while plumber’s putty works well for certain installations.
Use a caulking gun for even application. Run a continuous bead around the sink’s edge where it meets the countertop. Be careful not to overapply; excess sealant can create a mess and weaken the bond.
Next, carefully lower the sink into position, pressing it firmly to spread the sealant evenly. Use your hands to apply steady pressure, ensuring a tight fit without gaps. These techniques help prevent leaks and keep your sink securely installed.
Tightening Mounting Clips
After applying the sealant and setting the sink firmly in place, the next step is to secure it using the mounting clips. First, identify the types of clips included with your sink—common ones are screw-on, toggle, or snap-in clips. Each type has its own installation method, so make sure to follow the instructions carefully.
Position the clips evenly around the sink’s rim underneath the countertop. Then, tighten each clip gradually to pull the sink snug against the countertop. Be careful not to over-tighten, as this could damage the sink or the countertop.
Visualize the process like this:
- Align the clips flush against the underside of the countertop
- Use a screwdriver or wrench to tighten the clips steadily
- Check for even pressure to prevent leaks or gaps
Properly tightened clips will ensure a secure, leak-free installation.
Seal Your Kitchen Sink to Prevent Leaks
To keep water from seeping under your sink and causing damage, you need to apply a proper seal around the edges. Start by cleaning the sink rim and countertop thoroughly to remove dust, debris, or old sealant.
Use a high-quality silicone caulk designed for kitchen use, as it offers excellent flexibility and water resistance. Apply a steady bead of caulk along the sink’s edge where it meets the countertop.
Smooth it out with a caulk tool or your finger dipped in water to guarantee an even seal and avoid gaps. Proper sealing is essential for sink maintenance and leak prevention, protecting your cabinetry and flooring from moisture damage.
Allow the sealant to cure fully according to the manufacturer’s instructions before exposing it to water. Regularly inspect the seal for cracks or wear and reapply as needed to maintain a watertight barrier.
This simple step helps ensure your kitchen sink stays leak-free and durable over time.
Connect the Kitchen Sink Faucet and Drain
Now, it’s time to attach the faucet components. Just take your time and make sure everything fits snugly. You want to tighten all the connections so there are no leaks down the line. Once that’s done, move on to securing the drain assembly. Be sure it’s fitted properly so you get a watertight seal and avoid any drips or leaks.
Attaching Faucet Components
Start by positioning the faucet onto the sink holes, making sure the gasket or plumber’s putty is in place to prevent leaks. Different faucet types need specific installation tips, so check your model’s instructions closely.
Use the right plumbing tools like basin wrenches and adjustable pliers to tighten the mounting nuts securely. Connect the water supply lines, being mindful of water pressure to avoid damage or leaks.
Visualize this step as you:
- Align the faucet base evenly on the sink surface
- Tighten mounting nuts from underneath the sink
- Attach hot and cold water supply lines carefully
Follow maintenance advice to check for common issues like drips or loose fittings after installation, ensuring your faucet functions flawlessly.
Securing Drain Assembly
Secure the drain assembly by fitting the drain flange into the sink’s drain hole, making sure it creates a tight seal with plumber’s putty or a rubber gasket. Press firmly to prevent leaks.
From underneath, slide the rubber gasket and mounting nut onto the drain flange, then tighten the nut by hand. Use plumbing tools like a pipe wrench or adjustable pliers to secure the nut snugly but be careful not to overtighten and damage the parts.
Next, connect the tailpiece to the drain assembly and tighten it with the appropriate tools. Double-check all connections to ensure they’re firmly in place.
Finally, run water to test for leaks. If you see any, tighten the fittings slightly until the leaks stop. Properly securing the drain assembly helps your sink work smoothly without water damage.
Test Your Installation for Leaks and Functionality
Before you finish, you’ll want to check your kitchen sink installation thoroughly to make sure everything works properly and there are no leaks. Start with leak detection by running water through the faucet and watching all joints and connections carefully.
Pay special attention under the sink where the drain assembly meets the pipes. Next, perform functional testing by letting water flow at full pressure and verifying the sink drains efficiently without pooling.
To confirm a thorough check, focus on inspecting all water supply lines and drain connections for any signs of dripping or moisture. Testing both hot and cold water will help validate that temperature controls and pressure work as expected.
Also, observe the sink basin during drainage to detect slow flow or unusual noises. This way, you can be confident your installation is secure and functioning perfectly.
Troubleshoot Leaks, Clogs, and Alignment Issues
If you notice any leaks, clogs, or misalignment after testing your sink, addressing these issues quickly will prevent more damage and keep everything running smoothly. Start by checking all connections for leaks, including the drain, supply lines, and faucet base. Tighten any loose fittings and replace worn washers or seals to stop drips.
For clogs, clear out debris from the drain trap. If water drains slowly, try using a plunger or plumbing snake—just avoid harsh chemicals that can damage your pipes. When it comes to alignment, make sure the sink sits evenly and the faucet is centered.
If needed, loosen the mounting clips or brackets to adjust the sink’s position, then tighten everything back securely. Regularly inspect these areas and keep seals dry, and avoid buildup by wiping them clean.
Maintain Your Kitchen Sink for Longevity
Keeping your kitchen sink free from leaks, clogs, and misalignment sets the foundation for long-lasting performance. To maintain your sink’s longevity, focus on regular cleaning, faucet upkeep, and drain care. These simple steps help prevent buildup, corrosion, and costly repairs.
Start by cleaning the sink basin regularly with a mild cleaner and a soft sponge to stop stains from forming. Pay attention to your faucet by tightening loose parts and swapping out worn washers to avoid drips. For the drain, using a water filtration system can help reduce sediment and impurities that cause clogs.
Here’s what you should do routinely: scrub the sink with a gentle cleaner, inspect and lubricate faucet parts to keep handles turning smoothly, and flush drains with hot water and a natural cleaner to keep them clear and smelling fresh.
Frequently Asked Questions
What Type of Kitchen Sink Material Is the Most Durable?
You’ll find stainless steel sinks are the most durable choice because they resist rust, stains, and heat really well. They’re also easy to clean and fit most kitchen styles.
Composite sinks are another strong option; they’re made from granite or quartz mixed with resin, making them tough and scratch-resistant.
Both materials hold up over time, but if you want something that combines durability with a sleek look, stainless steel is usually your best bet.
How Do I Choose the Right Sink Size for a Small Kitchen?
In terms of choosing sink dimensions, remember, “less is more.” You want a sink that fits your small kitchen without overwhelming it.
Measure your countertop space carefully to guarantee space efficiency, leaving enough room for prep and other tasks.
Opt for a compact sink, like a single basin or a small double basin, so you maximize functionality without clutter.
This way, your kitchen stays practical and visually balanced.
Can I Install a Kitchen Sink Without Professional Plumbing Experience?
Yes, you can install a kitchen sink without professional plumbing experience if you’re comfortable with DIY plumbing basics. Many sink installation tasks, like connecting the drain and water lines, are straightforward with proper tools and instructions.
Just make sure to turn off the water supply first, follow step-by-step guides carefully, and double-check for leaks. If anything feels too complicated, don’t hesitate to call a professional to avoid costly mistakes.
What Are the Common Signs That My Kitchen Sink Needs Replacement?
Did you know that 60% of homeowners face plumbing issues because they don’t notice leaks?
If you see persistent water pooling or corrosion around your sink, it’s a clear sign you need a replacement.
Also, if leak detection shows hidden drips or if your faucet doesn’t fit well with the sink anymore, it’s time to act.
Don’t ignore foul odors or slow drainage—they’re warning signs that your kitchen sink isn’t performing properly anymore.
Are There Eco-Friendly Kitchen Sink Options Available?
Yes, you can find eco-friendly kitchen sink options made from sustainable materials like recycled stainless steel, bamboo, or natural stone. These sinks help reduce environmental impact while still being stylish.
Many eco-friendly sinks also promote water conservation with thoughtful designs. They can help you save water during cooking and cleaning.
Choosing an eco-friendly sink supports sustainability and cuts down on waste. It’s a great way to make your kitchen greener and more efficient.
Conclusion
Installing your kitchen sink might seem intimidating, but with the right steps, you can do it confidently. Did you know that nearly 60% of DIY kitchen renovations include sink replacement?
By choosing the right sink, prepping properly, and testing for leaks, you’ll ensure a smooth installation and long-lasting results. Regular maintenance is also key to avoiding common issues down the line.
You’ve got this—your new kitchen sink will be both functional and stylish in no time!