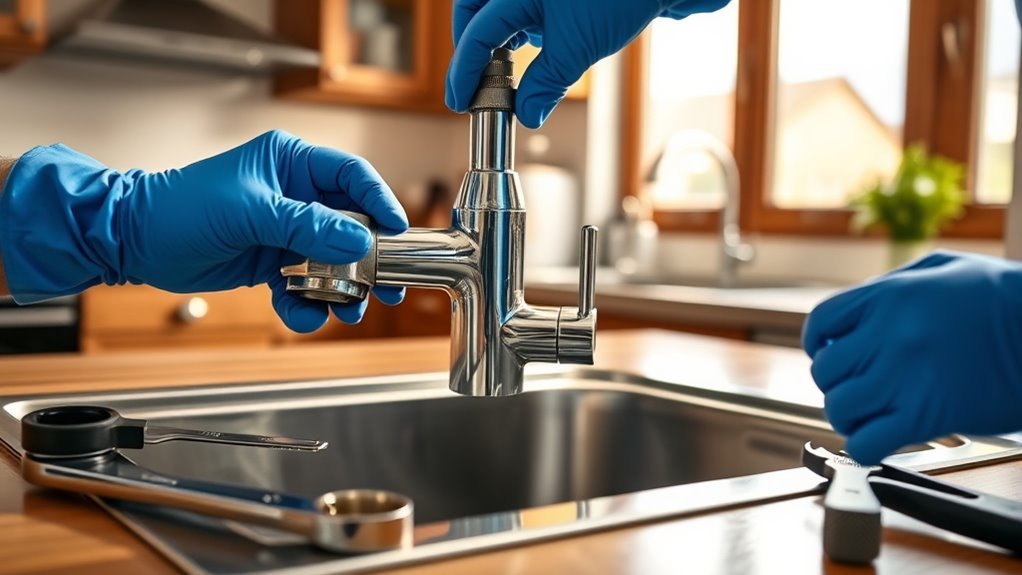
How to Change a Kitchen Faucet: A Step-by-Step Guide
Are you tired of dealing with a leaky, outdated kitchen faucet? You’re not alone—many homeowners find themselves frustrated by plumbing issues or simply dreaming of a fresh new look.
Luckily, changing a kitchen faucet isn’t as complicated as it might seem, and with a little guidance, you can do it yourself.
To change your kitchen faucet, first turn off the water supply and open the faucet to drain any remaining water.
Then, disconnect supply lines and remove the old faucet by loosening mounting nuts.
Clean the sink area before positioning the new faucet, secure it with mounting hardware, and connect water lines tightly but carefully.
Finally, turn the water back on, test for leaks, and adjust as needed.
Follow these steps, and you’ll soon master every detail for a smooth faucet upgrade.
Key Takeaways
- Turn off the water supply and open the faucet to drain any remaining water before you start removing it.
- Use an adjustable or basin wrench to disconnect the water supply lines and remove the mounting hardware.
- Clean the sink surface and double-check that the new faucet is compatible with your mounting holes before installation.
- Secure the new faucet with mounting nuts, attach the supply lines, and make sure all connections are watertight.
- Turn the water supply back on, test the faucet to ensure it works properly, and check for leaks. Tighten any fittings if needed.
How to Choose a Kitchen Faucet: Styles, Features, and Budget
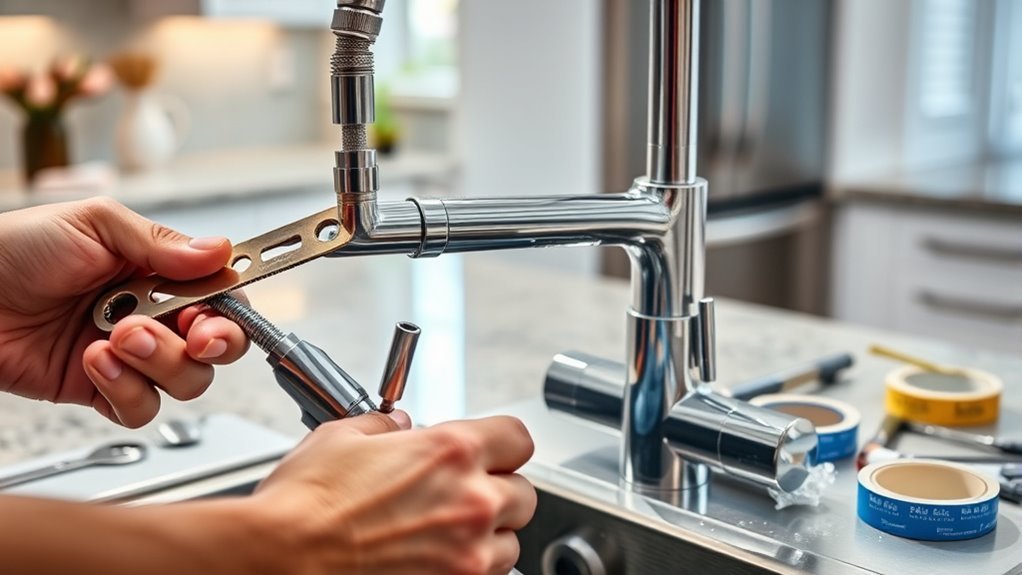
How do you pick the right kitchen faucet to match your needs and style? Start by exploring different faucet styles like single-handle, double-handle, pull-down, or touchless options. Each style offers different convenience levels and suits various kitchen designs.
Next, think about your budget. Faucets range from affordable basic models to high-end designer pieces. Set a budget that balances quality and price for your needs.
Don’t forget to check installation features. Make sure the faucet fits your sink’s hole configuration and decide if you want a deck-mounted or wall-mounted model. These choices can impact installation and overall look.
Aesthetic options are also important. Choose finishes like chrome, brushed nickel, or matte black that match your kitchen’s decor. This helps create a cohesive and stylish look.
How to Gather the Tools You Need for Changing a Kitchen Faucet
Before you start replacing your kitchen faucet, gather all the necessary tools to make the process smooth and efficient. Different faucet types may need specific installation tools, so check your new faucet’s instructions first.
Generally, you’ll need an adjustable wrench, basin wrench, plumber’s tape, and a screwdriver. A bucket and towels can help catch any water drips.
If your faucet has extra features like a sprayer, you might also need a hex key or Allen wrench.
Having all the right tools ready saves you from interruptions and frustration. Double-check if you have replacement parts like supply lines or mounting hardware if your faucet kit doesn’t include them.
Preparing properly will help you handle different faucet designs easily and get the job done faster. Gathering these tools upfront sets you up for a hassle-free faucet change.
How to Turn Off the Water Supply Safely Before Installation
Before you get started, the first thing you want to do is find your main water valve. Once you’ve located it, turn off the cold water supply. This helps prevent any leaks while you’re working on the faucet.
After shutting off the water, it’s a good idea to open the faucet. Doing this will let any leftover water in the pipes drain out. This step is really important because it helps avoid water damage during the installation process.
Locate Main Water Valve
One key step in changing your kitchen faucet is locating the main water valve to shut off the water supply safely. Start by finding where the valve is in your home—it’s usually near the water meter, in the basement, garage, or outside by the foundation.
Knowing the valve location helps you control water pressure during the installation. Once you find it, turn the valve clockwise to close it, which stops the water flow and prevents leaks while you work.
If the valve is old or hard to turn, use a wrench carefully to avoid damage. Confirm the water is off by turning on a faucet; no water should flow.
This step makes sure your faucet replacement goes smoothly and stays mess-free.
Shut Off Cold Water
Turn off the cold water supply by locating the shutoff valve under your kitchen sink and twisting it clockwise until it’s fully closed. This step ensures no water flows through the cold water valve during your faucet installation.
Follow these steps:
- Look under the sink to find the cold water valve connected to the supply line.
- Turn the valve clockwise slowly until it stops to shut off the water.
- Confirm the valve is fully closed by trying to turn on the cold water handle on your faucet; no water should flow.
- Keep a towel or bucket nearby in case of residual water in the pipes.
Completing this step carefully prevents leaks and makes your faucet installation safer and easier.
Drain Remaining Water
Open the faucet handles to release any water left in the pipes after shutting off the supply. This simple drain technique helps prevent water from pooling under the sink during your faucet replacement.
Let the water flow out completely until no more drips appear. Then, use a small container or towels to catch any remaining water trapped in the lines or fittings.
Proper water disposal is essential to keep your workspace dry and avoid damage to cabinets or flooring. If your sink has a sprayer, open its valve as well to drain water from that line.
Taking these steps guarantees all residual water is cleared safely before you start disconnecting the old faucet. This makes the installation cleaner and easier.
How to Remove Your Old Kitchen Faucet Step-by-Step
Now that you’ve turned off the water supply, it’s time to get under the sink and disconnect the faucet connections. Just take your time and gently loosen the nuts holding everything in place. If there’s any mounting hardware, make sure to remove that too. Once you’ve got everything undone, you can carefully lift out your old faucet. And then, you’re all set to get ready for installing the new one!
Turn Off Water Supply
Before you start removing your old kitchen faucet, locate the water shut-off valves beneath the sink. Turning off the water supply is key to preventing leaks and managing water pressure, especially since different faucet types might react differently when disconnected. Here’s how to do it:
Identify the hot and cold water valves under your sink.
Turn each valve clockwise until it stops to shut off the water supply.
Open the faucet to release any remaining water and relieve pressure.
Check for drips to make sure the water is fully off before you proceed.
This step helps ensure a smooth faucet removal without unexpected water bursts, no matter what kind of faucet you have.
Disconnect Faucet Connections
Start by loosening the nuts that connect the faucet to the water supply lines with an adjustable wrench or basin wrench.
Since different faucets may use different connection types—like compression fittings or quick-connect adapters—make sure you identify the right fittings before starting.
Hold the supply line steady with one hand while turning the wrench to loosen the nut.
Once the nuts are loose, gently pull the supply lines away from the faucet.
If you run into corrosion or stuck connections, try applying penetrating oil and wait a few minutes before trying again.
Disconnecting these connections carefully helps ensure a smooth removal and prevents leaks when installing the new faucet.
Remove Mounting Hardware
After you’ve disconnected the supply lines, focus on loosening the mounting hardware that holds your faucet in place. Removing this hardware is essential for freeing the faucet from the sink. Here’s how to proceed:
- Locate the mounting nuts under the sink that secure the faucet.
- Use a basin wrench or adjustable wrench to turn the mounting nuts counterclockwise.
- Keep a firm grip on the faucet above while loosening the hardware to prevent it from falling.
- Once the nuts are removed, gently lift the faucet away from the sink.
Preparing Your Sink for the New Kitchen Faucet
Although it might seem straightforward, preparing your sink properly ensures a smooth faucet installation. Start by cleaning the sink surface where the new faucet will sit.
Remove any old plumber’s putty, grime, or debris to create a tight seal and prevent leaks. Next, check if your new faucet matches your sink’s mounting holes. Measure the number and spacing to make sure they line up with the faucet’s design.
If it doesn’t fit, you might need an adapter or a different model. Also, look over the sink’s area for any damage or corrosion that could cause problems during installation. Fix any issues before moving forward.
Finally, gather all the tools and materials you’ll need. Having everything ready helps avoid interruptions. Proper sink prep saves time and prevents common issues like leaks or misalignment, setting you up for a successful faucet replacement.
How to Install Your New Kitchen Faucet Properly
Installing your new kitchen faucet involves a few key steps to ensure it fits securely and doesn’t leak. Modern faucet designs focus on sleek, minimalist shapes and user-friendly features, so proper installation is important for both style and function.
First, position the faucet base over the sink holes, making sure it’s aligned correctly to avoid any misplacement. Next, secure the faucet underneath using the mounting nuts, tightening them evenly so it doesn’t wobble. Attach any included gaskets or sealants to create a watertight barrier.
Finally, check that the faucet handles and spout move smoothly without resistance. Taking these steps will help you install your new faucet correctly and enjoy its style and performance.
How to Connect Water Supply Lines Without Leaks
Tighten the water supply lines carefully to ensure a secure, leak-free connection. Start by hand-tightening each fitting, then use a wrench to snug them up—just don’t overtighten, as that can damage the pipes or cause leaks.
Check that the washers and O-rings are properly seated inside the fittings. This helps create a good seal. Since water pressure can vary, make sure all connections hold under normal pressure.
If you see any leaks, gently tighten the fittings a bit more. Use flexible supply lines that match your faucet and shutoff valves, and make sure they aren’t kinked or twisted.
After connecting everything, wipe down the pipe connections and look for any moisture. Secure and properly sealed connections prevent drips and water damage.
Following these steps helps minimize leaks and keeps your faucet working safely and reliably.
How to Test Your New Kitchen Faucet for Proper Function
Now that you’ve got your faucet all hooked up, go ahead and turn on the water to see how it flows. Make sure everything runs smoothly without any hiccups. While you’re at it, keep an eye out for any leaks around the base and underneath the sink. Catching any problems early on means you can fix them right away before you finish up.
Water Flow Inspection
Turn on the water supply and watch the faucet’s flow closely to make sure everything’s working right. Check that the water pressure and flow rate match what you’d expect for daily use.
To inspect the water flow effectively, start by making sure the stream is steady and strong, showing proper water pressure. Then, adjust the faucet handle to test both hot and cold water flow rates.
Look out for any sputtering or inconsistent pressure while you’re testing. Also, confirm the aerator is installed correctly, as it helps regulate flow and prevents splashing.
Following these steps will ensure your new kitchen faucet performs at its best. If the flow feels weak or uneven, it could be a clog or installation issue that needs fixing before you move on.
Leak Detection Process
After completing the water flow inspection, you’ll want to check for leaks to confirm your new kitchen faucet works properly. Start by turning off the water supply, then closely examine all connections, including under the sink, for any signs of moisture.
Common leak causes include loose fittings, worn-out washers, or improperly sealed joints. Use detection methods like running a dry paper towel along the connections to spot even small drips. Don’t forget to check around the base of the faucet and the handles.
Once you’ve identified potential leak points, tighten connections or replace faulty parts as needed. Finally, turn the water back on and monitor the faucet for a few minutes to make sure no leaks persist, confirming your installation is secure and leak-free.
Troubleshooting Common Faucet Installation Problems
Encountering issues during faucet installation can be frustrating, but most problems have straightforward solutions. To tackle common challenges, follow these tips:
- Faucet Alignment Issues: Make sure the faucet is centered and level before tightening. Adjust the mounting hardware if needed to prevent leaks and ensure proper functioning.
- Water Pressure Problems: Low pressure is often caused by clogged aerators or supply lines. Clean or replace these parts and check that your home’s water pressure meets the faucet’s requirements.
- Installation Tool Compatibility: Use the right tools designed for your faucet model. Avoid makeshift tools that might damage fittings or lead to improper tightening.
- Plumbing Code Regulations: Verify your installation follows local plumbing codes, especially regarding backflow prevention and pipe connections. Non-compliance can cause leaks or require costly rework.
How to Maintain Your Kitchen Faucet for Longevity
Once your kitchen faucet is installed and free from common issues, keeping it in good shape will save you time and money later. Regular maintenance involves following a schedule, using proper cleaning tips, and watching for signs it needs replacement.
Routine cleaning prevents mineral buildup, which keeps water flowing efficiently and helps your fixture last longer. Don’t ignore drips or low water pressure—they often mean worn parts that need attention or an upgrade.
| Task | Frequency | Purpose |
|---|---|---|
| Clean aerator | Monthly | Remove debris, keep water flowing |
| Inspect seals | Every 3 months | Prevent leaks |
| Check water pressure | Every 6 months | Ensure efficiency |
| Upgrade fixtures | Every 5 years or as needed | Improve performance and style |
Frequently Asked Questions
Can I Install a Kitchen Faucet Myself Without Prior Plumbing Experience?
Yes, you can install a kitchen faucet yourself without prior plumbing experience if you follow DIY tips carefully.
Start by gathering tool essentials like an adjustable wrench, plumber’s tape, and a basin wrench. Take your time to shut off the water supply and read instructions thoroughly.
Watching tutorial videos helps, too. With patience and the right tools, you’ll handle the job confidently and save money on professional help.
What Are the Most Common Brands of Kitchen Faucets?
You’ll often see popular brands like Moen, Delta, Kohler, and American Standard leading the market. These brands offer great faucet features, from pull-down sprayers to touchless operation.
When choosing, consider installation tips like compatibility with your sink and ease of setup. Picking a reputable brand guarantees reliable performance and makes your installation smoother, even if you’re new to plumbing.
Don’t forget to check for warranties and customer reviews!
How Much Does a Professional Faucet Installation Typically Cost?
You might love handing over $150 to $350 just to watch a pro wrestle with your pipes—that’s the typical cost for professional faucet installation. Installation considerations like old plumbing or tricky access can bump the price.
The cost breakdown usually covers labor, parts, and sometimes cleanup. So, while you’re dreaming of a quick swap, remember: that faucet’s replacement might come with a surprise bill that’s less invigorating than your new tap water.
Are There Eco-Friendly Kitchen Faucets That Save Water?
Yes, you’ll find plenty of eco-friendly kitchen faucets that save water by using advanced water-saving technology. These faucets often include features like aerators and flow restrictors, which help reduce water use without sacrificing pressure.
What Warranty Should I Expect With a New Kitchen Faucet?
Oh sure, you’ll probably get a lifetime warranty that covers everything except the kitchen sink itself! In reality, warranty types for faucets usually range from limited 1-year to lifetime coverage.
Most warranties cover defects, not wear from regular faucet use. You should expect protection against leaks and parts failure, but always read the fine print. Some warranties exclude seals or finishes.
That way, you’ll know what’s truly covered before you have to deal with faucet repairs.
Conclusion
Changing your kitchen faucet is an exciting way to give your cooking space a fresh look. With the right tools and a little patience, you’ll be able to do it easily.
You’ll transform your sink area without any trouble. Just remember, taking care during the process helps keep your faucet working smoothly for years to come.
So, roll up your sleeves, enjoy the project, and soon you’ll be appreciating the simple pleasure of a perfectly functioning kitchen faucet.