How to Hang Kitchen Cabinets: A Step-by-Step Guide
Many people dream of a beautiful, functional kitchen but feel overwhelmed by the idea of hanging cabinets themselves. You’re not alone—this can be one of the trickiest parts of a kitchen remodel. Luckily, with some planning and patience, you can master the process.
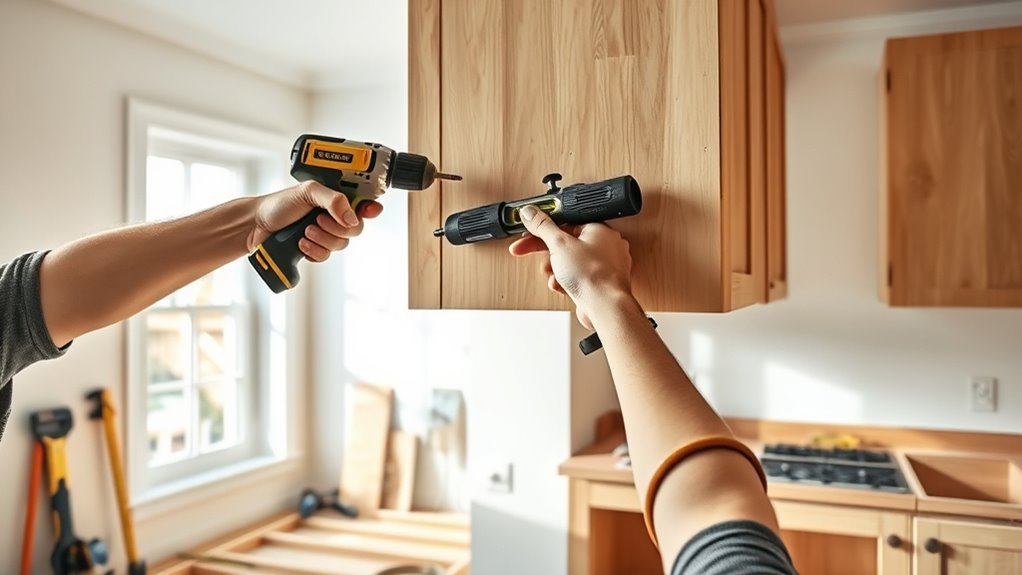
To hang kitchen cabinets, start by gathering your tools and safety gear, then measure and mark your cabinet layout precisely. Use a stud finder to locate wall studs for secure mounting, and install a temporary ledger board to support the cabinets as you hang them.
Remove doors for easier handling, then hang and align each cabinet, securing adjoining units tightly before reattaching doors and adjusting hinges for a perfect fit. Finish with trim and touch-up paint to achieve a polished look.
Keep going to uncover helpful tips and troubleshooting tricks.
Key Takeaways
- Prepare all the essential tools, safety gear, and choose the right cabinets and fasteners before you start.
- Measure your walls accurately, mark out the cabinet layout, and find the wall studs so your cabinets will be securely attached.
- Install a temporary ledger board at the height where your cabinets will hang. This will help support and level them during installation.
- Hang the first cabinet, check that it’s level, then secure it in place. As you go, align the other cabinets for a smooth, seamless look.
- Fasten the cabinets together, install the doors with adjustable hinges, and add trim. Finish up with some touch-up painting for a polished appearance.
Gather Tools and Materials for Hanging Kitchen Cabinets
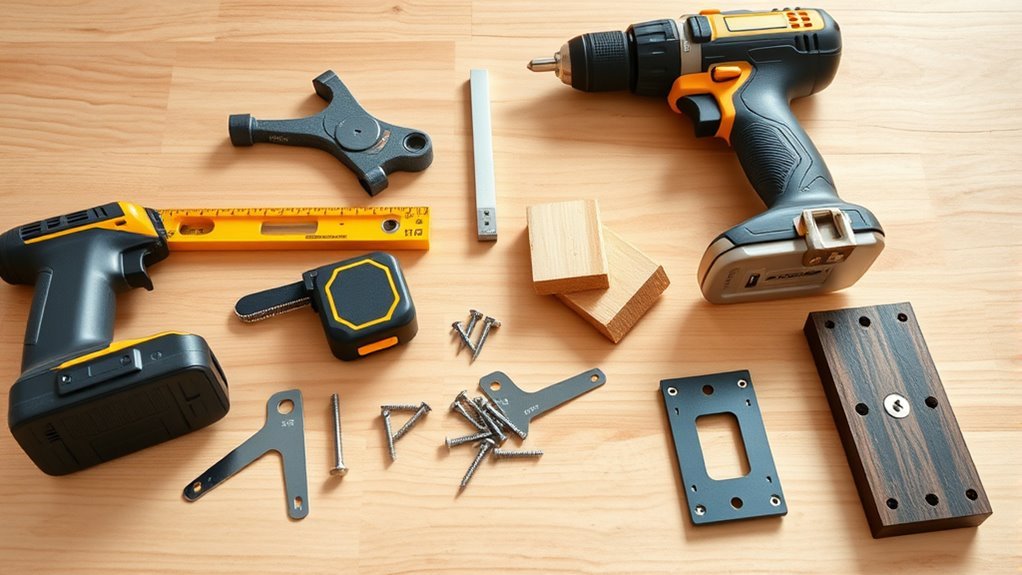
Before you start hanging your kitchen cabinets, make sure you have all the essential tools and materials ready. Having a solid tools checklist helps you stay organized and avoid interruptions.
You’ll need a drill, level, stud finder, measuring tape, screwdriver, clamps, and a stud finder. Don’t forget safety gear like gloves and goggles.
Material selection is just as important. Pick sturdy cabinets that match your kitchen’s style and durability needs. Choose screws and anchors suitable for your wall type—whether drywall, plaster, or masonry. Also, grab shims to help level the cabinets during installation.
Having your tools checklist and material choices prepared beforehand sets you up for a smooth installation. When everything’s within reach, you can work confidently without pausing to find missing items.
Preparing your tools and materials in advance ensures a smooth, confident cabinet installation without unnecessary interruptions.
This prep saves you time and keeps frustration at bay as you move on to measuring and marking your cabinet layout.
Measure and Mark Your Kitchen Cabinet Layout
Start by measuring your kitchen walls carefully to figure out where each cabinet will go. Use a tape measure to get the length and height of each wall section. Be precise by measuring from fixed points like corners or fixtures to ensure accuracy. Write down these measurements clearly on your layout plan.
Next, sketch your cabinet layout on paper or use a digital tool to help visualize spacing and alignment. Mark where each cabinet will go, including any appliances or countertops that might impact placement. Remember to keep standard cabinet heights and allow enough space for doors and drawers.
Once your layout is ready, transfer these marks onto the wall with a pencil and use a level to keep lines straight. This helps ensure your cabinets will be hung evenly and fit well in your space. Proper measuring and marking save time and help avoid mistakes during installation.
How to Find and Mark Wall Studs for Secure Mounting
Finding and marking wall studs is key to securely hanging your kitchen cabinets. Start by using a stud finder to locate the studs behind your wall.
Slowly move the device horizontally until it signals when it detects a stud. Mark the edges of each stud with a pencil, then draw a vertical line to outline its center.
This step is really important because mounting brackets need to be fastened directly into studs for maximum safety and strength.
If you can’t align all cabinets with studs, use heavy-duty wall anchors to support the weight safely.
But always try to secure as many brackets into studs as possible to ensure stability.
Properly marking your studs helps prevent wall damage and makes sure your cabinets won’t come loose over time.
Take your time with this step—it’s the foundation for a safe, durable kitchen cabinet installation.
Install a Temporary Ledger Board to Support Cabinets
Secure a temporary ledger board horizontally along the wall at the height where the bottom of your upper cabinets will rest. This step is essential because it gives you temporary support, making it easier to hold and align the cabinets during mounting.
Use a level to make sure the board is perfectly straight. Any deviation can affect your cabinet alignment, so double-check before proceeding.
Here’s how to install the ledger board effectively:
- Measure and mark the height precisely based on your cabinet specs.
- Attach the board to the wall studs using screws for sturdy temporary support.
- Double-check the level before fully securing the board.
- Leave the ledger board in place until all cabinets are mounted and secured.
Remove Doors and Hardware to Prep Kitchen Cabinets
Before you get started hanging your kitchen cabinets, it’s a good idea to remove the doors first. This makes handling everything a lot easier and safer.
Just unscrew the hinges and take off any handles or knobs. Doing this step early on helps prevent any damage to the doors and gives you better access to the cabinets during installation.
Detach Cabinet Doors
Start by carefully removing the cabinet doors to make installation easier and prevent damage. Proper door removal is essential for cabinet safety, helping you avoid scratches or warping during the process. Begin by supporting each door firmly before loosening the screws on the hinges.
Once the screws are loose, gently lift the door off the cabinet frame. Keep these tips in mind for smooth door removal: use a screwdriver that fits properly to avoid stripping screws, work slowly to prevent putting stress on the cabinet structure, set doors and hardware on a padded surface to avoid dents, and label doors to make reinstallation straightforward.
Following these steps will protect your cabinets and prepare them perfectly for hanging.
Remove Handles And Hinges
Remove all handles and hinges carefully to prepare your cabinets for hanging. Start by unscrewing the cabinet hardware, including different handle styles, to avoid damaging the doors and cabinet frames. Set the hardware aside in labeled containers to keep everything organized for reinstallation. Pay attention to hinge types, as some may require special handling.
| Step | What to Do |
|---|---|
| 1. Identify hardware | Note handle styles and hinges |
| 2. Unscrew handles | Use the right screwdriver |
| 3. Remove hinges | Support doors to prevent drop |
| 4. Store hardware | Label and keep screws together |
Removing handles and hinges guarantees your cabinets are ready for safe and precise hanging without any hardware interference.
Hang the First Kitchen Cabinet and Check Level and Plumb
Hang the first kitchen cabinet and check level and plumb.
Position the first cabinet carefully on the wall where you plan to install it. This first piece sets the tone for the whole project, so getting it right is important. Use a level to check both horizontal and vertical alignment to make sure it’s perfectly plumb.
If the cabinet isn’t level, make small adjustments by shimming behind it until it sits straight. Once it looks good, temporarily secure it with clamps or screws. Recheck the level to confirm it’s accurate before you finalize the install.
Paying attention to these details now will save you trouble later. Focus on aligning the cabinet with your layout measurements and use a carpenter’s level to verify everything.
Adjust with shims if needed for perfect alignment. After that, fasten the cabinet temporarily and double-check the level before securing it permanently.
Getting the first cabinet level and plumb helps ensure a smooth installation and a professional-looking finish.
Hang and Align Additional Kitchen Cabinets Seamlessly
When you’re hanging each new cabinet, it’s important to align it carefully with the first one. Take your time to make sure everything lines up just right—that way, you’ll get that nice, seamless look you’re aiming for.
Before you secure the cabinets, clamp them together tightly. This little step helps prevent any gaps from forming and makes sure they stay aligned while you’re fastening them in place. Following these tips will give you a professional finish and a sturdy, polished look in your kitchen.
Align Cabinets Precisely
When you start hanging additional kitchen cabinets, make sure each one lines up perfectly with the previous unit. Proper alignment techniques help create a seamless, professional look. Use precise leveling methods to avoid gaps or uneven surfaces. Check both the top and bottom edges of the cabinets as you go.
To align cabinets precisely, follow these tips:
- Use a laser level or spirit level to keep everything consistent.
- Clamp cabinets temporarily to hold them in place.
- Measure gaps between cabinets and walls to ensure uniform spacing.
- Adjust shims behind cabinets to fix minor height differences.
Secure Cabinets Together
Although you’ve carefully aligned each cabinet, securing them together is essential to guarantee a sturdy, unified installation. To confirm cabinet stability, start by clamping the adjoining edges of two cabinets tightly.
Then, drill pilot holes through the face frame where the cabinets meet. Use screws designed for cabinetry to fasten them together, reinforcing the joint. This joint reinforcement prevents gaps and adds strength, making the cabinets act as one solid unit.
Repeat this process for each cabinet you hang, working your way along the row. Double-check alignment after securing each connection, adjusting if necessary before tightening screws fully.
Attach Cabinet Doors and Adjust Hinges for a Perfect Fit
Start by securing the cabinet doors to the hinges with the screws provided, making sure they’re snug but not overly tight. This makes it easier to fine-tune the fit later. Check the hinge alignment to ensure the doors open and close smoothly without rubbing or sagging.
To get a perfect fit, focus on these key points:
To get a perfect fit, focus on hinge adjustments, level alignment, and even door gaps.
- Adjust the screws on the hinges to align the doors vertically and horizontally.
- Use a level to make sure the doors are perfectly straight.
- Test the gaps around the doors to ensure they’re even all the way around.
- Once you’re happy with the alignment, tighten all the screws firmly.
Proper hinge alignment and careful adjustments help prevent issues like sticking or misalignment down the line. Take your time with this step to make your kitchen cabinets look professional and work flawlessly.
Install Trim and Touch Up Paint for a Polished Finish
After adjusting the cabinet doors for a perfect fit, you’ll want to focus on installing trim and touching up paint to give your kitchen a polished, professional look. Start your trim installation by measuring the gaps between cabinets and walls. Then, cut the trim pieces to size using a miter saw for clean angles.
Secure the trim with finishing nails, making sure it sits flush against the cabinets and walls to create seamless shifts. Next, apply paint techniques to freshen up any scratches or scuffs from installation. Use a small, angled brush for precise touch-ups around edges and trim.
Feather the paint outward to blend it smoothly with existing surfaces. For a flawless finish, lightly sand any rough areas before painting. Taking these final steps guarantees your cabinets look custom and well-crafted, rounding out your kitchen upgrade neatly and professionally.
Troubleshoot Common Kitchen Cabinet Hanging Problems
When you hang kitchen cabinets, you might run into some common issues that can slow down your progress or affect the final look. Addressing problems like cabinet alignment issues and mounting bracket failures early will save you time and frustration.
Hanging kitchen cabinets can be tricky, but fixing alignment and mounting issues early prevents delays and headaches.
Here’s how to troubleshoot these common challenges:
- Cabinet alignment issues: Use a level and shims to adjust cabinets so doors line up evenly.
- Mounting bracket failures: Double-check that brackets are secured to wall studs with appropriate screws.
- Uneven walls: Shim cabinets to compensate for wall irregularities before securing.
- Loose or stripped screws: Replace screws with longer or thicker ones to guarantee a firm hold.
Frequently Asked Questions
What Type of Wood Is Best for Kitchen Cabinets?
You’ll want to choose hardwood options like maple, oak, or cherry for kitchen cabinets because they’re durable and handle moisture well. These woods also take cabinet finishes beautifully, so you can customize the look to match your style.
Maple offers a smooth, even grain, oak provides a classic, sturdy feel, and cherry ages with a rich patina. Picking the right hardwood guarantees your cabinets stay strong and stylish for years.
How Do I Choose the Right Cabinet Style for My Kitchen?
You choose the right cabinet style by thinking about your kitchen’s overall vibe and your personal taste. If you love sleek, clean lines, modern designs with minimal hardware might be perfect for you.
For a cozy, timeless look, traditional styles with detailed molding and warm finishes work really well. Also, consider your kitchen’s size and lighting—lighter colors can make the space feel bigger, while darker woods add richness.
Trust your instincts and picture your dream kitchen. That will help guide your choice to the style that feels right for you.
Can I Hang Cabinets on Drywall Without Studs?
Imagine trying to hang a heavy picture on a wall with just tape. It won’t hold. Likewise, you can’t safely hang cabinets on drywall without studs because drywall anchors alone can’t support the weight.
Even the strongest drywall anchors have limits, and cabinets are heavy. You need to find studs or reinforce the wall to make sure your cabinets stay secure.
This way, your cabinets won’t risk falling down, damaging your kitchen, or creating safety hazards.
What Is the Average Cost of Installing Kitchen Cabinets?
The average cost of installing kitchen cabinets ranges from $300 to $5,000, depending on size and complexity. Your cost breakdown should include labor, materials, and any additional hardware.
To save money, use installation tips like measuring carefully, securing cabinets to studs, and prepping your workspace. Doing some prep work yourself can lower labor costs.
Choosing standard cabinet sizes also helps keep expenses manageable and ensures a smooth installation process.
How Do I Maintain and Clean Kitchen Cabinet Surfaces?
Imagine your cabinets as silent guardians of your kitchen’s charm. They deserve gentle care to keep them looking their best.
For maintenance, wipe surfaces regularly with a soft cloth and mild cleaning products to avoid damage. Harsh chemicals can strip the finish and cause harm.
If you spot stubborn spots, mix warm water with gentle soap. Use this to clean, then dry thoroughly to prevent moisture buildup.
Keeping your cabinets clean not only preserves their beauty but also extends their lifespan. This way, your kitchen will always shine.
Conclusion
Now that you’ve mastered hanging your kitchen cabinets, think of yourself as the conductor of a symphony—each cabinet perfectly aligned and doors swinging smoothly like well-tuned instruments.
With your tools and patience, you’ve transformed a blank wall into a space ready for daily life’s rhythm.
Remember, every great kitchen starts with a solid foundation, and you’ve just laid the first note in your cabinet hanging project.
Keep this confidence as you move to your next project, knowing you’re well on your way to a kitchen that’s both functional and beautiful.