How to Remove Kitchen Cabinets: A Step-by-Step Guide
Thinking about remodeling your kitchen but feeling overwhelmed by the idea of removing those old cabinets? You’re not alone—many people struggle with knowing how to do it safely and efficiently. Luckily, with the right tools and tips, you can tackle this project with confidence.
To remove kitchen cabinets safely, start by gathering essential tools like a cordless drill, pry bar, and stud finder, and wear safety gear.
Clear your workspace and turn off all utilities. Remove cabinet doors and drawers first, then detach cabinets from the wall studs carefully, protecting walls and floors with tape and coverings.
Label hardware for reinstallation or disposal. Finally, handle disposal responsibly to reduce waste.
Keep following this guide for more tips on smooth removal and proper disposal.
Key Takeaways
- Gather essential tools like a cordless drill, pry bar, screwdriver, utility knife, hammer, and stud finder before starting cabinet removal.
- Remove cabinet doors and drawers by unscrewing hinges and sliding out drawers for easier access to frames.
- Locate wall studs with a stud finder, unscrew fasteners, and gently pry upper cabinets from the wall while supporting their weight.
- Protect walls and floors with painter’s tape, foam padding, and sturdy coverings to prevent damage during removal.
- Dispose of or donate cabinets responsibly by researching local recycling options and donation centers to reduce waste.
Gathering Tools for Kitchen Cabinet Removal
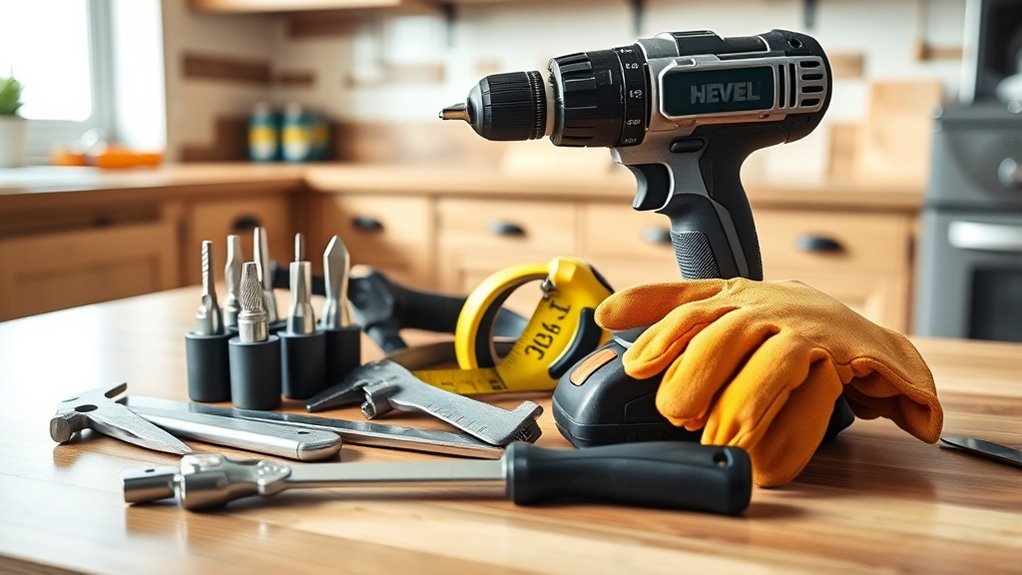
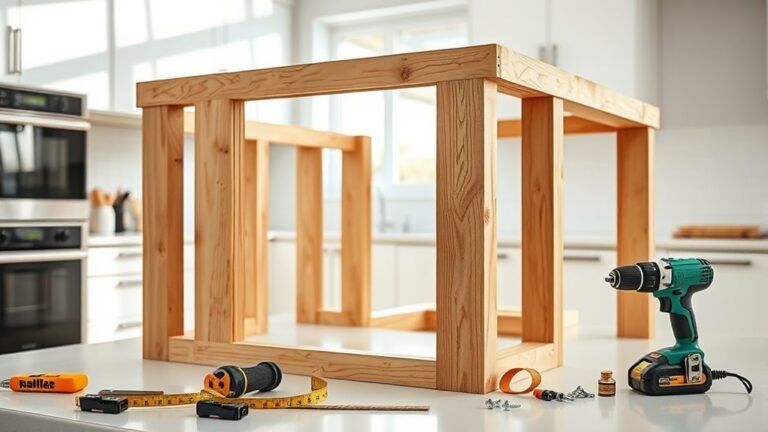
Before you start removing your kitchen cabinets, gather the essential tools to make the process smooth and efficient. You’ll need specific tool types like a cordless drill, pry bar, screwdriver set, utility knife, and a hammer. Each plays a crucial role: the drill helps remove screws quickly, while the pry bar assists in loosening cabinets from the wall without damage. A utility knife is handy for cutting through caulk and paint seams. Don’t forget a stud finder to locate support beams behind your cabinets.
Equally important is safety gear. You should wear safety goggles to protect your eyes from dust and debris. Gloves will shield your hands from splinters and sharp edges. A dust mask is also smart to avoid inhaling particles during removal. Having the right tools and safety gear ready guarantees you’ll work efficiently and stay safe throughout your kitchen cabinet removal project.
Preparing Your Kitchen and Turning Off Utilities
Once you’ve gathered your tools, clear the kitchen area and turn off all utilities connected to your cabinets, like electricity and water. This step keeps things safe and prevents accidents during cabinet removal.
Check your kitchen layout to find power outlets and water valves linked to the cabinets. Be sure to tell others in your household about the utility shutdown so everyone stays informed.
Safety first—unplug appliances and switch off circuit breakers serving the kitchen. Turn off the main water supply or local valves near the sink to avoid leaks.
Double-check that utilities are fully off before you start. This helps prevent surprises and keeps everyone safe.
| Utility Type | Location to Turn Off | Safety Precautions |
|---|---|---|
| Electricity | Circuit breaker panel | Verify power is off with a tester |
| Water | Main valve or under sink | Drain pipes by opening faucets |
| Gas (if present) | Shutoff valve near appliance | Ensure no leaks; ventilate area |
Getting your kitchen ready sets a safe foundation for removing cabinets.
Removing Cabinet Doors and Drawers Safely
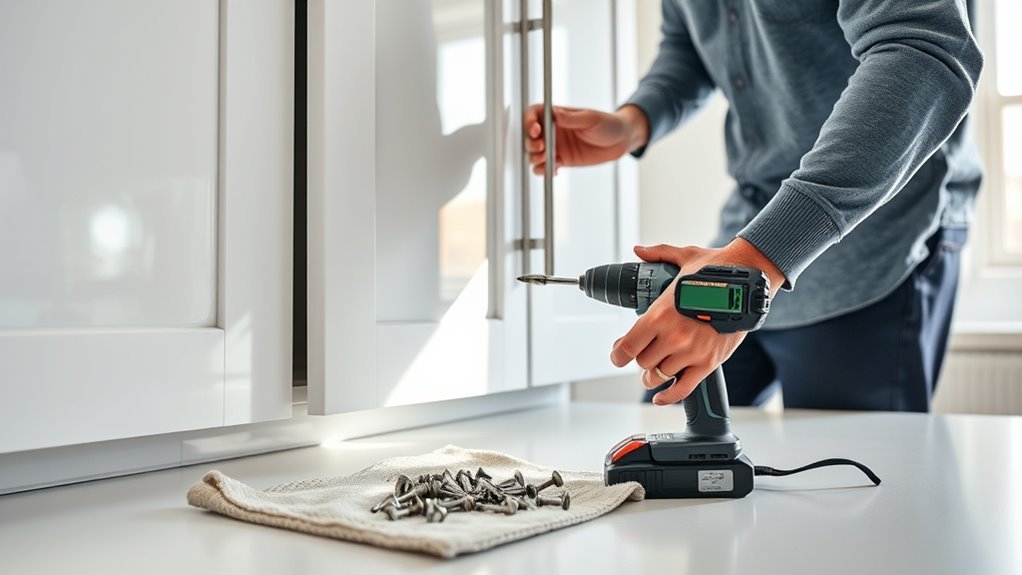
Start by carefully removing the cabinet doors and drawers to access the cabinet frames more easily. Begin with door hinge removal by unscrewing the hinges attached to the cabinet frame. Use a screwdriver that fits the screws well to avoid stripping them.
Support the door firmly as you remove the last screws to prevent it from falling. For drawers, slide them out completely. If they’re stuck, use proper drawer slide techniques—gently lift or tilt the drawer to release it from the slide mechanism.
Some slides have levers or clips you can press to free the drawer smoothly. Handle doors and drawers gently to avoid damage, especially if you plan to reuse them. Keeping track of screws and hardware during this process will save you time later.
Once removed, you’ll have clear access to the cabinet frames, making the next steps of cabinet removal safer and more efficient.
Taking Off Cabinet Hardware and Accessories
Carefully remove all cabinet hardware and accessories to prepare the cabinets for detachment. Start by identifying the hardware types like knobs, pulls, hinges, and screws.
Use the right tools—usually a screwdriver or drill—to avoid stripping screws or damaging the finish. Take your time during accessory removal to keep everything intact for reuse or disposal.
Here’s a quick guide to common hardware types and tips for removal:
| Hardware Type | Removal Tip |
|---|---|
| Knobs | Unscrew gently by hand or with a tool |
| Pulls | Remove screws from inside the drawer |
| Hinges | Support the door and unscrew slowly |
| Screws | Use the correct screwdriver size |
| Shelf Brackets | Pry carefully to avoid damage |
Detaching Upper Cabinets Without Damage
Detaching upper cabinets without causing damage takes some planning and the right technique. To protect both your cabinets and walls, focus on methods that minimize damage during the process.
Start by removing any screws or fasteners holding the cabinet to the wall studs. Use a stud finder to locate these points accurately. Then, gently pry the cabinet away from the wall with a putty knife or pry bar, being careful not to gouge the drywall.
Keep these tips in mind: Support the cabinet’s weight as you loosen it to prevent it from dropping suddenly. Work slowly, loosening screws and nails bit by bit rather than forcing the cabinet free. To protect paint and drywall from scratches, apply painter’s tape around the edges.
Removing Base Cabinets Carefully
Once you’ve carefully freed the upper cabinets, turn your attention to the base cabinets. Start by clearing everything inside to prevent damage or injury. Use your tools, like a drill or screwdriver, to remove screws securing the cabinets to the wall and each other.
After removing upper cabinets, clear base cabinets and unscrew all attachments for safe removal.
Be thorough and check for any hidden fasteners along the edges or inside corners. After loosening all attachments, it’s time for careful lifting. Base cabinets can be heavy and awkward, so get help if needed.
Lift straight up to avoid damaging the floor or walls. If the cabinets are stuck, gently tap with a rubber mallet to loosen them without causing harm. Place the removed cabinets on a sturdy surface.
Keep your tools handy for any remaining attachments or cleanup. Focus on careful lifting and using the right tools, and you’ll remove the base cabinets safely and efficiently.
Removing Cabinets From Drywall, Tile, or Plaster Walls
Carefully work around the edges of your cabinets to avoid damaging drywall, tile, or plaster walls during removal. Each wall type needs special attention to prevent unnecessary repairs later.
With drywall, use gentle techniques like scoring caulk lines and prying slowly to minimize surface damage. For tile, protect the tiles by loosening cabinets gently and avoiding sudden force that could crack or chip them.
When working with plaster, be patient because plaster is brittle and prone to cracking. Use a putty knife and pry bar carefully to prevent damage.
Keep these tips in mind:
- Score seams and caulk lines to prevent drywall tears
- Use padded tools or soft cloths when working near tiles
- Apply steady pressure and avoid sudden movements on plaster walls
Following these steps will help preserve your wall surfaces and reduce the amount of repair work needed after cabinet removal.
Protecting Walls and Floors During Removal
Working around your walls with care is just one part of the process. You also need to protect the surrounding walls and floors from scratches, dents, or stains during cabinet removal. Start by applying wall protection, like painter’s tape or foam padding, along edges where your tools or cabinets might scrape.
This helps prevent damage to drywall or tile surfaces. For floors, lay down a sturdy covering such as a drop cloth, cardboard, or plywood sheets. This shields your flooring from falling debris, dust, and heavy cabinet parts.
Make sure the coverings extend beyond the immediate work area to catch any accidental bumps or spills. Secure everything in place with tape to avoid slips. Taking these protective steps upfront saves you from costly repairs later.
It also keeps your kitchen looking good throughout the project. Once the cabinets are removed, you can easily peel away your wall protection and floor covering to reveal undamaged surfaces underneath.
Disposing of Old Kitchen Cabinets Responsibly
Once you’ve taken out your old kitchen cabinets, it’s a good idea to see if there are any donation centers nearby that might want them. Giving them a second life can really make a difference and keep them out of the landfill.
If donating isn’t an option, then it’s worth checking out local recycling programs or disposal guidelines. That way, you can make sure you’re handling the materials responsibly. Taking these steps not only reduces waste but also supports more sustainable practices overall.
Donation Options Nearby
If you want to dispose of your old kitchen cabinets responsibly, consider donating them to local organizations or community centers. Many places welcome gently used cabinets, helping reduce waste and support those in need.
Start by contacting local charities that accept home improvement items for resale or reuse. You can also check furniture resale shops that might refurbish and sell your cabinets or reach out to community centers or nonprofit groups running renovation projects.
Before donating, make sure to check the condition of your cabinets and confirm the organization’s acceptance policies. You’ll save landfill space and give your cabinets a second life, benefiting others who might not afford new ones.
Plus, some donations may qualify for tax deductions, adding an extra incentive to give back while clearing out your kitchen.
Recycling And Disposal Tips
Donating old kitchen cabinets is a great way to extend their life, but when donation isn’t an option, recycling and proper disposal are your next best moves. Start by researching local recycling options—some facilities accept wood, metal, and hardware separately, which helps reduce landfill waste.
You can also check if your city offers bulky waste pickup or drop-off sites that handle cabinetry materials. When considering disposal methods, avoid simply tossing cabinets in the trash, as many parts are recyclable.
If your cabinets contain hazardous materials like lead paint, handle them according to local regulations to prevent environmental harm. By choosing responsible recycling options and disposal methods, you guarantee your old cabinets won’t negatively impact the environment and might even benefit others through material reuse.
Tips for a Smooth Cabinet Removal Process
Prepare your workspace by clearing out the cabinets and surrounding area to give yourself plenty of room to work safely and efficiently. Taking the right safety precautions guarantees you avoid injuries and damage. Don’t forget to unplug any appliances and turn off the power to outlets near your cabinets.
To make the process smoother, consider these tips:
To make the process easier, try these helpful tips for smooth and efficient cabinet removal.
- Use teamwork strategies by enlisting help. One person can hold the cabinet steady while another removes screws.
- Label screws and hardware as you remove them to keep things organized for reinstallation or disposal.
- Use the proper tools to avoid stripping screws or damaging walls.
Frequently Asked Questions
How Long Does It Typically Take to Remove Kitchen Cabinets?
It usually takes anywhere from 2 to 6 hours to remove kitchen cabinets, depending on your experience and the size of your kitchen.
Using proper removal techniques can speed things up and help prevent damage. Don’t forget to plan for disposing of the cabinets once they’re off the wall.
If you’re organized and methodical, you’ll finish faster and keep your workspace safe and tidy throughout the project.
Can I Reuse Old Cabinets After Removal?
You can absolutely breathe new life into your old cabinets after removal. It’s like giving them a second chance to shine.
With cabinet refinishing, you can update their look without the cost of brand-new ones. Plus, repurposed cabinets make fantastic storage solutions in garages, basements, or craft rooms.
Just make sure to inspect for damage and clean them thoroughly before you start your makeover. Your cabinets can be stars again!
What Should I Do if I Find Mold Behind Cabinets?
If you find mold behind cabinets, stop and do a thorough inspection to see how much damage there is.
Make sure to wear protective gear before you start cleaning.
Use a mold remover or a mix of bleach and water to clean the area.
Be sure to dry everything completely afterward to stop mold from growing back.
Think about improving ventilation in the area and fixing any leaks you find.
These steps can help prevent mold from coming back in the future.
If the mold covers a large area, consider getting professional help.
They can make sure all the mold is gone and won’t return.
How Do I Handle Electrical Wiring Inside Cabinets?
You should prioritize wiring safety when dealing with electrical wiring inside cabinets. First, turn off the power at the circuit breaker and use a circuit tester to confirm no electricity is flowing.
Carefully identify each circuit to avoid confusion later. Avoid pulling or damaging wires, and if you’re unsure, consider consulting a licensed electrician.
Keeping wiring intact and safe prevents hazards and guarantees your project goes smoothly without electrical issues.
Are There Any Safety Risks Besides Tool Injuries?
Yes, besides tool injuries, you face risks like inhaling dust or fumes, especially if old paint or adhesives are involved. Always wear safety gear like gloves, goggles, and a mask.
Proper ventilation is essential to avoid breathing in harmful particles or fumes. Electrical hazards can also pose risks, so double-check that power is off before handling wiring.
Staying cautious and prepared keeps you safe throughout the job.
Conclusion
Now that you’re comfortable removing kitchen cabinets, you’re ready to handle the job like a pro. Just remember, patience is your best tool—think of it like peeling an onion, layer by layer, to avoid tears or damage.
By following these steps carefully, you’ll protect your walls and floors while making space for your kitchen’s fresh new look. Take it one step at a time, and you’ll have that space cleared in no time.
Getting the hang of removing kitchen cabinets means you can confidently tackle the project. Keep your patience, and you’ll do great!