How to Add Glass to Kitchen Cabinets: A Step-by-Step Guide
Are you dreaming of giving your kitchen a fresh, stylish update but feeling overwhelmed by where to start? You’re not alone—many people struggle with transforming their cabinets into something more modern and eye-catching.
Luckily, adding glass to your kitchen cabinets is a straightforward DIY project that can make a big impact.
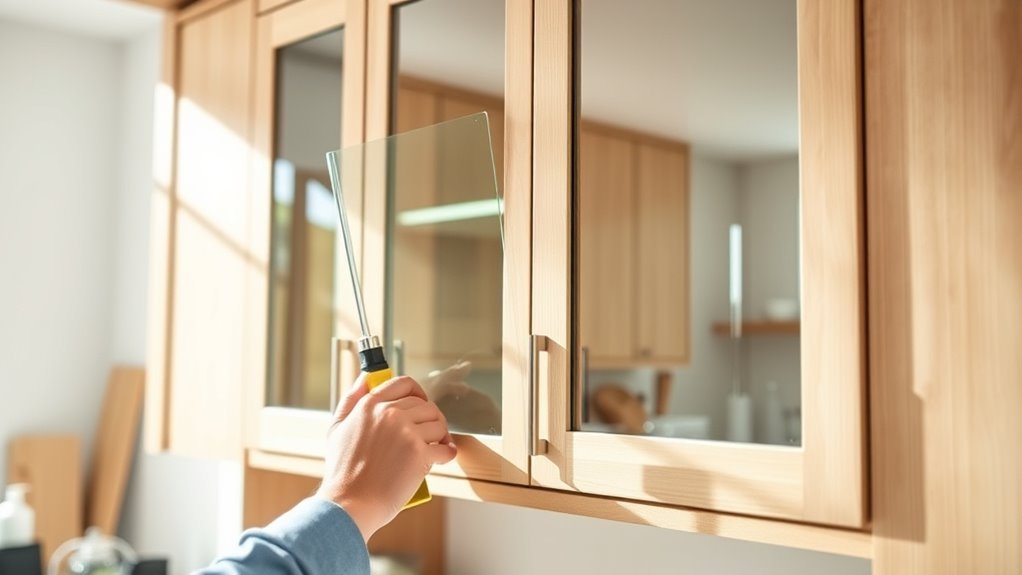
To add glass to your kitchen cabinets, start by removing the existing doors with a screwdriver or drill. Measure your cabinet openings precisely, subtracting a small margin for a snug fit.
Carefully cut tempered or frosted glass panels to size, then install them using silicone sealant and secure with mounting hardware. Always wear safety gear during the process.
Choosing the right hardware and cleaning your new glass regularly keeps them looking great. Keep following for a complete, step-by-step guide.
Key Takeaways
- Measure the cabinet frame openings carefully at three points, then subtract 1/8 inch for a snug fit for your glass panels.
- Use a glass cutter on a flat surface to score and snap tempered or your chosen glass type gently.
- Make sure to clean the cabinet frames thoroughly before applying silicone sealant so the glass sticks properly.
- Carefully place the glass panels into the frame and secure them with the right mounting hardware, but don’t overtighten.
- Always wear safety gear like gloves and goggles during the process to protect yourself from glass shards and dust.
Why Choose Glass Cabinets for Your Kitchen?
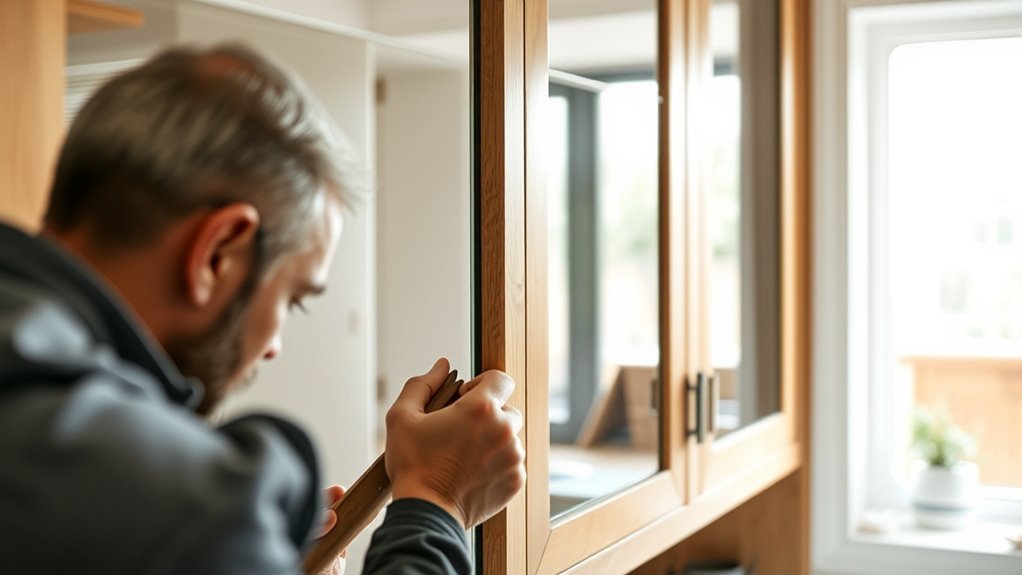
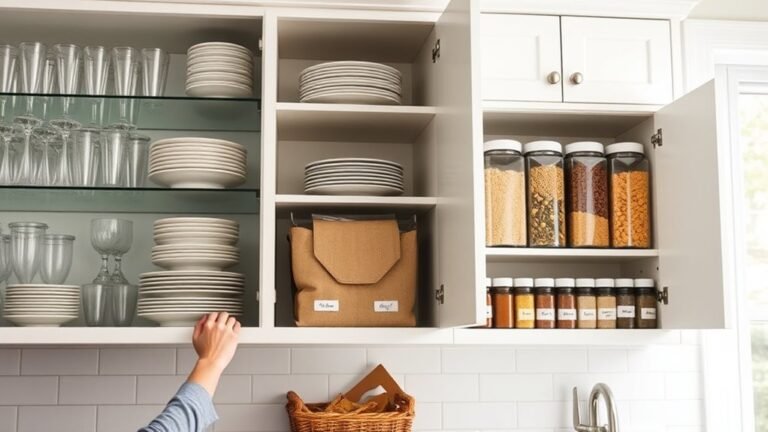
Although traditional cabinets are still popular, glass cabinets give your kitchen a fresh, stylish look. They let you showcase your kitchenware and make the space feel bigger and brighter.
Choosing glass cabinets instantly adds a touch of elegance to your kitchen by making everything look light and open. This is especially great if your kitchen feels small or dark.
Glass cabinets bring elegance and brightness, perfect for making small or dark kitchens feel spacious and inviting.
Glass cabinets aren’t just about looks—they’re practical, too. You can see inside easily without opening each door, which saves time when cooking or hosting guests. They also help keep everything organized since everything is visible.
Plus, glass surfaces are simple to clean and maintain, making them perfect for daily use. Incorporating glass cabinets combines style and function effortlessly.
You get a kitchen that’s both beautiful and more convenient for everyday cooking. It’s a smart upgrade that’s both attractive and practical.
What Types of Glass Work Best for Kitchen Cabinets?
What kind of glass should you choose for your kitchen cabinets? The right glass balances style, safety, and function. Tempered glass is a top pick because it’s stronger and shatters into small, less dangerous pieces if broken.
Frosted glass adds privacy by obscuring cabinet contents while still letting light through. It’s perfect if you want a sleek look without full visibility.
Here’s a quick comparison:
| Glass Type | Benefits |
|---|---|
| Tempered Glass | Safety, durability, clarity |
| Frosted Glass | Privacy, modern aesthetic |
| Clear Glass | Shows contents, brightens space |
You can mix and match, too. For example, use tempered glass for safety areas and frosted panels where you want to hide clutter.
Choosing the right glass helps your kitchen cabinets look great and last long.
Tools and Materials You’ll Need for Adding Glass Cabinets
To add glass to your kitchen cabinets, you’ll want to make sure you have a few essential tools on hand. Things like a screwdriver, measuring tape, and a glass cutter will come in handy during the process. Picking the right type of glass is just as important — you’ll want something durable and stylish that fits your kitchen’s look. And of course, don’t forget your safety gear, like gloves and goggles, to keep yourself protected while working.
Essential Tools Overview
Gathering the right tools is essential before you start adding glass to your kitchen cabinets. You’ll need a measuring tape and pencil for precise dimensions, a screwdriver or drill for removing and reattaching cabinet doors, and clamps to hold glass panels securely in place during installation.
Depending on the glass panel types you choose, a glass cutter might come in handy if you plan to customize sizes. Safety gear like gloves and goggles protect you during handling and installation techniques.
You’ll also want glazing points or clips to secure the glass, along with clear silicone or glazing putty to seal and cushion the panels. Having these tools ready guarantees a smoother, safer process when upgrading your cabinets with glass inserts.
Selecting Glass Types
Although adding glass to your kitchen cabinets can instantly improve their look, choosing the right type of glass is essential for both aesthetics and durability.
You’ll want to consider tempered glass for its strength and safety, especially in a busy kitchen. Clear glass offers a classic, transparent look to showcase your dishes.
If you prefer added privacy or a softer appearance, frosted glass is a great option. Stained glass adds vibrant colors and artistic flair, while decorative glass provides unique textures and patterns.
For a lightweight alternative, acrylic options mimic glass but resist shattering. Reflect on your kitchen style and how much visibility or decoration you want before selecting your glass type to ensure it complements your space perfectly.
Safety Gear Requirements
Five essential pieces of safety gear will protect you while adding glass to your kitchen cabinets. Before you start, make sure you’re equipped to handle glass safely and avoid injuries.
Here are four key items to have on hand:
- Safety glasses to shield your eyes from shards and dust.
- Protective gloves to prevent cuts when handling glass edges.
- Long-sleeved clothing to protect your arms from scratches.
- A dust mask to keep dust and particles out of your respiratory system.
Wearing safety glasses and protective gloves is non-negotiable. They help you maintain a secure grip and keep debris away from your skin and eyes.
Don’t skip these essentials. They guarantee your project goes smoothly and safely, so you can focus on creating beautiful glass cabinet doors.
How to Safely Remove Your Existing Cabinet Doors
Start by carefully opening your cabinet doors and locating the hinges connecting them to the frame. Before removing hinges, make sure you’ve put on your safety gear to protect your hands and eyes.
Use a screwdriver to loosen the screws holding the hinges in place. It’s best to have someone help you by holding the door steady as you remove the screws to prevent it from falling.
Keep a firm grip on the door throughout the process to keep things safe and avoid damaging the cabinet or injuring yourself. Once the screws are fully removed, gently lift the door away from the frame.
Place the doors on a soft surface to avoid scratches or dents. If your cabinets have adjustable hinges, remember to note their settings for easier reinstallation later.
Taking these careful steps guarantees your cabinet doors come off safely and your cabinets stay in great shape.
Measuring and Preparing Your Cabinet Frames for Glass Panels
Before you start installing the glass panels, it’s really important to measure your cabinet frames carefully. Make sure you get accurate measurements of the openings, including both the height and width. Taking your time here will help ensure everything fits perfectly later on.
Once you’ve got your measurements down, give the surfaces a good clean. Removing any dust, dirt, or debris will create a smooth, clean base for the glass to sit on. This extra step can make a big difference in how well everything fits and looks in the end.
Accurate Frame Measurements
Although measuring cabinet frames for glass panels might seem simple, getting accurate dimensions is crucial. It ensures a perfect fit and helps you avoid costly mistakes.
Focus on precise frame measurements to make sure the glass fits snugly without gaps or pressure points. To do this, follow these steps for accurate results:
Use a steel tape measure for consistency. Measure the height and width of the frame opening at three points—top, middle, and bottom—to catch any irregularities.
Record the smallest measurements for both height and width. This way, you’ll ensure the glass fits comfortably without being too tight.
Subtract about 1/8 inch from each dimension. This gives you room for expansion and makes installation easier.
Surface Cleaning Preparation
Once you have your measurements for the cabinet frames, it’s time to prepare the surfaces where the glass panels will go.
Start by removing any dust, grease, or old adhesive residues with a gentle cleaning solution suitable for wood or laminate. This step ensures the glass will stick properly and avoids any bumps during installation.
Use a lint-free cloth soaked in the cleaning solution to wipe down the frames thoroughly. Let the surfaces dry completely before moving on.
Proper cleaning and surface prep not only help the glass adhere better but also make your finished project last longer. Taking these small steps now will prevent issues later and give your cabinets a clean, professional look.
How to Cut and Fit Glass Cabinet Panels Correctly
When you cut and fit glass cabinet panels correctly, you get a professional look and a secure install. The key is starting with precise measurements and mastering your cutting techniques to avoid cracks or chips.
First, measure your cabinet openings carefully, noting the width, height, and any space needed for seals or hardware. Double-check your measurements before cutting.
Next, use a quality glass cutter on a flat, clean surface. Score the glass along your measured lines with steady, even pressure. Take your time to ensure a clean score.
Then, apply even pressure to snap the glass along the score line. This helps avoid jagged edges and gives you a smooth, clean cut.
Finally, test-fit the glass panel inside the cabinet frame. Make sure it sits flush without forcing it into place for the best fit and finish.
Step-by-Step Guide to Installing Glass Panels in Your Cabinets
Begin by gathering all the necessary tools and materials, including your cut glass panels, cabinet frame, silicone sealant, and mounting hardware. First, clean the cabinet frame to guarantee proper adhesion.
Next, apply a thin bead of silicone sealant along the edges where the glass panel will sit. Carefully place the glass panel into the frame, pressing gently to secure it.
Use mounting hardware to fasten the panel firmly, enhancing both stability and glass panel aesthetics.
Consider cabinet lighting options to highlight your new glass panels and add depth to your kitchen design.
| Step | Tool/Material | Tip |
|---|---|---|
| Clean frame | Cloth, cleaner | Remove dust for better seal |
| Apply sealant | Silicone sealant | Use a steady, thin bead |
| Secure panel | Mounting hardware | Tighten but avoid overtightening |
Following these steps guarantees a professional look and durable installation.
Choosing the Right Hardware for Glass Cabinets
When you’re picking out hardware for your glass cabinets, think about what types will work best for you—like knobs or handles. It’s also a good idea to consider the materials, making sure they strike a balance between being durable and looking great.
Matching the hardware to your cabinet’s style can really tie the whole look together and give your space a polished, cohesive feel.
Types Of Cabinet Hardware
Since glass cabinets highlight your kitchen’s style, choosing the right hardware is key to enhancing their elegance and functionality. You’ll want pieces that improve both look and usability without overpowering the glass.
Here are four main types to consider:
- Cabinet knobs – Small, decorative accents that are easy to grip and add style.
- Pull handles – Sleek, practical handles perfect for larger cabinet doors.
- Drawer slides – Smooth, durable mechanisms that make drawers open quietly and effortlessly.
- Hinge types – Pick from concealed or decorative hinges that match your cabinet’s design while supporting glass panels.
Mastering installation for these parts ensures your glass cabinets look polished and work seamlessly, blending style with practicality.
Material Considerations For Hardware
Although choosing the right style of hardware is important, selecting the right material is just as key to ensuring durability and complementing your glass cabinets.
When picking hardware finishes, consider materials like stainless steel, brass, or nickel. These materials resist corrosion and wear over time, helping your hardware last longer.
These finishes not only protect but also enhance the look of your cabinets. For hinges, go for metal options with smooth action and strong support to hold heavier glass panels securely.
Soft-close hinges are a smart choice to prevent slamming and damage. Avoid plastic or low-quality metals, as they tend to degrade quickly.
Matching Hardware With Cabinet Style
Choosing the right hardware material sets a strong foundation, but matching the hardware style to your cabinet design really pulls the look together. When adding glass to your kitchen cabinets, think about how finishes and knob styles work with the overall style.
For traditional cabinets, go for antique brass or bronze hardware finishes with classic knob styles. Modern cabinets look great with sleek chrome or matte black finishes and minimalistic knobs.
Rustic or farmhouse styles benefit from oil-rubbed bronze or brushed nickel hardware paired with vintage-inspired knobs. Versatile cabinets let you mix polished nickel hardware finishes with simple, elegant knob styles for a balanced look.
Easy Tips for Cleaning and Maintaining Glass Cabinets
When you want your glass cabinets to stay sparkling and clear, regular cleaning is essential. Start with gentle techniques like using a microfiber cloth and a mild glass cleaner to avoid scratches.
Avoid abrasive pads or harsh chemicals that can damage the glass or cabinet finish. For stubborn spots, try a mixture of vinegar and water to break down grime without leaving streaks.
Maintenance tips include wiping down your glass cabinets weekly to prevent dust buildup. Check seals or edges for any signs of wear.
You should also clean both sides of the glass to keep it clear and make your kitchen look its best. Remember to dry the glass thoroughly to prevent water spots.
Troubleshooting Common Issues When Adding Glass to Cabinets
If you run into issues while adding glass to your kitchen cabinets, don’t worry—most problems are pretty easy to fix. Knowing common installation mistakes can save you time and frustration while mastering glass paneling.
Here are four common problems and how to fix them:
1. Glass doesn’t fit properly
Double-check your measurements before cutting. You can also adjust the frame or use silicone strips for a snug fit.
Always measure twice before cutting, and consider frame adjustments or silicone strips for a perfect glass fit.
2. Glass rattles or moves
Secure the glass with extra clips or rubber gaskets to keep it steady and prevent shifting.
3. Cracks or chips during installation
Handle the glass carefully, wear protective gloves, and avoid overtightening screws to prevent damage.
4. Uneven or crooked glass
Use a level during installation and tighten the fasteners gradually to keep the glass straight and aligned.
Frequently Asked Questions
Can I Add Glass to Cabinets With Intricate Wood Designs?
Yes, you can add glass to cabinets with intricate designs, but you’ll need to carefully evaluate the wood compatibility.
Intricate designs might require custom-cut glass panels or partial glass inserts to keep the wood’s details intact.
Make sure the glass fits snugly without damaging the delicate woodwork.
Taking your time and consulting a professional can help you preserve both the beauty of the designs and the wood’s integrity.
How Does Adding Glass Affect Cabinet Resale Value?
You might think adding glass to your cabinets is like putting a spotlight on clutter, but ironically, it can boost your resale appeal.
When done right, glass doors showcase your kitchen’s charm and align with current design trends that buyers love.
It makes your space feel open and modern, which often translates to higher interest and value.
Are There Specific Glass Types for Child-Safe Cabinets?
Yes, you should choose specific glass types with safety features for child-safe cabinets. Tempered glass is a great option because it’s much stronger and shatters into small, less harmful pieces if broken.
You’ll also want to evaluate glass thickness. Thicker glass adds durability and reduces the risk of breakage. Laminated glass is another safe choice, as it holds together when shattered, preventing sharp shards.
Can Glass Cabinet Doors Be Customized With Etching or Frosting?
Yes, you can customize glass cabinet doors with etching or frosting to create unique glass design options. These decorative techniques help add personality and style while keeping things private.
You can choose from patterns, logos, or even custom artwork etched onto the glass. Frosting offers a softer, translucent look that’s perfect for diffusing light and creating a cozy feel.
Both options can really elevate your cabinets’ appearance and make your kitchen stand out. It’s a great way to add a personal touch to your space.
What Is the Average Cost Range for Adding Glass to Cabinets?
You might worry the cost considerations will break your budget, but adding glass to cabinets typically ranges from $150 to $600 per door, depending on glass type and size.
To keep costs down, choose standard glass and do some installation yourself.
Installation tips include measuring carefully and removing doors gently to avoid damage.
With smart choices, you can upgrade your kitchen without overspending or stress.
Conclusion
So, ready to turn your kitchen into a glass palace? Adding glass to your cabinets isn’t rocket science—unless you’re trying to install them blindfolded. With the right tools and a bit of patience, you’ll impress guests who’ll wonder if you hired a pro (hint: you didn’t).
Just remember, glass shows every fingerprint, so enjoy your new sparkle and the endless cleaning adventures that come with it. Installing glass on kitchen cabinets can be a fun project that transforms your space.