How to Replace Kitchen Faucet: A Step-by-Step Guide
Replacing a kitchen faucet might seem daunting at first, but you’re not alone in feeling that way. Many people struggle with figuring out where to start or worry about causing leaks.
Don’t worry—this simple guide will walk you through the process step by step.
Start by clearing and protecting your workspace, then shut off your water supply using the valves beneath the sink. Gather necessary tools like adjustable and basin wrenches.
Disconnect water lines and remove the old faucet carefully.
Install the new faucet with proper sealants and connect supply lines securely.
After turning the water back on, check for leaks and smooth water flow.
Following these steps, you’ll soon master troubleshooting and maintenance tips for a lasting faucet.
Key Takeaways
- Clear and protect your workspace, then shut off the water supply valves under the sink before starting to remove the faucet.
- Gather all necessary tools like adjustable and basin wrenches, screwdrivers, plumber’s tape, and sealant so you have everything ready.
- Disconnect the water supply lines, loosen the mounting nuts with a basin wrench, and carefully take out the old faucet.
- Position your new faucet with the gasket or putty, tighten the mounting nuts, and reconnect the hot and cold water lines securely.
- Turn the water back on, check for leaks or drips, tighten any connections if needed, and test the water flow for proper pressure and consistency.
Clearing and Protecting Your Kitchen Area Before Faucet Replacement
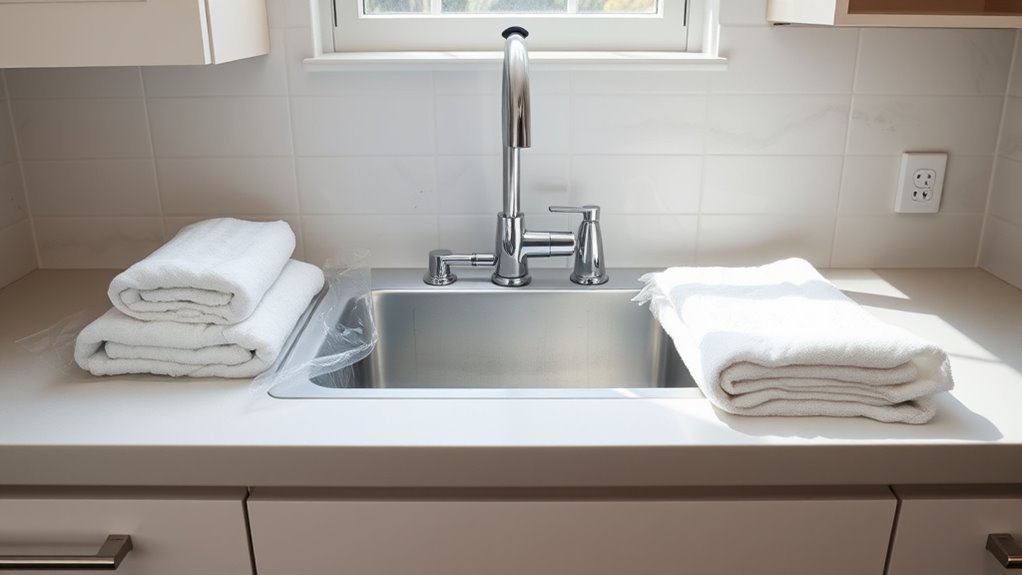
Before you start replacing your kitchen faucet, clear the area around your sink completely. Remove all dishes, soap dispensers, and any other items to create a clean workspace. This step is essential for effective kitchen organization and prevents clutter from slowing you down.
Next, apply protective coverings to your countertop and cabinet surfaces to avoid scratches or water damage during the replacement. Use plastic sheets or old towels as protective coverings, securing them with painter’s tape if needed. Don’t forget to cover the sink basin as well, since it can collect debris or dropped parts.
Keeping your workspace tidy not only protects your kitchen but also helps you work more efficiently. By preparing your kitchen this way, you minimize the risk of accidents and make the faucet replacement process smoother.
Taking the time to organize and protect your area upfront saves you hassle and keeps your kitchen in great shape.
How to Turn Off the Kitchen Faucet Water Supply Safely
First, you’ll want to locate the water shutoff valves under your sink. Once you’ve found them, turn both valves clockwise—think of it as turning a doorknob—to stop the water from coming through. It’s a good idea to double-check that the water is actually off by opening the faucet a little bit. That way, you can be sure there’s no water running before you start working on it.
Locate Water Shutoff Valves
Although it might seem simple, locating the water shutoff valves is key to safely stopping the water supply to your kitchen faucet. These valves control the water flow and are usually found under the sink, but sometimes in less obvious spots.
Knowing the exact shutoff location helps you avoid leaks or water damage when you’re replacing the faucet. It’s best to check these spots first so you can turn off the water quickly and safely before you start working.
Here’s a quick guide to common shutoff locations:
| Shutoff Location | Description |
|---|---|
| Under the Sink | Most common, small valves on pipes |
| Basement/Main Valve | Controls water to the whole house |
| Crawl Space | Accessible in some homes |
Start by checking these areas to find the valve, so you’re prepared to turn off the water before you begin any repairs.
Verify Water Supply Is Off
To safely replace your kitchen faucet, you need to confirm that the water supply is completely off. Skipping this step can cause unexpected leaks or water damage.
Follow these safety checks to make sure the water supply is fully shut off:
- Turn the shutoff valves clockwise until they stop.
- Open the faucet to drain any remaining water.
- Check for any drips or leaks around the faucet and valves.
- If water still flows, find and turn off the main water supply.
How to Choose the Right Tools for Faucet Replacement
Selecting the right set of tools can make your faucet replacement faster and less frustrating. First, familiarize yourself with different faucet types since each may need specific tools.
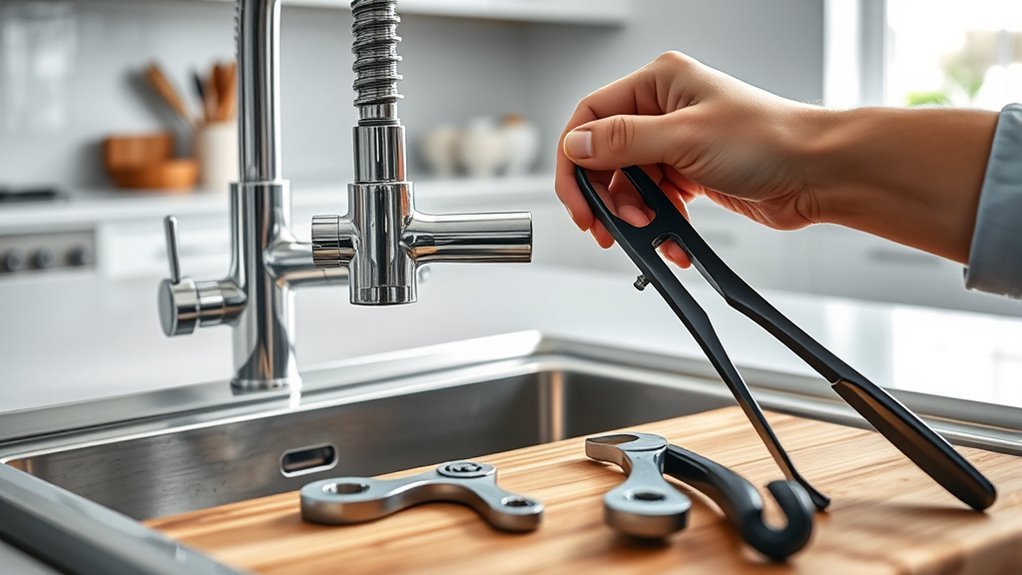
Tool essentials usually include adjustable wrenches in various sizes, basin wrenches for tight spots, and a screwdriver set. Knowing wrench sizes helps you avoid stripping nuts or bolts during installation.
Brush up on plumbing basics to understand how water pressure affects your setup and what safety precautions to take, like shutting off the water supply properly. Don’t forget maintenance tools such as plumber’s tape and sealant to ensure a leak-free fit.
Following installation tips closely prevents damage and saves time. By gathering these tools and understanding their use, you’ll be well-prepared for a smooth faucet replacement.
This preparation not only protects your plumbing but also makes the entire process safer and more efficient.
How to Remove Your Old Kitchen Faucet Without Damage
With the right tools, you’re all set to remove your old kitchen faucet without causing any damage. Knowing the proper techniques helps you avoid issues during installation and makes switching to your new faucet smoother. Just follow these steps carefully:
First, turn off the water supply valves located beneath the sink to prevent any leaks.
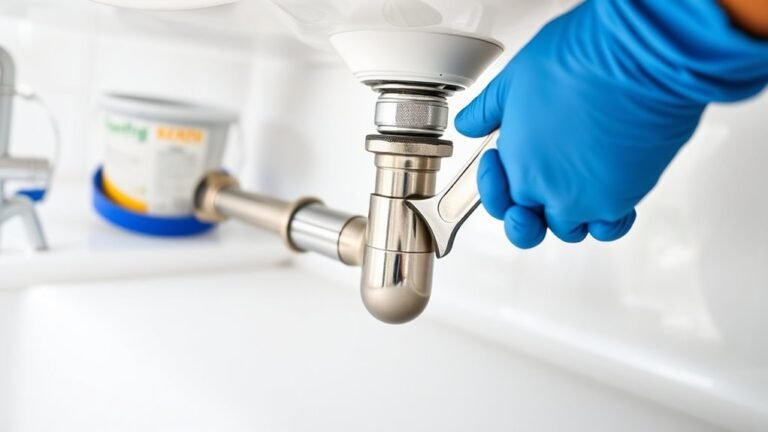
Next, disconnect the water supply lines using an adjustable wrench, being careful not to twist or strain the pipes.
Then, loosen and remove the mounting nuts that hold the faucet in place, using a basin wrench if space is tight.
Finally, gently lift the faucet out, making sure not to use force that could damage the sink surface or plumbing connections.
How to Clean and Inspect the Sink Area Before Installing
Before you install your new faucet, it’s a good idea to clear out any debris from the sink area. Just give the space a quick clean so everything’s nice and tidy—it makes the whole installation process smoother.
While you’re at it, take a close look at the sink itself. Check for any cracks, rust, or damage that might cause problems later on. Fixing or addressing these issues now can save you a lot of hassle down the road.
Remove Debris Thoroughly
Clear out any leftover debris from the sink area to guarantee a smooth installation process. Different debris types like old plumber’s putty, mineral deposits, and food particles can block your work and cause issues later. Use effective cleaning methods to tackle them thoroughly.
Follow these steps:
- Scrape off dried putty or sealant with a plastic scraper.
- Wipe away mineral deposits using a vinegar-soaked cloth.
- Remove food crumbs and grease with a mild detergent and sponge.
- Dry the area completely to prevent moisture buildup.
Taking these steps ensures a clean, debris-free surface, making your faucet replacement easier and preventing future leaks or damage. You’ll feel confident knowing your sink area is spotless and ready for the new faucet.
Check For Damage
Although you’ve removed debris, you still need to carefully inspect the sink area for any damage that could affect your new faucet’s installation. Check for signs of faucet wear, like cracks or loose parts, and look closely for fixture corrosion around the mounting holes and under the sink.
These issues could cause leaks or instability once your new faucet is installed. Be sure to clean the surface thoroughly so you can spot any hidden damage more easily.
| Issue | What to Look For |
|---|---|
| Faucet Wear | Cracks, loose handles or spouts |
| Fixture Corrosion | Rust, discoloration, or pitting |
| Sink Surface | Scratches, dents, or water damage |
| Mounting Area | Worn-out seals or uneven surfaces |
Address these problems before installation to ensure a secure, long-lasting fit.
How to Install and Connect Your New Kitchen Faucet Step by Step
Start by positioning your new faucet in the sink’s mounting holes, making sure the gasket or putty is in place to prevent leaks. Different faucet types may need specific installation materials, so double-check your package for all the parts.
Follow these steps to get your new kitchen faucet installed and connected:
- Secure the faucet by tightening the mounting nuts underneath the sink with a basin wrench.
- Connect the hot and cold water supply lines to their respective valves, ensuring they’re tight but not overtightened.
- Attach any extras like sprayers or soap dispensers, matching the installation materials provided.
- Organize and secure all connections to avoid strain or leaks.
How to Test Your New Kitchen Faucet for Leaks and Proper Function
Now that you’ve got your new faucet installed, the next step is to check for any leaks. Take a close look at all the connection points to make sure everything is tight and secure. Once that’s done, turn on the water and watch how it flows—make sure it’s steady and coming out nicely. While you’re at it, keep an eye out for any drips or moisture around the connections, because those could be signs of a leak or another issue.
Inspect All Connection Points
Before fully securing your new kitchen faucet, take a moment to carefully inspect all connection points. Make sure there are no leaks and that everything functions smoothly. Keeping the connections tight is key to a worry-free installation.
Check each connection for gaps or loose fittings and tighten them if needed. Feel around the joints for any moisture or drips that could mean leaks. Use a dry cloth to spot hidden water spots that might signal minor leaks.
Also, confirm that all hoses and valves are aligned correctly and securely fastened. Doing these quick checks helps catch issues early, preventing water damage and saving you time. Trust your eyes and hands—this step is essential for a perfect faucet replacement.
Check Water Flow Consistency
After making sure all connections are secure and leak-free, it’s time to test your new kitchen faucet by checking the water flow consistency. Turn on both the hot and cold water handles separately and then together, and observe how the water flows.
Pay close attention to the water pressure. If it’s too weak, it might be clogged aerator or trapped air in the lines. If the flow seems uneven or sputters, remove the aerator and give it a good cleaning. Debris can block water flow and reduce pressure.
Reattach the aerator and test again. Make sure the water streams smoothly without interruptions or fluctuations. This step confirms your faucet is working well and delivering a steady flow, giving you confidence that the replacement was successful before moving on to other checks.
Monitor For Drips
Keep a close eye on your new kitchen faucet to catch any drips or leaks that might signal a problem. Early detection is key to maintaining your faucet and avoiding costly water damage.
Here’s how to test your faucet effectively: First, turn on both hot and cold water to check for a steady flow without sputtering or dripping. Next, inspect all connection points underneath the sink for any signs of moisture or leaks.
After turning off the faucet, watch the spout for a full minute to spot any slow drips. You can also use a dry paper towel around joints to detect hidden leaks by looking for wet spots.
Troubleshooting Faucet Leaks and Shut-Off Issues
If you notice water pooling under your sink or hear constant dripping, you’ll need to troubleshoot leaks and shut-off issues quickly to prevent more damage. Start by checking for leaks by inspecting connections and washers for wear or cracks.
Next, troubleshoot the shut-off valves. Make sure they fully close and aren’t corroded or stuck. If the valves don’t close properly, water might keep flowing even when you turn them off.
Here’s a quick guide for common problems:
| Issue | Solution |
|---|---|
| Dripping from spout | Replace cartridge or washer |
| Leak at base | Tighten mounting nuts |
| Water under sink | Check supply line connections |
| Shut-off valve stuck | Apply lubricant or replace the valve |
Following these steps helps you address leaks efficiently before installing your new faucet, saving time and avoiding water damage.
Simple Maintenance Tips to Extend Your Kitchen Faucet’s Life
Though kitchen faucets are built to last, doing simple maintenance regularly can prevent common problems and make them last even longer. Staying proactive with your faucet care helps you avoid costly repairs and keeps everything running smoothly for years.
Regular maintenance keeps kitchen faucets durable, preventing costly repairs and ensuring smooth operation for years.
Here are four easy tips to help extend your faucet’s life:
- Regular cleaning: Wipe down your faucet often to remove mineral buildup that can clog aerators and slow water flow.
- Monitor water pressure: Keep an eye on your water pressure because high pressure can put extra strain on your faucet parts and cause damage.
- Leak detection: Check under your sink regularly for drips or puddles. Catching leaks early can save you from bigger issues down the line.
- Hardware inspection: Tighten any loose screws and replace worn washers to keep your faucet working smoothly.
Also, be mindful of how you use your faucet—gentle handling helps reduce unnecessary wear and tear. Follow these simple steps, and your kitchen faucet will serve you well for many years.
How to Adjust Water Temperature and Pressure on Your New Faucet
Maintaining your faucet’s condition sets the stage for a better experience when adjusting its settings. To fine-tune your new faucet, start with temperature control. Turn on both hot and cold water supplies, then adjust the mixing valve under the sink if your faucet has one. This helps balance the water temperature to your preference.
For faucets without a mixing valve, use the handles or lever to find the ideal blend. Next, focus on pressure adjustment. Check the water flow by turning the faucet on fully. If the pressure feels too low, inspect the aerator for debris and clean it.
You can also adjust the shutoff valves under the sink, opening them wider to increase pressure. Avoid forcing the valves; small turns make a big difference. If pressure issues continue, check your home’s main water supply or consider installing a pressure regulator.
Frequently Asked Questions
What Are the Most Common Types of Kitchen Faucets?
The most common types of kitchen faucets you’ll find are single-handle, double-handle, pull-down faucets, and those with touchless technology.
Pull-down faucets give you great flexibility with their retractable spray heads, making cleaning easier. Touchless technology faucets add convenience and hygiene since you don’t have to touch the handles.
You’ll want to choose based on your kitchen’s style and how you use your sink daily.
How Much Does a Typical Kitchen Faucet Replacement Cost?
Wondering how much a typical kitchen faucet replacement costs? You’ll want to compare faucet prices because they can range from $50 to over $300, depending on style and features.
Installation costs usually add $100 to $200 if you hire a professional. If you’re handy, you might save money by doing it yourself.
Balancing faucet price comparison with installation costs can help you budget wisely for your replacement.
Can I Replace a Kitchen Faucet Myself or Should I Hire a Plumber?
You can definitely replace a kitchen faucet yourself if you’re comfortable with DIY plumbing and have basic tools. Faucet installation usually involves shutting off water, disconnecting old fittings, and securing the new faucet, which you can handle by following clear instructions.
However, if you encounter complicated plumbing or leaks, hiring a plumber guarantees the job’s done right and saves you time and potential damage. Trust your skill level to decide!
What Materials Are Best for Durable Kitchen Faucets?
Imagine you’ve installed a brass faucet in your kitchen, and years later, it still looks and works great despite daily use. That’s because brass ranks high among faucet materials for durability factors like corrosion resistance and strength.
When choosing faucet materials, focus on metals like brass or stainless steel. They withstand wear, resist rust, and keep their finish well.
These factors guarantee your faucet stays functional and stylish for years to come.
How Do I Dispose of My Old Kitchen Faucet Responsibly?
You can dispose of your old kitchen faucet responsibly by exploring local recycling options like scrap metal centers or municipal recycling programs. Many faucets contain metals that can be recycled instead of thrown in the trash.
Check if your city offers special disposal methods for plumbing fixtures. If not, consider donating it if it’s still usable.
Avoid landfill disposal to reduce environmental impact and make sure you’re handling it in an eco-friendly way.
Conclusion
Now that you’ve got the basics down, imagine how confident you’ll feel tackling your next kitchen project. But before you celebrate, there’s one vital step most people overlook—testing and adjusting your new faucet just right.
Skipping this step can lead to leaks or poor water flow, which nobody wants. So, don’t stop here. Take a moment to make sure everything’s perfect.
By doing this, you’ll ensure your kitchen faucet works flawlessly for years to come. A little extra effort now means fewer headaches later and a result you can be proud of.