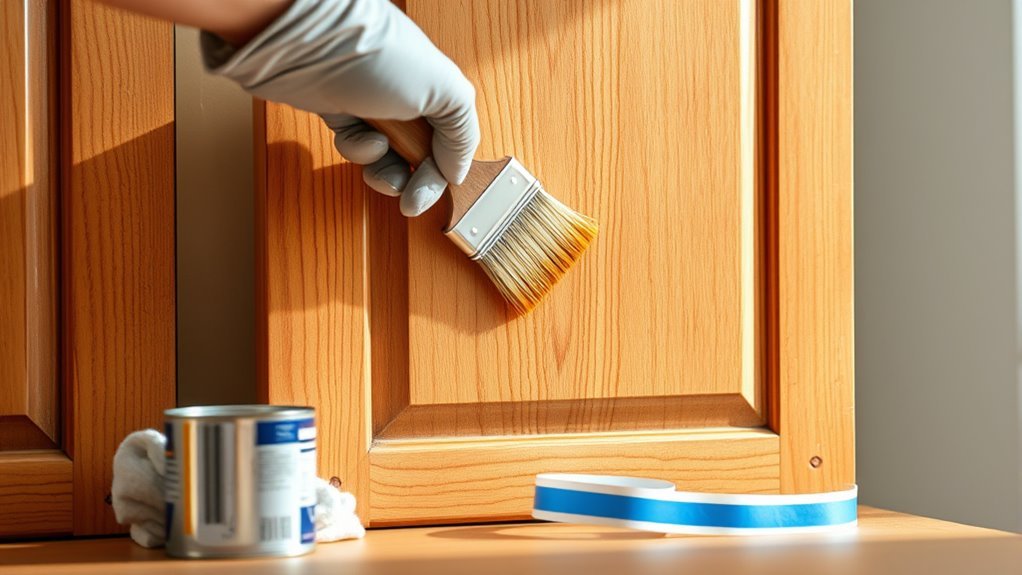
How to Stain Kitchen Cabinets: A Step-by-Step Guide
Feeling overwhelmed by the idea of staining your kitchen cabinets? You’re not alone. Many people struggle with achieving that smooth, professional look, but with a little patience and the right steps, you can do it yourself.
To stain kitchen cabinets, start by removing doors and hardware carefully, then clean and sand surfaces for smoothness.
Apply a wood conditioner, especially on soft woods, to prevent blotches. Choose your stain and apply it along the wood grain using a brush or cloth, wiping off excess quickly.
Once dry, seal with polyurethane for durability. Proper preparation and technique make all the difference.
Keep going to uncover expert tips for flawless results and lasting beauty.
Key Takeaways
- Remove cabinet doors and hardware carefully, labeling parts for easy reassembly.
- Clean thoroughly and sand cabinets with medium then fine-grit sandpaper for a smooth surface.
- Apply wood conditioner evenly to prevent blotchiness, then stain within two hours for consistent color.
- Use a brush or cloth to apply stain following the wood grain, wiping off excess quickly for even coverage.
- Seal stained cabinets with clear polyurethane, sanding lightly between coats, and ensure proper drying time.
Choosing Wood and Stain for Cabinet Staining
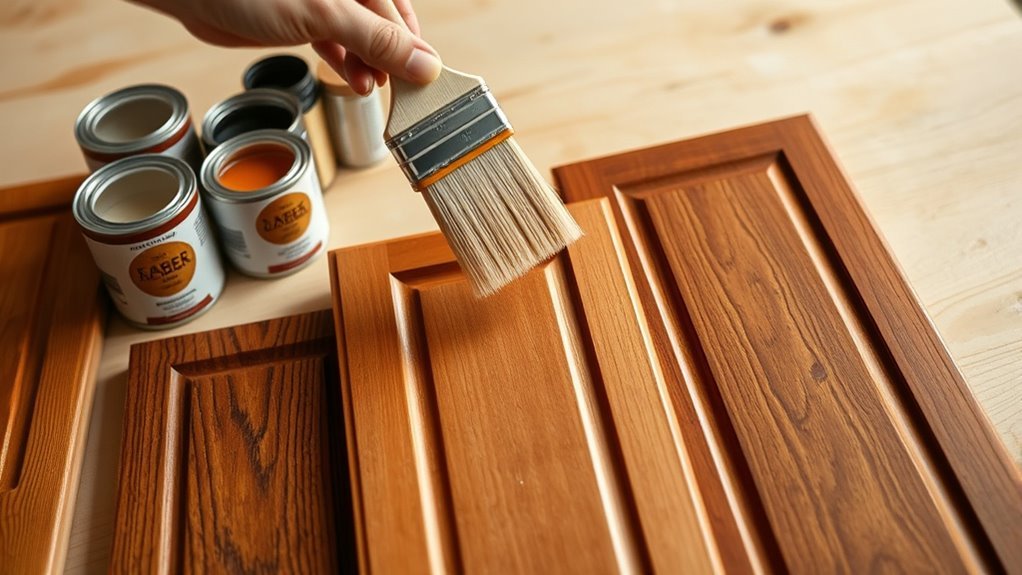
Before you start staining your kitchen cabinets, it’s important to pick the right wood and stain that match your style and how durable you want them to be. Different woods react differently to stains, so choosing the best one is key.
Hardwoods like oak, maple, and cherry absorb stain evenly and give a rich, long-lasting finish. Softer woods like pine might need a pre-stain conditioner to prevent blotchiness.
Next, think about the stain finish. Options include matte, satin, semi-gloss, or gloss, depending on the look you want and how much you want to highlight the wood grain. Matte gives a subtle, natural look, while gloss makes things shiny and polished.
Satin and semi-gloss are in between, offering a balanced look. Picking the right combination of wood and stain finish will ensure your cabinets look great and stand up to everyday kitchen use.
Essential Tools and Materials for Cabinet Staining
Staining your kitchen cabinets can really transform the look of your space, but to do it right, you’ll want to have the right tools and materials ready. Think of brushes, rags, sandpaper, and a good quality wood stain as your must-haves. Having these around makes the whole process easier and helps you get that professional-looking finish you’re aiming for.
Must-Have Staining Tools
Although staining kitchen cabinets can really change the look of your space, having the right tools makes the job much easier and helps you get a professional finish. To achieve even coverage and highlight the richness of your stain colors, you’ll want quality brushes, foam applicators, or lint-free cloths.
Each tool is good for different application techniques—brushes are great for detailed areas, while cloths work well for smooth, even coats. Sanding blocks or pads are essential for prepping your surfaces and between coats, making sure everything looks flawless.
Don’t forget a good pair of gloves to protect your hands and rags for wiping off any excess stain. Having these must-have staining tools ready to go will boost your confidence and help you apply your stain cleanly and successfully.
Recommended Staining Materials
Staining kitchen cabinets needs a few key materials to make sure the job goes smoothly and the finish lasts. Picking the right supplies depends on the kind of wood you’re working with and the stain color you want.
Start by gathering a quality wood stain that matches your cabinet’s wood type and the shade you’re after. A pre-stain wood conditioner is also helpful, especially on softwoods, to help the stain absorb evenly.
You’ll want high-quality foam brushes or lint-free cloths for easy, streak-free application. Don’t forget protective gloves and painter’s tape to keep everything clean and precise.
Having these materials on hand helps bring out the natural beauty of your cabinets and ensures your stain colors turn out vibrant and uniform. With the right tools, your staining project will be efficient and look professional.
How to Remove Cabinet Doors and Hardware Safely
Before you jump in, make sure you’ve got all the tools you need and that your workspace is clear. This way, you won’t be scrambling around or risking any accidents.
When it’s time to remove the cabinet doors and handles, do it carefully so you don’t damage anything. Keep all the screws and hardware together—trust me, it’ll make putting everything back together a lot easier.
Taking your time with this part really pays off, especially when you get to the staining stage. It’ll make the whole process go way more smoothly and stress-free.
Preparing Tools And Workspace
Removing cabinet doors and hardware safely just takes a few essential tools and a tidy workspace. Before you start, organize the area so everything’s easy to reach and to avoid accidents. Clear the space, put down protective coverings, and make sure the lighting is good.
Focus on tool safety by checking your tools for damage and using the right ones for each job. It’s worth taking a moment to ensure everything’s in good shape before you begin.
Here’s what you’ll need:
- Screwdrivers (both flathead and Phillips)
- A drill with the right bits
- A sturdy wrench or pliers
- Containers or magnetic trays to hold screws and small hardware
Removing Doors And Handles
Start by carefully taking off the cabinet doors and handles to prevent damage and keep everything organized. Use a screwdriver to remove screws from the hinges, supporting the door to avoid dropping it.
Label each door and its hinges so you can keep everything aligned when reassembling. Next, remove the handles by unscrewing them from inside the doors or drawers.
Handle types vary—knobs, pulls, or bar handles—so make sure you use the right tool for each to avoid stripping screws. Place all hardware in labeled containers or bags to keep track of everything.
Taking these careful steps ensures you won’t lose parts or affect door alignment, making the staining process smoother and reinstallation easier.
Preparing Cabinets: Cleaning and Sanding Tips
To achieve a smooth, professional finish, you’ll need to thoroughly clean and sand your kitchen cabinets. Start by removing any grease, dirt, or residue using effective cleaning techniques. Use a degreaser or a mix of warm water and mild detergent, scrubbing gently with a sponge. Rinse and dry completely before sanding.
For sanding, begin with medium-grit sandpaper (around 120-grit) to remove the old finish and smooth out imperfections. Follow with fine-grit sandpaper (220-grit) to create an even surface for staining. Always sand in the direction of the wood grain to avoid scratches.
Keep these tips in mind: use a tack cloth to remove dust between sanding steps, wear a mask to protect from dust inhalation, and sand cabinet edges and corners carefully. Avoid over-sanding, which can damage the wood.
How to Use Wood Conditioner for Even Stains
If you’re looking to get a smooth, even stain on your cabinets, using a wood conditioner is a smart move. It helps prevent those frustrating blotchy spots that can happen when staining unevenly.
Just apply the conditioner evenly with a brush or a cloth, making sure to cover all the surfaces you want to stain. After that, let it sit and soak in for about 15 minutes. This step really makes a difference because it helps the wood absorb the stain more evenly, which is especially helpful if you’re working with softer or more porous woods.
Purpose of Wood Conditioner
Although staining wood can bring out its natural beauty, uneven absorption often leads to blotchy results. That’s where wood conditioner comes in. Its main purpose is to prepare porous woods, making sure your stain goes on smoothly and evenly. By applying a wood conditioner before staining, you help balance the wood’s absorption rate, preventing dark spots and streaks.
Here are some key benefits of using a wood conditioner:
- Seals softwood fibers for consistent stain absorption
- Reduces blotching on uneven grain surfaces
- Improves the final color’s uniformity and richness
- Boosts stain durability and finish quality
Properly applying a wood conditioner guarantees your kitchen cabinets look flawless, showcasing a professional, even stain every time you finish your project.
Application Tips and Timing
When applying wood conditioner, timing and technique are key to getting an even stain. Start by spreading the conditioner evenly with a clean cloth or brush, following the wood grain to avoid streaks. Don’t over-apply; a thin, uniform layer is best.
Timing is also important. Let the conditioner soak in for about 15 to 30 minutes, depending on the product instructions. Don’t wait too long before staining, usually within two hours, to prevent the conditioner from drying out.
If you delay, the wood might absorb the stain unevenly. By mastering these techniques and timing, you’ll ensure your kitchen cabinets have a smooth, consistent finish that highlights the natural beauty of the wood.
How to Apply Stain on Cabinets
Begin by preparing your work area and making sure the cabinets are clean and dry. Proper stain application techniques are key to getting a smooth, even finish that brings out the wood grain.
Start by testing your stain on a small, hidden spot to check the color before you commit to the whole surface. Work in manageable sections to keep wet edges and avoid lap marks.
Keep these tips in mind:
- Apply stain with consistent pressure for even absorption.
- Follow the wood grain to improve texture and color depth.
- Wipe off excess stain quickly to prevent blotches.
- Let each coat dry thoroughly before applying the next for the best results.
Brush vs. Cloth: Choosing Your Staining Method
Deciding between a brush and a cloth for staining your kitchen cabinets depends on the finish you want and the type of wood you’re working with. Brush techniques give you precision and control, which is great for detailed areas and textured woods.
Cloth advantages include even coverage and a smooth finish, making them perfect for softer woods or when you want to avoid streaks.
Here’s a quick comparison to help you choose:
| Method | Best For | Key Benefit |
|---|---|---|
| Brush | Detailed, textured wood | Precision application |
| Cloth | Smooth, soft wood | Even, streak-free coat |
| Brush | Hard-to-reach spots | Better control |
| Cloth | Large flat surfaces | Quick, uniform spread |
Pick the method that matches your wood type and the finish you’re after. Remember, mastering either brush techniques or cloth application can help your project look professional.
How to Seal and Protect Your Stained Cabinets
After staining your kitchen cabinets, you’ll want to seal and protect the wood to preserve its beauty and durability. Proper sealing techniques not only improve stain longevity but also shield your cabinets from moisture, heat, and daily wear. Choosing the right protective finishes is essential to maintain that fresh look.
To effectively seal and protect your stained cabinets, keep these tips in mind:
- Apply a clear polyurethane or water-based varnish for a durable, easy-to-clean surface.
- Use a foam brush or lint-free cloth to guarantee even coverage without bubbles.
- Allow sufficient drying time between coats, typically 2-4 hours, and lightly sand between layers.
- Perform routine cabinet maintenance by cleaning gently with a damp cloth and avoiding harsh chemicals.
Following these steps will help your cabinets stay beautiful longer, making your staining efforts truly worthwhile.
Troubleshooting Common Staining Problems
While staining kitchen cabinets can really change your space, you might encounter some common problems that affect the final look. If you see blotches or uneven color, it’s often because the wood absorbs stain differently or you didn’t sand enough. Make sure to sand thoroughly and use a wood conditioner before staining.
Application streaks usually happen if you use a dry brush or rush through it. Work with smooth, even strokes and keep a wet edge to avoid this. Drying issues can pop up if the humidity is high or the temperature is too low, so try to stain in a well-ventilated, controlled environment.
Odor problems often come from poor ventilation. Use fans or open windows to help air out the space. Stain bleeding, where color spreads beyond where you want it, can happen if your wood has water damage or is damp when you apply stain.
To prevent this, make sure the cabinets are completely dry and free of water damage before staining. Catching these issues early can help you get a flawless finish.
How to Reinstall Cabinet Doors and Hardware Like a Pro
Once your cabinets are fully stained and dry, it’s time to reinstall the doors and hardware carefully to make sure everything works smoothly and looks polished. Start by checking the cabinet alignment to confirm the doors hang evenly and open without obstruction. Getting this right now will save you trouble later.
Reinstall cabinet doors and hardware carefully to ensure smooth operation and a polished appearance.
Next, focus on hardware placement. Measure twice before drilling to keep handles or knobs symmetrical and comfortable to use. This step helps ensure a professional and tidy finish.
Follow these steps for a polished look:
- Use a level to align the cabinet doors and adjust hinges for even spacing.
- Position hardware consistently, either matching previous holes or marking new ones precisely.
- Tighten hinges securely, but avoid overtightening to prevent wood damage.
- Test the door movement and hardware functions, making small tweaks if needed.
Frequently Asked Questions
Can I Stain Cabinets Made of Laminate or MDF?
You can stain cabinets made of laminate or MDF, but you’ll need to be careful. For laminate, start by lightly sanding the surface and then apply a bonding primer to help the stain stick.
With MDF, sealing is really important because it absorbs moisture easily. Use a high-quality primer before staining to get an even color and avoid damage.
Following these steps will help you get a nice finish, even with these tricky materials.
How Long Does the Entire Staining Process Typically Take?
You might think staining cabinets is a quick job, but it usually takes about 2 to 3 days.
Cabinet preparation alone—sanding, cleaning, and priming—can take several hours. Then, you’ll need to allow plenty of stain drying time between coats, usually 4 to 6 hours each.
Rushing this process can ruin the finish, so plan carefully to get that beautiful, long-lasting result you want.
Are There Any Eco-Friendly or Low-Voc Stains Available?
Yes, you’ll find plenty of eco-friendly options for staining your cabinets. Many brands now offer low-VOC stains that meet strict VOC regulations, so you can reduce harmful fumes while still getting a beautiful finish.
When shopping, look for water-based or plant-based stains labeled “low-VOC” or “zero-VOC.” These options not only protect your health but also help minimize environmental impact.
Choosing these stains makes your kitchen makeover safer and greener, so you can enjoy a stylish space without worrying about harmful chemicals.
How Do I Maintain Stained Cabinets to Keep Them Looking New?
Think of your stained cabinets as a cherished book—you want to preserve every page. To keep them looking new, just follow some simple cleaning tips like wiping with a soft cloth and mild soap regularly.
Avoid harsh chemicals that can strip the finish. Applying protective coatings, such as a clear polyurethane, adds a durable layer to shield against moisture and scratches.
This helps your cabinets maintain their rich color and smooth texture over time.
Can I Change the Stain Color Later Without Sanding Completely?
Yes, you can change the stain color later without sanding completely by using stain layering techniques. Just lightly scuff the surface to help the new stain stick better.
Then, apply your new color in thin, even coats. Make sure to do proper color matching so the results aren’t uneven or muddy.
This method saves you time and effort, giving your cabinets a fresh look without having to strip everything down.
Conclusion
Now that you’ve stained your kitchen cabinets, picture your space transformed like an artist’s canvas—each brushstroke adding warmth and character.
Just like a master painter, you’ve turned raw wood into a centerpiece full of charm and style.
With the right care, your cabinets will age beautifully, telling your home’s story for many years.
Take a step back, admire your work, and enjoy the stunning look you’ve created with your stained kitchen cabinets.