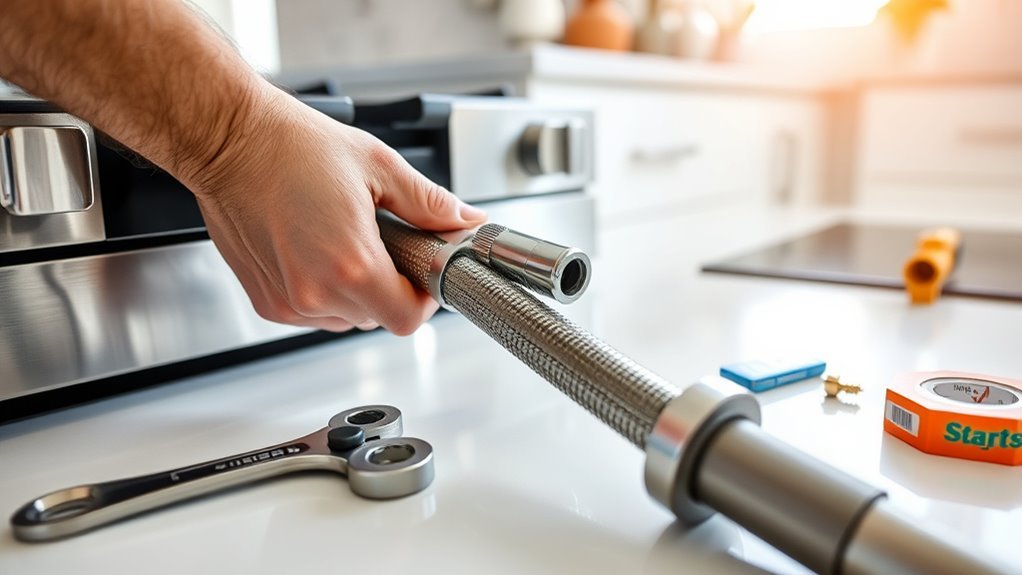
How to Install a Gas Range: A Step-by-Step Guide
Installing a gas range can seem daunting, especially if you’re not sure where to start. Many people struggle with the process or worry about safety, but don’t worry—you’re not alone. With a little guidance, you can do it yourself and get your kitchen running smoothly.
To install a gas range, first gather all essential tools like a wrench and sealant. Then turn off your gas supply securely. Clear and clean your kitchen workspace before connecting the gas line, ensuring all fittings are tight and sealed without leaks.
Next, level and stabilize the range using adjustable feet. Connect the electrical supply safely, and test each burner for proper flame and leaks. Follow these steps closely, and you’ll be ready to investigate tips for troubleshooting and maintaining peak performance.
Key Takeaways
- Turn off the gas supply securely using the gas valve and make sure no gas is flowing before you start installing.
- Clear and clean your kitchen workspace. Make sure you have easy access to the gas line and remove any obstacles.
- Connect the gas line fittings snugly with pipe thread sealant. Then, check all connections for leaks using soapy water.
- Adjust the gas range feet for stability, and level the appliance with a carpenter’s level before securing it in place.
- Test each burner for steady blue flames. Check for leaks and odors, and troubleshoot alignment or pressure issues if needed.
Gather Essential Tools and Materials for Installing a Gas Range
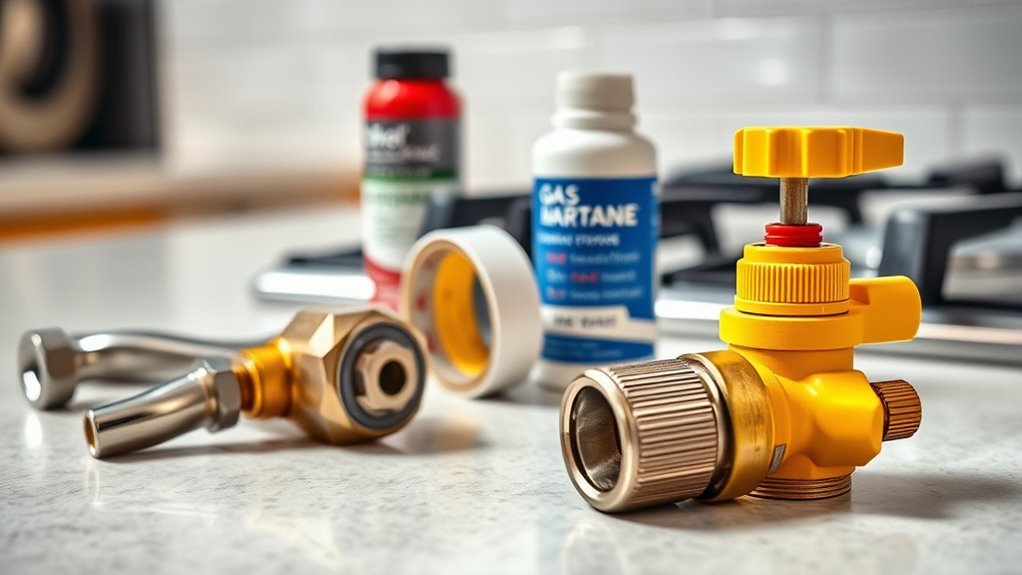
Before you start installing your gas range, gather all the essential tools and materials to make the process smoother. You’ll need specific items like an adjustable wrench, pipe thread sealant, a flexible gas line connector, a screwdriver, and a level.
Having these ready beforehand saves time and prevents interruptions. Don’t forget safety gear—wear gloves to protect your hands from sharp edges and safety goggles to shield your eyes from debris or gas leaks.
A fire extinguisher nearby is a smart precaution too. Check the manufacturer’s instructions to see if any additional tools or materials are needed for your specific model.
Preparing properly means you won’t have to hunt for items mid-installation, which reduces frustration and risk. By staying organized and prioritizing safety equipment and tools, you’ll set yourself up for a successful and safe gas range installation.
Turn Off Your Gas Supply Safely
First, find your gas valve so you know exactly where to turn it off. It’s a good idea to have a wrench or the right tool handy to do this safely and avoid any damage. Once you’ve turned the valve, give it a quick double-check to make sure the gas is completely off before you move on with your installation.
Locate Your Gas Valve
To safely install your gas range, you need to locate the gas valve that controls the supply to your appliance. Gas valves come in different types, like ball valves and gate valves, and each is designed to shut off the gas flow effectively.
Usually, you’ll find the valve near the gas line behind your range or under the kitchen sink. Knowing exactly where it is is important for gas safety because it lets you quickly stop the gas in emergencies or during installation.
Before you move forward, make sure you understand how your specific valve works. Most ball valves, for example, turn a quarter turn to close. Taking the time to identify and get familiar with the valve helps prevent leaks and ensures a safe installation process.
Use Proper Safety Tools
When you’re ready to turn off your gas supply, make sure you have the right safety tools on hand to do it correctly and securely. Wearing proper safety gear like gloves and goggles helps protect you from accidental gas leaks or injuries.
Use a wrench that fits your gas valve to avoid damaging it. A flashlight can help you see clearly if lighting is poor. Having a gas leak detector nearby is smart because it alerts you to any leaks immediately.
| Tool | Purpose |
|---|---|
| Gloves | Protect hands |
| Goggles | Shield eyes |
| Adjustable wrench | Turn gas valve securely |
| Flashlight | Improve visibility |
| Gas leak detector | Detect dangerous gas leaks |
Always prioritize safety gear to prevent accidents when handling your gas supply.
Confirm Gas Is Off
Having the right safety tools ready sets you up for a smooth process as you move on to confirming that your gas supply is completely turned off. Start by locating the main gas shutoff valve, usually found near your gas meter.
Turn the valve clockwise until it stops to make sure the gas flow is fully closed. Double-check by trying to light the range—no flame means the gas is off. This step is essential for gas safety and prevents leaks during appliance maintenance.
Never skip this verification to avoid accidents or damage. If you’re unsure about the valve’s location or how to operate it, contact your gas provider or a professional technician.
Taking these precautions guarantees a safer installation and protects your home throughout the process.
Prepare Your Kitchen Space for Installation
Before you begin installing your gas range, take a moment to clear off your countertop and tidy up the surrounding area. Having plenty of space to work will definitely make the process easier and safer.
Also, double-check that the gas line is easily accessible and in good shape. If it’s worn out or damaged, it’s best to get it inspected or replaced before you start. Doing this prep work ahead of time will help ensure everything goes smoothly and safely during the installation.
Clear Countertop And Surroundings
Start by completely clearing your countertop and the surrounding area to create a safe, open space for your gas range installation. Remove all appliances, utensils, and decorative items to prevent accidents or damage during the process.
Good kitchen organization at this stage helps you avoid clutter and keeps essential tools within reach. Maintaining countertop safety is vital. Wipe down surfaces to remove grease or debris that could cause slips or fire hazards.
Confirm the floor area around the installation zone is also clear to give you room to maneuver and place the range securely. Taking these steps guarantees a smooth, efficient installation while protecting your kitchen surfaces.
It also helps improve your workspace safety throughout the project.
Check Gas Line Accessibility
Once your countertop and surrounding area are clear, turn your attention to the gas line. Before you proceed, make sure the gas line is easy to access and follows all local accessibility guidelines.
This step is important for safety and ensures you won’t struggle during installation or future maintenance. Check that the gas valve is within reach and not blocked by cabinets or appliances.
If the line is tucked away or hard to reach, think about repositioning it or talking to a professional. Also, inspect the gas line for any damage or leaks.
Dealing with these issues now helps prevent hazards later. Prioritizing safety and accessibility will make your installation smoother and keep your kitchen safe.
Connect the Gas Line to Your Range Without Leaks
Although connecting the gas line might seem intimidating, you can do it safely by making sure all fittings are tight and checking for leaks. Start by attaching the gas fittings snugly to prevent leaks, but don’t overtighten, as that can damage the threads.
After connecting, apply a leak detection solution or soapy water on the fittings. If bubbles form, you’ve found a leak that needs fixing before you move on.
Here’s a quick reference table for your connection steps:
| Step | Task | Tip |
|---|---|---|
| 1 | Inspect gas fittings | Check for damage or wear |
| 2 | Attach fittings securely | Use pipe thread sealant |
| 3 | Perform leak detection | Look for bubbles with solution |
Secure and Level Your Gas Range
Before you go ahead and secure your gas range, make sure the area where you’re installing it is nice and clean—free of any dirt or debris. Once that’s sorted, take a look at those range feet and adjust them so the stove is as level as possible. It’s a good idea to double-check with a level tool to ensure your range sits perfectly flat. This way, everything will be set up safely and working smoothly!
Prepare Installation Area
To guarantee your gas range operates safely and efficiently, you’ll need to secure it firmly and level it properly. Start by preparing the installation area thoroughly.
Clear the space around the range to give yourself unobstructed access, which helps reduce safety hazards in the kitchen. Use your installation checklist to make sure the floor is clean, dry, and sturdy enough to support the weight of the range.
Check that nearby gas and electrical connections are accessible and in good condition. Remove any rugs or flammable materials to prevent fire risks.
Make sure the surrounding cabinetry and countertops won’t interfere with the placement of your range. By preparing the area carefully, you’ll create a safe environment that supports proper function and safety standards before moving on to securing and leveling your new gas range.
Adjust Range Feet
Three adjustable feet on most gas ranges make it easy to secure and level your appliance. To adjust the range feet, start by finding them at the base of your range.
Turn these feet clockwise to raise the appliance, or counterclockwise to lower it. Keep adjusting until the range feels steady and secure.
This step is crucial to ensure stability and prevent wobbling during use. Make sure all feet are in firm contact with the floor.
Tighten or loosen the feet evenly to avoid tilting. Check that the range doesn’t shift when you gently press on it.
Following these steps will help you properly adjust the range feet and keep your gas range stable.
Verify Level Position
A level gas range guarantees even cooking and prevents spills or uneven heating. To verify the level position, grab a carpenter’s level and place it across the front and side edges of your range.
Use proper leveling techniques by adjusting the range feet until the bubble centers perfectly. Double-check both directions to confirm accuracy.
This step is vital and should be included in your installation checklist before securing the appliance. If your range has a backguard, verify its alignment as well.
Taking the time to confirm your gas range is level not only improves performance but also boosts safety and durability. Once you’re satisfied with the positioning, tighten all adjustable feet firmly to lock the range in place.
This final verification rounds out your installation process smoothly.
Connect the Gas Range Electrical Supply for Ignition
Before you connect the electrical supply for your gas range ignition, make sure the power source is turned off to prevent any accidents. Prioritizing electrical safety is essential when handling the ignition system.
Locate the power cord at the back of your range, ensuring it matches your home’s outlet specifications. Then, connect the cord securely to the outlet or hardwire it if your model requires. Use insulated tools and avoid touching bare wires during this process.
Remember these key points for a safe connection:
- Confirm the power is off at the breaker panel before starting.
- Check for any damaged wires or loose connections.
- Follow the manufacturer’s wiring diagram exactly.
Test Your Gas Range for Safe Operation
Start by turning on your gas supply and igniting one burner to check for a steady, blue flame, which indicates proper combustion. If the flame flickers or appears yellow, turn off the burner immediately and inspect connections.
Always follow safety precautions by ensuring good ventilation and keeping flammable materials away during testing. Next, ignite each burner individually, watching the flame size and color to confirm everything is working properly.
While testing, listen for any unusual sounds and keep an eye out for gas odors, which could mean leaks. Use a soapy water solution on all fittings—bubbles will show leaks that need fixing before you use the range.
Also, test the oven ignition to make sure it lights quickly without delay or excessive clicking.
Fix Common Gas Range Installation Problems
If you notice irregular flames, gas odors, or ignition delays during testing, fixing common installation issues can save you from bigger problems later. Start by checking for mistakes like improper alignment or incorrect regulator settings, which often cause uneven flames or slow ignition.
Use leak detection methods like soap solution or electronic detectors to make sure no gas is escaping. Pay close attention to venting solutions because poor ventilation can impact burner performance and safety.
Here are some key troubleshooting tips to fix common issues:
- Carefully adjust gas pressure to match the manufacturer’s specifications and avoid flame problems.
- Reposition the range if needed to ensure burners ignite evenly.
- Follow strict safety precautions during testing, especially when checking for leaks or odors.
Know When to Call a Professional for Installation Help
When should you call a professional to install your gas range? If you’re unsure about handling gas connections or worried about safety concerns, it’s best to seek professional installation.
Experts can navigate local regulations to guarantee your setup complies with code, preventing costly fines or hazards. If you want to avoid common installation mistakes that could damage your appliance or home, expert advice is invaluable.
Professionals also understand warranty implications. Improper installation might void your warranty, leading to expensive repairs down the line. While DIY may seem cost-effective, weigh cost considerations against potential risks and future expenses.
Moreover, if you encounter issues during setup, troubleshooting tips from a certified technician can save time and frustration. Ultimately, calling a professional guarantees a safe, compliant, and efficient installation.
This allows you to enjoy your new gas range without worry. Don’t hesitate to get help when in doubt. It’s a smart investment in safety and peace of mind.
Maintain Your Gas Range for Long-Lasting Performance
Although installing your gas range correctly is important, regular maintenance is what keeps it running efficiently for years. You can do this by following simple cleaning routines and troubleshooting when needed.
Start by wiping down burners and grates with warm, soapy water after each use to prevent buildup. Regularly check gas connections for leaks or loose fittings to stay safe.
Wipe burners and grates with warm, soapy water after use and routinely check gas connections for safety.
If you notice uneven flames or ignition problems, troubleshoot by cleaning the igniter or clogged burner ports. Address issues promptly to keep your range in top shape.
Here are three key maintenance tips:
- Clean burner caps and grates weekly with warm, soapy water.
- Check for gas leaks by applying soapy water to connections and watching for bubbles.
- Fix ignition issues quickly by cleaning or replacing faulty igniters.
Frequently Asked Questions
What Type of Gas Is Compatible With My Gas Range?
You’ll want to check your gas range compatibility to see if it’s designed for natural gas or propane.
Most gas ranges come set for natural gas, but some models allow propane conversion with a specific kit.
Always review the installation requirements in your manual before switching gases.
Using the wrong type without proper conversion can cause safety issues or poor performance, so make sure you follow the manufacturer’s guidelines closely.
Can I Install a Gas Range on a Non-Gas Stove Space?
You might think you can just swap in a gas range, but installing one in a non-gas stove space isn’t that simple.
You’ll need gas line installation, which often means calling a professional. Plus, stove space modifications may be necessary to accommodate ventilation and safety clearances.
How Do I Choose the Right Size Gas Range for My Kitchen?
You’ll want to measure your available space carefully to make sure the gas range fits perfectly. Focus on width, depth, and height, and double-check your kitchen layout before making a purchase.
Don’t forget to consider clearances around the range for safety and ventilation. It’s also important to think about how the new range lines up with your countertops and cabinets.
Choosing the right size helps keep your kitchen functional and stylish without feeling crowded or cramped.
Are There Any Permits Required for Installing a Gas Range?
Before you light the fire, know that yes, you often need permits for gas line installation.
Local codes usually require you to get approval to guarantee safety.
Don’t skip this vital step. Think of it as the foundation of a solid house.
Following installation tips means checking with your city’s building department first.
They’ll guide you through permits and inspections, keeping your gas range setup both legal and safe.
What Safety Features Should I Look for in a New Gas Range?
You should look for safety sensors that monitor heat and flame failure to prevent gas leaks. Make sure the range has child locks to keep curious little ones safe.
Automatic shutoff features are essential because they stop the gas flow if the flame goes out.
Check ventilation requirements to ensure proper airflow. Also, gas leak detection systems can alert you to any dangerous leaks, giving you peace of mind every time you cook.
Conclusion
Congrats, you’re now a self-proclaimed gas range guru—just don’t blow up the kitchen. Installing a gas range might seem straightforward, but remember, even pros sometimes need backup.
If your “secure connection” starts leaking, don’t pretend you’re on a cooking show—call a professional. It’s better to be safe than sorry when working with gas appliances.
Otherwise, enjoy your new range and impress guests with your fiery skills (literally). Just keep the fire extinguisher handy, okay? Safety always comes first when installing a gas range.