How to Increase Water Pressure in Kitchen Sink: A Step-by-Step Guide
Dealing with low water pressure in your kitchen sink can be frustrating, especially when you’re trying to get dishes done or clean up quickly. Many people struggle with this issue and feel stuck because they don’t know where to start.
The good news is, fixing it is often simpler than you think.
To increase water pressure in your kitchen sink, start by cleaning or replacing the faucet aerator to clear clogs.
Check and clean the faucet and spray hose for blockages. Inspect for leaks and tighten or replace worn parts.
Clear supply line blockages and adjust the pressure valve carefully.
Test your home’s main water pressure and consider upgrading your faucet for better flow.
If you keep going, you’ll uncover helpful tips and when to call a plumber.
Key Takeaways
- Clean or replace the faucet aerator to remove mineral deposits and improve water flow.
- Check and clear out clogs in the faucet, spray hose, and supply lines to restore pressure.
- Look for leaks under the sink or at the faucet base and fix them to prevent pressure loss.
- Adjust the water pressure valve carefully to increase flow without damaging your plumbing.
- Use a gauge to test the main water pressure and see if the issue is system-wide or just at the sink.
Clean or Replace the Faucet Aerator
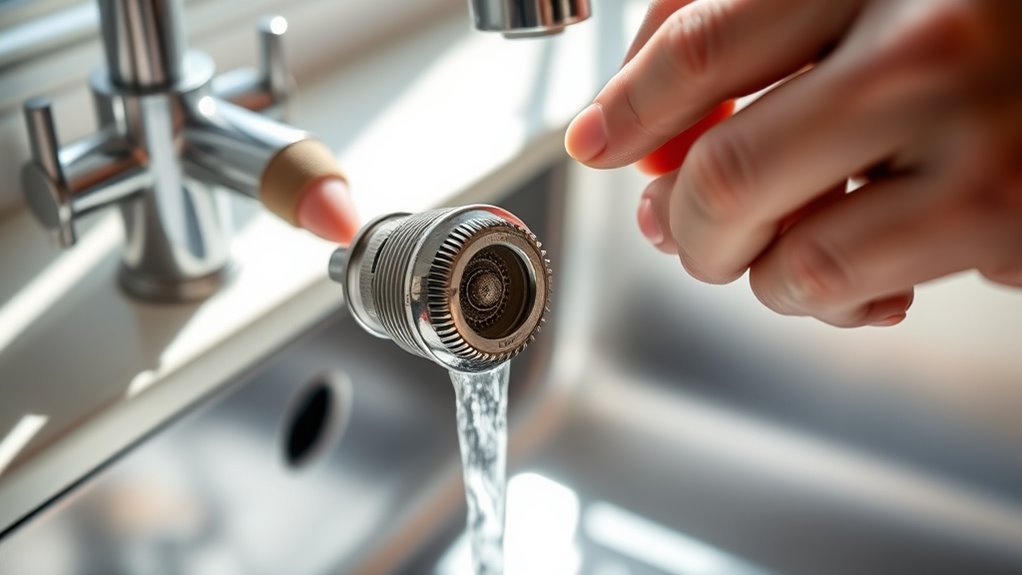
If your kitchen sink’s water pressure feels weak, start by checking the faucet aerator. No matter what faucet types you have—whether a single-handle or a traditional dual-handle model—the aerator plays an essential role. It mixes air with water, which not only conserves water but also maintains steady pressure. Over time, mineral deposits and debris can clog the aerator, reducing flow and pressure.
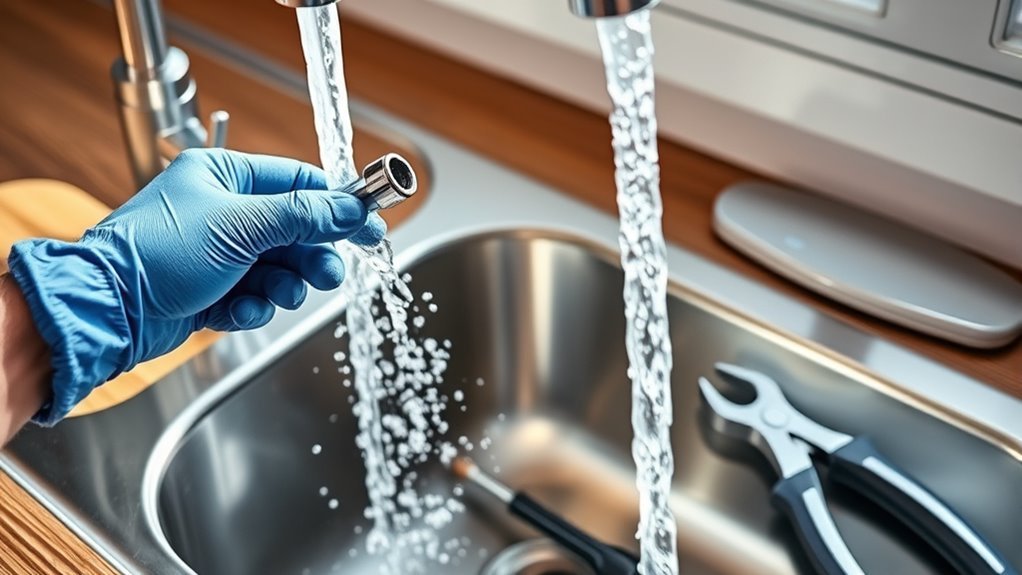
You can easily unscrew the aerator from the faucet tip and inspect it. If you see buildup, soak it in vinegar for 15-30 minutes to dissolve deposits, then scrub gently with a brush. If cleaning doesn’t improve flow, replacing the aerator is a simple and inexpensive fix.
Check Faucet for Clogs Affecting Water Pressure
Though you’ve cleaned the aerator, low water pressure can still be caused by clogs inside the faucet itself. Mineral deposits and debris may build up within the internal components, restricting flow.
To fix this, turn off the water supply and carefully disassemble the faucet handle and body according to your model. Inspect the cartridge, valves, and other parts for any visible blockages or buildup.
Turn off the water supply, disassemble the faucet, and inspect internal parts for blockages or buildup.
Soaking these components in a vinegar solution can help dissolve mineral deposits. Rinse thoroughly before reassembling everything.
Regular faucet maintenance includes checking these internal parts periodically to prevent future clogs and keep water flow strong.
This step is crucial because it addresses issues beyond the aerator that often go unnoticed.
Remove and Clean Spray Hose to Improve Water Pressure
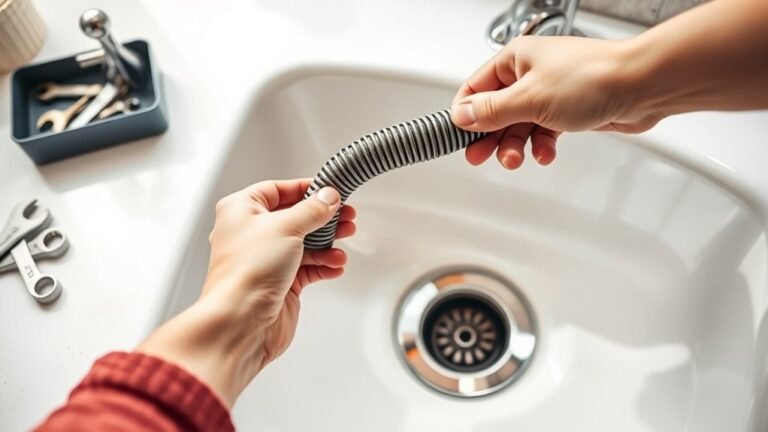
If you’re looking to boost your water pressure, a good first step is to detach the spray hose from your kitchen sink. Don’t forget to be gentle so you don’t damage anything! Once you’ve got it off, give both the hose and nozzle a thorough cleaning to get rid of any buildup that might be blocking the water flow.
After everything’s nice and clean, reattach the hose securely to make sure there are no leaks. Turn on the water and see how much better the pressure feels. It’s a simple fix that can make a pretty big difference!
Detach Spray Hose Properly
Start by carefully detaching the spray hose from your kitchen sink to check for blockages that might be restricting water flow. Proper detachment is essential in spray hose maintenance to avoid damaging the hose or connectors.
First, turn off the water supply under the sink to prevent leaks. Next, locate where the hose connects to the faucet or valve.
Use a wrench or pliers if needed, but be gentle to avoid stripping threads. Slowly unscrew the hose, supporting it to prevent sudden pulls or kinks.
Once detached, inspect the hose end and connectors for debris or buildup. Following these steps helps you maintain your spray hose effectively and prepares it for cleaning, which can improve your kitchen sink’s water pressure.
Clean Hose and Nozzle
After detaching the spray hose, the next step is to clean both the hose and the nozzle thoroughly. Start by inspecting the hose for any buildup or debris inside. Rinse it with warm water, and use a flexible brush to scrub away mineral deposits.
If the buildup is stubborn, soak the hose in a vinegar solution for 15 minutes. Then, focus on cleaning the nozzle by removing the aerator or filter screen. Soak these parts in vinegar to dissolve mineral deposits, then rinse them under running water.
Use a small brush or toothpick to clear any clogged holes carefully. Keeping the hose and nozzle clean ensures better water flow and helps improve your kitchen sink’s water pressure.
Proper hose maintenance and nozzle cleaning are essential for lasting results.
Reattach and Test Pressure
Reconnect the spray hose securely to the faucet, making sure all connections are tight and properly aligned. This ensures there are no leaks and that water flows freely.
Once you’ve reattached everything, turn on the water slowly to check for drips or loose fittings. Test the spray function by pulling out the hose and pressing the spray button.
If the water flow feels stronger and steady, you’ve successfully improved your faucet’s performance. Regular maintenance like cleaning and reattaching the spray hose not only restores pressure but also helps your kitchen sink last longer.
If you notice any issues, double-check the connections or try cleaning again to remove stubborn buildup. Proper care guarantees smooth water flow every time you use your sink.
Identify and Fix Visible Leaks or Drips That Lower Water Pressure
Take a quick look at places like under the sink and around the faucet handles—these are common spots where leaks can hide. Drips from these areas can waste a lot of water and even lower your water pressure. If you notice any leaks, try tightening up the connections or swapping out worn washers. Fixing these small issues can make a big difference in restoring your kitchen sink’s water pressure and saving water at the same time.
Locate Common Leak Areas
A common cause of low water pressure in your kitchen sink is hidden leaks or drips. Detecting leaks early not only improves pressure but also helps conserve water. Start by inspecting these usual leak spots.
| Leak Area | What to Look For |
|---|---|
| Under the Sink | Wet spots, pooling water |
| Faucet Base | Drips or moisture around the handle |
| Supply Lines | Cracks, corrosion, or dampness |
| Drain Pipes | Loose joints or water stains |
Check these areas regularly. Even small leaks waste water and lower pressure. Fixing them quickly keeps water flowing strong and saves resources. Use a flashlight to see better and a towel to spot slow drips. This simple check helps your sink perform well and supports water conservation.
Repair Dripping Faucets
Identify any dripping faucets in your kitchen by listening for persistent sounds or watching for water drops falling from the spout or handle. Once you spot a drip, turn off the water supply under the sink and carefully disassemble the faucet.
Inspect the washer, O-ring, and cartridge for signs of wear or damage, as these parts often cause leaks. Replace any faulty components with exact matches to ensure a tight seal.
Reassemble the faucet and turn the water back on to test for leaks. Regular faucet maintenance not only prevents drips but also helps keep water pressure steady.
Clear Blockages in Your Supply Lines
When water pressure drops unexpectedly, blockages in your supply lines are often the culprit. To start troubleshooting, turn off the water supply under the sink to prevent leaks.
Next, disconnect the supply line carefully, keeping a bucket handy for residual water. Inspect the line for visible debris or mineral buildup that could be blocking the flow.
Disconnect the supply line carefully, using a bucket to catch any leftover water while inspecting for blockages.
To clear blockages effectively, flush the supply line with water or use a thin brush to remove any buildup. Soaking the line in a vinegar solution can help dissolve mineral deposits.
Also, check the inlet screens for clogs and clean or replace them if needed. Once everything looks good, reattach the supply line securely and turn the water back on to test the pressure.
How to Adjust Your Water Pressure Regulator Valve
If your kitchen sink’s water pressure stays low even after clearing blockages, adjusting the water pressure regulator valve might do the trick. First, find the regulator—it’s usually near your main water shut-off or where the water line enters your home.
The adjustment screw or bolt on the valve controls the pressure level. Before making any changes, turn off the water supply to prevent any sudden surges. Use a wrench or screwdriver to turn the screw clockwise to raise the pressure.
Make small adjustments—about a quarter turn at a time—and then turn the water back on to see how it flows. If the pressure is still low, repeat the process until you get a comfortable flow. Be cautious not to set the pressure too high, as it could put stress on your plumbing system.
Once you’re happy with the pressure, tighten any loose parts and check around the valve for leaks. Properly adjusting this valve helps ensure steady, reliable water flow at your kitchen sink.
Test Your Home’s Main Water Pressure Levels
Checking your home’s main water pressure is an important step before making any adjustments to your kitchen sink’s flow.
Performing an accurate water pressure test helps you figure out if the problem is with your overall system or just the sink. You’ll need a pressure gauge to get reliable readings.
Testing water pressure pinpoints whether low flow is a system-wide issue or isolated to your sink.
Here’s how to test your home’s main water pressure levels:
- Find an outdoor faucet or the main water supply valve.
- Securely attach a pressure gauge to the faucet or valve.
- Turn the water on fully and watch the pressure gauge.
- Compare the reading to the ideal range, which is usually between 40 and 60 psi.
If your pressure is below this range, it might explain why your kitchen sink has low flow. Be careful when using the pressure gauge to avoid damaging your plumbing.
Once you know your main water pressure, you’ll be better prepared to decide what steps to take to improve your kitchen sink’s water flow.
Consider Upgrading Your Kitchen Faucet for Better Water Pressure
Although your home’s main water pressure affects flow, upgrading your kitchen faucet can make a big difference. When choosing a new faucet, pick styles that match your decor and promote better water flow.
Single-handle faucets often give smoother control over water pressure compared to older dual-handle models. Plus, pull-down or pull-out sprayers can deliver water exactly where you need it.
Don’t forget about faucet materials. Durable options like brass or stainless steel resist buildup that can restrict flow over time. Cheaper materials might corrode or clog, reducing pressure and needing frequent replacements.
When to Call a Plumber for Persistent Low Pressure?
If your kitchen sink’s water pressure just won’t budge, even after you’ve tried a few tricks, it might be time to call in a plumber. Sometimes, the cause isn’t obvious, and a professional can help figure out what’s going on.
You could be dealing with stuff like pipe blockages, leaks, or issues with your water supply line, and these can be tricky to fix on your own. A plumber can quickly identify the problem and get things back to normal, so you’re not stuck with weak water pressure anymore.
Signs Of Professional Help
You’ll know it’s time to call a plumber when your kitchen sink’s water pressure stays low despite your best efforts. Sometimes, the problem goes beyond simple fixes, and a professional’s touch is needed to ensure your water is safe and your plumbing works properly. A thorough inspection can uncover hidden issues causing ongoing low pressure.
Watch out for these signs that it’s time to seek professional help:
- Water pressure stays weak even after cleaning aerators and filters
- Water looks discolored or has a foul smell, which could mean water quality problems
- Several fixtures in your home have low water pressure
- You notice unexplained leaks or water damage around plumbing connections
If you see any of these, don’t wait—call a plumber to prevent further damage and get your water flowing properly again.
Common Plumbing Issues
Persistent low water pressure often signals underlying plumbing issues that go beyond simple fixes like cleaning aerators. When you notice pressure fluctuations, it could be due to pipe leaks, valve problems, or sediment buildup in your supply line.
Faucet wear or drainage issues can also reduce flow, and sometimes installation mistakes or fixture upgrades lead to unexpected drops in pressure. Regular maintenance checks can help catch these problems early.
| Issue | What to Look For |
|---|---|
| Pipe leaks | Visible moisture, soggy spots |
| Valve malfunctions | Difficulty turning valves |
| Sediment buildup | Reduced flow, discolored water |
If these problems keep happening despite your efforts, it’s a good idea to call a plumber. They can do a thorough diagnosis and handle the repairs for you.
Simple Maintenance Tips to Keep Kitchen Water Pressure Strong
Although water pressure issues can sometimes need a professional, there are simple maintenance tasks you can do to keep your kitchen sink flowing strong.
Regular upkeep helps prevent buildup and keeps your plumbing running smoothly. Start by checking your aerator for mineral deposits and cleaning it if needed to avoid flow restrictions.
Installing water softeners can help reduce mineral buildup inside pipes, which can slow down water flow over time. Don’t forget to insulate your pipes; pipe insulation not only prevents freezing but also helps maintain steady water pressure by reducing heat loss and condensation.
Finally, flush your faucet lines occasionally to clear out any debris that might clog the system.
- Clean the faucet aerator regularly
- Use water softeners to minimize mineral buildup
- Apply pipe insulation to maintain pressure and prevent freezing
- Flush faucet lines to remove debris and sediment
Frequently Asked Questions
Can Hard Water Affect My Kitchen Sink’s Water Pressure?
Yes, hard water can affect your kitchen sink’s water pressure. When hard water flows through your pipes, it leaves behind mineral buildup like calcium and magnesium deposits.
This buildup narrows the pipes and clogs the aerator or faucet, which reduces water flow. If you notice your water pressure has dropped, cleaning or replacing clogged parts can help.
Using a water softener can also restore strong water flow and prevent future mineral buildup from hard water.
Does Temperature of the Water Impact Pressure at the Faucet?
Yes, water temperature can impact faucet performance, but not directly on pressure. When water heats up, it can cause slight expansion and affect flow rates through pipes or valves.
However, the actual water pressure at your kitchen sink mostly depends on your plumbing system and water supply, not temperature. So, while hot water might feel a bit different, it’s pressure changes you should focus on for improving faucet performance.
How Does City Water Supply Influence Home Water Pressure?
Did you know that city water supply pressure can range from 40 to 80 psi?
This directly affects your home’s water pressure, so you might notice fluctuations at your kitchen sink.
When the city’s supply pressure drops during busy hours, your sink’s water pressure can decrease too.
Understanding this can help you figure out if low pressure is caused by your plumbing or the external water system.
Can Installing a Water Softener Improve Kitchen Sink Pressure?
Yes, installing a water softener can improve your kitchen sink pressure. Hard water causes mineral buildup in pipes, which can restrict flow and lower pressure.
By reducing these minerals, a water softener helps keep your plumbing cleaner and ensures water flows more smoothly.
You’ll notice better water pressure and less wear on fixtures. So, if you’re dealing with hard water, adding a softener is a smart move to boost pressure and extend your plumbing’s life.
Is Water Pressure Different Between Cold and Hot Water Lines?
Yes, water pressure can be different between cold and hot water lines because pipe diameter and length often vary. Hot water pipes may be narrower or longer, which can reduce pressure.
Buildup inside hot water pipes can also restrict flow more than in cold lines. Don’t forget to check your faucet aerator—it can get clogged and affect pressure from both lines.
Cleaning or replacing the aerator might quickly boost your water pressure and make everything flow better.
Conclusion
So, don’t just sit there letting your kitchen faucet drip like it’s auditioning for a sad water ballet. Clean that aerator, hunt down sneaky clogs, and kick those leaks to the curb.
If your sink’s pressure feels like a timid drizzle, maybe it’s time to upgrade or call in a plumber superhero. Keep up with simple maintenance, and you’ll have water roaring like a champion instead of trickling like a shy mouse.
Your kitchen deserves better! To really boost water pressure in your kitchen sink, focus on these easy fixes.