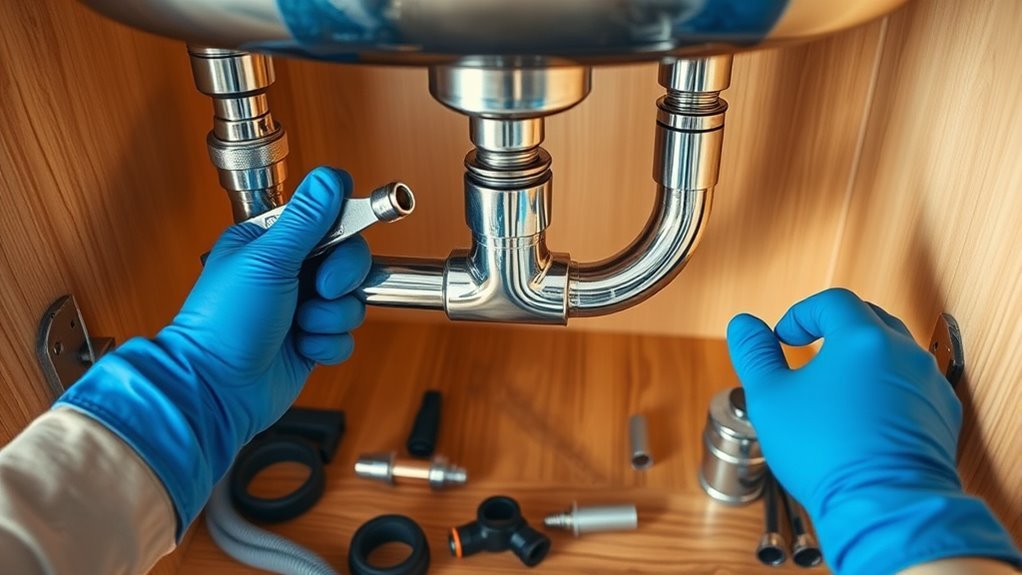
How to Install Kitchen Sink Plumbing: A Step-by-Step Guide
Installing kitchen sink plumbing can feel overwhelming, especially if you’re new to DIY projects. Many people struggle with understanding the right steps or worry about leaks and mistakes. Don’t worry—you’re not alone, and with a little guidance, you’ll get it done smoothly.
To install kitchen sink plumbing, first shut off your water supply and remove the old sink carefully. Gather essential tools like wrenches and plumber’s tape, then apply sealant around your new sink’s edge and secure it in place.
Connect the faucet and water lines, making sure fitting sizes match, and tighten connections snugly.
Finish by testing for leaks and tightening any loose parts. Keep going to uncover tips on keeping your plumbing running smoothly and troubleshooting issues.
Key Takeaways
- Shut off the main water valve and drain any remaining water before disconnecting the old sink plumbing.
- Apply silicone sealant around the sink edge and then secure the sink into the countertop cutout.
- Connect the hot and cold water supply lines to the faucet, making sure the fittings are tight but not overtightened.
- Use plumber’s tape on threaded connections, and measure the pipes carefully before cutting to ensure a proper fit.
- After installation, check all joints for leaks and perform regular maintenance to prevent clogs and water damage.
Tools and Materials Needed for Kitchen Sink Plumbing
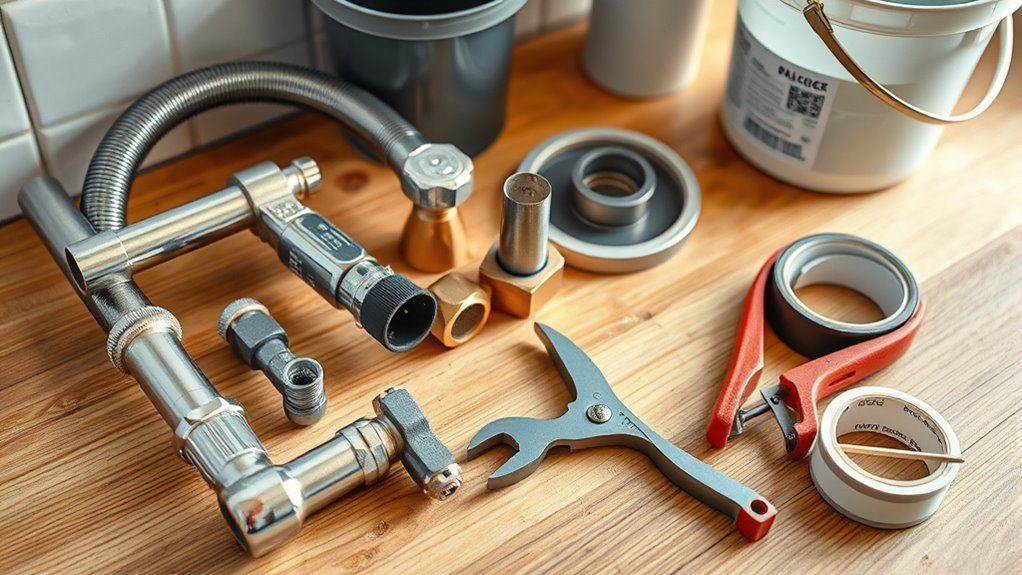
Before you start installing your kitchen sink plumbing, gather the right tools and materials. You’ll need wrenches, a pipe cutter, plumber’s tape, and a bucket to catch water.
Familiarize yourself with common pipe types like PVC, PEX, and copper. Each one needs different handling, and choosing the right pipe makes your setup more durable and less likely to leak. You’ll also want fittings such as elbows, couplings, and a trap assembly.
Keep some tips in mind: always measure twice before cutting pipes. Use plumber’s tape on threaded connections to keep things watertight. A sealant and a basin wrench will help tighten those hard-to-reach nuts. Don’t forget a new gasket and mounting hardware if you’re replacing the sink. Being prepared with the right tools, pipe types, and parts will make your installation smoother and easier.
Shut Off Water and Remove the Old Sink
First things first, locate your main water valve and turn it off. That way, you won’t have any water spraying everywhere while you’re working. Once that’s done, go ahead and open up the faucet to let any remaining water in the pipes drain out.
Now, it’s time to disconnect the plumbing from your old sink. Just be careful and make sure you have a bucket or towel handy to catch any leftover water. Once everything is loosened up, you should be able to remove the sink safely.
Locate Main Water Valve
Since water supply lines can cause a mess if left on, you’ll want to locate and shut off the main water valve before removing your old sink.
Start by identifying where the valve is—it’s usually near your water meter, in the basement, or the utility area.
Knowing the type of valve helps; common ones include gate, ball, or globe valves, each with a different shut-off function.
Turning the valve clockwise typically stops the water flow, reducing water pressure quickly.
This step ensures plumbing safety by preventing leaks or flooding during your project.
For maintenance tips, check the valve periodically to make sure it works smoothly and doesn’t corrode.
Taking these precautions protects your home’s main supply and makes your installation safer and more efficient.
Drain Remaining Water
Once you’ve shut off the main water valve, you need to clear out any water left in the pipes to prevent spills when disconnecting the old sink. Start by opening the faucet to let the remaining water drain out completely. Use a bucket under the P-trap to catch any trapped water.
Carefully loosen fittings so residual water can flow into the bucket. This step is really important to avoid messes during removal. For proper disposal, empty the collected water into a nearby drain or outside area where it won’t cause damage.
Disconnect Old Sink Plumbing
Begin by shutting off the water supply to your kitchen sink completely. This will prevent any leaks while you’re removing the plumbing.
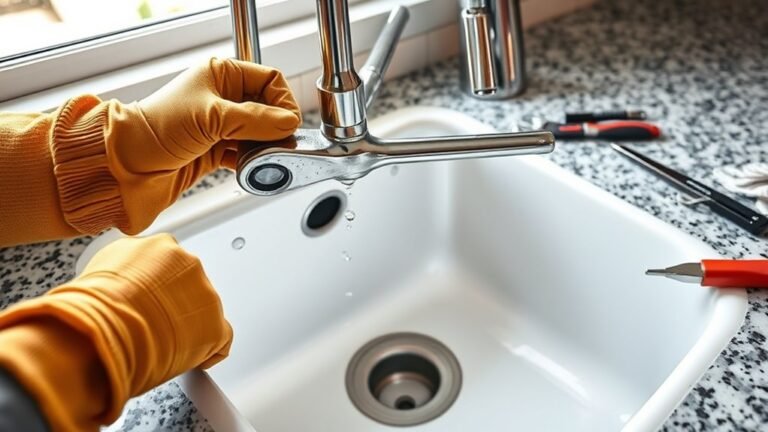
Once the water’s off, use a wrench to loosen the nuts on the supply lines and drain pipes. Carefully disconnect the old plumbing, paying attention to how the pipes are connected—whether with compression fittings, slip nuts, or threaded joints.
Keep a bucket nearby to catch any leftover water in the pipes. When removing the plumbing, loosen each joint slowly to avoid damaging the pipes or fittings you’ll be reusing. Take your time with this step; patience is key.
Don’t force stuck connections, as this could cause damage. Once all the pipes are detached, gently lift out the sink. This clean removal makes it easier to install the new plumbing properly, making sure all connection methods match your new setup.
Prepare Your Workspace for Installation
Before you start installing your kitchen sink plumbing, clear the area under the sink completely to give yourself enough space to work. Remove any cleaning supplies, trash bins, or stored items that could get in the way. This step is key for keeping your workspace organized and avoiding interruptions.
Next, gather all the tools you’ll need and arrange them within easy reach. Keeping your tools accessible saves time and reduces frustration during the installation process. Lay out wrenches, pliers, pipe tape, and any replacement parts on a nearby counter or sturdy work surface.
Also, check that your workspace has good lighting. Proper visibility helps prevent mistakes and speeds up your progress. If needed, use a portable work light or headlamp to brighten the area.
Install and Secure Your New Kitchen Sink
With your workspace clear and tools ready, you can now focus on installing and securing your new kitchen sink. Start by applying a bead of silicone sealant around the sink’s edge to prevent leaks and protect your countertop.
Carefully lower the sink into the cutout, making sure it lines up perfectly with your chosen design. Press down firmly to create a tight seal between the sink and the countertop.
Next, secure the sink using the mounting clips or brackets provided. Tighten them evenly to avoid any gaps. Check that the sink sits flush and stable—this is important for both function and the look of your kitchen.
A well-secured sink supports the plumbing fixtures and enhances your kitchen’s overall appearance. Finally, clean any excess sealant around the edges before it dries to keep the installation neat and seamless.
Connect Faucet and Water Supply Lines Properly
Two key connections guarantee your kitchen faucet works smoothly: the water supply lines and the faucet itself. Start by choosing the right faucet type for your sink—single-handle, double-handle, or pull-out spray—as each needs specific connections.
Before attaching, make sure your water supply lines match the faucet’s inlet size to avoid leaks. Tighten the fittings snugly but don’t overtighten, which could cause damage.
Ensure water supply lines fit the faucet inlet properly and tighten fittings securely without overtightening to prevent damage.
Next, connect the hot and cold water supply lines to their respective valves under the sink. Turn on the main water supply to check the water pressure; low pressure might mean a kinked line or clogged aerator.
Adjust the connections if needed to ensure a steady flow. Finally, run water through the faucet and inspect all joints for leaks. Properly connecting your faucet and water supply lines will keep everything functioning smoothly and prevent future plumbing issues.
Attach Drain Assembly and Seal It Tight
Now’s the perfect time to get your drain components ready before you attach them. Just make sure you spread the sealant evenly—that way, you’ll avoid any leaks and ensure everything fits snugly.
Taking this small step will really pay off in the long run. It helps your drain assembly work smoothly and stay securely in place, so you won’t have to worry about any surprises down the line.
Preparing Drain Components
Start by gathering all the drain components you’ll need to attach the drain assembly securely and seal it properly. Having everything ready ensures a smooth installation without unnecessary interruptions. Check your plumbing materials to confirm you have the drain flange, rubber gasket, locknut, and tailpiece.
| Component | Feeling |
|---|---|
| Drain Flange | Confidence |
| Rubber Gasket | Assurance |
| Locknut | Stability |
| Tailpiece | Control |
Each piece plays a key role in preventing leaks and ensuring a tight fit. Handle the drain assembly parts carefully; keeping them clean and precise sets the foundation for a reliable plumbing job. Once assembled, you’ll feel confident that your sink’s drainage is secure and leak-free.
Applying Sealant Properly
Before attaching the drain assembly, apply an even bead of sealant around the drain flange to guarantee a watertight seal. Choosing the right sealant types, like silicone or plumber’s putty, is essential for durability. Use proper application techniques to avoid leaks and secure a snug fit.
Keep these tips in mind:
- Clean the surface thoroughly before applying sealant
- Use a consistent bead size for uniform coverage
- Press the drain flange firmly into place immediately after application
- Wipe away any excess sealant quickly before it sets
- Allow the sealant to cure as recommended by the manufacturer
Following these steps helps you attach the drain assembly securely and prevents future water damage.
Install the P-Trap to Keep Sewer Gas Out
Two main parts make the P-trap essential: its curved shape and tight connections. The curve holds water, creating a barrier that prevents sewer gases from rising into your kitchen.
To begin your P-trap installation, align the trap’s inlet with the sink drain tailpiece and the outlet with the wall drain pipe. Make sure all washers and slip nuts are in place before connecting.
Tighten the slip nuts by hand first, then give them a slight turn with pliers. Don’t overtighten, as this can crack plastic parts or strip threads. Properly installed, the P-trap seals your plumbing system effectively.
This ensures sewer gas prevention. Remember, the water seal in the curve must stay intact to block odors. If your trap is misaligned or connections are loose, sewer gases can escape.
Test for Leaks and Fix Common Problems
Once you’ve got everything hooked up, turn the water on and keep an eye out for any leaks around the joints. If you see drips or puddles forming, it’s a good idea to troubleshoot. Sometimes, it’s just loose fittings or worn-out washers causing the issue. Fixing these problems early on can save you a lot of hassle later on.
Leak Detection Techniques
How can you tell if your kitchen sink plumbing has a leak? Start by looking for signs like damp spots or unexpectedly high water bills. Detecting leaks early is important to prevent damage and is part of good leak prevention.
Check all joints and connections for any moisture or water. You can also monitor your water pressure—drops might mean a leak somewhere. Placing paper towels under pipes overnight can help catch any drips you might not see.
Listen carefully for dripping sounds when the water is turned off. Applying a soapy water solution to the joints and watching for bubbles is another way to spot leaks. These simple steps can help you catch leaks before they become bigger problems.
Troubleshooting Common Issues
When you notice a leak or drainage issue, what’s the best way to pinpoint the problem? Start by testing your water pressure. Low pressure could signal a clog or faulty faucet.
Check for pipe leaks by inspecting joints and connections. Look for moisture or corrosion. Sealant issues often cause leaks around the sink or faucet base, so examine these areas closely.
If your drains are clogged, use a plunger or drain snake to clear them. This helps prevent backups. Tighten any loose fittings, but don’t overtighten, which can cause damage.
After repairs, run water and watch carefully for leaks or slow drainage. By systematically testing and addressing these common issues, you’ll keep your kitchen sink plumbing running smoothly and avoid costly repairs down the line.
Troubleshoot Plumbing Issues During Installation
Although plumbing installation can seem straightforward, you’ll probably run into some issues that need quick fixing. Catching problems early helps keep your kitchen sink working smoothly.
Watch out for common pitfalls like pipe misalignment or faulty connections, which can cause leaks or bad drainage. Here’s how to troubleshoot effectively during installation:
Check for pipe misalignment by making sure pipes fit snugly without any stress. This helps prevent leaks and corrosion.
Inspect connections and tighten or reseal any faulty joints to avoid trap leaks. Then, test the drainage by running water to see if it flows properly.
Look for slow drainage or odors, which might point to venting issues or blockages. Keep an eye on water pressure, as fluctuations could mean something’s wrong.
Finally, watch for signs of corrosion or installation mistakes. Replace damaged sections quickly to avoid bigger problems down the line.
Maintain Your Kitchen Sink Plumbing for Longevity
Once you’ve tackled any installation hiccups, keeping your kitchen sink plumbing in good shape becomes your next priority. Regular sink maintenance prevents clogs, leaks, and corrosion, which are common issues that shorten plumbing longevity.
Start by checking under your sink for leaks and tightening any loose connections. Avoid pouring grease or harsh chemicals down the drain, as these can damage pipes over time.
Instead, use a drain strainer to catch food particles and clean it frequently. Flush your drain with a mixture of baking soda and vinegar monthly to clear buildup naturally.
Inspect the P-trap periodically and clean it if you notice slow drainage or odors. By staying proactive with these simple tasks, you’ll extend the life of your kitchen sink plumbing and avoid costly repairs.
Frequently Asked Questions
What Type of Sink Material Is Best for Durability?
For durability, you’ll want to choose stainless steel or ceramic sinks. Stainless steel sinks are tough, resistant to rust, and handle heat well, making them ideal for heavy use.
Ceramic sinks, on the other hand, are scratch-resistant and have a timeless look. But they can chip if you’re not careful. If you want something that lasts and looks great, stainless steel is often your best bet, especially for busy kitchens.
Can I Install a Garbage Disposal With This Sink?
You might be surprised, but yes, you can install a garbage disposal with this sink!
But before you get started, make sure to check the sink plumbing compatibility carefully. Not all sinks are built to handle the extra weight and drain setup needed for a garbage disposal.
Verify that your sink has a compatible drain opening and a sturdy mounting area. Once you confirm that, the installation process is pretty straightforward.
This way, you’ll enjoy hassle-free food waste disposal in no time.
How Do I Choose the Right Faucet Style for My Sink?
To choose the right faucet style for your sink, think about both faucet finishes and heights. Match the finish to your kitchen’s overall look—chrome for a modern vibe, brushed nickel for a classic feel, or oil-rubbed bronze for a rustic touch.
Also, consider faucet heights. Taller faucets work great with deep sinks or when filling large pots, while shorter ones are perfect for shallow sinks. Pick a style that balances function and design to fit your needs perfectly.
What Are Common Local Plumbing Codes I Should Know?
You should know that local regulations often require you to get plumbing permits before starting any installation.
These codes usually cover pipe sizes, venting, backflow prevention, and proper drainage to avoid leaks or contamination.
It’s essential you check with your city or county building department to understand specific rules.
Following these guarantees your work passes inspection and keeps your plumbing safe and compliant.
Don’t skip this step!
How Do I Recycle or Dispose of Old Plumbing Parts?
Think of your old plumbing parts like pieces of a puzzle that can fit into a greener world. You can take them to a metal recycling center because many pipes and fittings are recyclable.
For eco-friendly disposal, check with local waste facilities. They often have special programs for plumbing materials. Don’t just toss them in the trash.
Recycling plumbing parts helps reduce waste and conserves resources. It’s a simple way to make your project kinder to the planet.
Conclusion
With careful care and consistent caution, you can confidently complete your kitchen sink plumbing.
By following each step, from shutting off the supply to securing the sink and testing for leaks, you’ll save time and trouble.
Remember, regular maintenance keeps your plumbing functioning perfectly for years.
So, stay steady, stay smart, and enjoy the satisfaction of a smoothly working sink.
A well-installed kitchen sink makes your kitchen chores easier and keeps your home happier.
Taking your time and getting it right ensures your kitchen plumbing stays in top shape.