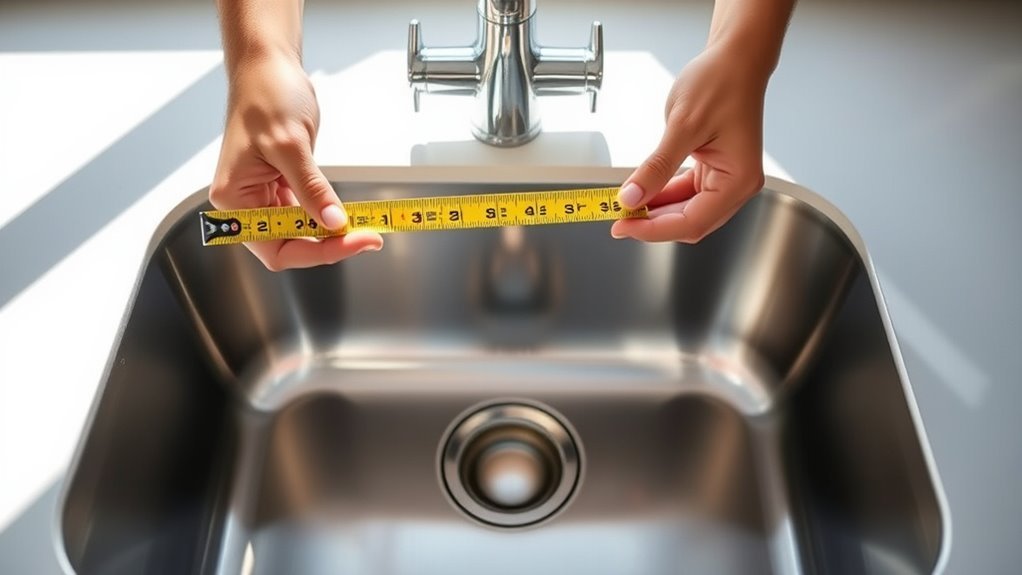
How to Measure a Kitchen Sink: A Step-by-Step Guide
Many people struggle with measuring their kitchen sink accurately, which can lead to issues during installation or when shopping for replacements. If you’re feeling overwhelmed or unsure, don’t worry—you’re not alone. Getting the right measurements is key to a perfect fit and smooth setup.
To measure your kitchen sink accurately, start by using a tape measure to capture the length, width, and depth, including any overhangs or curves. Measure the basin size and faucet hole placement carefully, depending on whether it’s an undermount or drop-in sink.
Record all dimensions clearly, avoiding common mistakes like missing the lip or mounting clips. Double-check your notes to guarantee a perfect fit.
Keep your measurements handy for shopping and installation. You can find tips for avoiding errors and ensuring a smooth setup, making the whole process much easier and less stressful.
Key Takeaways
- Measure the sink’s overall length, width, and height, including curves and overhangs, to get an accurate fit.
- Record basin dimensions, depth, and faucet hole placements to ensure everything will work with your accessories and plumbing.
- Use a tape measure, straightedge, and level for precise measurements of the sink and the cutout in your countertop.
- Avoid common mistakes like ignoring the lip width, mounting clip distances, or relying only on manufacturer specs.
- Write down all measurements clearly, including the cutout size and faucet hole details, so you have everything handy during shopping and installation.
Why Do Accurate Kitchen Sink Measurements Matter?
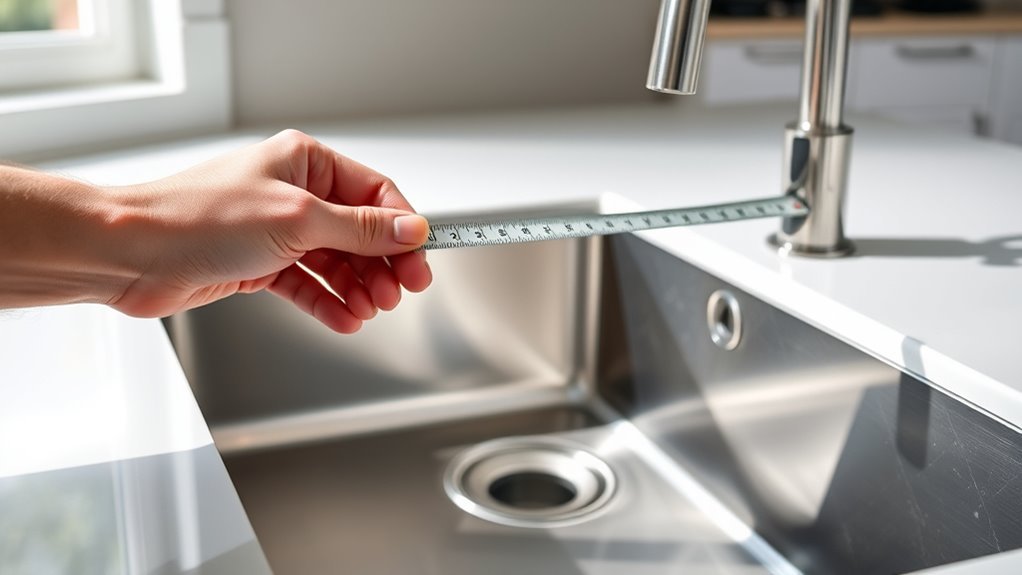
Although it might seem like a small detail, accurate kitchen sink measurements are essential because they ensure your new sink fits perfectly into your countertop. Taking precise measurements helps you avoid issues with sink compatibility, like choosing one that’s too big or too small.
This way, your sink will fit seamlessly with your existing countertop cutout, preventing leaks or gaps. You’ll also avoid common installation problems that can be costly, like needing to make adjustments or risking damage to your countertop.
Getting the measurements right the first time saves you time, effort, and money. Plus, accurate measurements help you pick the right sink style and size to match your kitchen layout. In the end, a little extra care makes the whole installation smoother and your kitchen more functional.
What Tools Do You Need to Measure Your Kitchen Sink?
Getting accurate measurements for your kitchen sink starts with having the right tools on hand. Whether you’re dealing with stainless steel, farmhouse, or composite sink types, precise measurement tools will make the process smoother and help ensure your new sink fits just right.
Accurate kitchen sink measurements begin with the right tools, ensuring a perfect fit for any sink type.
Here are the essential measurement tools you’ll need:
- Tape measure: A flexible tape measure helps capture length, width, and depth accurately, especially for irregular sink shapes or tight spaces.
- Straightedge or ruler: Use this to measure straight lines and check for level surfaces, which is important when fitting sinks into countertops.
- Notepad and pen: Record all measurements clearly so you don’t get confused when comparing sink sizes or talking to professionals.
With these tools ready, you can confidently measure your kitchen sink’s dimensions and consider different sink types, making sure everything fits perfectly without guesswork.
How to Measure for Undermount vs. Drop-In Kitchen Sinks
When measuring for undermount and drop-in kitchen sinks, you’ll need to focus on different dimensions to ensure a proper fit. For undermount sinks, measure the cabinet opening since these sinks mount beneath the countertop. They offer a seamless look and make cleaning easier.
Pay attention to material differences, especially with granite or quartz countertops, which require precise measurements to avoid installation issues. Drop-in styles sit on top of the countertop, so measure the sink’s outer rim and the cutout to make sure it sits flush and supports the weight properly.
Consider design details like the lip width for drop-in sinks, as this affects both the appearance and how easy it is to clean. Plumbing requirements are different too; undermount sinks might need extra support brackets and specialized plumbing adjustments.
How to Measure Your Kitchen Sink’s Overall Dimensions
Measuring your kitchen sink’s overall dimensions is key to making sure it fits perfectly and works well in your space. First, think about the sink shape, since this affects how you’ll measure length and width. Use a tape measure to get accurate readings, noting the widest and longest points.
Here are some tips for measuring effectively:
- Measure the sink’s length from left to right, including any curves or extensions.
- Measure the width from front to back, taking overhangs into account if it’s a drop-in sink.
- Measure the height from the bottom to the top edge to see if it fits under your countertop or cabinets.
Doing these steps helps you pick a sink that matches your countertop cutout and matches your kitchen’s style. Accurate overall measurements prevent installation issues and ensure your new sink fits smoothly without gaps or overlaps.
How to Measure Your Kitchen Sink Basin Size and Depth
Although overall sink dimensions are important, focusing on the basin size and depth makes sure your sink works well for your daily needs. Start by measuring the shape of the basin—whether it’s rectangular, square, or round—since this affects how usable it is and how much space you have.
Use a tape measure to record the width and length inside the basin, from edge to edge. Then, check the depth by measuring from the bottom of the basin to the top edge. Keep in mind that depth can vary, especially in double or farmhouse sinks, so measure each basin separately if needed.
Getting accurate measurements of the basin size and depth helps ensure your sink can handle pots, pans, and everyday tasks comfortably. Don’t forget to note any sloping or curved areas inside the basin, as these might affect capacity.
How to Measure the Sink Cutout on Your Countertop
Before installing your new sink, you’ll want to measure the exact size of the cutout on your countertop. This helps ensure your sink fits properly without gaps or overhangs. If you’re replacing an old sink, locate the existing cutout, or if it’s a new install, use the templates provided by the manufacturer for accuracy.
To measure the cutout, use a tape measure to record the length and width from the inside edges. Don’t forget to check the thickness of your countertop, as this can affect how the sink mounts and seals.
Compare your measurements with the sink cutout templates to make sure everything lines up. Adjust if needed before proceeding with the installation.
Getting accurate measurements saves you time and helps avoid costly mistakes during installation. Always double-check your measurements before ordering or fitting your sink to ensure a seamless fit.
Where to Measure for Your Faucet and Accessories
When you’re figuring out where to put your faucet and accessories, it’s important to measure the spots where the mounting holes will go. This way, you can be sure everything fits just right and works smoothly.
And don’t forget to leave enough room for extras like soap dispensers or sprayers. It’s a good idea to check the distance from the sink itself, too, so you won’t end up with any awkward placement or clearance problems.
Faucet Mounting Hole Placement
When measuring for your faucet and accessories, focus on the placement of the mounting holes in your kitchen sink. These holes are where your faucet and other components like soap dispensers will fit. Different faucet types need specific hole arrangements, so measuring accurately is really important.
Pay attention to the faucet heights, especially if you have tall or pull-down faucets. You want to make sure there’s enough clearance above the sink to avoid hitting cabinets or windows. Also, measure the distance between each hole center and how far they are from the sink’s edge.
Check how many holes your sink has—single, double, or triple—to match your faucet type. Measure the spacing between the holes carefully so everything fits properly.
Accessory Space Requirements
Measuring the space around your faucet and accessories ensures they fit comfortably without crowding your sink area. Focus on sink clearance by measuring the width and height around your faucet base and any extras like soap dispensers or sprayers.
This helps confirm accessory compatibility and prevents overcrowding. Use a tape measure to note the distances between each fixture and the sink edge or backsplash.
| Accessory | Recommended Clearance | Mounting Area Diameter | Height Clearance | Notes |
|---|---|---|---|---|
| Faucet | 2-3 inches | 1.5-2 inches | 6-12 inches | Main water source |
| Soap Dispenser | 1.5-2 inches | 1-1.5 inches | 5-8 inches | Near faucet preferred |
| Sprayer | 2-3 inches | 1.25-1.5 inches | 7-10 inches | Allows hose movement |
| Air Gap | 1.5-2 inches | 1-1.5 inches | 4-6 inches | Prevents backflow |
| Filter Faucet | 1.5 inches | 1-1.25 inches | 6-8 inches | Separate from main |
Measuring Distance From Sink
Knowing the clearance and size requirements for each accessory helps you figure out exactly where to measure around your sink. When measuring from the sink, it’s important to use precise techniques to make sure your faucet and accessories fit perfectly without crowding your workspace.
Focus on these sink placement considerations:
- Measure from the center of the sink to where the faucet will go, ensuring there’s enough clearance for the handle to operate smoothly.
- Check the distance between the sink edge and accessories like soap dispensers or sprayers so they don’t overlap or get in the way.
- Keep in mind the backsplash or countertop edge to make sure accessories are accessible but not crowded.
Following these steps will help you position everything efficiently, blending functionality with your kitchen’s style.
Common Mistakes to Avoid When Measuring Your Kitchen Sink
Although it might seem straightforward, it’s easy to make mistakes that throw off your sink measurements and cause installation issues. One common error is not measuring the sink’s depth, width, and length accurately.
A frequent oversight is forgetting to account for the lip or rim of the sink, which can affect how it fits into the countertop cutout. You might also forget to measure the distance between mounting clips or the location of faucet holes.
Another mistake is relying only on manufacturer specs without checking your actual space. This can lead to mismatches. Also, avoid using a flexible tape measure that can bend and give inaccurate readings; opt for a rigid measuring tool instead.
Finally, don’t rush your measurements. Take your time and double-check everything to ensure accuracy. Avoiding these common mistakes will help your sink fit perfectly and save you from costly installation headaches.
How to Record and Use Your Sink Measurements for Shopping
Once you’ve taken accurate measurements, it’s important to record them clearly and organize the details before shopping. Keeping your sink size handy helps you avoid buying a sink that doesn’t fit or meet your needs.
Start by writing down the length, width, and depth, plus any cutout dimensions. Use these shopping tips to stay organized:
- Take photos of your notes and measurements for easy reference on your phone.
- Create a simple chart or list to compare different sink sizes and styles.
- Include extra details like faucet hole placement and countertop thickness.
Having all this information at your fingertips makes it easier to shop confidently, whether online or in-store. You’ll quickly spot sinks that match your space and requirements, making the whole process smoother.
Recording and using your sink size accurately means fewer returns and a better fit for your kitchen.
Tips for a Smooth Kitchen Sink Measurement and Installation
Before you start measuring or installing your kitchen sink, gather all the necessary tools and double-check your measurements to avoid costly mistakes. Precision is key—use a reliable tape measure and record dimensions carefully to guarantee measurement accuracy. Double-check the sink’s dimensions against your countertop cutout to prevent installation headaches.
When it comes to installation tips, work methodically. Turn off the water supply and remove the old sink carefully. Clean the countertop surface thoroughly before positioning the new sink. Apply a bead of silicone sealant around the edge to create a watertight seal. Secure the sink with mounting clips or brackets as recommended by the manufacturer.
Take your time aligning the sink properly, and don’t rush tightening the fasteners. Test the water connections afterward to check for leaks. By focusing on measurement accuracy and following these installation tips, you’ll ensure a smooth, hassle-free kitchen sink setup that fits perfectly and works flawlessly.
Frequently Asked Questions
What Materials Are Kitchen Sinks Commonly Made From?
Kitchen sinks are commonly made from stainless steel, ceramic sinks, composite materials, and cast iron. You’ll find stainless steel sinks are popular because they’re durable and give a modern look.
Ceramic sinks offer a classic, glossy finish but can chip over time. Composite materials combine strength and resistance to scratches, making them a practical choice.
Cast iron sinks are heavy and sturdy, usually coated with enamel for a smooth, easy-to-clean surface. Choosing the right material depends on your style and how much wear your sink will face.
How Do I Choose the Best Sink Style for My Kitchen Design?
Choosing the best sink style for your kitchen design is like picking the heart that will keep your kitchen alive. Think about your kitchen’s overall look—are you into modern, farmhouse, or traditional styles?
Balance what’s trendy with what works best for you, like size and how many bowls you need. Your sink should match your space and how you move around in the kitchen.
It’s all about finding a sink that looks great and is practical too. Trust your instincts to pick a sink that feels just right for you.
Can I Install a Kitchen Sink Myself or Should I Hire a Professional?
You can tackle DIY installation if you’re comfortable with plumbing and have the right tools. It saves money and gives you control, but mistakes can cause leaks or damage.
If you’re unsure or want a flawless finish, hiring professional help is smart. They’ll handle everything quickly and safely.
Weigh your skills and time. If it feels overwhelming, don’t hesitate to call a pro to avoid costly repairs later.
What Maintenance Tips Help Prolong the Life of a Kitchen Sink?
You might think regular sink cleaning alone keeps your kitchen sink lasting, but it’s more than that. To keep it in good shape, focus on preventing rust by drying the sink after use and applying a protective coating if it’s metal.
Maintain your drain by avoiding clogs and flushing with hot water regularly. Also, keep an eye on your water quality—hard water can cause buildup, so considering a water softener might help.
These simple steps will help preserve both your sink’s appearance and its function over time.
How Do I Prevent Leaks Around the Kitchen Sink Area?
To prevent leaks around your kitchen sink area, focus on proper sealing techniques. Use high-quality plumber’s putty or silicone caulk around the edges and drain to create a watertight seal.
Regularly check for drips by inspecting under the sink for moisture or using tissue paper around joints. Catching leaks early helps you fix them before any damage happens.
This way, you keep your sink area dry and secure, avoiding costly repairs later on.
Conclusion
Measuring your kitchen sink accurately means knowing your space, choosing the right tools, and taking precise measurements every time. It’s about avoiding common mistakes, recording your numbers clearly, and using them confidently when shopping.
Proper measurements help ensure a smooth installation and a perfect fit that enhances your kitchen’s look and functionality. Taking your time and staying focused makes this task easier and more rewarding.
Follow these simple steps, stay organized, and turn what might seem tricky into a straightforward, satisfying project. Remember, accurate measurements are key to finding the right kitchen sink.