How to Replace Kitchen Sink Faucet: A Step-by-Step Guide
Replacing a kitchen sink faucet might seem like a daunting task, but you’re not alone if you’ve felt overwhelmed by the process. Many people struggle with figuring out where to start or worry about causing leaks.
Luckily, with a little guidance, you can tackle this project confidently and enjoy a fresh new look for your kitchen.
To replace your kitchen sink faucet, first gather essential tools like an adjustable wrench and the right faucet type.
Turn off the water supply and clear under the sink. Carefully disconnect and remove the old faucet, then clean the sink area before installing the new one.
Secure it properly, reconnect water lines, and test for leaks. Watch for any issues like drips or low pressure.
Keep following for tips on choosing features and maintaining your new faucet.
Key Takeaways
- Turn off the water supply, then open the faucet to drain any remaining water. Clear everything out from under the sink so you have plenty of space to work.
- Next, disconnect the water lines and loosen the mounting hardware. This will let you safely remove the old faucet without damaging any connections.
- Before installing the new faucet, clean the sink surface and the mounting holes thoroughly. Then, align and secure the new faucet in place.
- Attach the water supply lines correctly, making sure to match hot and cold. Turn the water back on and check for leaks and proper flow.
- Finally, inspect all connections for leaks. Tighten fittings gradually and troubleshoot any low pressure or flow issues if needed.
Gather Tools and Materials for Kitchen Faucet Replacement
Before you start replacing your kitchen sink faucet, gather all the tools and materials you’ll need for a smooth process. First, pick the right faucet type that fits your sink and matches your style—whether it’s single-handle, pull-out, or touchless. Choosing the correct one makes installation easier and ensures compatibility.
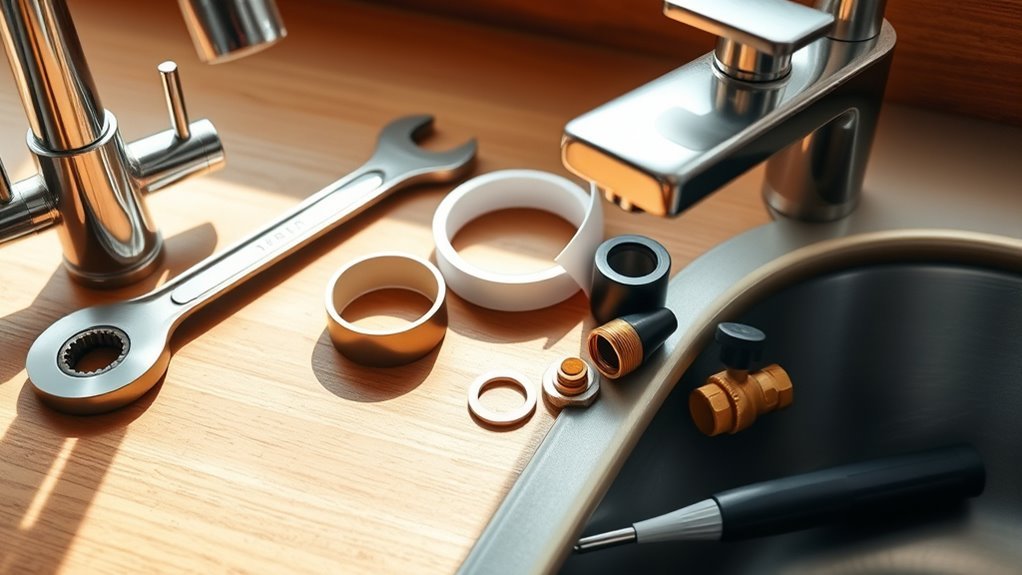
Next, gather essential tools like an adjustable wrench, plumber’s tape, basin wrench, bucket, and screwdriver. These will help you remove the old faucet and install the new one properly. Don’t forget to have replacement parts ready, such as new supply lines or mounting hardware, since these often come with the faucet but might need extras.
Keep installation tips in mind, like reading the manufacturer’s instructions and checking for leaks once you’re done. Preparing everything ahead of time saves you time and helps prevent interruptions, making your faucet replacement straightforward.
Turn Off Water Supply and Prep Your Workspace
Since water will be involved throughout the process, you’ll need to turn off the water supply to prevent leaks or flooding. Find the shut-off valves under your sink and turn them clockwise until they’re fully closed. If there are no local valves, turn off the main water supply for your home. Next, open the faucet to drain any remaining water from the lines.
Now, focus on organizing your workspace. Clear out the cabinet under the sink and remove any items that might get in your way. Lay down a towel or bucket to catch drips and protect your cabinet from water damage. Keep your tools and parts within easy reach so you don’t have to hunt for them later.
Here’s a quick checklist to prepare your workspace:
| Task | Tool Needed | Tip |
|---|---|---|
| Turn off water | None | Check both hot and cold |
| Clear under sink | None | Use storage bins |
| Protect surface | Towel or bucket | Place under faucet area |
This prep will help ensure a smooth replacement process.
Safely Remove the Old Kitchen Sink Faucet
Now that you’ve turned off the water supply, you’re all set to remove that old faucet safely. First, go ahead and disconnect the water lines underneath the sink. Just take your time with this part so you don’t accidentally damage any connections or the surrounding area.
Next, you’ll want to remove any mounting hardware holding the faucet in place. Once everything is loosened and disconnected, you should be able to carefully lift the old faucet out. Remember, patience is key here—rushing might cause unnecessary problems.
Turn Off Water Supply
To safely remove your old kitchen sink faucet, start by turning off the water supply valves located under the sink. These valves control the flow of water to your faucet, and shutting them off prevents leaks or water damage while you work.
Depending on your faucet types—single-handle or double-handle—you may find one or two valves to turn off. Turn each valve clockwise until it stops to guarantee the water supply is fully shut.
After closing the valves, open the faucet to release any remaining water pressure. This step is essential before proceeding with removal.
Disconnect Faucet Connections
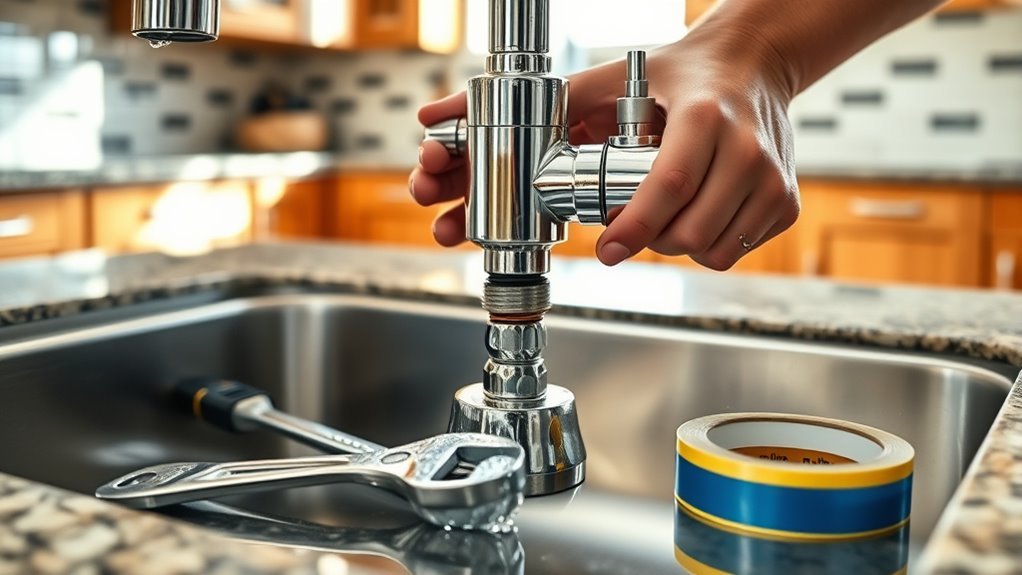
Start by loosening the water supply lines connected to your faucet using an adjustable wrench or pliers.
Different faucet connection types, like compression fittings, threaded connections, or quick-connects, need specific removal tools. Make sure you have the right ones handy.
Once the water lines are loose, carefully unscrew them to avoid damaging the supply tubing.
Next, locate the mounting nuts or brackets holding the faucet to the sink. Use a basin wrench or the appropriate tools to loosen these fasteners.
Take your time to gently wiggle the faucet free, making sure all connections are fully detached.
Keep a towel nearby to catch any leftover water.
Properly disconnecting the faucet connections prevents leaks and helps you smoothly install the new faucet.
Clean and Check Your Sink Before Installing
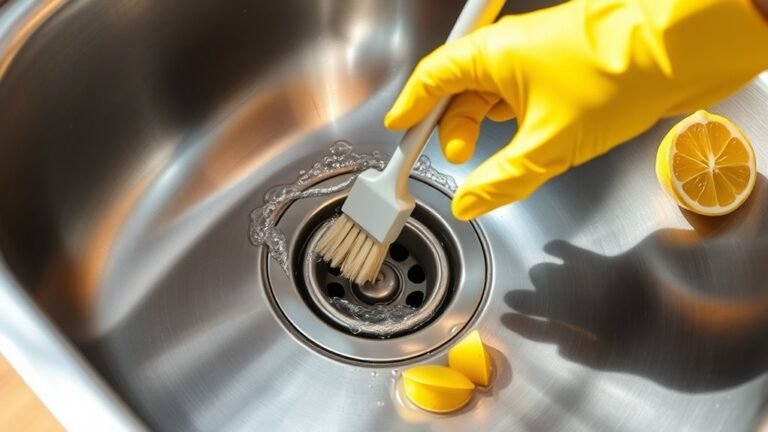
Before installing your new kitchen sink faucet, take a few minutes to thoroughly clean and inspect the sink area. Use gentle cleaning techniques like scrubbing around the faucet holes and drain openings with a mild detergent and a soft brush. This helps remove grime, mineral deposits, and old plumber’s putty.
Pay special attention to the crevices where buildup can cause leaks or a poor faucet fit. Proper sink maintenance ensures a secure, leak-free installation. Next, check the sink surface for cracks, corrosion, or any damage that could affect the faucet’s stability.
Inspect the mounting holes to make sure they’re clear and free of debris. If you notice rust or buildup, clean those areas well or consider repairing them before you proceed. These steps not only extend your sink’s lifespan but also help your new faucet perform at its best from day one.
Getting everything clean and checked beforehand sets the stage for a smooth and successful faucet installation.
Install and Secure the New Faucet Base
Place the new faucet base carefully onto the sink, aligning the mounting holes with those on the sink surface. Ensuring proper faucet alignment now is key to avoiding leaks or uneven installation later.
Once everything fits well, grab your mounting hardware—usually nuts and washers—and thread them onto the faucet shanks from underneath the sink. Hand-tighten each nut to hold the base steady.
Secure the faucet base by hand-tightening nuts and washers onto the shanks from underneath the sink.
Use a basin wrench or adjustable wrench to secure the nuts firmly, but be careful not to overtighten, as that could damage the sink or faucet. Double-check the faucet alignment from above to make sure it sits flush and straight on the sink.
If your faucet includes a gasket or putty, make sure it’s properly positioned to create a watertight seal. After securing the base firmly, wipe away any excess putty or debris.
Now, your new faucet base is installed and ready for the next step.
Connect Water Supply Lines to Your New Faucet
Attach the water supply lines to the faucet’s inlet valves by threading the connectors onto the corresponding hot and cold water shanks. Make sure you match the right lines—hot to hot, cold to cold—to keep the water pressure just right.
Depending on your faucet model, you might see different connection types, like compression fittings or quick-connects. Check each connection to ensure it’s snug but avoid overtightening, which can damage threads or cause leaks.
Here’s a quick guide to help you feel confident:
| Emotion | Reason |
|---|---|
| Relief | Secure connections prevent leaks. |
| Confidence | Proper water pressure guarantees smooth flow. |
| Satisfaction | Easy connection types speed up installation. |
Double-check that the lines are aligned and secure before moving on. This step is key for a durable setup that delivers consistent water pressure every time you use your new faucet.
Test the Faucet for Leaks and Proper Function
Now that you’ve got your water supply lines connected, go ahead and turn on the faucet to see how the water flows. Just keep an eye out for any drips or leaks around the connection points—that’s super important.
Take a good look at everything to make sure it’s working properly before you finish up your project. If you notice any leaks, now’s the time to tighten things up or make adjustments.
Check Water Flow
Turn on the water supply and slowly open the faucet to see how the water flows. This helps you check that your new faucet provides consistent pressure and works correctly.
Different faucet types might affect the flow rate and pressure, so keep an eye out for issues like sputtering or weak streams.
Make sure the water pressure stays steady without any fluctuations. Check that both hot and cold handles operate smoothly. Listen for unusual noises that could mean blockages.
Also, ensure the aerator is secure and not causing any flow problems. If you find any issues, fix them before you finish installing.
Getting the water flow right ensures your faucet works well and lasts longer without surprises.
Inspect Connection Points
Carefully check all the connection points under your sink for any signs of leaks or loose fittings. Different types, like compression, threaded, or push-fit, need to be checked for tight seals or corrosion.
Use tools like a flashlight, adjustable wrench, and a dry cloth to examine each joint closely. Turn on the faucet and watch for drips or moisture around these points.
If you find any leaks, tighten the fittings gradually. Be careful not to over-tighten, as this can damage the connections. After everything looks dry and secure, test the faucet’s full range of motion.
Make sure it operates smoothly. Regular inspections of these connection points can help extend your faucet’s life and prevent unexpected water damage.
Troubleshoot Common Faucet Replacement Issues
Although replacing a kitchen sink faucet is straightforward, you might run into some common issues along the way. Fixing these problems early helps ensure your faucet works perfectly and lasts longer. Use this troubleshooting guide to handle typical challenges like leaks or low water pressure.
Before you start, gather your usual tools and review any installation tips specific to your faucet type. Here are some key points to watch out for:
- Faucet leaks: Check all connections and tighten them properly. If needed, replace worn-out washers or O-rings using recommended repair techniques.
- Low water pressure: Inspect your supply lines for kinks or blockages and clean the aerator.
- Incorrect faucet fit: Make sure your faucet is compatible with your sink’s mounting holes and water supply.
- Loose faucet: Secure the mounting nuts firmly but don’t overtighten.
Regular maintenance can help prevent many of these issues. If problems continue, revisit this troubleshooting guide or consider consulting a professional to avoid causing damage.
Choose Features When Installing Your New Faucet
What features matter most to you when installing a new kitchen faucet? Start by considering faucet styles that match your kitchen’s design—whether you prefer a sleek modern look or a classic vintage feel. You’ll want a faucet that not only looks great but also works well for your daily needs. Think about the spout height and reach to easily fill large pots and pans.
Water efficiency is another key feature to focus on. Choosing a faucet with a WaterSense label can help cut down water use without sacrificing performance. Look for options with aerators or flow restrictors to reduce waste.
You might also want additional features like pull-out sprayers or touchless operation for extra convenience. By picking the right style along with water-efficient options, you’ll end up with a faucet that’s both stylish and practical.
Maintain Your Kitchen Faucet for Long-Term Use
To keep your kitchen faucet working smoothly, it’s a good idea to give it regular cleaning and keep an eye out for any leaks. Just wiping it down every now and then and tightening any loose connections can go a long way in preventing bigger issues down the line.
Basically, a little everyday maintenance can really help your faucet last longer. So, staying on top of these simple tasks can save you time and money in the long run!
Regular Cleaning Tips
Since your kitchen faucet gets used every day, regular cleaning helps prevent buildup that can affect how well it works and how it looks. Keeping your faucet clean not only makes it look nice but also helps with maintenance by stopping mineral deposits and grime from forming.
To keep your faucet in good shape, wipe it down daily with a soft cloth and some mild soap. Once a week, use a vinegar solution to break down any mineral deposits.
Make sure to clean the aerators every month to keep the water flowing smoothly. And try to avoid harsh or abrasive cleaners, as they can damage the finish of your faucet.
Leak Prevention Methods
Keeping your kitchen faucet clean helps maintain its performance, but preventing leaks takes your maintenance a step further. Start by regularly inspecting all connections, joints, and the faucet base for any signs of moisture or corrosion. Early leak detection helps you catch issues before they get worse.
Tighten loose fittings and replace worn-out washers or O-rings promptly to avoid drips. Use plumber’s tape on threaded connections as a preventative measure to ensure a tight seal. Just be careful not to overtighten, which can damage parts and cause leaks.
Additionally, check your water pressure. Excessive pressure can strain faucet components and lead to leaks. By incorporating these leak prevention methods into your routine, you’ll extend your faucet’s lifespan and avoid costly repairs down the line.
Frequently Asked Questions
What Types of Kitchen Faucets Are Best for Hard Water Areas?
For hard water areas, you’ll want to choose kitchen faucets made from durable materials like stainless steel or brass. They resist corrosion and mineral buildup, helping your faucet last longer.
Look for faucets with ceramic disc valves and easy-to-clean aerators. These features help prevent clogging and make maintenance simpler, so your faucet stays in good shape.
You’ll also benefit from models with finishes like chrome or nickel. These finishes resist hard water stains, keeping your kitchen looking clean and fresh with less effort.
How Do I Dispose of an Old Faucet Responsibly?
Why toss your old faucet in the trash when you have faucet recycling options? First, check your local disposal guidelines to see if there’s a special collection or drop-off site for metal fixtures. Many recycling centers accept faucets since they contain valuable metals.
If not, some hardware stores offer take-back programs. By following these steps, you’ll dispose of your old faucet responsibly and help reduce landfill waste.
Can I Upgrade to a Touchless Faucet Without Changing Plumbing?
Yes, you can upgrade to a touchless faucet without changing your plumbing if your current setup matches the new faucet’s needs.
When thinking about installation, check that your water supply lines and mounting holes are compatible with the new faucet.
Touchless faucets are great for better hygiene and saving water. Just make sure you have access to power—either batteries or an outlet—for the sensor.
Following these tips makes upgrading easy and hassle-free so you can enjoy a modern touchless faucet.
What Warranty Should I Expect With a New Kitchen Faucet?
You should expect a faucet warranty that covers parts and finishes for at least one to five years, with some premium models offering lifetime warranties. When checking your faucet warranty, look for coverage details and any exclusions.
Follow installation tips carefully to avoid voiding your warranty. Proper installation guarantees your faucet works well and your warranty stays valid.
Keep your receipt and register the product to maximize warranty benefits.
Are There Eco-Friendly Faucet Options to Reduce Water Usage?
Yes, you can definitely find eco-friendly faucet options to reduce water usage. Look for low flow options that limit gallons per minute without sacrificing performance. Installing faucet aerators is a simple, budget-friendly way to cut water use by mixing air with water, maintaining pressure while using less. These choices help you conserve water and save on your utility bills without compromising your kitchen’s functionality.
Conclusion
Replacing your kitchen sink faucet might seem intimidating, but with the right steps, it’s a breeze. Just like tuning a musical instrument, your new faucet will bring harmony to your kitchen routine.
Remember, patience and attention to detail are your best tools. Keep maintaining your faucet regularly, and you’ll enjoy smooth, leak-free water flow for years to come.
So, roll up your sleeves—your kitchen’s fresh start with a new faucet is just a few turns away!