How to Unclog a Kitchen Sink Drain: A Step-by-Step Guide
Dealing with a clogged kitchen sink drain is a common hassle that many people face. It’s frustrating when dishes pile up or water refuses to drain properly, leaving you stuck with a messy, slow sink.
You’re not alone—most homeowners struggle with this at some point.
To unclog your kitchen sink drain, start by removing debris with a plunger or a drain snake, ensuring you block overflow holes and use controlled plunges for strong suction.
For stubborn clogs, try natural remedies like baking soda and vinegar, then flush with boiling water.
Always protect your hands and catch water under the sink.
Avoid harsh chemicals when possible and maintain good habits to prevent future blockages.
If issues persist, there are more tips and tools to investigate for effective clearing.
Key Takeaways
- Use a plunger with water in the sink to create suction and dislodge the clog effectively.
- Feed a drain snake slowly into the drain, turning clockwise to remove stubborn blockages.
- Remove and clean the kitchen sink trap by loosening slip nuts and clearing debris manually.
- Try natural cleaning with baking soda and vinegar, letting it fizz for 15 minutes before flushing with boiling water.
- Wear gloves and use chemical drain cleaners cautiously, following instructions and avoiding use on damaged pipes.
Identify Common Causes of Kitchen Sink Clogs
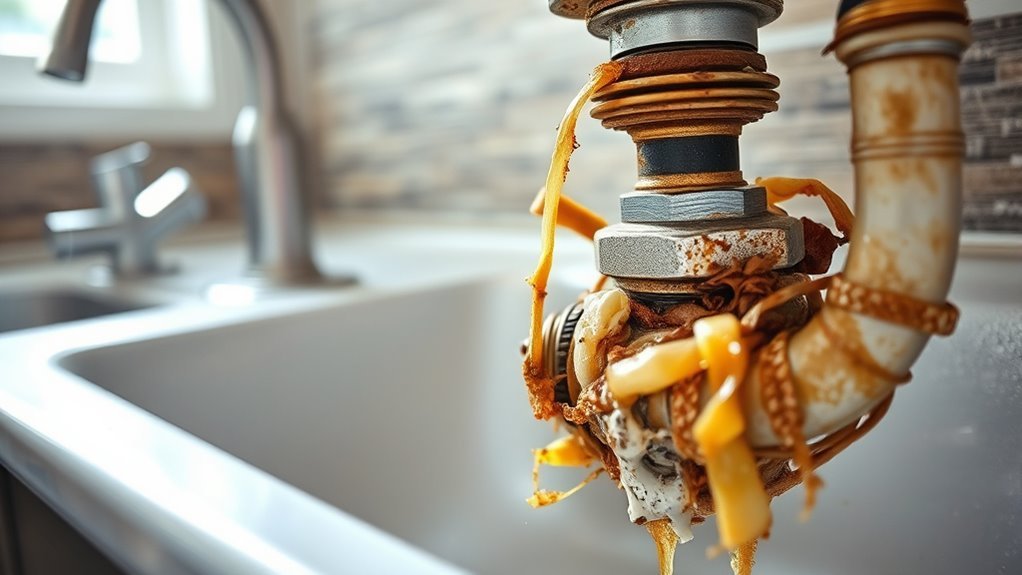
Kitchen sink clogs often happen because of habits you might not even realize. For example, tossing food debris down the drain may seem harmless, but it can cause blockages over time.
Grease buildup is another common issue. It sticks to pipe walls, attracting more debris and slowing down drainage. Hair can also contribute, especially if you wash your hands or clean brushes in the sink.
Grease and hair both cling inside pipes, trapping debris and causing slow drainage over time.
Foreign objects accidentally dropped down the drain can cause immediate blockages, so be careful with what goes in. Items like coffee grounds or fibrous vegetable skins only make things worse.
Over time, mineral deposits build up inside pipes, narrowing the water flow. Pipe corrosion weakens the plumbing and increases the chances of leaks and clogs.
If your drainage is poor, it’s a sign that one or more of these problems could be happening. Figuring out the cause helps you prevent future clogs more effectively.
Gather Tools and First Steps to Unclog Your Kitchen Sink
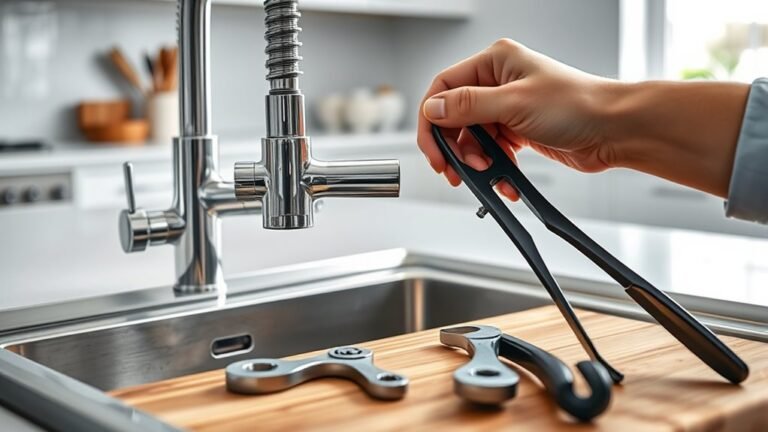
Start by gathering a few basic tools that will make unclogging your sink easier and more effective. Having the right kitchen tools ready saves time and prevents frustration. Begin with an initial assessment: check if there’s standing water or slow drainage, which confirms the clog’s presence and severity.
Here are essential kitchen tools you’ll need:
- Rubber gloves to protect your hands
- Bucket to catch water from pipes
- Adjustable wrench for loosening plumbing connections
- Drain snake or wire hanger for reaching blockages
- Flashlight to inspect dark areas under the sink
Once you have these tools, clear the area under your sink for easy access. Turn off the water supply to avoid leaks during your work. Performing this initial assessment and gathering tools sets a solid foundation for unclogging your sink effectively and safely.
How to Use a Plunger to Clear Kitchen Sink Clogs
Before you get started with plunging, it’s a good idea to block any overflow openings so water doesn’t splash back. Then, fill the sink with enough water to cover the cup of the plunger—this helps create a good seal. When you start plunging, use firm, controlled pushes to build up suction, which can help loosen the clog. If the drain doesn’t clear after a few tries, don’t hesitate to repeat the process a couple more times. Sometimes, a bit of patience does the trick!
Preparing The Sink
A plunger can be your best tool for clearing sink clogs quickly and effectively. Before you start, preparing the sink properly guarantees the best results and protects your plumbing.
Follow these steps for ideal sink maintenance and drain cleaning:
- Remove any standing water to avoid splashes.
- Clear the sink of dishes and debris.
- Plug the overflow or second drain if your sink has one to create a better seal.
- Check the plunger’s rubber cup for damage or cracks.
- Wet the plunger cup slightly to improve suction.
Taking these precautions sets you up for successful clog removal and helps maintain your sink’s plumbing health. Proper preparation makes plunging easier and more efficient.
Proper Plunging Technique
Once you’ve prepared the sink and checked that your plunger is ready, you can start plunging effectively to clear the clog. Choose the right type of plunger: a cup plunger works well for flat surfaces like kitchen sinks, while a flange plunger is better for toilets.
Position the plunger over the drain, making sure it creates a tight seal to maximize suction. Push down firmly but gently, then pull up sharply without breaking the seal. Keep repeating this steady rhythm to dislodge the clog.
Avoid common mistakes like using too much force, which can damage your pipes, or lifting the plunger too quickly, which breaks the seal and reduces effectiveness. If there are overflow holes, don’t forget to cover them so pressure builds properly.
Mastering these steps will increase your chances of clearing the drain quickly and effectively.
When To Repeat
If your sink stays clogged after a few plunging tries, don’t give up just yet. You can repeat the process several times to improve your chances of clearing the blockage. Sometimes, stubborn clogs need multiple efforts with slight tweaks.
Wait a few minutes between attempts to let the water settle and pressure build up. Check and adjust the plunger’s seal to ensure you get maximum suction.
Try varying the force and speed of your plunging strokes. Also, inspect the sink for visible debris and remove anything you find.
If the water starts draining slowly, keep plunging to fully clear the blockage. Persistence can often do the trick.
How to Use a Drain Snake for Stubborn Clogs
When a plunger just isn’t doing the trick, a drain snake can really save the day for those stubborn clogs. It’s a handy tool to have around, but you’ll want to pick the right type of snake first. Once you’ve got that sorted, it’s all about using it carefully so you don’t damage your pipes. And don’t forget, cleaning it up afterward is super important too. Let’s go through each step so you can get your sink flowing smoothly again in no time.
Choosing The Right Snake
Although many people grab a plunger first, choosing the right drain snake can save you time and frustration with stubborn kitchen sink clogs. Knowing the different types helps you pick the tool that matches your drain size and how tough the clog is.
For small blockages, a handheld drum snake works well. But for tougher clogs, a motorized snake is more effective. Remember to clean and dry your snake after each use to keep it in good shape and prevent rust.
When choosing your drain snake, think about these factors:
- Compatibility with your drain size
- Length and flexibility of the snake
- Whether you prefer manual or motorized options
- How easy it is to use and store
- Durability and maintenance needs
Picking the right snake from the start makes unclogging faster and less of a hassle.
Using The Snake Properly
Choosing the right snake is just the first step; knowing how to use it properly makes all the difference in clearing stubborn kitchen sink clogs. Start by feeding the snake slowly into the drain, turning the handle clockwise to navigate bends and break up blockages.
Use gentle pressure—forcing it can damage pipes or the snake itself. Employ effective snake techniques like rotating steadily and retracting slowly to avoid tangling. Once you feel resistance lessen, you’ve likely cleared the clog.
After use, proper snake maintenance is essential: clean off debris and dry the snake to prevent rust and guarantee smooth operation next time. Following these steps will help you efficiently tackle tough clogs and extend the life of your drain snake.
Removing And Cleaning Snake
Carefully retract the drain snake after you’ve cleared the clog, making sure to avoid sudden jerks that could damage the cable or pipes. Once removed, focus on proper snake maintenance to keep it working well for future use.
Follow these cleaning techniques: wipe the cable clean with a rag to remove debris and buildup. Soak the tip and cable in a disinfectant solution to kill bacteria.
Use a wire brush to scrub off stubborn grime or rust spots. Dry the snake thoroughly to prevent corrosion. Coil the snake neatly and store it in a dry place.
Regularly maintaining and cleaning your snake extends its lifespan. It also guarantees it works effectively next time you’re tackling stubborn clogs.
Using Baking Soda and Vinegar to Clear Kitchen Sink Clogs
Start by pouring a half cup of baking soda directly into the clogged drain, followed by a half cup of vinegar. The baking soda acts as a gentle abrasive that loosens grime, while the vinegar creates fizzing bubbles that help break down buildup inside the pipes.
Let the mixture sit for about 15 minutes to work its magic. During this time, avoid using the sink to maximize effectiveness. After waiting, flush the drain with a pot of boiling water to clear out loosened debris.
This natural method is safe for your plumbing and the environment, making it a smart alternative to harsh chemicals. If your clog persists, you might need to repeat the process or try a different approach.
Using baking soda and vinegar regularly can also help keep your drain clean and prevent future clogs. This simple, cost-effective method keeps your kitchen sink flowing smoothly with minimal effort.
How to Remove and Clean Your Kitchen Sink Trap
If the baking soda and vinegar method doesn’t clear your clog, the next step is to check the sink trap—the curved pipe beneath your kitchen sink. This part often collects debris and causes blockages. To remove and clean your kitchen sink trap, follow these steps carefully:
Place a bucket underneath to catch water. Loosen the slip nuts on both ends of the trap using pliers or by hand. Remove the trap and empty out debris and gunk. Clean the trap thoroughly with a brush and warm, soapy water.
Reinstall the trap, making sure it fits securely to prevent leaks. Regular trap maintenance helps avoid future clogs and keeps your drainage flowing smoothly. When reinstalling, check for tight seals and proper alignment.
Proper trap care not only clears blockages but also prolongs the life of your plumbing system. This keeps your kitchen sink draining efficiently and prevents future issues.
Safe Use of Chemical Drain Cleaners
While chemical drain cleaners can quickly clear stubborn clogs, it’s important to use them carefully to avoid damaging your pipes or hurting yourself. Always read and follow the manufacturer’s instructions to stay safe.
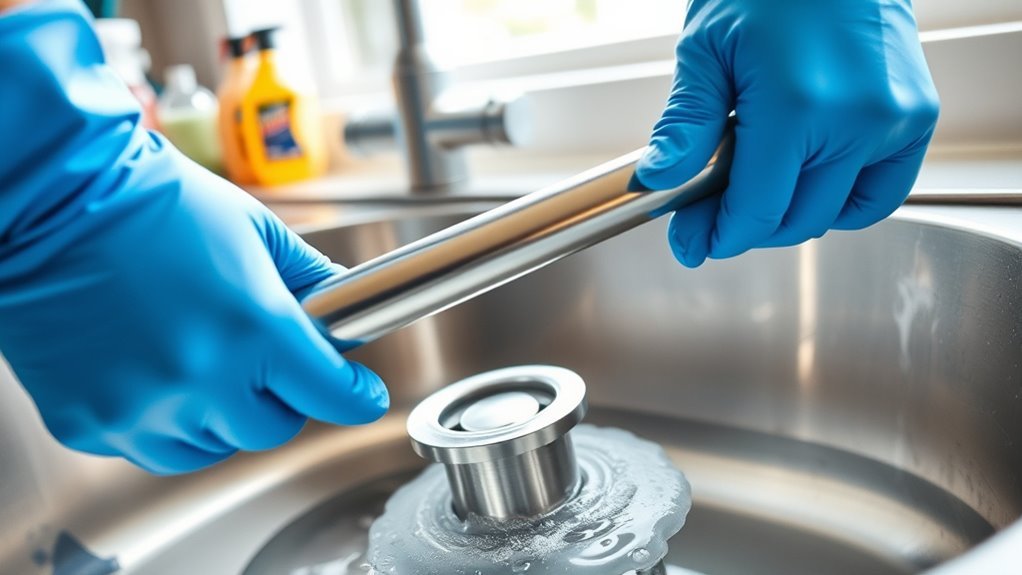
Wear gloves and eye protection to prevent burns or irritation. Never mix different chemicals, as this can create dangerous fumes. Avoid using chemical cleaners on older or damaged pipes, since harsh chemicals can cause corrosion or leaks.
If you prefer a safer option, try eco-friendly solutions like baking soda and vinegar or enzyme-based cleaners. They’re gentler on your plumbing and better for the environment.
Make sure to ventilate your kitchen well when using any chemical products. Keep them out of reach of children and pets to prevent accidents. If a clog persists despite your efforts, it’s best to call a professional plumber rather than risking more damage with additional chemicals.
Simple Kitchen Habits to Prevent Future Clogs
To keep your kitchen sink draining smoothly, adopting simple habits can make a big difference. Preventative maintenance through daily routines helps you avoid stubborn clogs and costly repairs. By being mindful of what goes down the drain, you guarantee your plumbing stays clear and efficient.
Here are five easy habits to include in your daily kitchen routine:
- Dispose of grease and oil in a separate container instead of pouring them down the sink.
- Use a sink strainer to catch food scraps and clean it regularly.
- Flush the drain with hot water after each use to wash away residue.
- Avoid putting fibrous or starchy foods like celery or pasta into the garbage disposal.
- Run cold water while using the garbage disposal to solidify fats and improve grinding.
Incorporating these habits into your daily routines offers effective preventative maintenance, keeping your kitchen sink clog-free longer.
When to Call a Plumber for Kitchen Sink Problems
If your sink keeps clogging even after you’ve tried to clear it out, it might be time to give a plumber a call. Don’t ignore those frequent blockages—they’re often a sign there’s a bigger issue lurking beneath the surface.
Also, keep an eye out for any leaks or strange noises coming from under your sink. These could be signs of plumbing damage that need quick attention. Addressing these problems early helps prevent more serious and costly repairs later on.
Persistent Drain Blockages
Even if you try a few DIY methods, some kitchen sink clogs just won’t clear up on their own. When blockages stick around despite your efforts, it’s a good idea to call in a plumber. Persistent drain issues might be hiding deeper problems beyond just debris.
Professionals have the right tools and expertise to tackle tough clogs and make sure your drain stays clear.
Consider reaching out to a plumber if you notice water draining very slowly or not at all. Also, if clogs keep happening even after you try prevention, it’s a sign something more serious might be going on.
Unpleasant odors coming from your drain, gurgling sounds when water drains, or water backing up into the sink or dishwasher are other signs you should call in an expert.
Dealing with persistent blockages early can help protect your plumbing and save you money on repairs later on.
Signs of Plumbing Damage
When persistent blockages keep coming back, it’s often a sign that your plumbing might be damaged. Keep an eye out for leaky pipes, rusted fittings, water stains, mold growth, foul odors, and slow drainage. These signs suggest that it’s not just a simple clog, and calling a plumber can help prevent bigger problems.
| Sign | What It Indicates |
|---|---|
| Leaky Pipes | Possible cracks or loose joints |
| Rusted Fittings | Corrosion weakening the system |
| Water Stains | Hidden leaks or moisture buildup |
| Mold Growth | Prolonged dampness, health risk |
| Foul Odors | Bacteria or trapped debris |
If you notice any of these signs, it’s best to get professional help before the damage gets worse.
Tips to Keep Your Kitchen Sink Drain Flowing Smoothly
To keep your kitchen sink drain flowing smoothly, adopt simple habits that prevent clogs before they start. Following effective drain maintenance tips and preventative measures can save you time and money on repairs.
Here are some straightforward steps to help maintain a clear drain:
Avoid pouring grease or oil down the drain, as they solidify and cause blockages. Use a drain strainer to catch food scraps and debris.
Run hot water through the drain regularly to help dissolve buildup. Flush the drain monthly with a mixture of baking soda and vinegar to break down residue.
Don’t overload your garbage disposal; feed waste slowly and with plenty of water.
Frequently Asked Questions
Can a Garbage Disposal Cause Kitchen Sink Clogs?
Yes, a garbage disposal can cause kitchen sink clogs if you don’t practice proper maintenance.
When you put items like grease, fibrous vegetables, or coffee grounds down the disposal, they can build up and block your drain.
You should avoid disposing of these things and run plenty of water while using the disposal to keep everything flowing smoothly.
Regularly cleaning your disposal also helps prevent clogs.
How Often Should I Clean My Kitchen Sink Drain?
Think of your kitchen sink drain as a garden. If you don’t tend to it regularly, weeds—like clogs—take over.
You should aim to do a drain maintenance cleaning at least once a month to keep everything flowing smoothly. Regularly flushing with hot water and a natural cleaner helps prevent buildup.
This simple routine saves you from dealing with stubborn blockages later on. Staying on top of it means you won’t have to scramble when problems suddenly pop up.
Are Enzymatic Drain Cleaners Safe for All Plumbing Types?
Enzymatic drain cleaners are generally safe for most plumbing types because they rely on natural bacteria and enzymes to break down clogs, guaranteeing enzyme effectiveness without harsh chemicals.
However, it’s a good idea to check if they’re compatible with your plumbing, especially if you have older pipes or septic systems. Some materials might react differently.
Can Hot Water Alone Unclog a Slow-Draining Sink?
Think of hot water as a gentle rain trying to clear a stubborn path. While hot water alone can sometimes dissolve grease and small clogs, its effectiveness is limited. You shouldn’t rely solely on it for serious blockages, but it’s a great first step in plumbing maintenance.
Using hot water regularly helps keep your drains flowing smoothly, but stubborn clogs often need a bit more muscle or specialized tools to clear completely.
What Household Items Should Never Go Down the Kitchen Sink?
You should never pour grease buildup, food scraps, coffee grounds, or fibrous vegetables down the kitchen sink. Grease solidifies and can clog your pipes, causing problems later on.
Food scraps and coffee grounds tend to build up and block drains, making it hard for water to flow. Fibrous vegetables like celery and onion skins can tangle in the pipes and slow down drainage.
Instead, toss these items in the trash or compost. Doing this helps keep your sink flowing smoothly and can prevent costly plumbing issues.
Conclusion
Unclogging your kitchen sink doesn’t have to feel like climbing a mountain. With the right tools and a little patience, you can handle most clogs on your own.
Remember, prevention is key. Simple habits, like avoiding grease and food scraps in the drain, help keep things flowing smoothly.
If stubborn blockages stick around, don’t hesitate to call a plumber. Keep these tips handy, and you’ll keep your kitchen sink unclogged and running like a well-oiled machine every day.