How to Paint Kitchen Countertops: A Step-by-Step Guide
Are you tired of your dull or outdated kitchen countertops but unsure how to give them a fresh new look? You’re not alone—many people struggle with finding affordable, easy ways to upgrade their space.
Painting your countertops can be a game-changer, and with the right steps, it’s totally doable.
To paint your kitchen countertops, start by cleaning and sanding the surface to remove grease and rough spots. Fill any cracks with a quality filler, then apply a primer suited to your countertop material.
Use thin, even coats of epoxy or acrylic paint for durability, sanding lightly between layers. Finish with a protective sealant and maintain with gentle cleaners to keep it looking fresh.
Keep going to uncover tips that prevent common mistakes and extend your countertop’s life.
Key Takeaways
- Thoroughly clean and sand countertops to remove grease and ensure paint sticks well.
- Fill cracks and dents with quality filler, then sand smooth once it’s dry.
- Apply a suitable primer with a foam roller in thin, even coats. Sand lightly between each layer for a smooth finish.
- Use epoxy or acrylic paint along with a protective topcoat to make your countertops durable and water-resistant.
- Keep your painted surfaces looking good by cleaning gently, avoiding harsh chemicals, and fixing chips as soon as you notice them.
Choose the Right Paint and Materials for Painting Countertops
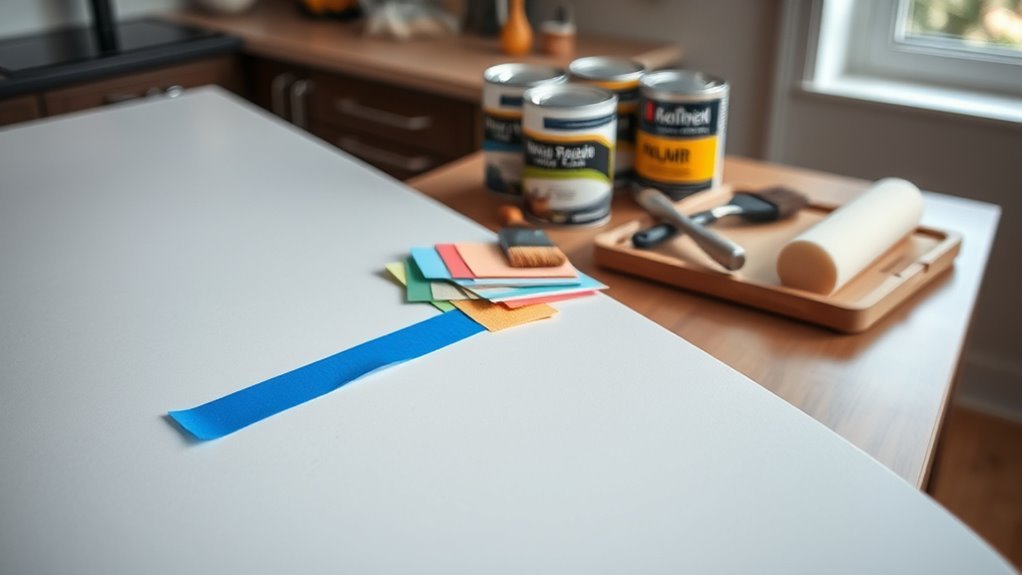
Choosing the right paint and materials is key to getting a durable and attractive countertop finish. When picking a color, think about your kitchen’s style and how the lighting affects the space.
Lighter shades can brighten up your kitchen, while darker colors do a better job hiding stains. Next, look at how different paint types hold up over time. Epoxy paints are great for countertops because they resist scratches and water damage.
Acrylic paints can work, but you’ll usually need a protective topcoat to keep them looking good. Also, choose a primer that bonds well to your surface, whether it’s laminate, wood, or tile.
Don’t forget to gather tools like sandpaper, brushes, and rollers suited for smooth finishes. Investing in quality materials from the start means your painted countertops will stay beautiful and functional for years.
Prepare Your Countertops for Painting
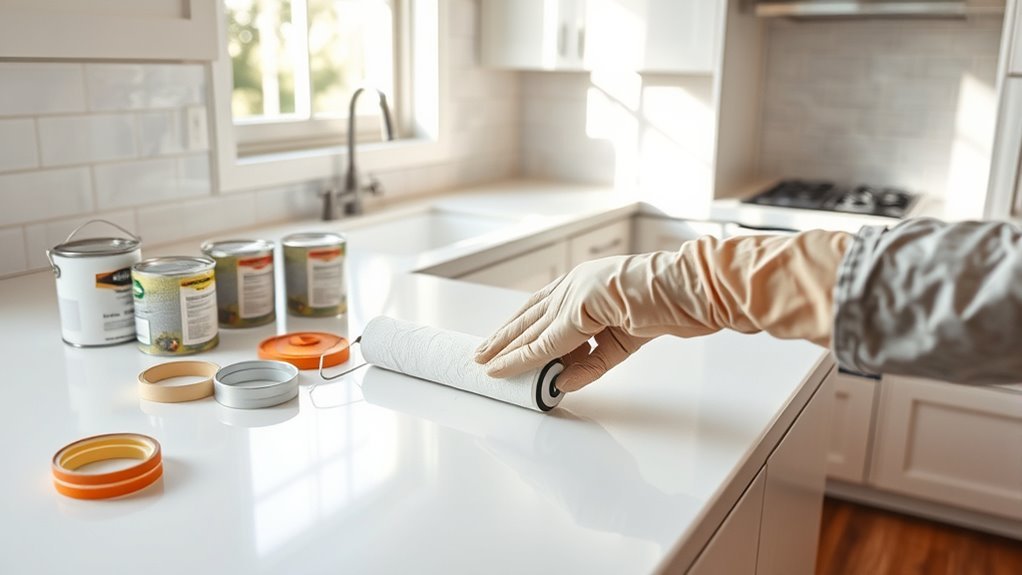
Start by thoroughly cleaning your countertops to remove grease, dirt, and any residue that could prevent paint from sticking properly. Use a strong surface cleaning solution and a scrub brush or sponge to make sure every inch is spotless. Rinse well and let the countertops dry completely.
Next, focus on countertop sanding. Lightly sand the surface with fine-grit sandpaper to create a rough texture that helps the paint bond better. Don’t skip this step because smooth surfaces can cause the paint to peel or chip later.
Lightly sanding with fine-grit paper ensures paint adheres well and prevents peeling or chipping later.
After sanding, wipe the countertops with a damp cloth or tack cloth to remove all dust and debris. Make sure the surface is perfectly clean before moving on.
Proper cleaning and sanding set the stage for a durable, professional-looking finish. Taking your time here will help you avoid issues later and ensure your painted countertops look great and last longer.
Fix Cracks and Imperfections on Countertops
Before you apply any paint, you’ll want to address cracks and imperfections on your countertops to guarantee a smooth, flawless finish. Start by cleaning the surface thoroughly to remove dirt and grease.
Then, inspect for any cracks or dents that need attention. Use a high-quality crack repair filler designed for countertops, applying it carefully with a putty knife to fill in gaps and crevices. Allow the filler to dry completely according to the manufacturer’s instructions.
Once dry, focus on surface smoothing. Sand the filled areas gently with fine-grit sandpaper until the surface feels even and seamless. This step is essential for eliminating bumps and rough spots that could show through the paint.
Wipe away any dust with a damp cloth before moving on. Taking these steps guarantees your countertops have a perfectly smooth base, making your paint job look professional and durable.
Apply Primer for a Smooth, Long-Lasting Finish
Apply a high-quality primer to your countertops to ensure the paint sticks well and lasts longer. Picking the right primer is key—oil-based primers work great on laminate, while bonding primers are better for slick surfaces. Before you start, clean and sand your countertops to create a smooth surface.
Apply the right primer after cleaning and sanding to ensure paint adheres well and lasts on your countertops.
Use these tips for the best application:
- Apply primer with a high-density foam roller to avoid brush marks.
- Use thin, even coats to prevent drips and uneven texture.
- Let each coat dry completely before adding the next.
- Lightly sand between coats to improve adhesion.
- Work in a well-ventilated area to speed up drying.
Following these steps helps you achieve a smooth, durable finish that resists peeling or chipping. This foundation sets you up for a professional-looking, long-lasting paint job on your kitchen countertops.
How to Paint Kitchen Countertops Step by Step?
Transform your kitchen countertops by following a simple, step-by-step painting process that ensures a smooth, long-lasting finish. First, sand the surface to smooth out imperfections and then give it a thorough cleaning.
Pick a countertop color that complements your kitchen’s style. Use high-quality brushes or rollers and apply the paint with even, consistent strokes to avoid streaks.
Here’s a quick guide to painting your countertops step by step:
| Step | Action |
|---|---|
| 1. Sand & Clean | Smooth the surface and remove any dust |
| 2. Select Color | Choose a durable color that fits your kitchen’s look |
| 3. Apply Paint | Use even strokes and proper technique for a nice finish |
| 4. Let Dry | Allow enough drying time before using the countertop |
Apply Multiple Coats Without Bubbles: Tips and Tricks
Once you’ve finished the first coat and it’s completely dry, adding multiple layers helps create a more durable and even finish. To keep your application bubble-free, it’s important to pay attention to your painting and drying techniques.
Here are some easy tips for applying additional coats smoothly: Use a good-quality brush or roller to prevent trapping air bubbles. Apply thin, even coats instead of thick layers, and avoid over-brushing, which can cause bubbles.
Make sure to give each coat plenty of time to dry, following the product’s recommended drying instructions. Before adding the next layer, lightly sand the surface with fine-grit sandpaper to improve adhesion and smoothness.
Seal Painted Countertops to Protect Your Work
Protecting your painted countertops with a quality sealer is key to making sure your hard work lasts. Picking the right sealant, like polyurethane or epoxy, helps create a tough barrier against scratches, heat, and moisture.
Polyurethane gives a clear, shiny finish and is easy to put on. Epoxy, on the other hand, offers a thicker, more durable coat but needs careful handling during application.
Polyurethane provides a glossy, easy-to-apply finish, while epoxy creates a tougher, more durable coating with careful application.
When you’re applying your sealer, use proper techniques to avoid bubbles and streaks. Apply thin, even coats with a good brush or foam roller, working in one direction.
Let each coat dry completely before lightly sanding and adding the next. Usually, two or three coats are enough to keep your countertops protected for the long haul.
Maintain and Clean Painted Countertops Properly
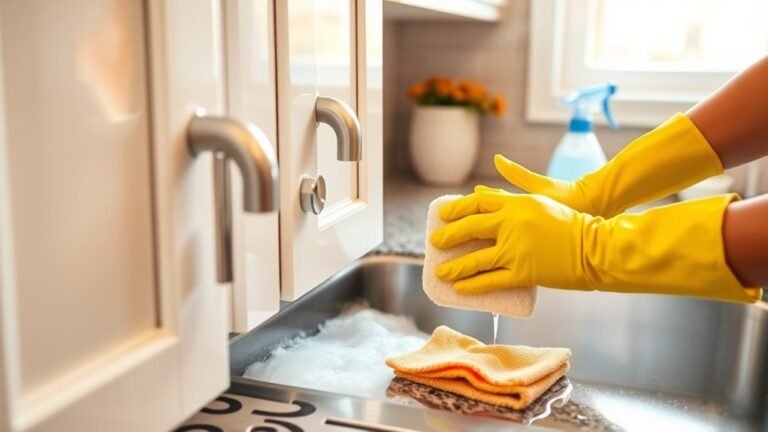
To keep your painted countertops looking fresh, it’s a good idea to clean them every day with a gentle, non-abrasive cleaner. You want to avoid harsh chemicals because they can damage the paint or finish, and nobody wants that!
Also, try to be careful to prevent scratches and stains. Using cutting boards when you’re chopping or prepping food is a smart move, and wiping up spills right away will help keep everything looking great.
Daily Cleaning Tips
Anyone who wants their painted kitchen countertops to look fresh and last longer needs to develop a simple daily cleaning routine. Daily maintenance is key to preserving your hard work and preventing stains or damage.
Use gentle cleaning products designed for painted surfaces to avoid wear. Here’s a quick daily cleaning checklist to keep your countertops in top shape:
- Wipe spills immediately with a soft, damp cloth
- Use mild soap mixed with water for regular cleaning
- Avoid abrasive scrubbing pads that can scratch the paint
- Dry the surface thoroughly after cleaning to prevent water spots
- Regularly inspect for chips or peeling and touch up as needed
Stick to these tips, and your countertops will stay vibrant and durable for years.
Avoiding Harsh Chemicals
Three key reasons make avoiding harsh chemicals essential when maintaining painted kitchen countertops: they can damage the paint, cause discoloration, and shorten the lifespan of your finish.
To keep your countertops looking fresh, choose eco-friendly options like mild dish soap mixed with warm water. These safe alternatives clean effectively without stripping the paint or leaving harmful residues.
Avoid bleach, ammonia, and abrasive cleaners that can eat away at the protective layer. Instead, use soft cloths or sponges to gently wipe surfaces.
Regularly rinsing with clean water helps remove any soap buildup. By sticking to these gentle methods, you’ll preserve your countertop’s beauty and durability while supporting a healthier kitchen environment.
Preventing Scratches And Stains
Cleaning your painted countertops gently helps prevent damage, but protecting them from scratches and stains takes a bit more care.
Applying scratch-resistant coatings and stain-repellent finishes during your painting process creates a strong foundation. To keep your countertops looking fresh, follow these tips:
Use cutting boards to avoid direct knife contact. Wipe up spills immediately to prevent staining. Avoid dragging heavy pots or sharp objects across the surface.
Clean with a soft cloth and mild soap, skipping abrasive sponges. Regularly check and touch up any worn spots to maintain protective layers.
Avoid These Common Countertop Painting Mistakes
Mistakes like skipping proper surface preparation or using the wrong type of paint can ruin your countertop project. Focus on choosing a color that complements your kitchen and make sure to prep the surface thoroughly so the paint sticks well. Don’t rush through these important steps.
Here are some common mistakes to avoid:
| Mistake | Why It Matters | How to Avoid |
|---|---|---|
| Poor surface prep | Paint can peel or bubble | Clean, sand, and prime properly |
| Wrong paint choice | Paint chips or stains easily | Use durable, countertop-specific paint |
| Ignoring color impact | Colors might fade or clash | Test color swatches before committing |
When to Repaint or Touch Up Your Countertops
Even with careful preparation and the right paint, your kitchen countertops will show signs of wear over time. Knowing when to repaint or touch up your countertops helps keep them looking fresh and protects your investment. Watch for these signs of wear that indicate it’s time for action:
- Fading or discoloration of the paint
- Chipping or peeling along edges and high-use areas
- Visible scratches or dents that expose the original surface
- Stains that no longer respond to cleaning
- A dull or uneven finish that reduces curb appeal
These are common reasons why repaint or touch-up jobs become necessary. Touching up small spots can extend the life of your painted countertops without a full redo. But if the damage is widespread, a complete repaint will restore the surface’s durability and beauty.
Regularly inspecting your countertops will help you catch signs of wear early and keep your kitchen looking great.
Frequently Asked Questions
Can I Paint Over Laminate Countertops?
Yes, you can paint over laminate countertops, but you’ll need to prepare the surface properly to ensure the paint sticks.
Start by cleaning the countertop thoroughly and lightly sanding it to create a rough texture that helps the paint adhere better.
Next, apply a high-quality primer made for laminate surfaces. This step is crucial for a lasting finish.
Skipping these steps can lead to peeling or chipping, so take your time with the prep work if you want it to look good and last.
How Long Does the Paint Take to Fully Cure?
The curing time depends on the type of paint you use. Typically, epoxy or acrylic paints take about 72 hours to fully cure.
Some fast-drying paints might be ready in 24 to 48 hours. You should avoid heavy use or placing objects on the surface until the curing process is complete.
This helps ensure the paint’s durability. Always check the manufacturer’s instructions because curing times can vary based on the specific formula and environmental conditions.
What Types of Paint Finishes Are Best for Countertops?
You know what they say: beauty is in the eye of the beholder. For countertops, matte finishes hide scratches and fingerprints better, giving a smooth, understated look.
Glossy finishes shine brightly and make colors pop but can show wear more easily. You’ll want to choose based on your style and how much maintenance you’re willing to do.
Matte is great for subtle durability, while glossy is perfect if you love that polished, reflective surface. Pick what suits your lifestyle and aesthetic best.
Is It Safe to Use Painted Countertops for Food Prep?
Yes, painted countertops can be safe for food prep if you choose coatings with strong paint durability and follow proper sealing steps.
You’ll need a food-safe topcoat to protect the surface and prevent contaminants from seeping in. Otherwise, the paint might chip or wear, which could compromise food safety.
Always let the finish cure fully before using the countertop, and clean the surface gently to keep it hygienic and durable over time.
Can I Change the Countertop Color Without Sanding?
You can change your countertop color without sanding, but skipping proper preparation might reduce how long the paint lasts.
If your surface is glossy or sealed, lightly scuffing it helps the paint stick better. Using a good primer made for slick surfaces also makes a big difference.
Sanding isn’t always necessary, but these steps help prevent peeling and keep your new color vibrant for longer.
Conclusion
Painting your kitchen countertops can transform your space like a fresh coat of spring rain rejuvenates a garden. By choosing the right materials, prepping thoroughly, and sealing your work, you’ll create a durable, beautiful surface that lasts.
Remember to maintain and clean your countertops gently to keep them looking new. Avoid common mistakes, and don’t hesitate to touch up when needed. With care, your painted countertops will stay stunning and functional for years.