How to Make a Kitchen Island: A Step-by-Step Guide
If you’re dreaming of a stylish and functional kitchen, you’re not alone. Many people struggle with creating the perfect space that combines beauty and practicality. One way to upgrade your kitchen is by building a custom kitchen island—it’s a game-changer for storage, prep space, and socializing.
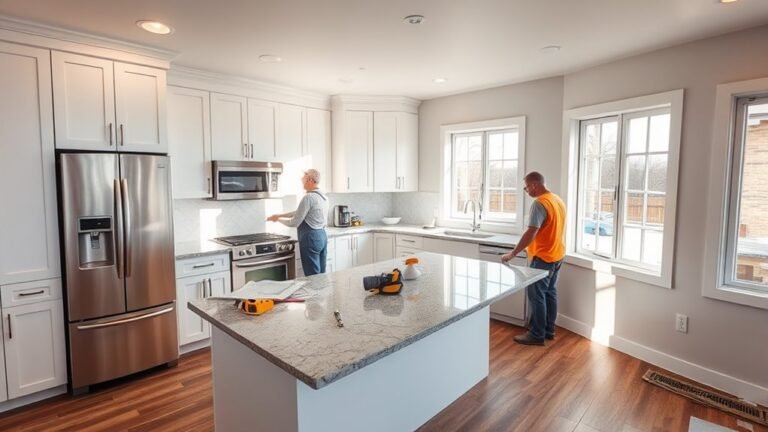
To make a kitchen island, start by choosing a central location with 36 to 48 inches of clearance to keep the workflow smooth. Measure your space and pick a shape that fits your needs, like rectangular or curved.
Build a sturdy frame from wood or plywood, then attach a durable countertop, sealing edges for moisture protection. Add storage, seating, and power outlets for convenience.
Finish with paint and hardware that match your style. Keep going to uncover tips on assembly and design details.
Key Takeaways
- Choose a central location in your kitchen, making sure there’s 36-48 inches of clearance around the island. This helps keep the workflow smooth and traffic flowing easily.
- Design the shape and size of your island to fit your space. Think about adding seating, storage, and prep areas based on what you need most.
- Include organized storage options like cabinets and drawers. Consider adding power outlets and seating for both socializing and functionality.
- Pick durable materials such as solid wood, plywood, granite, or butcher block. Before you start building, gather your tools and measurements.
- Carefully assemble the frame of your island. Attach the countertop with adhesive and screws, then seal the edges. Finish with paint and hardware for a polished look that lasts.
Choose the Best Location for Your Kitchen Island
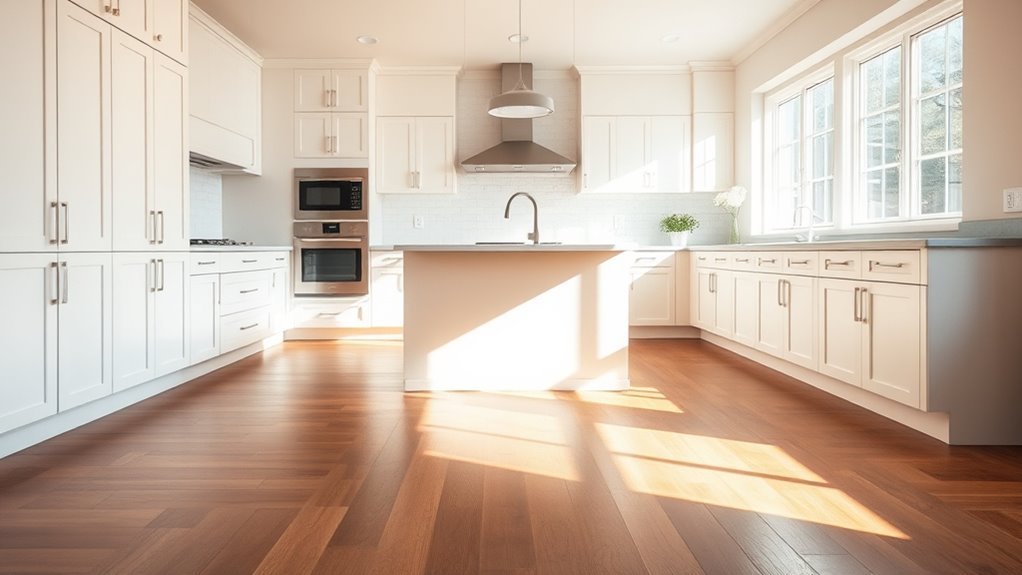
Where should you place your kitchen island for maximum functionality? Start by thinking about how you move between the sink, stove, and refrigerator. Place the island centrally but make sure it doesn’t block these key areas.
You want enough clearance around it, ideally at least 36 to 48 inches, so you can work and walk comfortably. This placement helps keep the workflow smooth and prevents congestion.
At the same time, don’t forget about style. Your island should match the overall look of your kitchen. Align it with countertops or cabinets for a cohesive feel, and consider adding lighting above to boost its visual appeal.
Balancing practicality with design ensures your island is both useful and attractive. Choosing the right spot creates a kitchen that’s functional and stylish with ease.
Decide on the Ideal Size and Shape for Your Space
First things first, grab a tape measure and check out the space you have available. You want to make sure the island fits nicely without making the kitchen feel cramped. It’s also a good idea to think about how people will move around—no one wants to squeeze past a bulky island every time they grab a snack.
Once you’ve got the measurements down, consider the shape that’ll work best for your kitchen and how you use it daily. Whether it’s a rectangular, square, or even a curved design, pick something that complements your layout and makes your cooking and entertaining easier and more fun.
Measure Available Floor Space
Before you choose a kitchen island, you’ll need to measure the available floor space carefully. Start by noting your kitchen dimensions and studying the floor layout to see where the island can fit without making the space feel crowded.
Focus on optimizing space by identifying functional zones like prep, cooking, and cleaning areas. Think about where appliances are placed to ensure the island complements your workflow instead of blocking it.
Don’t forget about lighting. Measure how natural and artificial light falls across the space so the island stays well-lit. While doing all this, keep your kitchen’s style in mind so the island matches your overall design.
Consider Kitchen Traffic Flow
Many factors influence the ideal size and shape of your kitchen island, but one of the most important is traffic flow. To ensure smooth movement, carefully analyze your kitchen layout and existing traffic patterns.
Position your island so it doesn’t block key work zones like the stove, sink, or refrigerator. Think about furniture placement around the island to keep pathways clear and avoid congestion.
Prioritize accessibility by leaving enough space on all sides—usually 36 to 48 inches—to make movement easier. Your design should support natural, efficient flow throughout the kitchen.
This helps prevent bottlenecks during busy cooking times. By balancing these elements thoughtfully, you create a functional island that enhances your kitchen’s workflow and makes daily tasks simpler.
Choose Functional Island Shape
The shape and size of your kitchen island are key to how well it fits your space and meets your needs. When choosing the right shape, think about your kitchen’s layout and your style preferences to create harmony.
Consider what features you want, like seating, storage, or prep space. These choices will influence the shape and size of your island.
Here’s how to decide: First, measure your kitchen to leave at least 36 to 48 inches around the island for easy movement. Next, match the island shape to your layout—rectangular for long spaces, square for tighter areas.
Pick design styles that go well with your cabinets and countertops. And don’t forget to consider features like sinks or cooktops, which might need a larger or specific shape.
Design Storage and Functional Features Like Seating and Outlets
When you’re designing your kitchen island, think about how to make the most of the storage space. Adding cabinets, drawers, or even open shelves can really help keep things organized and within easy reach. It’s all about making your kitchen both functional and clutter-free.
And don’t forget about seating! Including a few comfortable stools or benches turns your island into a perfect spot for casual meals or catching up with friends. It’s a great way to make your kitchen more social and inviting.
Oh, and to keep everything running smoothly, be sure to include some outlets. Whether it’s for your small appliances or charging devices, having power outlets built into the island makes your space super convenient and tech-friendly.
Maximizing Storage Solutions
Although a kitchen island serves as a central workspace, it can do much more by incorporating smart storage solutions and functional features. To make the most of your storage, focus on these key ideas:
Use pull-out drawers and hidden compartments to keep utensils and gadgets organized and out of sight. Incorporating vertical storage like tall shelving solutions helps utilize height without crowding your workspace.
Add under-counter storage and an appliance garage to tuck away bulky appliances and free up counter space. Choose multifunctional furniture with decorative baskets for flexible storage that also enhances your kitchen’s style.
Integrating Seating And Outlets
When designing your kitchen island, integrating seating and outlets turns it into more than just a workspace. It becomes a versatile spot for cooking, dining, and hanging out.
Choose seating options that are comfy yet stylish, like stools with backs for support and sleek designs that match your décor.
Plan outlet placement carefully to make the best use of space and keep things safe. Think about pop-up outlets or USB ports for added functionality.
Place outlets where they’re easy to reach but still discreet, so they don’t clutter the look of your island.
A thoughtful seating layout helps maximize space and makes moving around easier.
By combining practical outlets with comfortable, stylish seating, you create a welcoming, efficient centerpiece.
This makes your kitchen island both functional and good-looking, perfect for all kinds of activities.
Pick Materials for Your Kitchen Island Base and Countertop
Choosing the right materials for your kitchen island base and countertop sets the foundation for both style and functionality. You’ll want to balance material durability with countertop aesthetics to guarantee your island is both long-lasting and visually appealing. Start by thinking about how you use your island daily and the look you want to achieve.
Here are four material options to consider:
- Solid Wood Base: Offers sturdy support and warmth but needs sealing against moisture.
- Plywood or MDF Base: Budget-friendly and easy to customize but less durable.
- Granite or Quartz Countertop: Highly durable with an elegant appearance, resistant to scratches and stains.
- Butcher Block Countertop: Adds natural beauty and warmth but requires regular maintenance to prevent damage.
Gather Tools and Supplies for Building Your Kitchen Island
Gathering the right tools and supplies is essential before you start building your kitchen island. Depending on the style you want—rustic, modern, or traditional—you’ll need specific materials like wood, screws, nails, paint, or stain.
Start by making a list of your base materials and countertop options. Then, add essential tools like a power drill, circular saw, measuring tape, clamps, and a level.
Begin by listing your base materials and countertop choices, then gather key tools like a drill and clamps.
Don’t forget safety gear like gloves and goggles to protect yourself during the build. Investing in quality tools can save you time and improve your results.
Keep your workspace organized so everything is within reach. This reduces interruptions and makes the process smoother.
Having all your supplies ready ensures a more efficient workflow. Proper preparation now helps avoid costly delays later and sets you up for success in your DIY kitchen island project.
Measure and Cut Wood Pieces Accurately
When you’re working with wood, it’s really important to pick the right tools, like a good tape measure and a circular saw. These will help you make sure your cuts are super accurate. Take your time when measuring—double-check every mark before you start cutting. It’s easy to make a mistake, and catching it early saves you a lot of trouble later on. And don’t forget about safety! Always follow the safety guidelines to keep yourself protected while handling those sharp tools.
Choosing The Right Tools
Accurate measurements and clean cuts are the foundation of a sturdy kitchen island. Choosing the right tools helps ensure your wood pieces come out perfectly sized and shaped. Focus on picking essential equipment designed for precision and ease of use.
Here are four key tool types you’ll need:
- Tape Measure – For quick, reliable measurements.
- Combination Square – To mark straight, accurate lines.
- Circular Saw or Miter Saw – For clean, straight cuts.
- Clamps – To hold wood firmly while cutting.
Using these tools helps you work confidently and avoid costly mistakes. Invest in quality equipment that matches your project’s needs, and you’ll save time and effort when measuring and cutting wood pieces accurately for your kitchen island.
Measuring Techniques Explained
Before cutting any wood, double-check all measurements to avoid costly mistakes. Use reliable tools like a tape measure, combination square, and carpenter’s pencil for clear markings.
Start by measuring twice and marking once. This classic tip helps prevent errors. Always measure from a fixed edge to keep your measurements consistent across all pieces.
When marking, hold your tools steady and mark precisely where you need to cut. Don’t forget to account for the blade width, or kerf, when measuring for cuts.
Keep your workspace organized so your measuring tools are easy to find. Following these tips will help you cut wood accurately and set a solid foundation for your kitchen island project.
Cutting Wood Safely
After carefully measuring and marking your wood, it’s time to focus on cutting safely and precisely. Proper workspace setup is essential; make sure your area is clean, well-lit, and free of distractions.
Always wear safety gear like goggles and gloves to protect yourself. Different wood types require specific cutting techniques—softwoods cut faster, while hardwoods need steady, controlled motions.
Keep your tools in good shape by sharpening blades and checking for damage. This helps you make clean cuts and avoid accidents.
Remember, measurement accuracy is key. Double-check your marks before cutting to prevent mistakes.
- Set up a clear, stable workspace with good lighting.
- Wear appropriate safety gear at all times.
- Adjust cutting techniques based on wood types.
- Keep tools sharp and well-maintained for precise cuts.
Assemble Your Kitchen Island Frame Step by Step
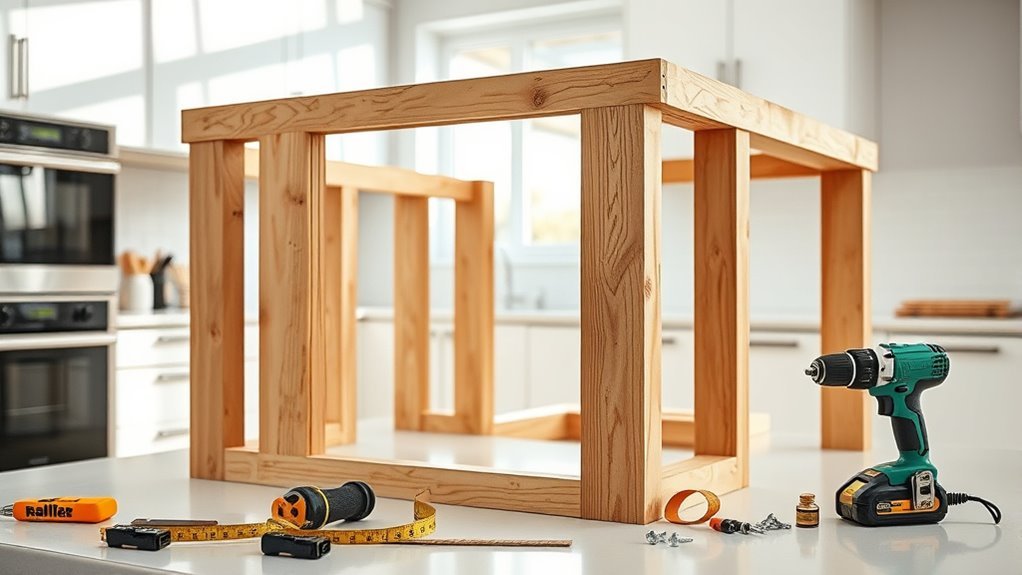
Start by gathering all the materials and tools you’ll need to assemble your kitchen island frame efficiently. Pick sturdy frame materials like hardwood or quality plywood for durability. Lay out all the pieces on a flat surface and double-check the measurements before you start.
Use techniques like pre-drilling holes to prevent the wood from splitting and apply wood glue for extra strength along with screws. Begin by constructing the base rectangle, making sure the corners are square with a carpenter’s square.
Attach the vertical supports next, securing them firmly to the base. Then, add horizontal braces between the supports to boost stability. Throughout the process, clamp the joints tightly while the fasteners set to keep everything aligned.
Keep checking for levelness with a spirit level so your frame isn’t crooked. These careful steps will make sure your kitchen island frame is solid and ready for the next phase. Stay organized and patient—precision now will save you time later.
Install and Secure Your Kitchen Island Countertop
When you’ve secured the frame, carefully position your countertop to ensure a perfect fit. Picking the right material is crucial because it impacts both durability and style. Whether you go with granite, butcher block, or quartz, make sure to follow proper installation steps for stability and longevity.
Here’s how to install and secure your countertop:
- Dry fit the countertop – Place it on the frame to check alignment and overhang.
- Apply adhesive – Use a strong construction adhesive suitable for your chosen material.
- Secure with screws – From inside the cabinet, screw through cleats into the underside of the countertop.
- Seal edges – Apply waterproof sealant to protect the joints from moisture and spills.
Add Paint, Hardware, and Finishing Touches to Your Island
Three key elements can transform your kitchen island from a basic structure into a stylish centerpiece: paint, hardware, and finishing touches. Start with color selection that complements your kitchen’s palette and style. Whether you want a bold contrast or a subtle blend, choose paint that’s durable and easy to clean.
Next, look into hardware options like handles, knobs, or pulls that improve both function and aesthetics. Pick finishes such as brushed nickel, matte black, or brass to match other fixtures in your kitchen.
Finally, add finishing touches that personalize your island. Think decorative moldings, open shelving, or a stylish backsplash on the sides. These details elevate the look and make your island uniquely yours.
Maintain and Update Your Kitchen Island Over Time
Once your kitchen island shows off your style with the right paint, hardware, and details, it’s important to keep it looking fresh and working well over time. Regular maintenance will help it last longer and stay a focal point in your kitchen.
Make a habit of inspecting and tightening hardware periodically to prevent it from loosening or getting damaged. Clean the surfaces with suitable cleaners to avoid discoloration or wear.
Touch up paint and stains as needed to keep the island looking its best. You can also upgrade features like storage options or lighting to ensure it remains both practical and stylish.
Frequently Asked Questions
Can I Make a Kitchen Island Without Professional Carpentry Skills?
Yes, you can make a kitchen island without professional carpentry skills by choosing simple DIY materials like plywood, pre-made cabinets, or even repurposed furniture.
Focus on design options that match your ability, such as a freestanding island or one with wheels for easy mobility.
There are plenty of online tutorials and plans that break down the process into manageable steps.
This can help you build confidence and create a functional, stylish island tailored to your kitchen.
What Is the Average Cost of Building a Kitchen Island?
The average cost of building a kitchen island usually ranges from $300 to $2,500, depending on your kitchen island materials and design. If you choose basic wood or plywood and simple design, it’ll be on the lower end.
But if you want high-end materials like granite countertops or custom cabinetry, expect costs to climb. You can save by using budget-friendly materials and keeping your kitchen island design straightforward.
How Long Does It Typically Take to Build a Kitchen Island?
Building a kitchen island typically takes about one to two weekends, kind of like painting a detailed mural—each step needs careful attention.
The size of your kitchen island affects how long it takes. Larger islands need more time to frame and finish.
Materials also matter. Solid wood or stone surfaces might require extra cutting and sealing, which adds to the timeline.
If you plan ahead and have your tools ready, you’ll find the project goes smoothly and quickly.
Are There Any Safety Concerns When Installing Electrical Outlets in the Island?
Yes, you should be careful about outlet placement to avoid hazards and follow electrical codes strictly. Make sure outlets are installed away from water sources and at the right heights to prevent shocks.
You’ll need GFCI outlets in kitchens to reduce electrical risks. Always check local electrical codes before installation.
Consider hiring a licensed electrician to ensure everything’s up to code and safe. This keeps your kitchen island both functional and secure.
Can a Kitchen Island Increase My Home’s Resale Value?
Yes, a kitchen island can boost your home’s resale value. Resale trends show buyers love functional, stylish kitchens, and islands meet those buyer preferences perfectly.
They offer extra storage, counter space, and a social hub, making your home more appealing.
By updating your kitchen with a well-designed island, you’re likely to attract more interest and potentially higher offers when you sell.
It’s a smart investment that aligns with what buyers want today.
Conclusion
Building your kitchen island might seem intimidating, but with careful planning and the right tools, it transforms your space effortlessly. While a plain countertop can feel cold and impersonal, adding your personal touch with paint and hardware makes it truly yours.
You’ll go from an empty kitchen to a lively hub where meals and memories are made. So plunge in—your perfect kitchen island is just a few steps away from becoming a reality.