How to Replace a Kitchen Faucet: A Step-by-Step Guide
Are you tired of dealing with a leaky or outdated kitchen faucet? You’re not alone—many people struggle with replacing fixtures and making their kitchens look fresh and functional.
Luckily, replacing a kitchen faucet is easier than you might think, and with a few simple steps, you can do it yourself.
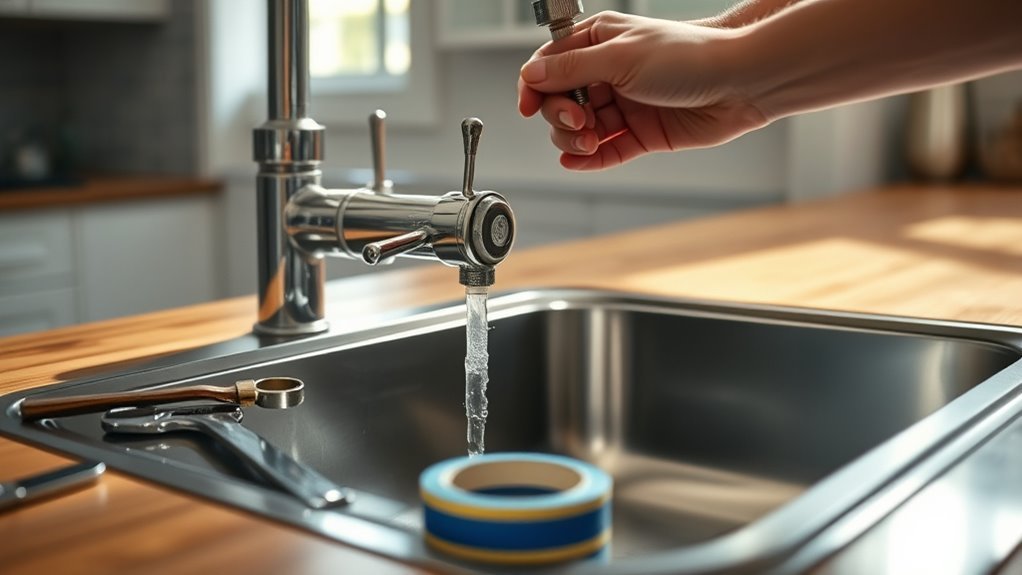
To replace your kitchen faucet, first turn off the water supply under the sink and open the faucet to drain any water.
Use an adjustable wrench to disconnect supply lines, then remove mounting nuts to lift out the old faucet.
Clean the sink area thoroughly before installing the new faucet, securing it with provided hardware.
Reconnect water lines and test for leaks by running water at full pressure.
Keep following for helpful tips on troubleshooting and maintenance.
Key Takeaways
- Turn off the water supply valves and open the faucet to release pressure before starting the replacement.
- Use an adjustable wrench and basin wrench to disconnect the water lines and loosen the mounting nuts beneath the sink.
- Clean the sink area thoroughly to remove old residue and make sure there’s a proper seal for the new faucet.
- Install the new faucet by fitting it through the sink holes, securing the mounting nuts, and attaching any extra parts.
- Turn the water back on slowly, check for leaks, test the handle, and tighten connections as needed.
How to Turn Off Your Kitchen Water Supply
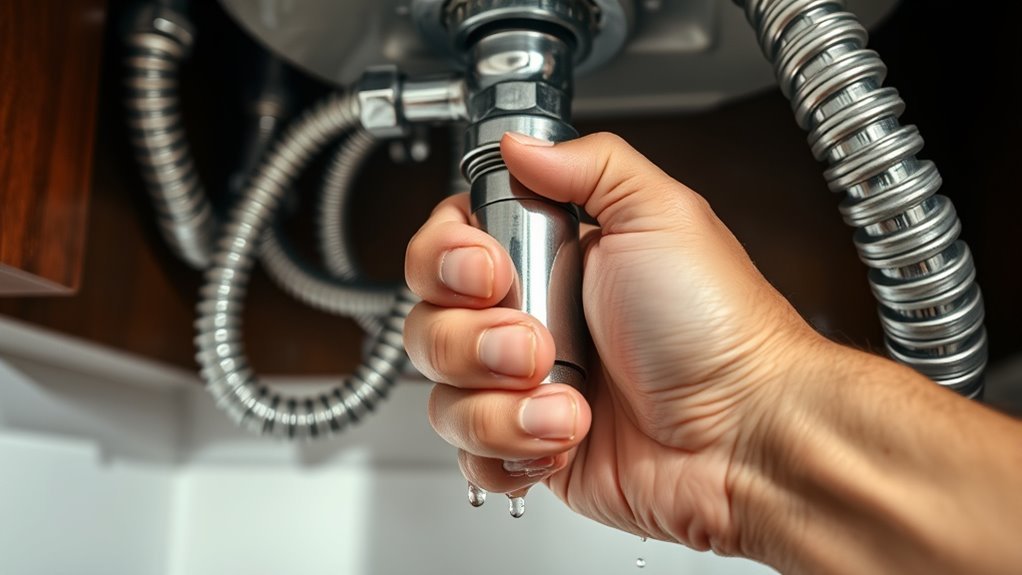
Before you start replacing your kitchen faucet, you need to turn off the water supply to avoid leaks and water damage. First, find the shutoff valve under your sink. You’ll usually see two—one for hot water and one for cold.
Turn each shutoff valve clockwise until it stops to completely shut off the water. If you don’t see individual shutoff valves, look for the main water shutoff valve for your home and turn it off.
Once the water is off, open the faucet to release any remaining water and relieve pressure in the lines. This step helps prevent you from getting sprayed when disconnecting the faucet.
Opening the faucet releases leftover water and pressure, preventing unexpected sprays during faucet removal.
Double-check that the water is fully off before you move on. Taking these precautions keeps your workspace dry and helps you avoid spills while replacing your kitchen faucet.
Tools Needed to Replace a Kitchen Faucet
You’ll need a few essential tools to replace your kitchen faucet efficiently and safely. Having the right tools on hand makes the process smoother, no matter what type of faucet you’re working with. Proper tools also help you follow installation tips more easily, ensuring everything fits securely and doesn’t leak.
Here’s a handy list of tools you should gather before you start:
| Tool | Purpose |
|---|---|
| Adjustable Wrench | Tightening and loosening nuts |
| Basin Wrench | Reaching nuts in tight spaces |
| Screwdriver | Removing screws on faucet fixtures |
| Plumber’s Tape | Sealing threaded connections |
| Bucket | Catching water during removal |
Once you’ve got these tools ready, you’ll be prepared to tackle any faucet replacement with confidence. This will also help you avoid common pitfalls along the way. Next, you’ll learn how to remove your old kitchen faucet step-by-step.
How to Remove Your Old Kitchen Faucet
Start by turning off the water supply valves under your sink to prevent any leaks while you work. Next, open the faucet to release any remaining water pressure. Place a bucket underneath to catch drips.
Depending on your faucet type, you may need to disconnect the water supply lines using an adjustable wrench. Loosen the mounting nuts securing the faucet to the sink from beneath. Some faucets have clips instead of nuts, so check your specific faucet type for details.
Use an adjustable wrench to disconnect supply lines and loosen mounting nuts or clips beneath the sink.
Once loosened, carefully lift the old faucet away from the sink. Keep the mounting hardware if it’s reusable or discard it if worn. Installation tips suggest noting how the old faucet was positioned and what fittings were used.
This helps ensure a smooth change when you install the new faucet. With the old faucet removed, you’re now ready for the next step in the replacement process.
How to Clean and Prep Your Sink for the New Faucet
Before you go installing your new faucet, it’s a good idea to remove any leftover residue from the old one. This way, you’ll ensure everything fits smoothly without any hiccups.
Next, give the sink surface a good, thorough cleaning. You want to make sure there’s no dirt or grime that could interfere with the seal. Taking these simple steps now will help your new faucet sit securely and look fantastic once it’s installed.
Remove Old Faucet Residue
Scrape away any old putty, caulk, or grime stuck around the sink where the faucet connects. Use a plastic scraper or putty knife so you don’t scratch the sink surface.
For stubborn spots, try a commercial faucet adhesive remover or a mix of warm water and mild detergent. Let it sit for a few minutes, then gently scrub with a soft brush to lift the residue.
Avoid harsh abrasives that could scratch your sink. These cleaning steps help ensure the surface is smooth and free from old adhesive, which could mess up the new faucet’s seal.
Once you’ve removed all the buildup, wipe the area with a damp cloth and dry it thoroughly. This prep work helps make sure the new faucet installs securely and without leaks.
Clean Sink Surface
A clean sink surface is essential for ensuring your new faucet seals properly and stays secure. Start by thoroughly washing the area with a non-abrasive cleaner to remove grime and old sealant. This step helps prevent leaks and guarantees a tight fit.
After rinsing, dry the surface completely to avoid moisture interfering with the seal. Proper surface preparation sets the foundation for a successful installation.
| Feeling | Why It Matters |
|---|---|
| Confidence | Knowing your faucet won’t leak |
| Satisfaction | Clean workspace makes installation easier |
| Relief | Avoiding water damage |
| Pride | A neat sink shows your care |
| Excitement | Ready for your new faucet |
How to Choose the Right Replacement Kitchen Faucet
Choosing the right replacement kitchen faucet means considering both your sink’s configuration and your daily needs. You want a faucet that not only fits well but also complements your kitchen’s style and functionality. Here’s how to narrow down your options:
- Faucet styles and finish options: Pick a style—modern, traditional, or adaptive—that matches your kitchen. Choose a finish like chrome, brushed nickel, or matte black to suit your décor.
- Installation types and size compatibility: Confirm if your sink has one, two, or three holes and select a faucet designed for that setup. Measure to guarantee it fits without crowding.
- Flow rates and budget considerations: Look for faucets with efficient flow rates to save water. Set a budget but balance cost with quality.
- Brand recommendations and warranty details: Choose reputable brands known for durability. Check warranty terms to protect your investment.
How to Install Your New Kitchen Faucet
Once you’ve picked out your perfect faucet, it’s time to install it. Start by fitting the faucet through the mounting holes on your sink or countertop. Make sure the features, like the spray hose or handle orientation, match your setup.
Secure the faucet underneath using the provided mounting nuts. Tighten them firmly but don’t overdo it to avoid damage. Attach any extra parts included with your faucet, like weights for pull-down sprayers or escutcheon plates.
Firmly tighten mounting nuts and add any extras like weights or escutcheon plates for a secure fit.
Follow the installation tips that come with your faucet, as they often highlight important steps specific to your model. Before moving on, double-check that the faucet is straight and all parts are tight.
Proper alignment helps ensure smooth operation and prevents leaks. Installing your new kitchen faucet carefully sets the stage for a functional upgrade that looks great and works perfectly.
How to Connect Water Supply Lines Without Leaks
Two critical steps will help you connect water supply lines without leaks: ensuring clean, properly seated connections and using the right tools to tighten fittings securely. Properly connecting these lines is essential to handle water pressure and prevent leaks.
Follow these steps to connect your water supply lines correctly:
- Clean the threads and connection points thoroughly to remove debris or old sealant.
- Hand-tighten the supply line fittings first, making sure they’re properly seated.
- Use an adjustable wrench to snugly tighten the fittings. Be careful not to overtighten, as this can damage threads or washers.
- Perform a thorough leak detection by visually inspecting all connections after turning on the water supply.
How to Test Your New Kitchen Faucet
Before you finish installing your new kitchen faucet, it’s a good idea to test it and make sure everything works properly without leaks.
Start by slowly turning the water supply back on. Then, check the faucet by running both hot and cold water, making sure the flow is smooth and the handles move easily.
Next, look for any drips or moisture around the connections and base—that could mean a leak.
For the pressure test, turn the water on at full blast and watch closely. Listen for unusual noises or notice if the water flow fluctuates, which could be a sign of installation issues.
If your faucet has a sprayer, test it too. Make sure it works well and doesn’t leak.
Once you’re sure everything functions perfectly and there are no leaks, you can confidently finish up your installation. Your new kitchen faucet should be ready for regular use.
Troubleshooting Common Kitchen Faucet Problems
If your new kitchen faucet isn’t working right, don’t worry—you can usually fix common issues yourself. Here’s how to handle typical problems like leaks or noise.
- Faucet leaks and drips: Tighten connections and check for worn washers or seals. If leaks keep happening, you might need to replace the cartridge.
- Low pressure: Check the aerator and supply lines for debris buildup. Sometimes, installation mistakes can restrict flow.
- Noisy operation: Air trapped in pipes or loose parts can cause noise. Bleed the system and tighten fittings to quiet things down.
- Handle issues: If the handle feels stiff or loose, inspect the cartridge and mounting hardware. Proper alignment during installation helps prevent future problems.
Keep an eye out for water stains around the base, which often mean hidden leaks. Fixing these early ensures your faucet runs smoothly and avoids costly repairs.
How to Maintain Your Kitchen Faucet for Longevity
Although kitchen faucets are built to last, regular maintenance helps you avoid unexpected issues and keeps them working smoothly for years. Start by performing regular inspections to spot leaks or loose handles early.
Pay attention to water quality because hard water can cause buildup. Using a water softener or filtered water helps prevent mineral deposits.
Handle maintenance is essential—tighten or adjust handles if they become stiff or wobbly. Use proper cleaning techniques, avoiding harsh chemicals. A mild soap and soft cloth usually do the trick.
Practice leak detection by checking under the sink and around connections frequently. Watch for signs like persistent leaks or corrosion even after repairs.
If you notice any of these signs, consider consulting installation tips before attempting a replacement. This helps ensure a secure fit and avoids damage.
Staying proactive with these steps will extend your faucet’s lifespan and keep your kitchen running efficiently.
Frequently Asked Questions
What Types of Kitchen Faucets Are Best for Hard Water Areas?
For hard water areas, you’ll want faucet materials like brass or stainless steel since they resist corrosion and mineral buildup better. These materials are more durable and can handle tough water conditions.
Avoid chrome finishes because they show water spots easily, making your faucet look less clean. Instead, opt for finishes that hide mineral deposits better.
Look for faucets with ceramic disc valves. They handle hard water well and tend to last longer, reducing maintenance needs.
You can also consider solutions like built-in water softeners or easy-to-clean aerators. These features help keep your faucet functioning smoothly despite tough water conditions.
Can I Replace a Kitchen Faucet Myself or Should I Hire a Plumber?
You can definitely replace a kitchen faucet yourself if you’re comfortable with basic DIY installation. It’s a manageable task with the right tools. Doing it yourself helps you avoid plumbing costs and gives you control over the process.
However, if you’re unsure about handling plumbing connections or face complicated setups, hiring a plumber guarantees the job’s done correctly. This can prevent leaks or damage down the line.
Weigh your skills against potential risks before deciding.
How Long Does a Typical Kitchen Faucet Replacement Take?
A typical faucet installation usually takes about 1 to 2 hours. If you’re doing it yourself, remember to have the right tools and turn off the water supply properly.
If your plumbing setup is simple, you’ll get it done quickly. But unexpected issues can sometimes slow things down, so it’s good to be prepared.
Planning ahead and reading the instructions can help you get through the process smoothly and without stress.
Are There Eco-Friendly Kitchen Faucet Options Available?
You know what they say, “A penny saved is a penny earned.” Yes, there are eco-friendly kitchen faucet options available that use green materials like recycled metals and BPA-free plastics.
These faucets also focus on water conservation by reducing flow without sacrificing pressure. Choosing one helps you save water and energy, which can cut your utility bills while supporting a greener planet.
What Warranty Should I Expect With a New Kitchen Faucet?
You should expect warranty coverage that protects against leaks, drips, and defects for at least one to five years, depending on the brand. Many high-quality faucets offer lifetime warranties to guarantee faucet longevity and your peace of mind.
Always check the fine print to understand what’s included and excluded. A solid warranty shows the manufacturer trusts their product, so you can invest confidently in a faucet that lasts longer.
Conclusion
Now that you know how to turn off the water, remove the old faucet, and install the new one, you’re all set for a fresh kitchen upgrade.
Remember to clean your sink before installing the new faucet. Picking the right faucet and connecting water lines carefully will make a big difference.
Test for leaks and troubleshoot any issues to ensure everything works smoothly.
Regular maintenance of your kitchen faucet will keep it running well for years to come.
By following these steps, you’ll save time, avoid headaches, and enjoy your upgraded kitchen faucet for a long time.