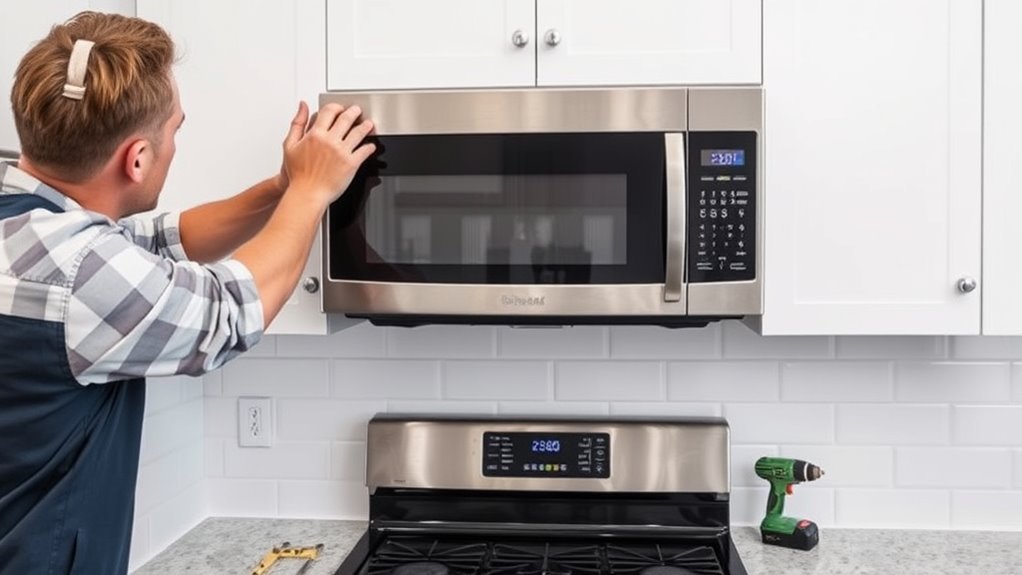
How to Install an Over the Range Microwave: A Step-by-Step Guide
Installing an over-the-range microwave can seem like a daunting task, especially if you’re not sure where to start. Many people struggle with figuring out the right tools or the safest way to mount it without damaging their cabinets or walls.
If you’re feeling overwhelmed, you’re not alone—this is a common challenge for homeowners.
To install an over-the-range microwave, start by measuring your space and gathering tools like a drill, screwdriver, and stud finder.
Mark and reinforce mounting points on wall studs and the cabinet. Safely connect electrical wiring by turning off power first.
Secure the microwave on the bracket with screws, ensuring it’s level and stable.
Finally, test the microwave and ventilation system for proper function.
Follow these basics, and you’ll find detailed tips below to make the process smoother.
Key Takeaways
- Measure the installation space and microwave dimensions to make sure it fits well with enough clearance above the stovetop.
- Find the wall studs and mark where you’ll drill the mounting holes. Use a level and template to keep everything straight.
- Turn off the power, safely connect the electrical wiring, and double-check that the outlet is off before hooking everything up.
- Secure the microwave with the right screws, and have a helper help you keep it level and steady during installation.
- After everything is in place, test the ventilation, airflow, and microwave functions to make sure it’s working properly.
Measure Space and Microwave Dimensions
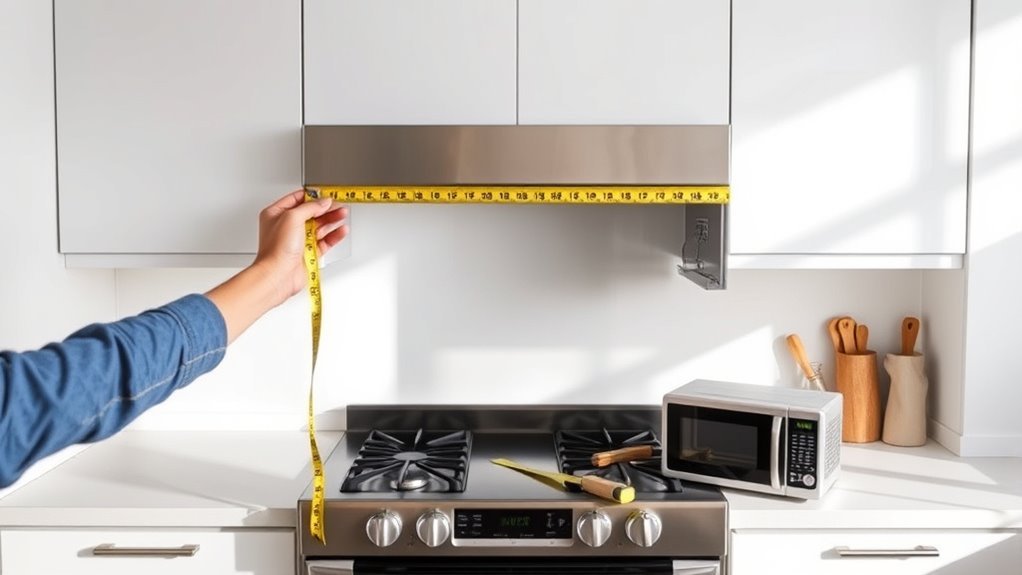
Before you install your over-the-range microwave, measure the available space carefully. Start by checking the width, height, and depth of the spot above your stove where the microwave will go. Compare these with the microwave dimensions listed in the product specs to make sure it fits.
Don’t forget to consider any nearby cabinets or venting systems that might affect installation. Also, think about how much kitchen space you have for comfortable use. Ensure there’s enough clearance between the microwave and your stovetop for safe cooking and easy access.
If your kitchen space is tight, choosing a microwave with compact dimensions that still meet your needs will be important. Taking accurate measurements now helps prevent costly mistakes later.
Gather Tools and Materials for Installation
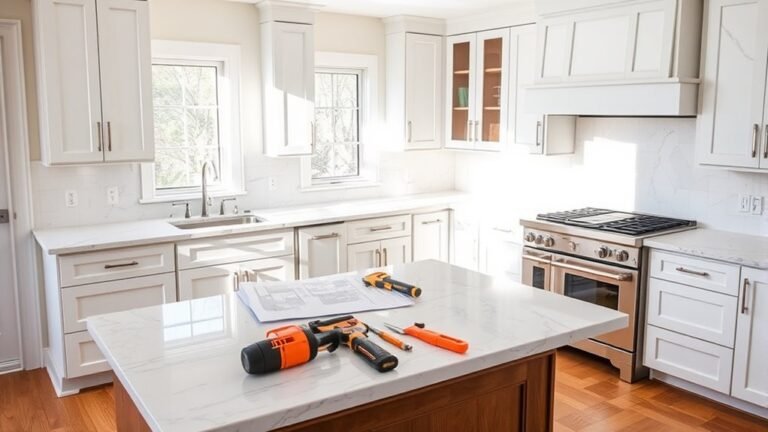
When you’re ready to install your over-the-range microwave, gather all the necessary tools and materials first. This helps make the process smoother and avoids last-minute trips to the hardware store.
Having a clear installation checklist is a great way to stay organized. It also ensures you have everything you need before you start. Focus on tools that match your microwave’s mounting requirements and your kitchen setup.
Common tools you’ll want to have include a drill, screwdriver, level, tape measure, and stud finder. These are essential for a secure and even installation.
Here’s a simple checklist to guide you through the process:
| Tool/Material | Purpose | Notes |
|---|---|---|
| Drill & Bits | Drilling holes | Use the right size bits for your screws |
| Stud Finder | Locate studs | Critical for a secure mount |
| Level | Confirm even placement | Helps prevent uneven installation |
Locate and Mark Mounting Holes
With your tools and materials ready, you’ll now focus on locating and marking the mounting holes for your microwave. Start by placing the mounting template on the wall where you want the microwave installed. Make sure the template is level and aligned with the bottom of the cabinet above.
The template will show you exactly where to drill, but it’s important to line up the mounting holes with a wall stud for secure support. Use a stud finder to locate the stud behind the drywall, then adjust the template so the mounting holes align with the stud.
Once positioned correctly, use a pencil to mark the spots for the mounting screws through the template. These marks will guide your drilling and help ensure your microwave is safely anchored. Double-check all measurements before removing the template, as precise marking is key to a successful installation.
Reinforce Wall and Cabinet for Microwave Installation
Two key areas need reinforcement to safely support your over-the-range microwave: the wall and the cabinet above. First, focus on wall support by locating the studs behind your drywall. Use a stud finder to mark their exact positions. Attach a sturdy wooden backing board or a metal mounting plate directly to these studs to provide a strong base for the microwave’s weight. This step guarantees the wall can handle the load without damage.
Next, check the cabinet strength. The cabinet above must be solid enough to bear the microwave’s weight, especially where the mounting screws will go. If the cabinet is weak or hollow, reinforce it with plywood or additional framing inside. This prevents the cabinet from sagging or loosening over time. Reinforcing both the wall and cabinet ensures a secure, long-lasting installation so your microwave stays safely in place.
Secure the Mounting Bracket
After reinforcing the wall and cabinet, you’re ready to attach the mounting bracket that will hold your microwave in place. First, double-check the mounting height to make sure it matches the manufacturer’s specifications. This step is crucial for proper ventilation and ease of use.
Position the bracket against the wall where you marked the studs, making sure it’s perfectly level. Use a level tool to avoid any crooked installation. Once aligned, secure the bracket to the wall with heavy-duty screws or bolts.
Drive the fasteners into the studs or reinforced areas you prepared earlier. Tighten each one firmly to prevent any movement, but be careful not to strip the screws. Confirm the bracket is stable and fully supports the weight it’s designed for.
Proper bracket alignment and correct mounting height will guarantee your microwave sits securely, functions safely, and looks professional once installed.
Connect the Microwave’s Electrical Wiring Safely
Before you begin connecting the microwave’s wiring, it’s really important to turn off the power at the breaker. Trust me, this step is crucial to prevent any electrical shocks or potential damage. Once you’ve cut the power, take your time to carefully secure all the wire connections, making sure to follow the manufacturer’s instructions. That way, everything will be safe and properly installed.
Turn Off Power Supply
To safely connect your over-the-range microwave’s electrical wiring, you’ll need to turn off the power supply at the circuit breaker. This essential step prevents electrical shock and guarantees you can work confidently with your power tools.
Before starting, double-check that the microwave’s circuit is completely off by testing the outlet with a voltage tester. Always follow safety precautions: wear insulated gloves and keep the workspace dry.
Avoid relying solely on the microwave’s power switch, as it doesn’t disconnect power at the source. Turning off the breaker ensures no accidental current flows while you handle wiring.
Taking these steps protects you and your new appliance, setting a safe, solid foundation for the next phase of your installation.
Secure Wire Connections
With the power safely switched off, you can now focus on connecting the microwave’s electrical wiring. Start by stripping about half an inch of insulation from each wire end, making sure not to nick the copper strands.
Use wire nuts to join the corresponding wires—black to black, white to white, and green or bare copper to ground. Make sure these connections are tight to keep good contact and prevent loose wires, which could cause shorts or electrical hazards.
Twist the wires together before capping them, and wrap each connection with electrical tape for extra safety. Finally, tuck the wires neatly into the junction box to avoid pinching when you mount the microwave.
This careful approach guarantees a safe, reliable electrical connection for your new appliance.
Mount the Microwave on the Bracket
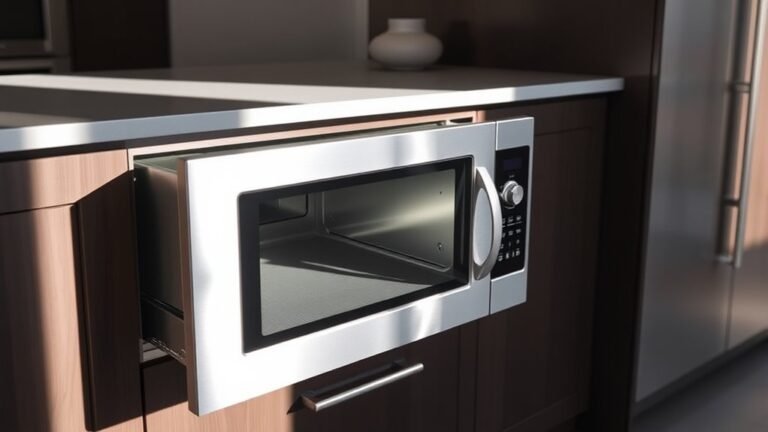
Lift the microwave carefully and align it with the mounting bracket on the wall. Make sure the bracket is lined up correctly, so the microwave sits securely and evenly. You might want a helper to hold the microwave steady while you check the alignment.
The bottom of the microwave should hook onto the bracket firmly, giving it initial stability before you fasten it. Once it’s resting on the bracket, give it a gentle wiggle to make sure it’s stable and well-supported.
Proper bracket alignment helps prevent strain on the microwave and avoids issues like tilting or falling later. Take your time to ensure it’s level and flush against the wall.
After the microwave is securely on the bracket, you’re ready to move on to securing it with screws and supports. This careful step helps protect your appliance and ensures safe, long-term use.
Secure the Microwave With Screws and Supports
Once the microwave rests securely on the bracket, the next step is to fasten it firmly in place. Proper mounting techniques ensure your microwave stays stable and safe during use. Start by aligning the screw holes on the top of the microwave with the cabinet above. Use the screws provided with your microwave kit to attach it securely. Don’t forget to check the manufacturer’s instructions for recommended screw sizes and torque.
Keep these safety tips in mind while securing the microwave: Use a drill with the right bit to avoid stripping screws. Have a helper hold the microwave steady while you fasten the screws. Double-check that all screws are tight but not overtightened. Attach any extra supports or braces as specified. Finally, verify that the microwave is level before tightening everything completely.
Test the Microwave and Ventilation System
Now that you’ve got the microwave installed securely, go ahead and turn it on to see if it’s working properly. It’s always good to double-check that it heats up and operates smoothly before wrapping things up.
Next, let’s move on to the ventilation system. Turn it on and listen carefully—are there any strange noises or anything that sounds off? If everything sounds normal, you’re probably good to go.
Finally, don’t forget to test the exhaust airflow. Just hold a piece of paper or tissue near the vent to see if it’s venting effectively. If it sticks or gets pulled toward the vent, then it’s working well.
Power On Microwave
Start by plugging in your microwave and turning on the power to make sure everything works properly. It’s important to check that the microwave is getting power safely before using it.
Next, see if the display lights up without flickering, and press some buttons to see if the control panel responds. Running the microwave for 30 seconds can help you test if it heats correctly.
Listen for any unusual noises, as these could indicate electrical problems. When you open the door, check that the interior light turns on.
If you notice any issues, unplug the microwave immediately and inspect the electrical connections. This quick check helps ensure your microwave is safe and ready for regular use.
Check Ventilation Functionality
Before finishing the installation, test the ventilation system to make sure it’s working properly. Turn on the microwave’s fan and listen for consistent airflow or motor noise.
Check that the fan speed settings respond correctly and that the light above the microwave works as expected. Depending on your ventilation type—recirculating or ducted—make sure it directs air the right way.
For ducted options, confirm the vent routes air outside without leaks or blockages. For recirculating types, verify the charcoal filters are installed correctly and that air is filtered and expelled back into the kitchen.
This step ensures your microwave’s ventilation functions efficiently, helping prevent smoke or odors from lingering while you cook. Don’t skip it—proper ventilation improves kitchen air quality and appliance performance.
Test Exhaust Airflow
Although you’ve checked the ventilation system, it’s important to thoroughly test the exhaust airflow to make sure your microwave and ventilation work well together. Proper airflow testing helps ensure your exhaust fan removes smoke, steam, and odors effectively.
Here’s how to do it: Turn on the microwave’s exhaust fan at its highest setting. Then, place your hand near the vent to feel the airflow strength. You can also use a tissue or lightweight paper to see if it’s pulled toward the vent.
Pay attention to any unusual noises from the exhaust fan, which could indicate blockages. Finally, check outside vent openings to make sure air is exiting freely and nothing is obstructing the airflow.
Troubleshoot Common Power, Mounting, and Ventilation Issues
When you run into problems with power, mounting, or ventilation during your over-the-range microwave installation, quickly identifying the issue can save you time and frustration.
For power issues, start by making sure the microwave is plugged in properly and that the circuit breaker hasn’t tripped. If it still won’t turn on, try plugging another device into the outlet or use a voltage tester to check for power.
Mounting problems usually come from misaligned brackets or uneven cabinets. Double-check that all screws are tight and that the microwave sits flush against the wall for a secure fit.
Ventilation issues often happen because of blocked ducts or improper vent connections. Make sure the exhaust path is clear and that the vent hood is firmly attached.
Use these troubleshooting tips to identify and fix common problems before you finish the installation. Taking these steps helps ensure your microwave runs safely and efficiently, saving you from costly repairs or reinstallation later.
Frequently Asked Questions
Can I Install an Over the Range Microwave Without Professional Help?
Yes, you can handle a DIY installation of an over the range microwave if you follow safety precautions carefully. Make sure you understand the electrical and mounting requirements before starting.
Use a sturdy ladder, turn off power at the breaker, and have a helper to assist with lifting. If you’re unsure about wiring or securing the unit, it’s best to call a professional to avoid risks or damage.
What Is the Average Cost of Installing an Over the Range Microwave?
Think of installing your microwave like planting a sturdy tree. It needs the right tools and care to grow safely.
On average, you’ll spend around $100 to $300 for professional installation. This covers securing the unit and making sure your microwave is safe to use.
If you handle the installation yourself, costs drop. But you need to follow safety guidelines closely to avoid any issues.
Proper setup keeps your kitchen efficient and your microwave running smoothly without hazards.
How Do I Choose Between Vented and Non-Vented Microwave Models?
You’ll want to weigh venting options carefully when choosing between vented and non-vented microwave models. If your kitchen already has ductwork or you prefer to push odors outside, go for a vented model.
Non-vented microwaves recycle air through charcoal filters, which is great if you can’t vent outside. Keep installation tips in mind—vented units need proper duct setup, while non-vented ones are easier to install but might need more filter changes.
Are There Specific Brands Recommended for Over the Range Microwaves?
You’ll find that brands like GE, Whirlpool, and Samsung lead the market with over 85% positive customer reviews, showing strong brand reliability. These brands consistently top performance and durability charts, making them safe bets.
Checking customer reviews helps you spot common issues and benefits, so you can pick a microwave that fits your needs. Don’t just settle—choose a brand known for quality to avoid headaches later.
How Often Should I Clean the Microwave’s Ventilation Filters?
You should clean your microwave’s ventilation filters every one to three months to keep them working properly.
How often you clean them really depends on how much you cook and what kind of food you prepare. If you’re frying or making greasy meals, it’s a good idea to clean them more often.
Regular cleaning prevents buildup, improves airflow, and helps your microwave run efficiently.
Don’t forget to check your manufacturer’s instructions for any specific cleaning tips.
Conclusion
Well, now that you’ve mastered the art of balancing a heavy microwave above your stove without turning your kitchen into a disaster zone, you’re basically a home installation hero.
Just remember, if the microwave doesn’t turn on or the ventilation sounds like a jet engine, it’s not you. It’s probably the wiring or mounting.
So take a breath, double-check your work, and enjoy your perfectly installed over the range microwave that’s now officially out of your reach!