How to Reset Ice Maker: A Step-by-Step Guide
Many people struggle with their ice maker suddenly stopping or making strange noises, which can be frustrating, especially when you need ice fast.
You’re not alone—these issues happen more often than you’d think, but the good news is, they’re usually fixable.
If your ice maker stops producing ice or makes strange noises, start by unplugging it and removing the ice bin to access the reset switch or metal arm.
Clear any ice or water inside, then wait about 10 minutes before restoring power. This often resolves common issues like jams or sensor glitches.
Make sure to check the water supply and freezer temperature afterward to ensure everything runs smoothly.
You’ll find helpful tips to prevent future problems and test your ice maker for consistent performance.
Key Takeaways
- Unplug the ice maker or turn off the circuit breaker before you start to make sure you’re safe.
- Take out the ice bin and find the reset switch or the metal arm inside the unit.
- Adjust or press the reset button and wait about 10 minutes before turning the power back on.
- Clear away any ice or water inside the machine to prevent leaks and improve the quality of the ice.
- Once you’ve reset it, keep an eye on the ice production and check the water supply, temperature, and for any blockages.
Signs Your Ice Maker Needs a Reset
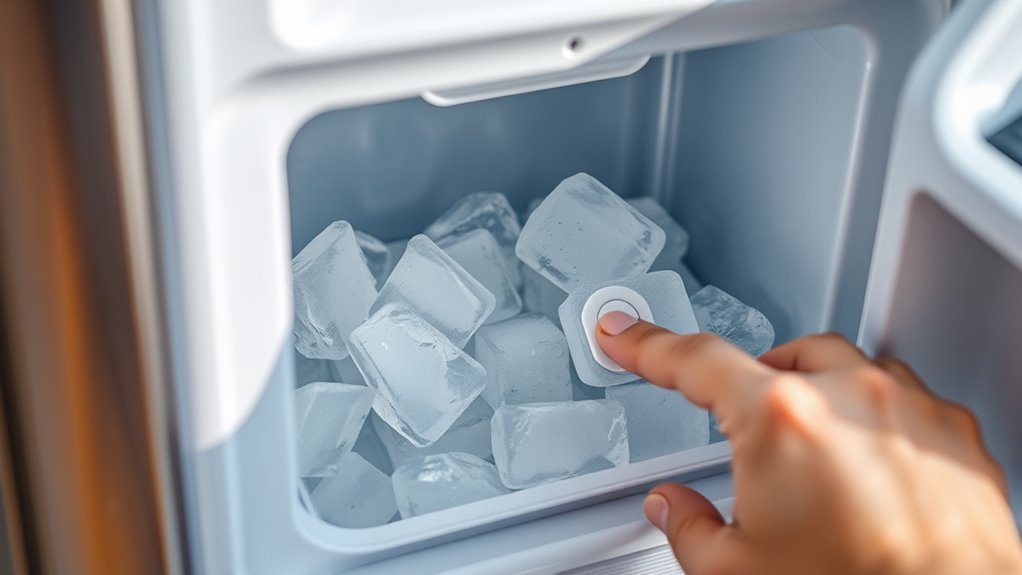
If your ice maker stops producing ice or makes strange noises, it might be a sign you need to reset it. Sometimes, issues like a jammed ice tray, a clogged water line, or a faulty sensor can cause these problems.
When you notice these signs, it’s important to act quickly to prevent a full breakdown. Basic troubleshooting, like checking for blockages or making sure the water supply is on, can often do the trick.
Act promptly by checking for blockages and water supply to avoid a full ice maker breakdown.
Resetting the ice maker can sometimes fix the issue by recalibrating its internal parts. Ignoring these warning signs might lead to inconsistent ice production or no ice at all.
Pay attention to these clues and try troubleshooting first. Doing so can save you time and frustration and help your ice maker run smoothly again without needing costly repairs.
How to Safely Prepare Your Ice Maker for Resetting
Before you go ahead and reset your ice maker, it’s a good idea to turn off the power first. This helps prevent any electrical issues while you’re working on it.
Then, make sure to clear out any ice and water that’s inside the machine. Doing this will help avoid leaks or potential damage during the reset process. Following these simple steps will make sure you reset your ice maker safely and without any hiccups.
Power Off Appliance
Start by unplugging your ice maker or switching off its power at the circuit breaker to ensure safety while resetting.
Cutting off the power source prevents electrical hazards and protects the appliance’s internal components during maintenance. Before you begin, double-check that the appliance is completely off—no lights or sounds should indicate it’s still powered.
This step is vital for your safety and makes sure the reset process won’t cause damage. Avoid relying solely on the control panel’s off button since the ice maker might still receive electricity.
Once the power is off, you’re ready to proceed with the reset without risking shocks or short circuits. Properly powering down your ice maker is an essential part of effective appliance maintenance.
Clear Ice and Water
Drain any remaining ice and water from your ice maker to prevent spills and ensure a smooth reset process. Clearing out old ice and water also helps improve ice clarity and maintains water quality. This is key for getting fresh, clean ice after resetting.
Follow these simple steps to prepare your ice maker safely:
- Remove any ice cubes or ice trays inside the compartment.
- Use a towel to soak up excess water from the ice bin and surrounding areas.
- Check the water filter for cleanliness and replace it if needed to keep the water quality high.
- Wipe down the interior surfaces with a damp cloth to remove any residue that could affect ice clarity.
Taking these precautions before resetting helps your ice maker work better and produces clearer, better-tasting ice.
Step-by-Step Guide to Resetting Your Ice Maker
When your ice maker isn’t working right, resetting it can often fix the problem quickly. Start by unplugging the fridge or turning off the power to stay safe.
Next, take out the ice bin to get access to the ice maker. Look for the metal arm or switch, then gently lift or lower it to reset the mechanism.
Wait about 10 minutes before plugging it back in and putting the ice bin back in place. This simple step can solve common issues and is an important part of ice maker maintenance.
Here’s a quick overview to guide you:
| Step | Action | Tip |
|---|---|---|
| 1 | Power off | Unplug or switch off power |
| 2 | Remove ice bin | Clear access to mechanism |
| 3 | Reset arm/switch | Move arm gently up/down |
Following these troubleshooting tips helps keep your ice maker working well and can prevent frequent problems.
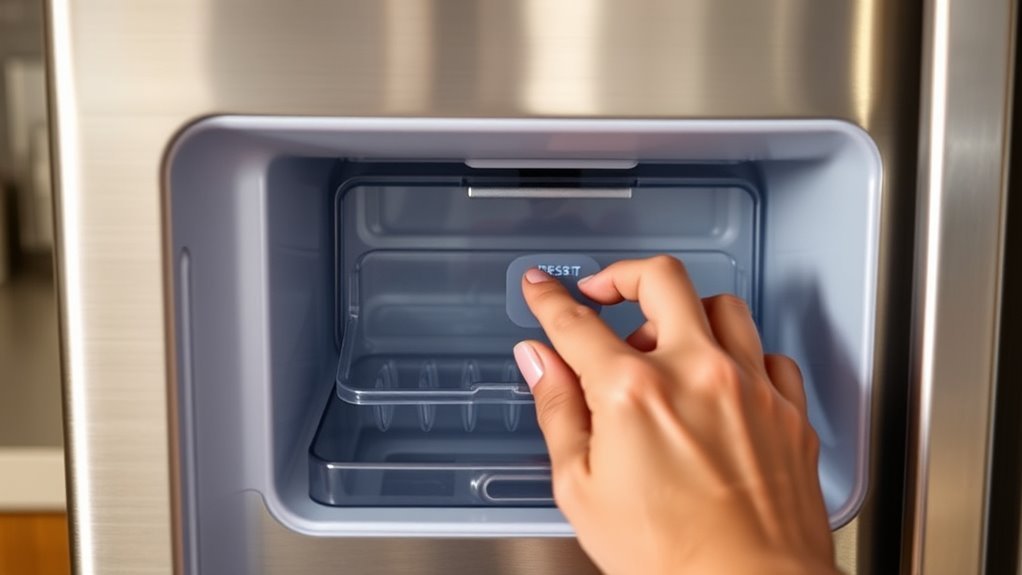
Resetting an Ice Maker With a Reset Button
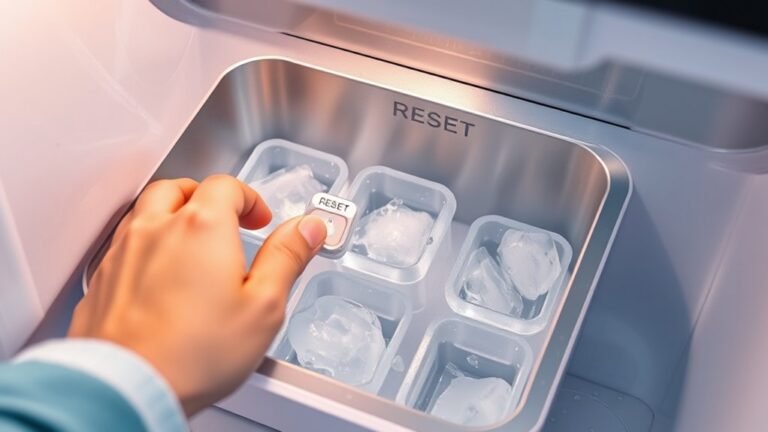
If your ice maker has a reset button, it’s a quick and easy way to fix common problems without removing parts or waiting around. This feature makes maintenance much simpler and is one of the most user-friendly troubleshooting methods you can try.
Here’s how to do it:
- Find the reset button, usually inside the freezer or on the ice maker unit.
- Press and hold the button for about 10 seconds until you hear a click or see the ice maker start to cycle.
- Wait a few minutes for the reset process to finish.
- Keep an eye on the ice production to see if the reset fixed the issue.
Using the reset button helps you avoid manual adjustments and cuts down on downtime. It’s a good first step before trying more complicated fixes or calling a technician. Always check your refrigerator’s manual for specific instructions for your model.
Manually Resetting an Ice Maker Without a Button
Although some ice makers don’t have a reset button, you can still reset them manually by following a few simple steps.
First, find the ice maker’s power source—usually a plug or a switch inside the freezer. Unplug it or turn off the switch to cut power.
Wait about 10 minutes so the system can fully reset. While waiting, check the ice maker for any visible issues like jammed ice cubes or frozen water lines.
After that, plug it back in or turn it on. Open the freezer door; some models need you to press the ice tray gently to restart ice production.
You might hear the motor start or see the tray move. This manual reset often fixes common problems and helps your ice maker work smoothly again without a reset button.
How to Reset Different Types of Ice Makers
Since ice makers vary widely in design and features, the reset process depends on the type you have. Knowing what kind of ice maker you’re dealing with helps you troubleshoot more effectively and get it working again quickly.
Understanding your ice maker type is key to troubleshooting and resetting it efficiently.
For built-in refrigerator ice makers, look inside the freezer for the reset button. Press and hold it for about 10 seconds until the motor cycles.
Stand-alone ice machines should be turned off first. Then unplug the unit for a few minutes before plugging it back in and restarting to reset the system.
Portable ice makers typically have a power button or a dedicated reset button. You can also power cycle the machine by unplugging it and plugging it back in.
Commercial ice makers usually require a specific reset sequence. Check the user manual for instructions involving buttons or control panel options.
Fixing Common Problems After Resetting Your Ice Maker
If your ice maker isn’t freezing up like it should, it could be due to the temperature settings or maybe a problem with the water supply. Sometimes, it’s just a matter of adjusting the thermostat or making sure the water line isn’t clogged or frozen.
You’ll also want to take a quick peek at the reset button—if it’s faulty or not pressed properly, that could cause issues too. Let’s go through some simple steps to troubleshoot these common problems and get your ice maker back to making ice in no time.
Ice Maker Not Freezing
When your ice maker isn’t freezing properly after a reset, it’s a good idea to check a few key things before assuming there’s a major problem. Proper maintenance can go a long way in preventing freezing issues.
First, make sure the freezer temperature is set between 0°F and 5°F. If it’s warmer, the ice might not freeze properly.
Next, check the ice maker’s sensor or thermostat for any dirt or blockages. These can cause false readings and affect freezing.
Also, inspect the ice mold for any ice blockages or debris that could be stopping proper freezing.
Finally, verify the power supply and wiring connections of the ice maker. Electrical problems can sometimes be the culprit.
Following these simple steps often fixes freezing issues without needing professional help.
Water Supply Issues
Although resetting your ice maker can fix many problems, water supply issues often stick around and stop it from working properly. Start by checking the water line for pressure to make sure it’s delivering enough flow.
Next, look at the valve for any signs of malfunction and tighten loose connections that could be causing leaks. Don’t forget to check for hose blockages, which can restrict water flow and lower ice production.
Leak detection is important—small drips can impact performance. If the water tastes off or flow seems weak, consider replacing the filter since clogged ones reduce efficiency.
Finally, keep the freezer at the right temperature. If it’s not cold enough, water supply problems can get worse and affect ice formation. Following these steps should help get your ice maker working smoothly again.
Reset Button Troubleshooting
Water supply issues often cause ice makers to stop working, but sometimes resetting the unit doesn’t fix everything. If your ice maker still isn’t working after pressing the reset button, you’ll want to troubleshoot further.
First, check where the reset button is. It’s usually inside the ice maker compartment or on the control panel. Knowing what the reset button does is important; it restarts the ice-making cycle but won’t fix mechanical or electrical problems.
Next, verify that the ice maker is properly plugged in and has power. Then, inspect the water inlet valve for blockages or leaks. Also, examine the ice mold for frozen water that might be causing jams.
Finally, test the thermostat to make sure it’s regulating the temperature correctly. Taking these steps helps you identify issues beyond just pressing the reset button.
When to Check Your Ice Maker’s Water Supply and Filter
If your ice maker starts producing smaller or misshapen cubes, check its water supply and filter right away. A weak or inconsistent water supply can cause poor ice formation. Make sure the water line is properly connected and look for any kinks or blockages.
Also, check the water pressure. Low pressure can reduce how much ice you get or affect its quality. Regular filter maintenance is key to keeping your ice maker working well.
A clogged or dirty filter can restrict water flow and introduce impurities. This can change the taste and size of your ice cubes. Be sure to replace the filter as recommended by the manufacturer, usually every six months, or sooner if you notice issues with your ice.
How to Test Your Ice Maker After Reset
Once you’ve checked the water supply and filter, it’s time to see if your ice maker is working properly after the reset. Testing helps ensure your ice is good quality and that the reset was successful.
Here’s how to test your ice maker effectively:
- Listen for Sounds: Within 10-15 minutes, you should hear the motor running or water filling. If you don’t, there might be an issue to check.
- Check Ice Quality: Look at the ice cubes. They should be clear and the right size. Cloudy or misshapen cubes could mean something’s wrong.
- Monitor Ice Production: Over the next 1-2 hours, make sure your ice maker keeps making ice regularly.
- Review Maintenance Tips: Keep your ice maker clean and change filters regularly. This helps maintain good ice quality and avoids problems.
Tips to Prevent Future Ice Maker Problems
Although ice makers are designed to work smoothly, regular care is essential to prevent future problems. Focus on preventive maintenance to keep your ice maker running efficiently.
Start by checking the water supply line for leaks or blockages, as these can affect ice production. Make sure to replace the water filter according to the manufacturer’s recommendations to avoid clogging.
Regular cleaning is another key step. Clean the ice maker’s interior and ice bin every few months to prevent mold and mineral buildup. Use a mixture of warm water and mild detergent, then rinse thoroughly.
Don’t forget to defrost the freezer if you notice ice buildup, as this can interfere with the ice maker’s operation. Proper maintenance helps ensure your ice maker works well for years to come.
Frequently Asked Questions
What Are the Best Brands of Ice Makers on the Market?
You’ll find top ice maker brands like Scotsman, GE, and Frigidaire that offer great features and reliable capacity. Scotsman is known for commercial-quality performance, making it perfect for heavy use.
GE balances advanced features with easy-to-use designs, so it’s a solid choice for most households. Frigidaire gives you good capacity without breaking the bank, ideal if you’re on a budget.
Look for models with fast ice production, adjustable sizes, and simple maintenance. These brands ensure you’ll get efficient, consistent ice whenever you need it.
How Much Does Professional Ice Maker Repair Typically Cost?
Professional ice maker repair costs typically range between $150 and $400, depending on the issue and parts needed.
You can save money by following maintenance tips like regularly cleaning the machine and checking water filters to prevent common problems.
Staying on top of maintenance helps reduce repair costs and prolongs your ice maker’s lifespan, so you won’t have to call a technician as often.
Can I Use Distilled Water in My Ice Maker?
Yes, you can use distilled water in your ice maker, and it actually offers some benefits. Distilled water is free from minerals and impurities, so your ice will be clearer and taste better compared to regular tap water.
When you compare ice quality, distilled water often results in purer, less cloudy ice cubes. Using it can also help reduce mineral buildup inside your ice maker, which might extend its lifespan.
What Is the Average Lifespan of a Home Ice Maker?
You can expect your home ice maker to last around 7 to 10 years with proper maintenance. Regular cleaning and checking for common issues like clogged water lines or faulty sensors will keep it running smoothly.
Ignoring maintenance can shorten its lifespan, leading to leaks or inconsistent ice production. Staying on top of these tasks helps you get the most out of your ice maker over time.
How Do Ice Makers Impact Energy Consumption in Refrigerators?
Ice makers increase energy use and can impact how efficient your fridge is. They also make the compressor work harder to keep everything frozen.
When your ice maker is on, it causes the compressor to run more often to stay cold enough for freezing water. This cycling uses more electricity than a fridge without an ice maker.
To save energy, you can turn off the ice maker when you don’t need ice. Or consider models that are designed to be more energy-efficient and put less strain on the compressor.
Conclusion
Resetting your ice maker is like giving it a fresh breeze to clear away the frost of problems. Follow these steps to get it running smoothly again.
Keep an eye on your water supply and filters—they play a big role in keeping your ice maker happy. Treat your machine with care to avoid future issues.
With just a little attention, your ice maker will keep producing perfect, sparkling ice. Every drink will turn into a revitalizing moment of clarity.
Remember, if you need to reset your ice maker, following these simple steps will help you get back to enjoying fresh ice in no time.