How to Install Kitchen Faucet: A Step-by-Step Guide
Are you tired of dealing with leaky or outdated kitchen faucets? Many homeowners struggle with installing or replacing their faucets, feeling overwhelmed by the process. But don’t worry—you’re not alone, and with a little guidance, you can do it yourself easily.
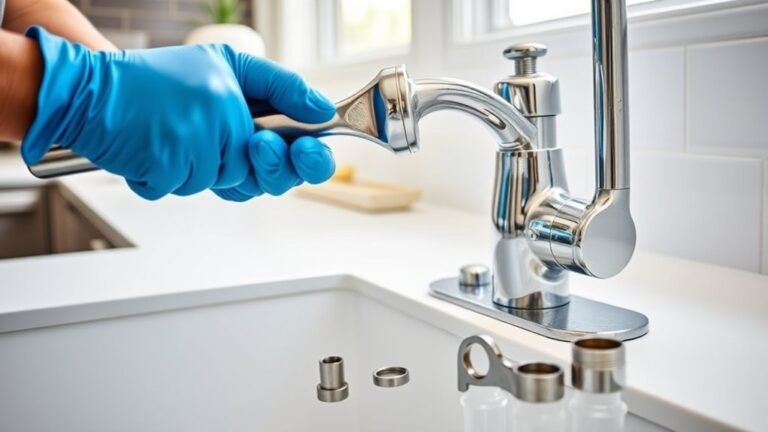
To install a kitchen faucet, first gather your tools and turn off the water supply. Clear and dry the sink area, then remove the old faucet by loosening mounting hardware.
Position your new faucet carefully over the sink holes, tighten the nuts, and connect the water supply lines.
After turning the water back on, test for leaks and smooth operation. Following these steps guarantees a secure, leak-free setup.
You can also look into further tips to handle common issues and maintenance.
Key Takeaways
- Turn off the water supply and release any trapped water by opening the faucet handles before starting the installation.
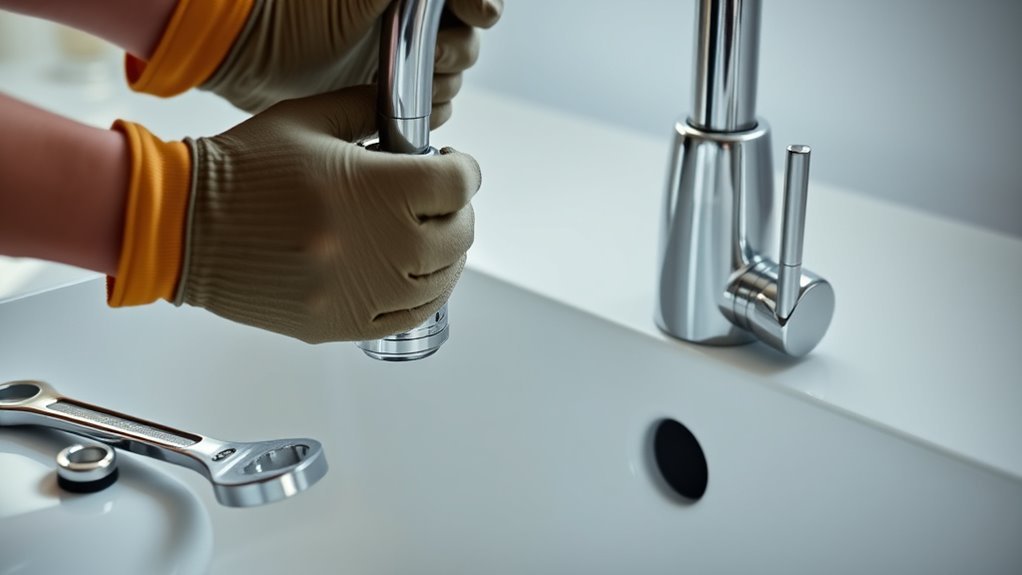
- Remove the old faucet by loosening the mounting nuts and carefully lifting it out.
- Place the new faucet over the sink holes, make sure the gasket is properly aligned, and tighten the mounting nuts securely.
- Connect the hot and cold water supply lines to the faucet, ensuring they are attached correctly and free of debris.
- Turn the water back on, check for leaks, and test the faucet handles to make sure they operate smoothly.
Tools and Materials Needed to Install a Kitchen Faucet
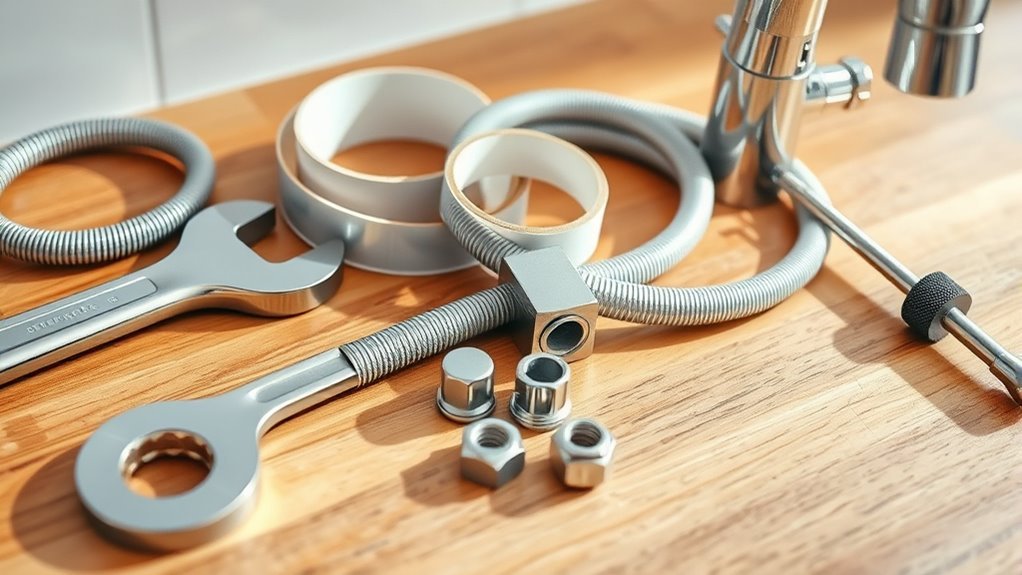
Before you start installing your kitchen faucet, gather all the tools and materials you’ll need. This helps make the whole process smoother and quicker.
First, pick a faucet style that matches your kitchen’s look and your needs. Popular options include single-handle, pull-down, and touchless models. Knowing which style you want will guide you through the installation steps.
Choose a faucet style that fits your kitchen and needs to simplify the installation process.
You’ll need an adjustable wrench, basin wrench, plumber’s tape, and a bucket to catch any water drips. Keep a flashlight nearby so you can see under the sink clearly. Don’t forget to get new supply lines if your old ones are worn out.
It’s a good idea to turn off the water supply before you start. Once everything’s connected, test for leaks to make sure everything’s tight. Having everything ready before you begin helps prevent interruptions and ensures a hassle-free installation.
Prepare Your Sink Area Before Installation
Before you dive into installing your new kitchen faucet, take a moment to clear off the sink surface. It’s always easier to work when everything’s neat and clutter-free.
Also, make sure you’ve got all the tools you’ll need right nearby. That way, you won’t have to stop in the middle of things just to hunt something down.
And don’t forget to turn off the water supply first. It’s a simple step, but it’ll save you from any unwanted leaks or spills while you’re working on it.
Clear Sink Surface
Start by clearing everything off your sink and the surrounding countertop to create a clean workspace. This step is essential for effective sink organization and guarantees you won’t misplace any parts during installation. Remove dishes, soap dispensers, and any other items nearby.
Next, use basic cleaning techniques to wipe down the sink surface thoroughly. A damp cloth with mild detergent works well to remove grime and prevent slipping hazards. Dry the area completely to avoid water damage to tools or faucet components.
Keeping your workspace tidy not only speeds up the installation but also reduces the risk of accidents. By maintaining sink organization and employing simple cleaning techniques, you set yourself up for a smooth, hassle-free faucet installation.
Gather Necessary Tools
Although clearing your sink area sets the stage, gathering the necessary tools makes sure you’re fully prepared for the installation. Different faucet types might need specific tools, so having everything ready helps the process go smoothly and avoids delays. Take some time to familiarize yourself with your faucet’s installation steps to know what you’ll need.
Here’s a list to get you started:
- Adjustable wrench – great for tightening connections without damaging fixtures.
- Basin wrench – ideal for reaching nuts under the sink.
- Plumber’s tape – helps create a watertight seal on threaded connections and prevents leaks.
- Screwdrivers (both flathead and Phillips) – needed for mounting hardware and securing parts.
Having these tools on hand will help you confidently tackle the installation without interruptions.
Turn Off Water Supply
Two main water valves control the flow to your kitchen sink, and turning them off is essential before installing your faucet.
Locate the shut-off valves under the sink, usually one for hot and one for cold water. Turn each valve clockwise to stop the water completely.
This step helps prevent leaks and reduces water pressure, which is important when working with different faucet types.
If your valves are old or stuck, consider shutting off the main water supply to your home. After turning off the valves, open the faucet to drain any remaining water from the lines.
Doing this makes sure your workspace stays dry and makes the installation easier.
Properly turning off your water supply keeps your sink area safe and sets you up for a smooth faucet replacement.
Turn Off and Drain Your Water Supply Safely
Before you begin, make sure to shut off the main water supply valve. This prevents leaks or flooding and helps manage water pressure, especially since different faucet types react differently to pressure changes.
Once the water is off, you’ll want to drain any remaining water from the pipes to keep your workspace dry.
Draining leftover water from pipes helps keep your workspace dry and prevents messes during plumbing tasks.
Follow these steps to turn off and drain your water supply safely:
- Locate the shut-off valves under the sink or at the main supply and turn them clockwise to close.
- Open the faucet handles fully to release any trapped water and relieve pressure.
- Use a bucket or towel to catch drips as water drains from the lines.
- Wait a few minutes to make sure all water has drained before you move on.
Remove the Old Kitchen Faucet Without Damage
Before you get started, it’s a good idea to turn off the water supply completely. This way, you’ll avoid any messy leaks while you’re working.
Once the water’s off, gently loosen the mounting hardware that keeps the faucet in place. Taking your time with these steps will help you remove the old faucet smoothly and without causing any damage.
Turn Off Water Supply
To safely remove your old kitchen faucet, start by turning off the water supply valves under the sink. This ensures there’s no water pressure in the lines, which helps prevent leaks when you’re working.
Next, locate the hot and cold water supply valves under the sink. Turn both valves clockwise until they’re fully closed to stop the water flow. Afterward, open the faucet to let any remaining water out and relieve pressure.
Finally, check around the valves for leaks to make sure the water supply is completely off. Doing this helps prevent water damage and keeps your workspace dry. Once you’re confident the water is off and pressure is released, you can safely remove the faucet without causing any damage.
Loosen Mounting Hardware
Start by loosening the mounting hardware that secures your faucet to the sink. Depending on your faucet’s mounting options, you’ll usually find nuts or screws underneath the sink basin.
Use an adjustable wrench or basin wrench to carefully turn these nuts counterclockwise. Be mindful of different hardware types—some faucets use threaded nuts, while others might have clip-on brackets.
If your mounting hardware is corroded, apply a penetrating lubricant and let it sit for a few minutes to make removal easier. Support the faucet from above to prevent it from falling or getting damaged as you loosen the hardware.
Once all the mounting hardware is loosened and removed, you can safely lift out the old faucet. This prepares your sink for the new installation.
Assemble Your New Faucet Parts the Right Way
Assemble your new faucet parts the right way with these three key steps. First, carefully review the manufacturer’s instructions—this helps you follow proper installation techniques from the start.
Next, lay out all parts on a clean surface so you can check you have everything you need before you begin. Using these tips will help you avoid mistakes and save time.
Start by attaching the faucet’s spout to the base securely, making sure the O-rings are properly seated to prevent leaks. Then, connect the handle(s) according to your model, ensuring smooth operation without forcing components.
Tighten all nuts and screws by hand first, then use tools to secure them firmly without over-tightening. Finally, install any additional parts like spray hoses or mounting brackets as instructed, double-checking their alignment.
Position and Secure the Kitchen Faucet to the Sink
Now, go ahead and position the faucet over the sink holes, making sure it’s aligned just right. Once you’ve got it in the right spot, tighten the mounting nuts underneath to hold it securely. Just be careful not to overtighten— you want it tight enough so it doesn’t move when you use it, but not so tight that you risk damaging anything.
Align Faucet With Holes
Before securing the faucet, make sure it’s properly aligned with the sink holes to ensure a tight fit and prevent leaks. Using good faucet alignment techniques and proper placement will help your installation go smoothly.
Here’s how to align your faucet accurately: Place the faucet base over the sink holes, making sure all mounting posts fit snugly. Adjust the faucet’s position so the spout points directly into the sink basin.
Check that the handle(s) have enough space to move fully without hitting the backsplash or countertop. Finally, confirm the gasket or rubber seal sits evenly between the faucet base and sink surface to prevent water from seeping through.
Following these steps will help you achieve precise alignment before moving on to the next part of the installation.
Tighten Mounting Nuts Securely
Secure the faucet firmly by tightening the mounting nuts underneath the sink. Use proper tightening techniques to avoid over-tightening, which can damage mounting materials or the sink itself.
Start by hand-tightening the nuts to make sure they’re properly threaded. Then, use a basin wrench or adjustable wrench to snug them securely.
Tighten each nut evenly, alternating between them to keep the faucet stable and level. Check that the faucet doesn’t shift as you tighten.
If your faucet has a rubber or plastic gasket, make sure it’s correctly positioned to prevent leaks. Properly secured mounting nuts will hold the faucet steady during use, preventing wobbling or water damage.
Take your time with this step to ensure a durable, leak-free installation.
Connect Water Supply Lines to the Kitchen Faucet
Begin by attaching the water supply lines to the hot and cold water inlets on your kitchen faucet. Make sure you identify the right inlet for each line—hot is usually on the left, cold on the right. Different connection types, like compression fittings or threaded connectors, might need specific tools or sealing tape.
Inspect the supply lines and faucet inlets for any debris or damage before connecting. Hand-tighten the nuts first, then use an adjustable wrench to snug them up without over-tightening. Check that the water pressure won’t be restricted by any kinks or twists in the supply lines.
Make sure the lines reach comfortably without stretching or bending sharply. Proper connections ensure steady water pressure and help prevent leaks once you turn on the water supply.
Test Your Kitchen Faucet for Leaks and Function
Once you’ve connected the water supply lines, turn on the water and carefully check your kitchen faucet for any leaks or irregularities. Start by looking at all connection points, including under the sink, for any dripping or moisture.
Use a dry cloth or paper towel to help spot leaks; wipe around joints and watch for wet spots forming. Next, test the faucet by turning the handles and running both hot and cold water. Make sure the water flows smoothly without sputtering or low pressure.
Check the sprayer, if you have one, and any other features to ensure they work properly. Also, look at the faucet’s base and spout for any pooling of water. This step helps confirm everything is installed correctly and catches small leaks early before they cause damage.
Once you’re satisfied, turn off the water and dry all areas thoroughly. Proper leak detection and faucet testing ensure a reliable, long-lasting installation.
Troubleshooting and Fixing Common Faucet Leaks
If you notice any leaks after testing your faucet, don’t worry—you can often fix them yourself with just a few simple steps. Start by properly detecting the leak to find out where it’s coming from. Common leak points include the base, spout, and handles.
Here’s how to troubleshoot and fix leaks:
- Tighten Connections: Use a wrench to tighten any loose nuts under the sink or around the faucet base.
- Check and Replace Seals: Worn-out washers and O-rings are often the cause. Remove the faucet parts, inspect the seals, and replace them if needed.
- Clean or Replace Cartridge: Sediment buildup inside the cartridge can cause leaks. Remove it, clean it thoroughly, and replace it if it’s damaged.
- Inspect Supply Lines: Look at the hoses for cracks or loose fittings, and replace them if necessary.
Tips for Maintaining Your New Kitchen Faucet
To keep your new kitchen faucet working smoothly, regular maintenance is key. Start by following simple faucet cleaning tips: wipe the faucet with a soft cloth and mild soap to prevent mineral buildup and water spots. Avoid abrasive cleaners that can damage the finish.
For water flow maintenance, check the aerator regularly. Unscrew it and soak it in vinegar to dissolve mineral deposits that might restrict water flow.
Also, inspect the faucet’s connections every few months to make sure there are no leaks or loose parts. If you notice reduced water pressure, try cleaning the cartridge or replace it if needed.
Don’t forget to turn off the water supply before any deep cleaning or repairs to avoid surprises. By staying proactive with these easy steps, you’ll extend your faucet’s lifespan and keep it functioning efficiently without costly repairs later on.
Frequently Asked Questions
Can I Install a Kitchen Faucet Without Professional Plumbing Experience?
Yes, you can install a kitchen faucet without professional plumbing experience if you follow faucet installation tips carefully.
Make sure to turn off the water supply and check all connections for leaks.
Avoid common mistakes like overtightening fittings or forgetting to clean the mounting surface.
Taking your time and using the right tools will make the process smoother.
Watching tutorial videos can also help boost your confidence throughout the installation.
What Type of Faucet Is Best for Hard Water Areas?
If you want a faucet that laughs in the face of hard water, go for solid brass or stainless steel. These materials are practically superheroes against mineral buildup.
Plastic or chrome-plated faucets might stand no chance! Focus on faucet materials designed for hard water, like those with special coatings or ceramic disc valves. These resist corrosion and scale.
Trust me, picking the right faucet saves you from endless scrubbing nightmares!
How Do I Choose Between a Single-Handle and Double-Handle Faucet?
You’ll choose between single-handle and double-handle faucet styles based on convenience and control.
Single-handle faucets let you adjust temperature with one motion, making them easier to use and maintain. Double-handle faucets offer precise temperature control but require more upkeep.
Think about your daily routine and maintenance tips. If you want simplicity and less cleaning, a single-handle is a good pick.
For style variety and exact temperature control, a double-handle faucet works well.
Are There Eco-Friendly Kitchen Faucet Options Available?
Yes, you’ll find plenty of eco-friendly kitchen faucet options with sustainability features designed to reduce water waste.
Look for models that use water-saving technology like aerators or flow restrictors, which maintain strong water pressure while cutting down on usage.
These faucets help you conserve water and lower your utility bills without sacrificing performance.
Choosing one with these features means you’re making a smart, eco-conscious choice for your kitchen.
What Warranties Typically Come With New Kitchen Faucets?
You’ll typically find faucet lifetime warranties with new kitchen faucets, covering defects in materials and workmanship for as long as you own the home.
Warranty coverage often includes parts like valves and finishes, making sure your faucet stays functional and looks great.
Some brands offer limited warranties, so it’s smart to check the details.
Knowing this helps you pick a faucet that’s both reliable and backed by strong warranty coverage.
Conclusion
Now that you’ve installed your kitchen faucet, you can enjoy a leak-free sink just like Sarah did. She followed these steps carefully and saved hundreds on plumber fees.
Remember to double-check all connections and test for leaks before finishing up. Proper maintenance will help your new faucet last for years.
It’ll make your kitchen tasks smoother and hassle-free. Keep this guide handy—you’re now ready to tackle any future faucet fixes with confidence!