How to Clean a Microwave With Vinegar: a Step-By-Step Guide
Many people struggle with keeping their microwaves clean and odor-free. It can be a real hassle to remove stubborn stains and lingering smells.
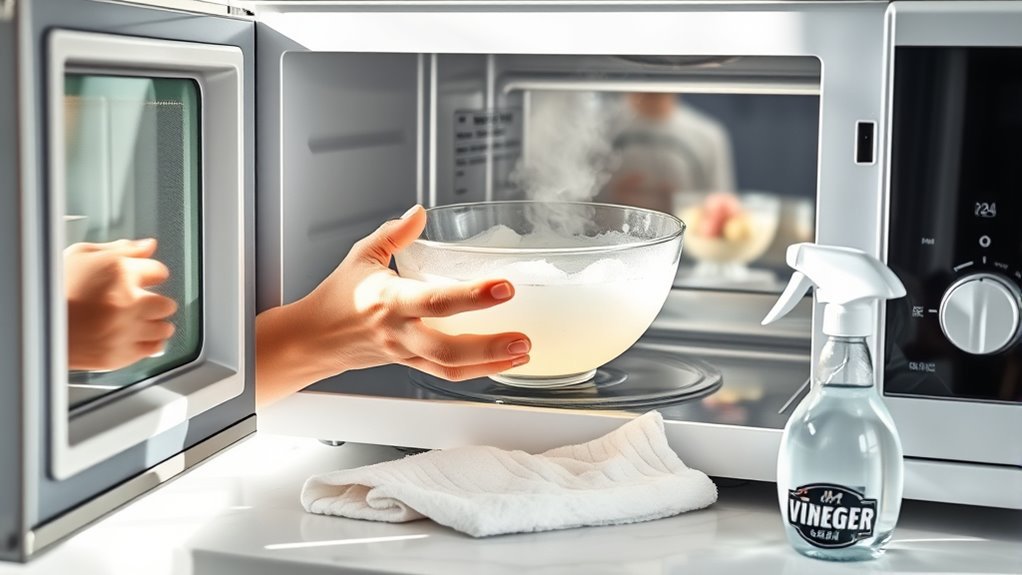
To clean your microwave with vinegar, mix equal parts white vinegar and water in a microwave-safe bowl. Heat it on high for five minutes to create steam, which loosens grime and odors.
Let it sit a few minutes, then carefully wipe the interior with a soft cloth. For stubborn stains, use a baking soda paste or undiluted vinegar.
Regular cleaning keeps your microwave fresh and odor-free. Follow these steps, and you’ll find it easier to maintain your microwave longer.
Key Takeaways
- Mix equal parts white vinegar and water in a microwave-safe bowl for the cleaning solution.
- Heat the vinegar mixture in the microwave on high for 5 minutes to create steam.
- Let the steam sit inside the microwave for an additional 5 minutes to loosen grime.
- Wipe down the interior with a damp cloth or sponge, gently scrubbing stubborn stains.
- For tough stains, use a vinegar or baking soda paste. Repeat the cleaning weekly to keep your microwave fresh.
Why Use Vinegar to Clean Your Microwave
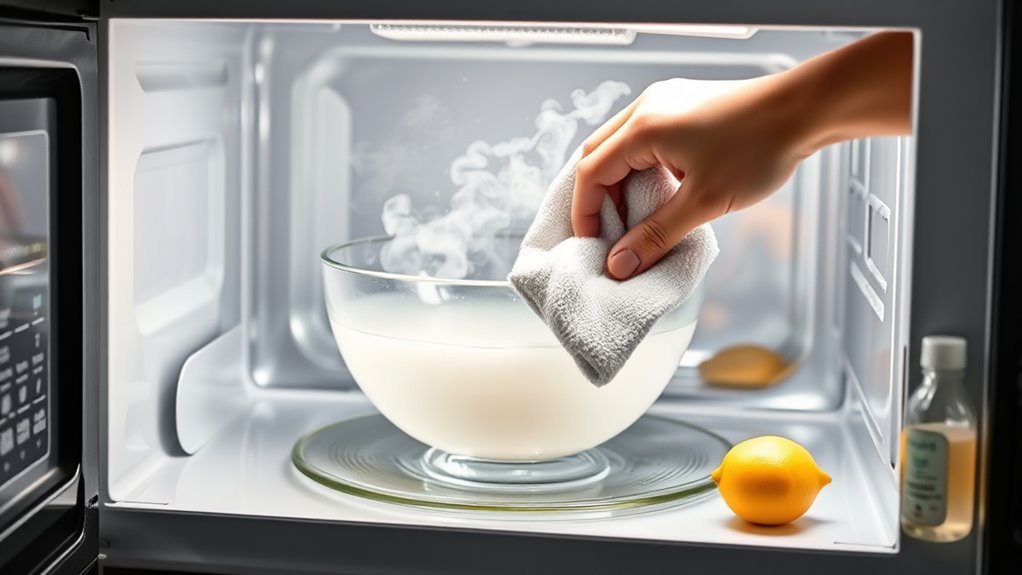
Vinegar offers a natural and effective way to clean your microwave without harsh chemicals. When you choose vinegar, you tap into its many benefits, including its ability to break down grease, remove odors, and dissolve food stains quickly.
As a natural cleaner, vinegar is non-toxic and safe to use around your family and pets, unlike many commercial products that contain harsh ingredients. You’ll appreciate how vinegar benefits your microwave by leaving it spotless without leaving behind any residue or strong chemical smells.
Plus, it’s affordable and readily available, making it a convenient option for regular cleaning. Using vinegar also supports eco-friendly habits since it’s biodegradable and reduces plastic waste from disposable cleaning products.
What You Need to Clean Your Microwave With Vinegar
To get your microwave sparkling clean, you’ll need just a few simple items that work together to maximize vinegar’s cleaning power. Having the right tools guarantees you clean effectively while keeping your microwave safe. While alternatives like lemon juice or baking soda can work, vinegar is the top choice for cutting grease and killing bacteria.
Clean your microwave effectively and safely with just a few simple items and vinegar’s powerful grease-cutting action.
Here’s what you’ll need:
- White distilled vinegar: the main cleaning agent that breaks down grime.
- Water: to dilute the vinegar and create steam inside the microwave.
- A microwave-safe bowl or measuring cup: to hold the vinegar mixture safely.
- A soft cloth or sponge: to wipe down the interior without scratching surfaces.
Make sure all items are microwave-safe to avoid accidents. Avoid metal tools, which can damage your microwave or cause sparks. With these essentials, you’re ready to clean your microwave thoroughly and safely using vinegar.
How to Prepare Your Microwave for Cleaning
Before you dive into cleaning, it’s a good idea to gather all your supplies first. That way, everything you need is right there when you need it, and you won’t have to stop halfway through. Oh, and safety first—make sure to unplug your microwave before you start cleaning. No surprises there!
Also, don’t forget to take out any turntables or trays. Removing these parts makes it easier to clean every nook and cranny and ensures your microwave gets thoroughly freshened up.
Gather Cleaning Supplies
You’ll need just a few simple items to get started cleaning your microwave effectively. Having the right supplies on hand makes the process smoother and guarantees you get the best results. Start by gathering these essentials:
- A spray bottle filled with vinegar and water solution
- Microfiber cloths for wiping down surfaces without scratching
- A microwave-safe bowl to hold the vinegar mixture while steaming
- A sponge or non-abrasive scrubber for any stubborn spots
The spray bottle helps you apply the vinegar evenly, while microfiber cloths trap dirt and absorb moisture efficiently. The bowl lets you heat the vinegar safely inside the microwave, loosening grime for easier cleaning. Finally, a gentle scrubber tackles any residues without damaging the interior. With these supplies ready, you’re set for the next step in revitalizing your microwave.
Unplug Microwave Safely
Start by unplugging your microwave to guarantee safety while cleaning.
Locate the microwave’s power cord and gently pull the plug from the outlet.
Avoid yanking the cord, as this can damage both the cord and the outlet.
Using proper unplugging methods ensures microwave safety and prevents electrical hazards during cleaning.
If your microwave is hardwired or the plug is inaccessible, switch off the circuit breaker to cut power safely.
Always double-check that the microwave is completely disconnected before proceeding.
Taking these simple steps protects you from electric shock and allows you to clean confidently without risking damage to your appliance or yourself.
Prioritizing microwave safety establishes the foundation for a safe, effective cleaning process.
Remove Microwave Accessories
Two key microwave accessories—the turntable plate and the roller ring—need to be removed before you start cleaning. Removing these parts ensures you can thoroughly clean both the microwave interior and the accessories.
Here’s how to prepare your microwave accessories for cleaning:
Carefully lift out the glass turntable plate and set it aside. Then, remove the roller ring underneath the plate to help it rotate smoothly.
Check both for any stuck-on food or stains. Wash them separately with warm, soapy water or a vinegar solution.
Removing these accessories allows you to clean every corner inside your microwave, preventing buildup and odors. Cleaning them separately also helps keep grime from hiding, making your microwave more hygienic.
How to Make a Vinegar Cleaning Solution
Creating a vinegar cleaning solution is simple and uses ingredients you probably already have in your kitchen. To make this effective homemade cleaner, start with one cup of white vinegar and one cup of water.
Mix them in a microwave-safe bowl or measuring cup. This combo works as a natural disinfectant, cutting through grime and killing bacteria without any harsh chemicals.
If you want a fresh scent, add a few drops of lemon juice or essential oil, but that’s totally optional. Be sure to stir the mixture well so the vinegar and water blend evenly.
This easy solution is safe, eco-friendly, and great for tackling microwave stains and odors. Once it’s ready, you can start cleaning.
Keep this solution handy—it’s not just good for your microwave but also useful for other household cleaning tasks.
Clean Your Microwave With Vinegar: Step-by-Step
To clean your microwave with vinegar, pour the vinegar solution into a microwave-safe bowl and place it inside. This simple step helps loosen grime and food splatters effectively.
After placing the bowl, run the microwave on high for a few minutes to let the steam do its magic. Once done, carefully remove the bowl to avoid burns.
Run the microwave on high to steam clean, then carefully remove the hot bowl to prevent burns.
Next, wipe the interior with a damp cloth or sponge, focusing on stubborn spots. If you prefer vinegar alternatives, lemon juice or baking soda work well for microwave cleaning and leave a fresh scent.
Here’s a quick recap: Use a microwave-safe bowl for the vinegar solution. Heat to create steam that loosens dirt. Wipe down all surfaces thoroughly. Try vinegar alternatives like lemon juice for variety.
Following these steps keeps your microwave fresh and helps extend its lifespan with minimal effort.
How Long to Let Vinegar Steam Inside Your Microwave
Once you’ve placed the vinegar solution inside and started the microwave, the key is knowing how long to let it steam. For the best results, run the microwave on high for about 5 minutes.
This steam time helps the vinegar heat up thoroughly and release steam that loosens grime and stains inside your microwave. After it stops, keep the door closed and let the vinegar steam sit for an extra 5 minutes.
That extra wait makes the cleaning power even better by softening stuck-on food, making it easier to wipe away later. Try not to open the door too soon, as it reduces the steam’s effectiveness.
In total, aim for around 10 minutes—the 5 minutes of heating plus 5 minutes of resting. This simple timing lets vinegar break down dirt naturally, giving you a cleaner microwave with minimal effort.
Tips for Removing Microwave Stains After Vinegar Cleaning
Although the vinegar steam loosens most grime, you’ll still need a few simple techniques to tackle stubborn stains. Combining vinegar with some elbow grease and the right tools will save you time and effort.
Use a soft sponge or microfiber cloth to gently scrub remaining spots without scratching the microwave’s surface. Applying a paste made from baking soda and water to tough stains, then letting it sit for 5-10 minutes before wiping clean, works well.
Dampen a cloth with undiluted vinegar and press it against stubborn stains for a few minutes to loosen them further. For hard-to-reach corners, dip a cotton swab in vinegar and scrub gently to lift hidden residue.
These tips will help improve the stain removal process after your vinegar steam treatment, leaving your microwave spotless and ready for use.
Remove Lingering Microwave Odors With Vinegar
Want to say goodbye to those stubborn microwave smells? Vinegar is your new best friend! It’s a natural way to neutralize odors without any harsh chemicals. Just pour some vinegar and water into a microwave-safe bowl, then heat it up inside your microwave. Once it’s done, let it sit for a few minutes so the steam can do its magic and absorb all those lingering odors.
Afterward, give your microwave a quick wipe, and voila — it’ll smell fresh and clean in no time! Pretty simple, right?
Vinegar’s Odor-Neutralizing Power
Vinegar’s odor-neutralizing power makes it a great choice for removing stubborn microwave smells. Its natural ability to absorb odors means it doesn’t just hide them—it gets rid of them entirely. Thanks to vinegar’s effectiveness, you can trust it to handle even the strongest lingering food odors without harsh chemicals.
When you use vinegar in your microwave, it works by breaking down odor-causing particles, leaving your appliance smelling fresh.
Here’s why vinegar stands out:
- It absorbs and neutralizes odors instead of just covering them up
- Contains acetic acid that breaks down odor molecules
- Is safe and non-toxic compared to synthetic cleaners
- Is inexpensive and easy to find in any kitchen
Using vinegar taps into its powerful odor-neutralizing abilities, making your microwave smell clean and fresh again.
Simple Steps To Freshen
Vinegar’s natural odor-neutralizing power makes it a perfect solution for freshening up your microwave. To remove lingering smells, start by mixing equal parts water and white vinegar in a microwave-safe bowl.
Place it inside and heat on high for five minutes, letting the steam loosen grime and odors. After the timer stops, leave the door closed for a few more minutes to maximize vinegar cleaning benefits.
Carefully remove the bowl and wipe down the interior with a clean cloth. This simple routine not only tackles odors but also supports your regular microwave maintenance tips, keeping your appliance fresh and efficient.
Repeat this process weekly or after heating strong-smelling foods to maintain a clean, odor-free microwave effortlessly.
When to Repeat Your Vinegar Microwave Cleaning
Although a single cleaning session can make a big difference, you should repeat the vinegar microwave cleaning whenever you notice lingering odors, stubborn stains, or a buildup of grime. Adjust your cleaning frequency based on how often you use your microwave and the types of food you heat.
If you often cook messy or oily meals, cleaning more frequently with vinegar helps prevent stubborn stains from setting in. Keep an eye out for signs it’s time to clean again.
These include persistent smells that don’t fade after one cleaning, visible splatters or stains that stay after wiping, or sticky and greasy residues on the interior surfaces. Also, if the microwave walls look dull or have buildup, it’s time for another round of cleaning.
Simple Habits to Keep Your Microwave Fresh Longer
Developing a few simple habits can keep your microwave fresh and reduce the need for deep cleanings. Start by wiping down the interior after each use with a damp cloth to catch spills before they dry. This quick step is one of the most effective daily cleaning habits you can adopt.
Always cover your food with a microwave-safe lid or paper towel to prevent splatters. Regularly check and clean the microwave door seals, as trapped food particles can cause odors.
Incorporate microwave maintenance tips like leaving the door open for a few minutes after use to let moisture escape. Also, replace or clean the microwave’s turntable and tray weekly to avoid buildup.
Frequently Asked Questions
Can Vinegar Damage the Microwave’s Interior Surfaces?
No, vinegar won’t damage your microwave’s interior surfaces when used properly. Its natural acidity actually helps by breaking down grime and odors without harsh chemicals.
Just avoid soaking any electrical parts and wipe thoroughly afterward. Using vinegar regularly helps keep your microwave clean and fresh, which can extend its lifespan.
Be sure to rinse well to prevent any lingering smell or residue.
Is Vinegar Safe to Use on All Microwave Types?
Back in the days of quills and parchment, you’d find vinegar safe for almost all microwave types. You can use it confidently because vinegar benefits include natural antibacterial properties and gentle cleaning power.
However, avoid using it on microwaves with special coatings or metal interiors, as it might cause damage. Always check your microwave’s manual first so you’re sure vinegar won’t harm its unique surfaces or functions.
Can I Use Lemon Instead of Vinegar for Cleaning?
Yes, you can use lemon instead of vinegar for cleaning your microwave. Lemon offers a fresh scent and natural antibacterial properties, making it a good alternative.
While vinegar is known for its strong cleaning power, lemon’s acidity helps break down grime and loosen food splatters just as effectively. Plus, lemon leaves your microwave smelling nice and citrusy.
If you prefer a milder, citrusy aroma, lemon is a great choice for cleaning.
How Often Should I Deep Clean My Microwave Professionally?
Imagine Sarah, who runs a busy café, schedules professional microwave deep cleaning every six months to avoid costly repairs. You should consider a similar cleaning frequency to keep your microwave running smoothly.
Regular maintenance tips include wiping spills daily and using steam cleaning weekly. Sticking to this routine not only prolongs your microwave’s life but also guarantees it stays hygienic and efficient.
This helps prevent buildup and unpleasant odors, keeping your microwave in top shape.
What Should I Do if My Microwave Has Metal Parts Inside?
If your microwave has metal parts inside, avoid using any cleaning methods that could cause sparks or damage. Metal can interfere with microwave safety, so don’t put metal objects or foil inside while it’s running.
When cleaning, use gentle, non-abrasive materials and steer clear of harsh chemicals that might corrode metal parts. Always unplug your microwave before cleaning to stay safe and help keep it working well.
Conclusion
Cleaning your microwave with vinegar isn’t just about keeping it spotless—it’s a gentle way to show it some care. Regularly doing this helps banish stubborn stains and odors, making sure your microwave stays in tip-top shape.
By taking a few simple steps, you’re actually helping it last longer. A well-maintained microwave will serve you faithfully and quietly, always ready when you need it.
So, keep up these easy habits. Using vinegar for cleaning is a great way to give your microwave the care it deserves. A little attention now means many more happy cooking adventures ahead.