How to Use a Whetstone: A Step-by-Step Guide for Sharp Edges
Using a whetstone to sharpen knives is an effective way to maintain sharp edges for precise cutting. To use a whetstone, start by soaking it in water for about 10 to 15 minutes or lubricating it with oil depending on the stone type. Hold your knife at a consistent angle—usually around 15 to 20 degrees—and slide the blade along the stone with gentle pressure, ensuring you sharpen both sides evenly.
Sharpening with a whetstone can extend the life of your knives and improve their performance more than electric sharpeners or pull-through systems. Understanding the right technique matters because uneven sharpening can damage blades or reduce their effectiveness. The process requires patience and practice but offers rewarding results for anyone handling kitchen knives, chisels, or gardening tools.
This article will explain the step-by-step procedure on how to use a whetstone effectively. We will discuss different whetstone types, how to prep the stone, the sharpening angle to use, troubleshooting common mistakes, and maintenance tips to keep your blades at their best. By reading through, you'll gain confidence and skill in knife sharpening techniques that professionals rely on.
Choosing the Right Whetstone
Types of Whetstones
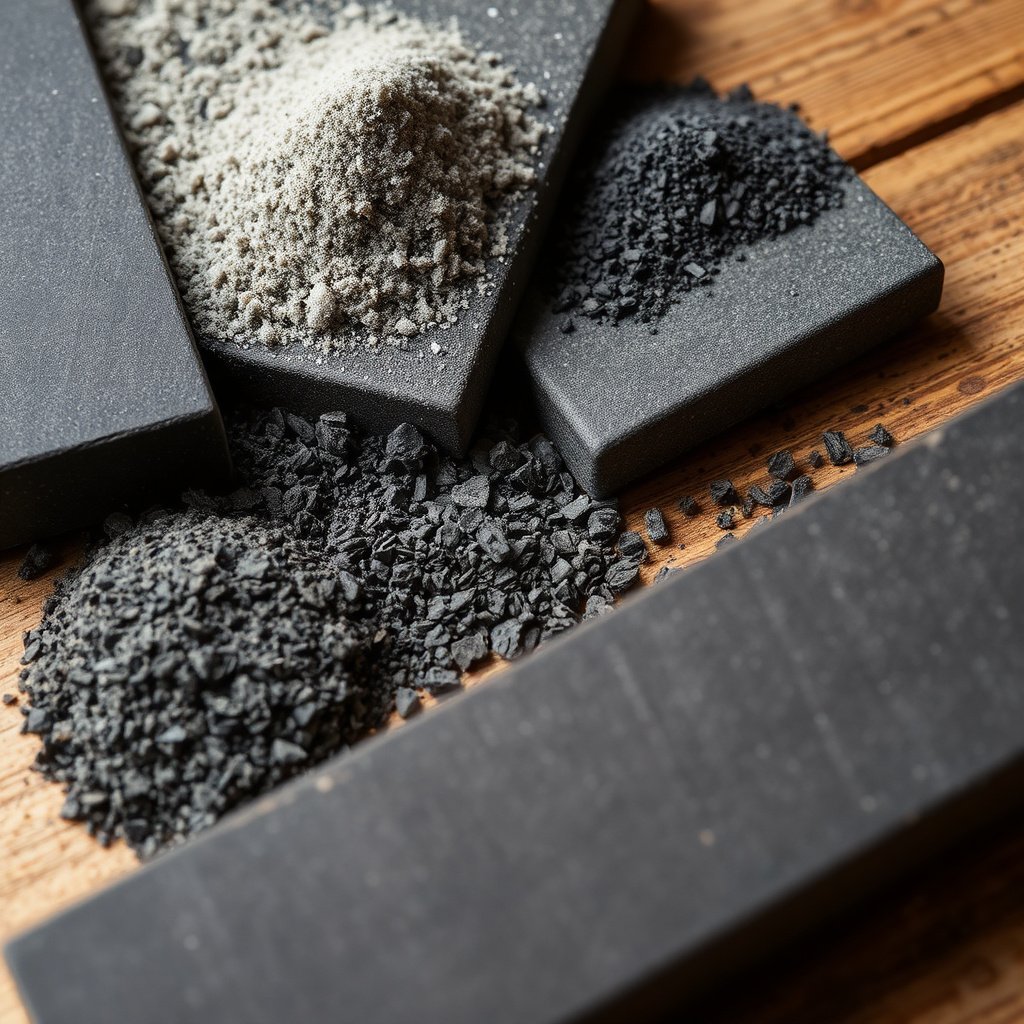
Whetstones come in natural and synthetic varieties, with synthetic stones being more common today due to consistent quality and wider grit options. Grit size ranges from coarse (around 200-400) to very fine (up to 8000 and above). Coarse stones reshape damaged blades, medium stones sharpen, and fine stones polish edges.
Selecting the right grit depends on your blade's condition and sharpening goals. For regular maintenance, a medium grit between 1000-3000 is usually sufficient. For restoring chips or very dull blades, begin with coarser stones before progressing to finer grits. Knowing these distinctions will help you choose a whetstone suited for different knife sharpening techniques.
Water vs. Oil Stones
Whetstones are designed for use with either water or oil to lubricate the surface and collect abrasive metal particles during sharpening. Water stones require soaking before use and dry faster after sharpening, making them popular in kitchens and workshops.
Oil stones, in contrast, need oil lubrication and typically wear more slowly but can be messier and less convenient. Your choice affects stone maintenance and the sharpening experience. For beginners, water stones often provide better control and ease of use.
Preparing Your Whetstone for Sharpening
Soaking and Lubrication
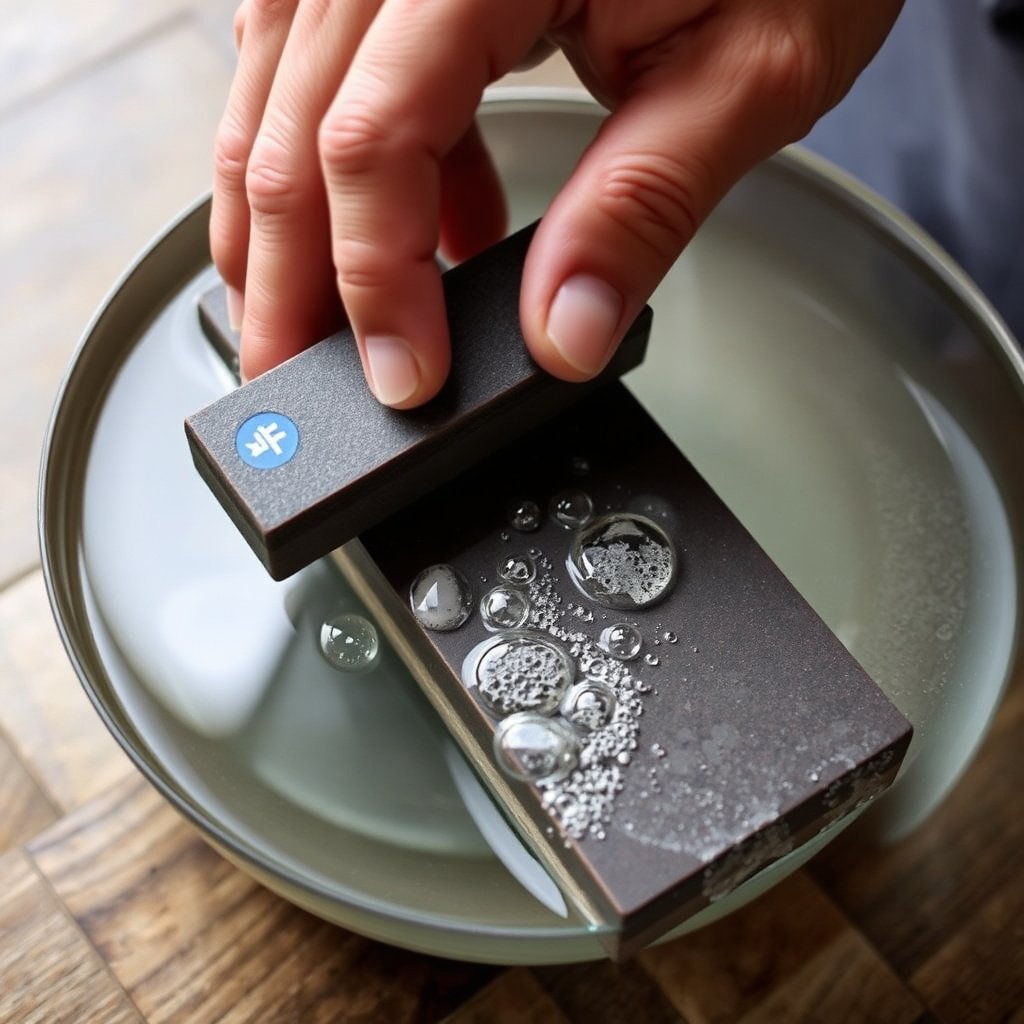
Before starting, soak your water-based whetstone in clean, room-temperature water for 10 to 15 minutes until no air bubbles rise. This ensures the stone’s pores are saturated, helping reduce friction and preventing heat buildup while sharpening.
If using an oil stone, instead apply a light layer of honing oil on the surface. Keep lubricating during sharpening to maintain a smooth cutting environment and to clear metal filings from the stone's surface.
- Use only water or oil specified for your stone
- Avoid excessive lubrication that floods the surface
- Re-lubricate as needed during sharpening
Securing Your Whetstone
Place the whetstone on a stable surface to avoid slipping, ideally on a rubber base or a damp cloth that grips the base firmly. This stability helps maintain steady angles and prevents accidents.
For extended sharpening sessions, use a holder designed for whetstones, which provides an ergonomic grip and better control over each stroke, leading to a more consistent edge.
Sharpening Techniques for Best Results
Maintaining the Right Angle
Keeping a consistent angle between 15 and 20 degrees is key when using a whetstone. This angle preserves the blade geometry and creates an effective cutting edge. Many knives have manufacturer recommendations for an exact bevel angle.
You can estimate the angle by comparing the blade tilt to common reference points, like stacking two coins or using a sharpening guide jig. Consistency ensures both sides of the knife edge sharpen evenly without rounding the bevel.
- Use a sharpening guide if unsure
- Practice holding the angle steadily before sharpening
- Check your work frequently for progress
For more on this, see our related guide: How to Sharpen Kitchen Knives: A Step-by-Step Guide.
Sharpening Strokes and Pressure
Slide the blade across the whetstone in smooth, even strokes, moving from the heel to the tip on the stone’s surface. Use moderate, even pressure that allows the abrasive surface to remove metal without gouging or uneven wear.
Alternate strokes between sides of the blade to maintain a balanced edge. As you advance, reduce pressure slightly and extend stroke length to refine the edge on finer grits.
- Sharpen one side 5-10 strokes, then switch
- Keep strokes consistent and controlled
- Test sharpness frequently with paper or fingertip
Common Mistakes to Avoid When Using a Whetstone
Uneven Pressure and Angle Loss
Applying uneven pressure or deviating from the sharpening angle risks rounding the blade’s edge or creating a burr that can weaken the knife’s performance. Beginners often press too hard near the tip or heel, causing inconsistent edges.
Taking your time and focusing on steady movements reduces these risks. Using a visual reference for angle alignment and practicing on inexpensive knives can build confidence before moving on to high-value tools.
Ignoring Stone Maintenance
Neglecting to flatten your whetstone can cause uneven surfaces that hinder sharpening quality. Stones develop grooves or dips where metal accumulates, making consistent edge angles difficult to maintain.
Use a flattening stone or abrasive plate to level your whetstone regularly. Clean and dry the stone after use to prolong its lifespan and efficiency.
- Flatten your stone after every 5-10 sharpening sessions
- Rinse stone thoroughly after use
- Store in a dry, ventilated place
After Sharpening Care and Maintenance
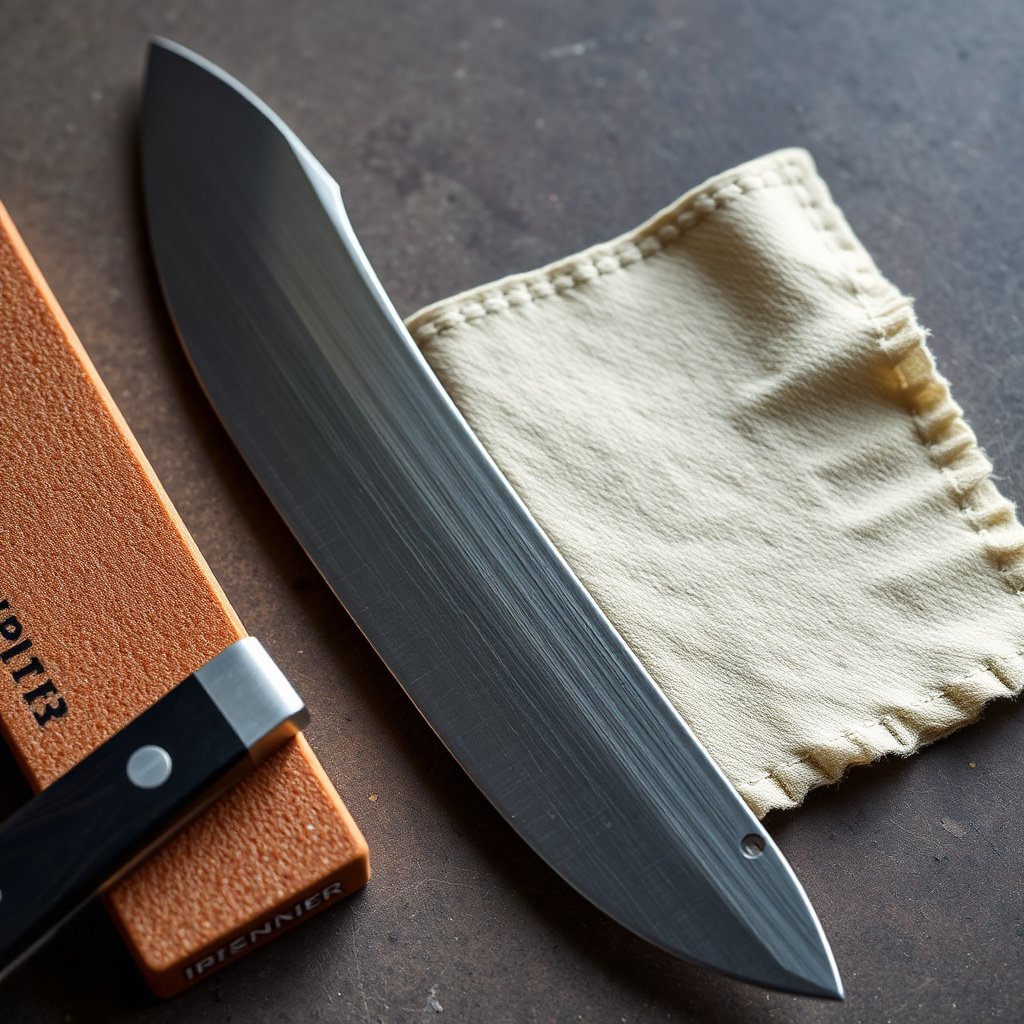
Cleaning the Blade and Stone
After sharpening, wipe the blade clean of metal particles and any residue from the stone. A damp cloth or warm, soapy water works well. Dry the blade thoroughly to prevent rust or corrosion.
Similarly, rinse the whetstone under running water to remove abrasive debris. Allow it to dry completely before storing. This prevents buildup that can clog the stone’s surface and reduce effectiveness.
- Use a soft brush for stubborn residues
- Avoid harsh chemicals on blades or stones
- Regular cleaning extends whetstone life
For more on this, see our related guide: How to Sharpen Kitchen Shears: A Step-by-Step Guide.
Proper Storage Tips
Store whetstones flat in a cool, dry area away from direct sunlight to avoid warping or cracking. Keep knives sheathed or in a block to protect the sharp edge from damage.
For long-term care, periodically inspect your knives for dulling or minor chips and sharpen accordingly, maintaining a routine rather than waiting for blades to become almost unusable.
Advanced Knife Sharpening Techniques
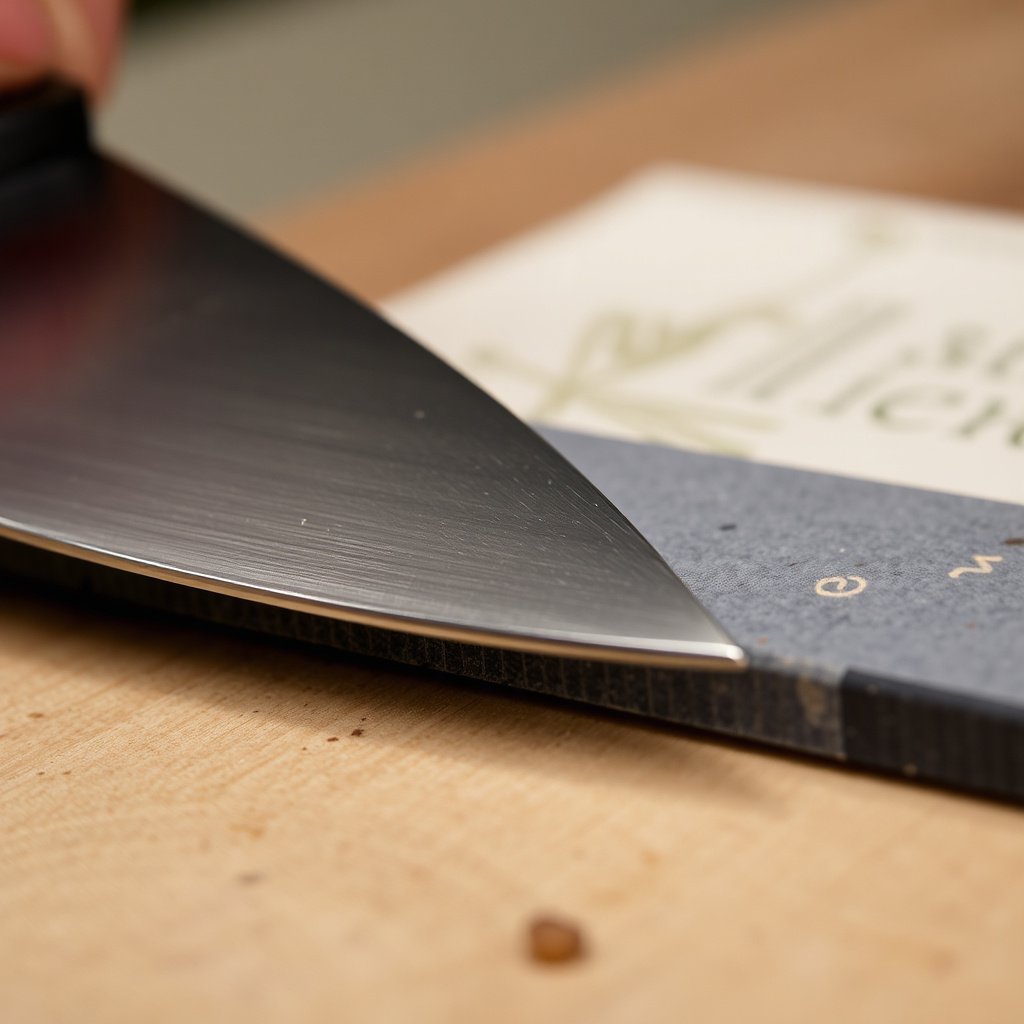
Using Multiple Grit Stones
A progressive sharpening method involves starting with coarse grit stones to reshape and repair the blade and then moving to finer grits to polish and refine the edge. This layered approach produces sharper, longer-lasting edges.
Transition between grits gradually maintains edge integrity and prevents over-grinding. It is a technique commonly used by professionals for precision knife sharpening techniques.
- Start at 400-600 grit for dull or damaged edges
- Move to 1000-3000 grit for sharpening stage
- Finish with 6000-8000 grit for polishing
For a detailed overview on whetstones and their varieties, visit the whetstone sharpening basics page on Wikipedia. Whetstone sharpening basics.
Creating a Polished, Razor-Sharp Edge
After sharpening with coarser stones, using very fine grits can create a mirror-like finish on the blade’s edge. This step reduces microscopic serrations, improving cutting smoothness and longevity.
Use light pressure with slow, controlled strokes during polishing. The end result feels noticeably sharper and glides through materials with less resistance.
Whetstone Types and Their Best Uses
The table below compares different types of whetstones by grit range, maintenance, lubrication, and ideal applications.
| Whetstone Type | Grit Range | Lubrication | Maintenance | Best For |
|---|---|---|---|---|
| Water Stone | 200–8000+ | Water (soak) | Flatten regularly | Kitchen knives, woodworking tools |
| Oil Stone | 120–1000 | Honing oil | Less frequent flattening | Heavy-duty blades, chisels |
| Diamond Stone | 200–3000+ | Dry or water | Rarely needs flattening | Hard steel, quick sharpening |
| Natural Stone | Varies widely | Water or oil | Careful cleaning | Traditionalists, specialty blades |
Frequently Asked Questions
How long should I soak a whetstone before sharpening?
Water stones generally require soaking for about 10 to 15 minutes until bubbles stop rising. This saturates the stone, improving sharpening efficiency and preventing heat buildup.
Can I use the same angle for all knives when sharpening?
No, different knives often have recommended sharpening angles. Most kitchen knives use 15-20 degrees, but some outdoor or utility knives require wider angles around 25 degrees for durability.
Is it necessary to use multiple grit stones?
Using multiple grits helps rebuild and refine the edge gradually. Starting coarse for dull blades and moving to finer stones improves sharpness and edge quality.
How do I know when my knife is sharp enough?
You can test sharpness by slicing paper or gently running your thumb perpendicular to the edge (without applying pressure). A properly sharpened knife cuts cleanly and feels precise.
How often should I flatten my whetstone?
Flatten your whetstone roughly after every 5 to 10 sharpening sessions to maintain a flat surface for consistent results and to avoid uneven edge formation.
Key Takeaways
- Consistent angle and moderate pressure are essential for effective sharpening
- Soak water stones before use and lubricate oil stones properly
- Progress through grit sizes for superior edge quality
- Regular whetstone maintenance prolongs stone life and sharpening precision
Conclusion
Choosing the right technique to use a whetstone boils down to patience, consistent angle maintenance, and appropriate grit selection. Whether maintaining a kitchen knife or restoring a dull blade, controlling stroke pressure and ensuring even sharpening on both sides will result in a sharp, durable edge. Understanding your whetstone type and preparing it by soaking or lubrication avoids problems like clogging or excessive heat during sharpening.
For regular household knives, water stones in the 1000 to 3000 grit range offer an excellent balance of ease and sharpening quality. If blades are chipped or very dull, starting with a coarser grit stone prevents prolonged work and damage. Professionals or enthusiasts can incorporate fine grit stones for edge polishing and extended sharpness. Oil stones suit heavy-duty tools with their slow wear and durability, while diamond stones provide fast material removal for hard steels or quick touch-ups.
To sharpen with confidence, set up a stable work area, take your time, and frequently test the blade's sharpness. Develop a habit of maintaining your whetstone by flattening and cleaning it regularly. These steps will improve your knife sharpening techniques and keep your tools performing well. Start with medium grit water stones if you're new, and build your skill progressively before advancing to multi-grit precision sharpening.