Can You Paint Kitchen Cabinets? The Complete Answer
Feeling stuck with outdated or dull kitchen cabinets? You’re not alone—many homeowners want a fresh look without the hassle or expense of a full remodel.
Luckily, you can paint your kitchen cabinets to transform your space and reflect your style. You can definitely paint your kitchen cabinets to refresh your space and customize your style without a costly remodel.
With the right prep—cleaning, sanding, and priming—and quality paint, you’ll achieve a durable, stylish finish.
Choose from chalk, acrylic, oil-based, or latex paints depending on your look and durability needs.
While it’s a rewarding DIY project, complex damage or time constraints might call for professional help.
Keep going to uncover tips, color ideas, and maintenance advice.
Key Takeaways
- Painting kitchen cabinets is an affordable way to refresh your kitchen without a full remodel. It works well with many cabinet styles.
- Proper surface prep is key. Clean, sand, and prime your cabinets to get a durable, smooth paint finish.
- Use high-quality enamel or acrylic paints. Tools like angled brushes and rollers help you achieve a professional look.
- For complex damage or a flawless finish, it’s a good idea to hire professionals. They can do it with less stress and better results.
- Keep your painted cabinets looking their best by gentle cleaning, wiping up spills quickly, and doing regular touch-ups.
Can You Paint Kitchen Cabinets?
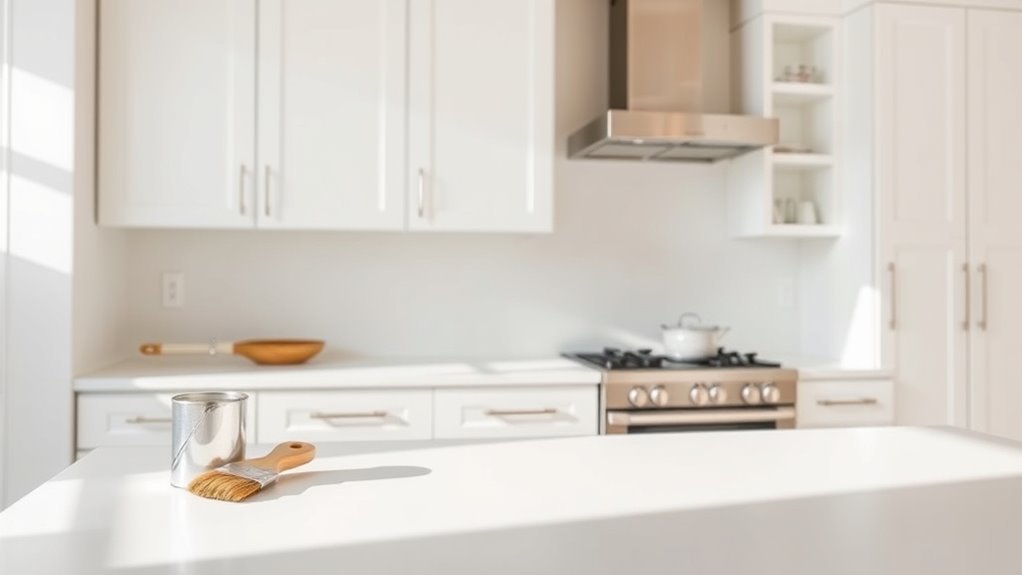
Wondering if you can paint kitchen cabinets? Absolutely, you can! Painting kitchen cabinets is a great way to refresh your space without doing a full remodel.
Whether your cabinets have traditional, shaker, or modern styles, painting lets you customize their look to match your style perfectly.
Painting cabinets lets you tailor their style, from traditional to modern, perfectly reflecting your personal taste.
Think about the surface type and design when choosing your painting techniques. Flat panels handle smooth finishes well, while raised panels need careful brushing to reach the grooves.
Using proper techniques—like sanding, priming, and applying multiple thin coats—helps ensure your cabinets look sleek and last longer.
You can transform outdated or worn cabinets into a stylish focal point by picking the right colors and finishes.
If you want to update your kitchen without spending too much, painting your cabinets is a practical, creative solution that works for almost any style.
Materials and Tools for Painting Kitchen Cabinets
To get started painting your kitchen cabinets, you’ll need a few essential materials and tools that make the job smoother and more professional. First, gather quality brushes—angled sash brushes work well for corners and edges, while flat brushes are great for larger surfaces. You might also consider foam brushes for a smooth finish without brush marks.
Aside from brushes, rollers with fine nap can speed up the process on flat cabinet doors. If you want a more even, factory-like finish, look into spray techniques. Using a paint sprayer helps apply paint evenly and quickly, especially on intricate cabinet designs.
Remember to pick the right paint, usually a durable enamel or acrylic, and have painter’s tape, drop cloths, and sandpaper handy. With these tools ready, you’ll be set to achieve a professional-looking paint job that refreshes your kitchen cabinets beautifully.
How to Prepare Kitchen Cabinets for Painting
Before you dive into painting, it’s really important to give your kitchen cabinets a good clean and degrease them thoroughly. This step ensures that the paint will stick properly and last longer. Once they’re clean, grabbing some sandpaper and gently sanding the surfaces will help create a smooth, even base for your paint.
After sanding, don’t forget to apply a good primer. It might seem like an extra step, but it makes a big difference in how well the paint adheres and how durable the finish will be. If you take these steps seriously, you’ll be much happier with the final look of your cabinets!
Cleaning And Degreasing
Start by thoroughly cleaning and degreasing your kitchen cabinets to ensure the paint sticks properly. Use simple techniques like warm water mixed with a mild detergent to wipe away dirt and grime.
For tougher grease, try a vinegar-water solution or a commercial degreaser. Make sure to scrub all surfaces, including edges and corners, to remove any residue.
Rinse everything well and let the cabinets dry completely before you move on to the next step.
Sanding And Priming
Grab some fine-grit sandpaper and gently sand your kitchen cabinets to create a smooth surface that helps the primer and paint stick better. Use even pressure and circular motions to avoid damaging the wood.
After sanding, wipe away dust with a tack cloth to make sure the surface is clean. Then, choose the right primer for your cabinet material—oil-based for raw wood, bonding primer for laminate or glossy surfaces.
Apply a thin, even coat of primer and let it dry completely. Priming seals the surface, boosts paint adhesion, and makes your finish last longer.
Best Paint Types for Kitchen Cabinets
Choosing the right paint type is key when refreshing your kitchen cabinets because it impacts both how they look and how durable they are. You want something that can handle lots of use and resist chipping over time.
Chalk paint gives a matte, vintage vibe and is great for quick makeovers with minimal prep. Acrylic enamel offers a smooth, durable finish and dries quickly, making it perfect for a modern kitchen. Oil-based paint gives a glossy, hard surface but takes longer to dry and needs good ventilation.
Here’s a quick comparison to help you pick:
| Paint Type | Finish | Best For |
|---|---|---|
| Chalk Paint | Matte | Quick cabinet updates |
| Acrylic Enamel | Smooth, Durable | Modern kitchens |
| Oil-Based Paint | Glossy, Hard | High-traffic areas |
| Latex Paint | Versatile | Easy cleanup |
Choose the paint that matches your style and maintenance needs to keep your cabinets looking great for years.
How to Paint Your Cabinets Step-by-Step
Transforming your kitchen cabinets with a fresh coat of paint can really give your space a new look. Start by removing all cabinet doors, drawers, and hardware so you can work more easily.
Clean the surfaces thoroughly to get rid of grease and dirt, then lightly sand them to create a smooth base for the paint. Use a high-quality primer designed for cabinets to ensure better adhesion and durability.
Once the primer is dry, apply your chosen paint. A foam roller works well for even coverage, and a brush is great for edges and corners. Paint in thin, even coats to prevent drips and achieve a smooth finish.
Let each coat dry completely before applying the next one. After the paint has dried, reattach the hardware and carefully reinstall the doors and drawers.
Drying and Curing Times for Painted Cabinets
After applying each coat of paint to your cabinets, you’ll need to give it enough time to dry and cure properly. The conditions in the room really matter—temperature and humidity can change how quickly your paint dries.
Keep the room warm and well-ventilated, but steer clear of direct sunlight or strong airflow, which can cause uneven drying. Usually, the paint will feel dry to the touch within a few hours, but it’s not fully cured yet.
Curing is what makes the paint hard and resistant to scratches and wear. Depending on the paint, this process can take anywhere from several days to a full week. During this time, try to handle the cabinets as little as possible and avoid cleaning them.
Avoiding Common Painting Mistakes on Kitchen Cabinets
To avoid making common painting mistakes on your kitchen cabinets, it all starts with proper surface preparation. Taking the time to clean and sand the cabinets ensures the paint will stick properly and last longer. Skipping this step can cause your paint to peel or chip sooner than you’d like.
Next, it’s really important to pick the right type of paint. Using high-quality paint that’s designed for cabinets will give you a smooth, durable finish. If you go for the wrong paint, you might end up with uneven color or a finish that doesn’t hold up over time.
Proper Surface Preparation
Although painting kitchen cabinets might seem simple, skipping proper surface prep can lead to peeling and uneven finishes. To make sure your paint lasts, start with a thorough cleaning of the surface. Use a degreaser or mild detergent to remove grease, dirt, and grime—any leftover residue can prevent the paint from sticking properly.
After cleaning, lightly sand the cabinets to create a smooth surface that helps the primer and paint adhere better. This step reduces the chances of chipping later on. Don’t forget to wipe away the sanding dust with a tack cloth before moving on.
Taking these steps seriously sets a solid foundation for a professional-looking finish. It also saves you time and frustration later. Proper surface preparation is key to avoiding common painting mistakes on your kitchen cabinets.
Choosing The Right Paint
When you choose the right paint for your kitchen cabinets, you set yourself up for a durable and beautiful finish. Focus on paint durability and color selection to make sure your cabinets look great and can handle daily use.
Opt for high-quality acrylic or enamel paints designed for cabinetry to avoid peeling or chipping. Consider satin or semi-gloss finishes because they’re easier to clean and help showcase your chosen color.
| Paint Type | Best For |
|---|---|
| Acrylic Latex | Easy application |
| Oil-Based Enamel | Superior durability |
| Chalk Paint | Matte, vintage look |
| Semi-Gloss | Easy cleaning |
| Satin Finish | Smooth, durable coat |
Pick a color that matches your kitchen style while also enhancing paint durability for lasting beauty.
Maintaining and Cleaning Painted Kitchen Cabinets
Since painted kitchen cabinets face daily wear, you’ll need to clean and maintain them regularly to keep their finish looking fresh. Start with simple tips like wiping spills immediately and using soft cloths to avoid scratches. Avoid harsh chemicals that can damage the paint. Instead, use gentle cleaning methods like a mild soap solution and warm water to remove grease and grime.
Make it a habit to dust your cabinets weekly to prevent buildup. For stubborn stains, try a mixture of baking soda and water applied with a soft sponge. Always dry the surfaces thoroughly to prevent moisture damage. Check regularly for chips or cracks and touch them up quickly to stop peeling.
When to Consider Professional Cabinet Painting
Keeping your painted kitchen cabinets looking great takes effort, but sometimes the wear and tear go beyond simple cleaning or touch-ups. That’s when you might want to consider professional cabinet painting. Here’s why calling in a pro can be worth it:
1. Complex damage
If your cabinets have deep scratches, dents, or peeling paint, a professional can restore them flawlessly.
2. Time investment
Painting cabinets properly is time-consuming. Pros can save you hours or even days of work.
3. Cost considerations
While hiring a professional has upfront costs, it can prevent expensive mistakes and save you money in the long run.
4. Quality finish
Professionals use specialized tools and techniques to guarantee a smooth, durable finish that lasts longer.
If you feel overwhelmed by the project or want a perfect outcome, hiring a professional can be the smartest choice. It frees you from stress and ensures your kitchen cabinets look their absolute best.
Creative Color and Finish Ideas for Painted Kitchen Cabinets
If you really want your kitchen cabinets to catch the eye, start by picking a trendy color palette that suits your style. Whether you go bold or keep it subtle, the right colors can totally transform the look of your space.
Now, when it comes to finishes, choosing between matte and glossy can make a big difference. Matte gives off a softer, more understated vibe, while glossy adds a sleek, shiny touch that really reflects the light. It’s all about the mood you want to create!
And don’t be afraid to get a bit creative with textures. Trying out some unique techniques can add depth and personality to your cabinets, making them truly one-of-a-kind. Have fun experimenting!
Trending Cabinet Color Palettes
When choosing a color palette for your painted kitchen cabinets, trends can be a great starting point to create a fresh, stylish look. Modern color trends focus on versatile shades that go well with many kitchen styles.
You’ll also want to consider popular finish options that highlight your chosen colors beautifully. Here are four trending cabinet color palettes to inspire you:
- Soft Sage Green adds calmness and pairs nicely with natural wood accents.
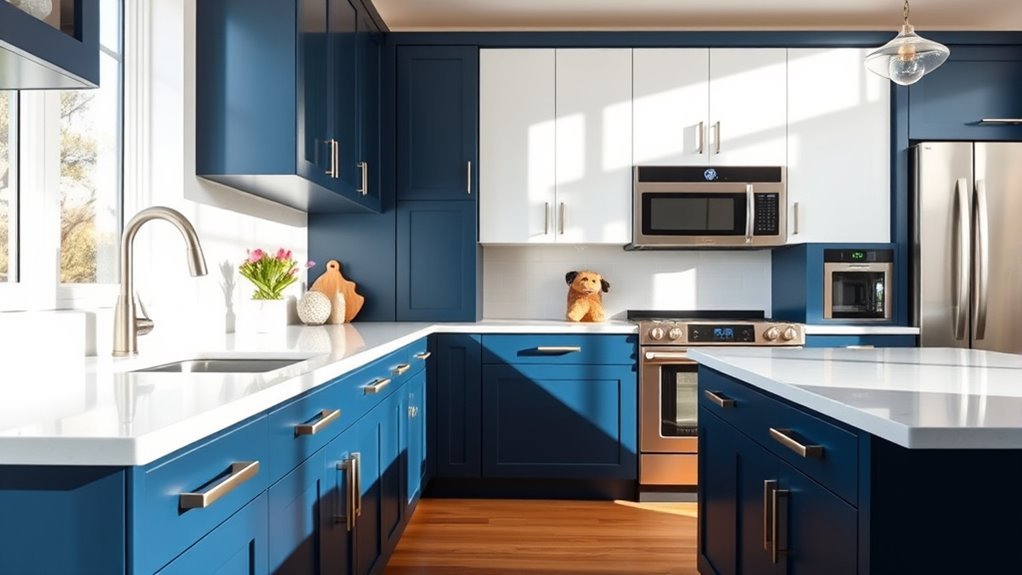
- Deep Navy Blue creates a dramatic, sophisticated vibe.
- Warm Taupe offers a cozy, neutral backdrop that’s easy to match.
- Classic White is timeless and instantly brightens any space.
These palettes give you a modern edge while still allowing flexibility in your kitchen’s overall design. Choose what resonates with your style and watch your cabinets transform.
Matte vs. Glossy Finishes
Although both matte and glossy finishes can dramatically change the look of your kitchen cabinets, deciding which one to choose depends on the atmosphere you want to create and how much maintenance you’re willing to handle.
Matte finishes offer a subtle, modern vibe with excellent durability. They hide fingerprints and minor scratches better than glossy options. If you prefer a soft, understated look that requires less upkeep, matte is your go-to.
On the other hand, glossy finishes deliver a striking, reflective surface with a shiny, polished look thanks to their sheen. They tend to brighten your kitchen and make colors pop, but they do show smudges and scratches more easily.
Choose glossy if you want a bold, vibrant kitchen and don’t mind regular cleaning to keep that shine intact.
Unique Texture Techniques
While choosing the right color is important, adding unique texture techniques can really take your kitchen cabinets from ordinary to extraordinary. Textured finishes and layering techniques bring depth and personality, making your cabinets a true focal point.
You can try sponging by dabbing paint with a sponge to create subtle, tactile patterns. Rag rolling involves using a rag to roll on glaze for a soft, textured finish.
Dry brushing is another option—lightly brushing contrasting colors to highlight details and add dimension. Stippling uses a stiff brush in a tapping motion to build interesting textures.
These methods let you express creativity while giving your kitchen a unique charm. Don’t hesitate to experiment—layering techniques can turn simple cabinets into stunning, textured masterpieces.
Frequently Asked Questions
How Much Does Professional Cabinet Painting Typically Cost?
You’re looking at spending anywhere from $1,000 to $3,000 for professional cabinet painting. The cost depends on how much prep work is needed, like cleaning, sanding, and priming, which takes time.
Plus, the type of paint used—like high-quality enamels or urethane finishes—also impacts the price. If you want a durable, smooth finish, professionals often use premium materials and do thorough prep work.
Can Painted Cabinets Increase My Home’s Resale Value?
Brightly bold or beautifully muted, your cabinet color choice can enchant buyers and boost your home’s appeal. Yes, painted cabinets can increase your home’s resale value, especially when you choose trendy colors like soft grays or classic whites.
A thorough resale market analysis shows that fresh, fashionable finishes often make your kitchen feel modern and inviting. This can make your property more competitive and likely to sell faster in today’s housing market.
What Are Eco-Friendly Paint Options for Kitchen Cabinets?
You should consider low VOC options like water-based acrylic paints to keep your kitchen cabinets eco-friendly. These paints reduce harmful fumes and are safer for your indoor air quality.
Furthermore, natural finishes such as milk paint or plant-based oils offer a beautiful, sustainable alternative. They’re biodegradable and free from harsh chemicals, making them perfect for an eco-conscious kitchen makeover that still gives you a durable, attractive finish.
How Long Do Painted Cabinets Usually Last Before Needing Repainting?
If you take good care of your cabinets, painted surfaces can last anywhere from 5 to 10 years before needing a touch-up. For example, Sarah used high-quality acrylic paint and cleaned her cabinets gently and regularly.
This kind of maintenance really helps the paint last longer and keeps her kitchen looking fresh for almost a decade. The lifespan of your paint depends on factors like the type of paint, how much you use the cabinets, and the humidity in your space.
Are There Any Health Risks Associated With Painting Kitchen Cabinets?
Yes, there can be health risks if you don’t take proper precautions. You should always prioritize ventilation when painting kitchen cabinets to avoid inhaling harmful fumes.
Using low-VOC or zero-VOC paints helps improve safety by reducing toxic exposure. Wearing a mask and opening windows also helps protect your lungs.
Conclusion
So, can you paint kitchen cabinets? Absolutely! With the right prep, paint, and patience, you can transform your space without breaking the bank.
Remember, a fresh coat of paint isn’t just about color—it’s a promise of new beginnings and a splash of personality.
Don’t shy away from bold colors or finishes; your cabinets are basically your kitchen’s canvas.
Ready to roll up your sleeves and create magic? Your dream kitchen is just a brushstroke away with painted kitchen cabinets!