How to Dry Age Steak at Home: A Step-by-Step Guide for Perfect Flavor
Dry aging steak at home involves storing high-quality beef in a controlled, refrigerated environment for several weeks to enhance its tenderness and flavor. By carefully managing temperature, humidity, and air circulation, you can replicate the traditional dry aging process used by professional butchers, transforming a regular cut into a gourmet meal. This process requires patience and precision but yields steaks with a richer, more complex taste and a buttery texture.
The significance of dry aging lies in its natural enzymatic breakdown of muscle tissue, concentrating umami flavors while reducing moisture in the beef. The controlled environment prevents spoilage while allowing beneficial molds and bacteria to develop a protective crust, which is trimmed away before cooking. This method elevates the steak beyond typical freshness, setting it apart in taste and texture appreciation.
This article will cover how to select the best beef for dry aging, set up your home environment with the right equipment, manage timing and conditions during the aging process, and safely prepare your steak for cooking. With thorough attention to detail, you can master this culinary tradition right in your own kitchen.
Choosing the Right Beef for Dry Aging
Types of Beef Suitable for Dry Aging
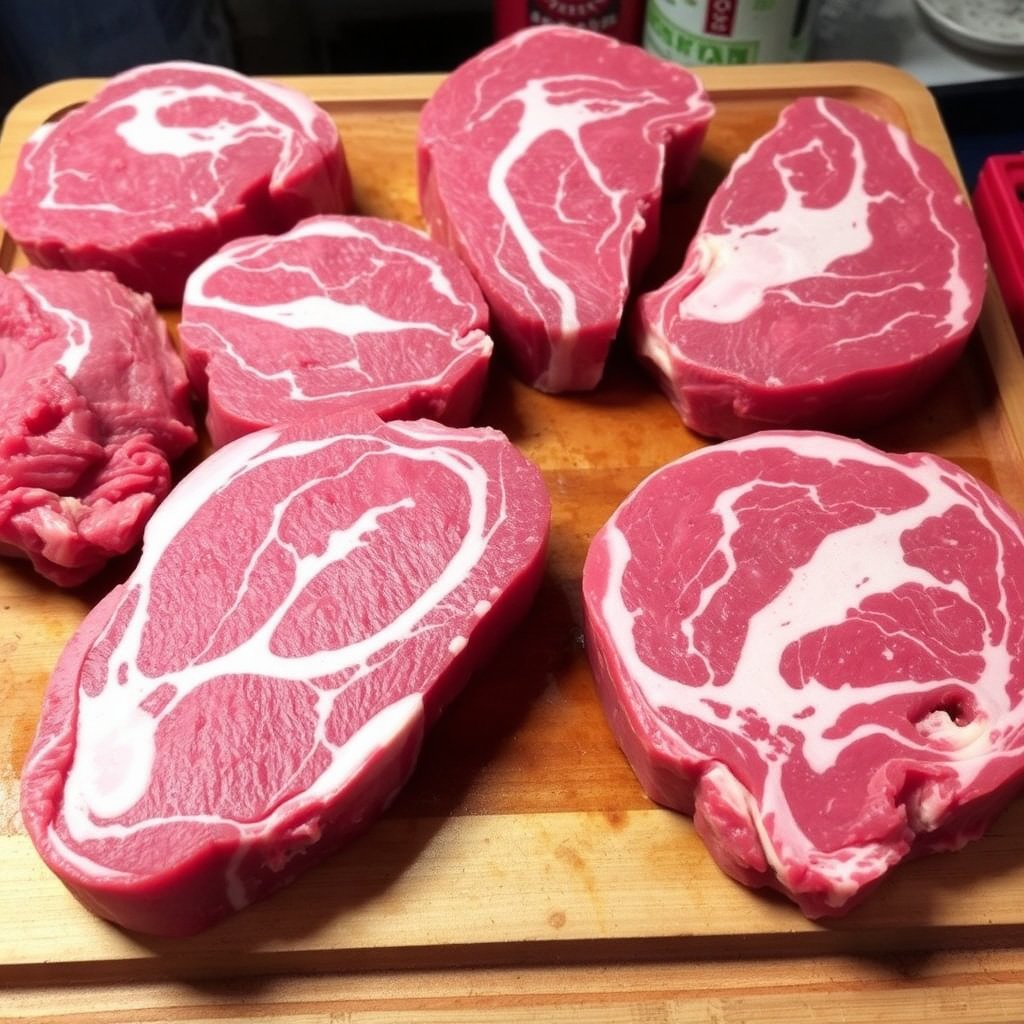
Not all beef cuts dry age equally well. The best beef cuts for dry aging are large, whole primal cuts with substantial fat coverage and marbling, such as ribeye, strip loin, and sirloin. These cuts retain moisture and develop rich flavor during the aging process. Smaller or leaner cuts do not dry age well as they can dry out too much and become tough.
Look for USDA Choice or Prime grade beef because higher marbling contributes to better texture and flavor development during aging. Many recommend bone-in cuts as the bone preserves moisture and provides additional flavor while aging.
- Ribeye primal cut
- Strip loin (New York strip)
- Sirloin primal cut
- Bone-in preferred
- High marbling grades (Prime or Choice)
Selecting and Inspecting Your Meat
Purchase fresh, unstained beef from a trusted butcher or butcher counter with high turnover. The meat should be aged minimally when purchased, ideally within one to two days of slaughter. Inspect the beef to confirm the fat is creamy white and the muscle is firm and red.
Avoid meat with bruising, excessive moisture, or off-putting odors as these indicate poor handling or age that can complicate your dry aging. You will also want a piece weighing between 4 to 8 pounds for manageable dry aging at home.
- Fresh, unstained beef
- Firm muscle texture
- Creamy white fat
- Weight 4–8 pounds
- Reputable butcher source
Preparing Your Home Setup for Dry Aging Steak
Temperature and Humidity Control
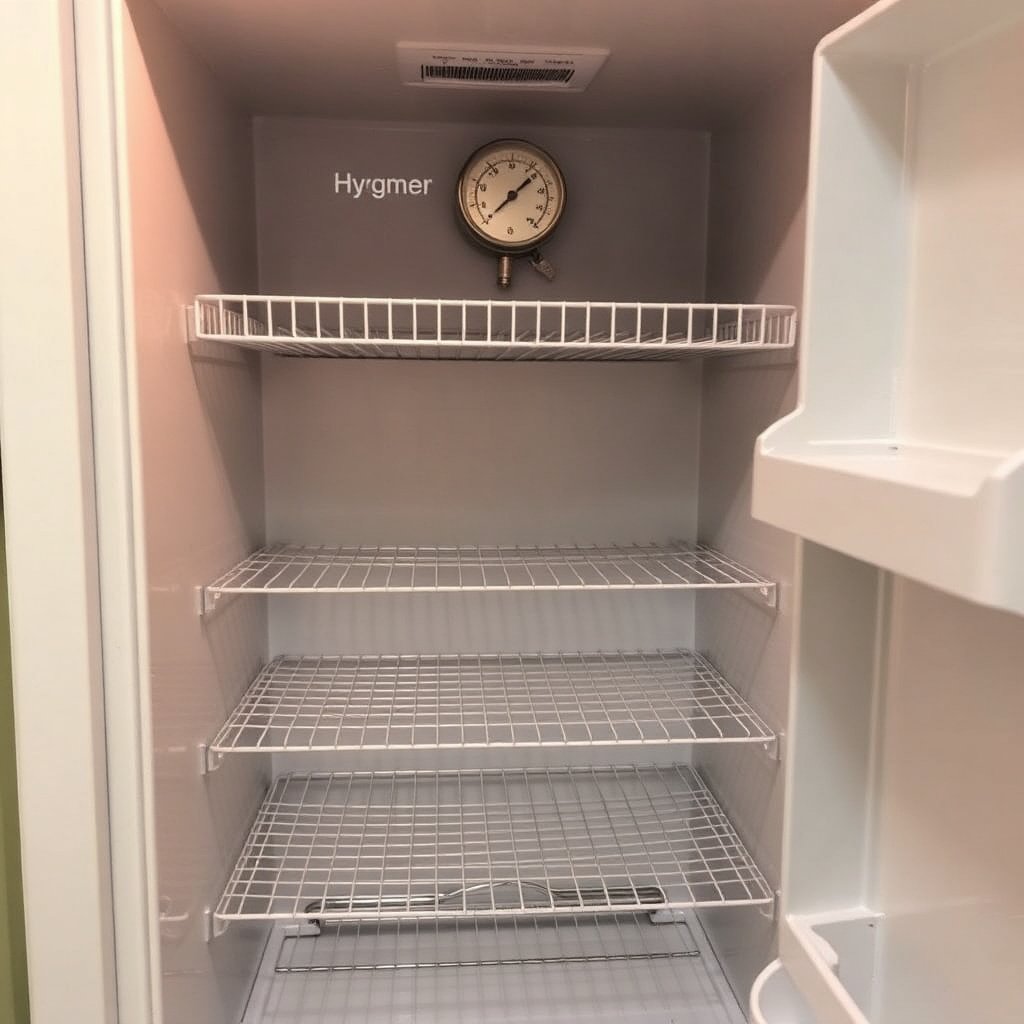
Maintaining proper temperature and humidity is critical to safely dry age steak at home. Ideal temperature ranges between 34°F and 38°F to inhibit bacterial growth while allowing enzymatic activity. Humidity is best kept around 80% to prevent excessive drying and shrinkage while minimizing surface spoilage.
Conventional kitchen refrigerators are often too humid or variable in temperature. Many home enthusiasts invest in a dedicated mini refrigerator or wine cooler with adjustable humidity control and a small fan for air circulation. A hygrometer and thermometer help monitor conditions consistently.
- Maintain 34°F–38°F temperature
- 80% humidity for moisture balance
- Use a dedicated mini fridge or wine cooler
- Place a small fan for airflow
- Monitor with hygrometer and thermometer
Equipment and Setup Details
Use a wire rack inside a tray to hold the beef, allowing air to circulate evenly around the entire cut. The tray captures any drippings and keeps the work area clean. Avoid wrapping the beef in plastic or foil during aging as it needs exposure to air.
Place the setup in a low-traffic area to reduce temperature fluctuations from door opening. Cleanliness is paramount – ensure your fridge and equipment are sanitized before starting. Hygienic environment reduces risk of unwanted bacterial contamination.
- Wire rack to elevate beef
- Tray for drip collection
- No plastic or foil wrap
- Sanitize fridge and equipment
- Place in stable, low-traffic fridge area
Managing the Dry Aging Timeline
Typical Dry Aging Duration
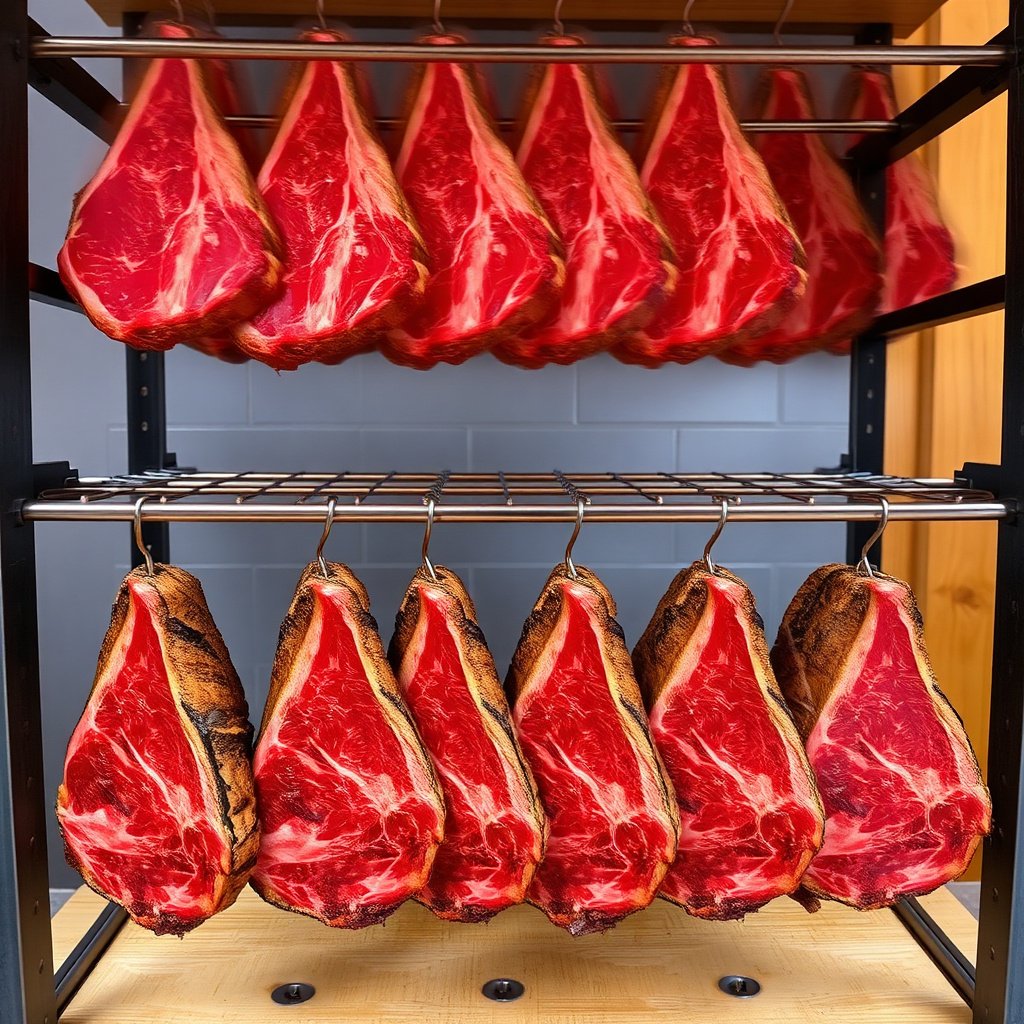
Dry aging periods can vary from 14 to 60 days depending on flavor intensity and texture preferences. The most popular window for home dry aging is between 21 and 35 days, which balances tenderness enhancement and flavor development without excessive weight loss or mold growth.
Shorter aging (14–21 days) provides tenderness improvement with subtle flavor changes, while longer aging beyond 35 days creates stronger nutty, blue cheese-like flavors. Keep in mind that longer aging increases moisture loss resulting in smaller steaks after trimming.
- 14–21 days for subtle flavor, tender texture
- 21–35 days common balance period
- 35–60 days for intense flavor
- Longer aging means more moisture loss
For more on this, see our related guide: What Is a Medium Well Steak? Precise Guide to Cooking It Perfectly.
Monitoring and Adjusting Conditions During Aging
Check temperature and humidity daily and adjust refrigerator settings as needed. Ensure steady airflow by verifying the fan’s operation and rearranging racks if necessary. Keep observation for abnormal discoloration or unpleasant odors that could indicate spoilage.
Trim the dry, hard outer crust after aging before cooking, which may account for 10–15% weight loss. Weigh your meat before and after aging to track shrinkage. If any signs of mold are extensive or odors are sour, discard the meat immediately to avoid foodborne illness.
- Daily temperature and humidity checks
- Monitor airflow with small fan
- Inspect for discoloration and odor
- Trim dry crust after aging
- Track weight loss during aging
Handling and Preparing Dry Aged Steak for Cooking
Trimming the Aged Beef
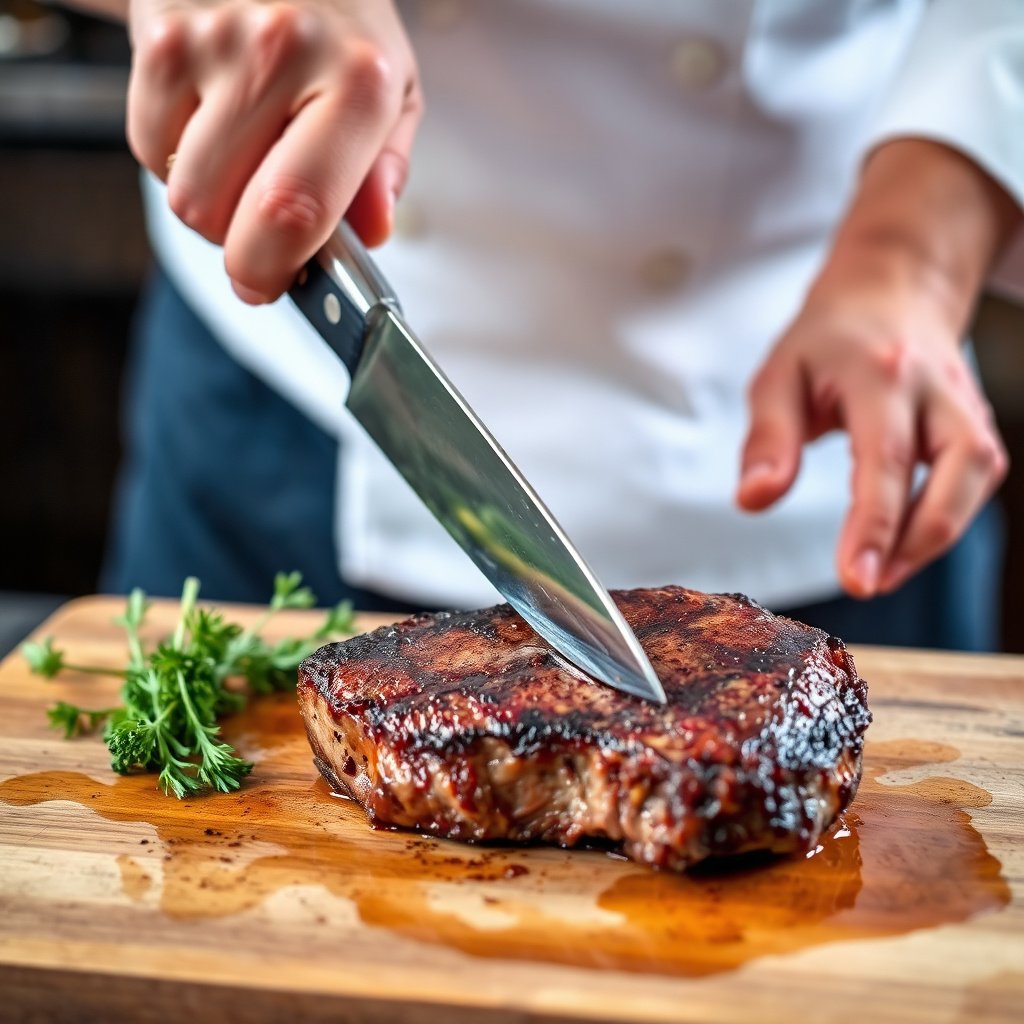
After the dry aging process is complete, the steak will have a hard, dry outer layer with some mold growth typical of this method. Use a sharp boning knife to carefully trim away all the dried and discolored crust until the fresh, deep red meat is fully exposed.
This step requires careful handling to avoid removing too much edible meat. Trimming exposes the rich interior and prepares the steak to cook evenly and develop a seared crust that contrasts nicely with its tender inside.
- Use sharp boning or chef knife
- Remove all hard, discolored crust
- Avoid excessive trimming of edible meat
- Work in a clean, well-lit area
Resting and Cooking Recommendations
Let the trimmed steak rest in the refrigerator for a few hours to stabilize temperature before cooking. Dry aged steaks are best suited to high-heat cooking methods like grilling, pan-searing, or broiling to create a flavorful crust while preserving juicy interior.
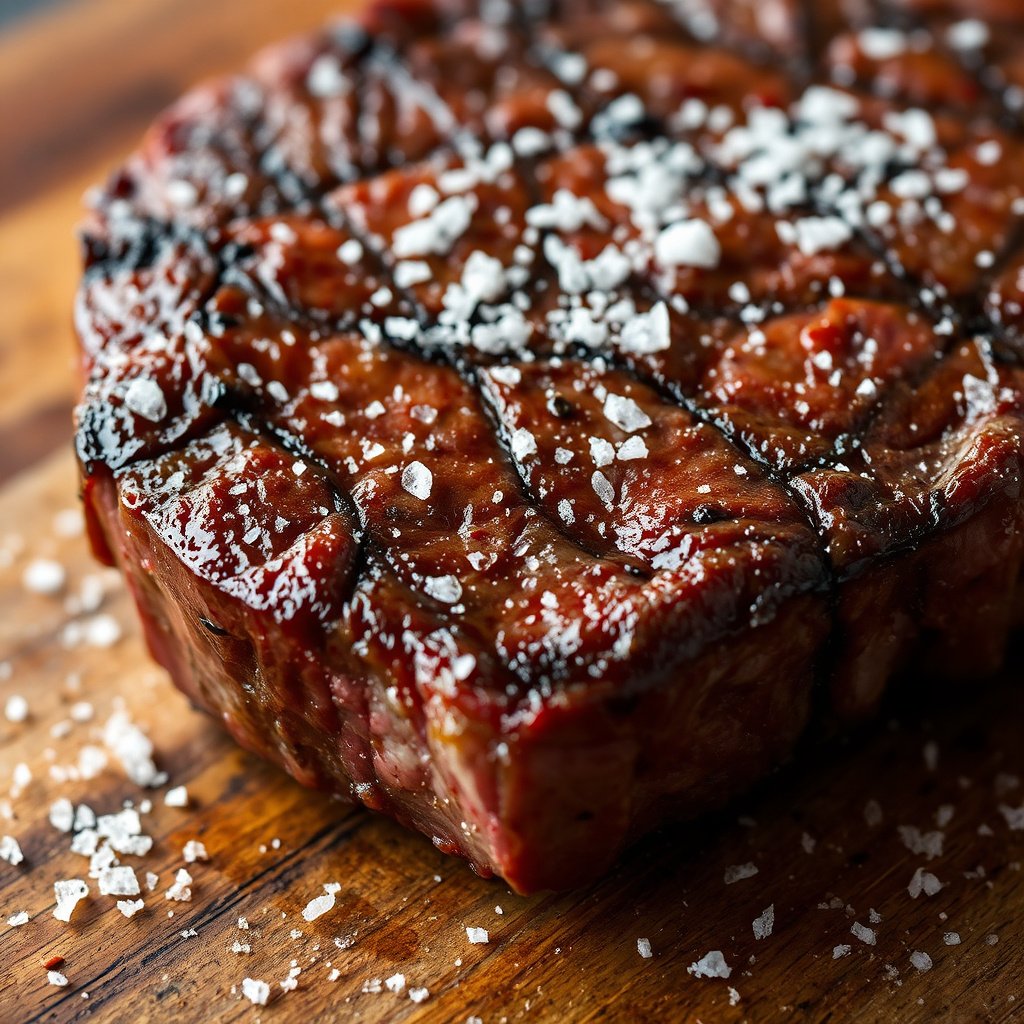
Season simply with salt and pepper to highlight the intensified beef flavor. Avoid marinades that mask the complex dry aged taste. Cook to medium-rare or medium doneness for best tenderness and juiciness.
- Refrigerate trimmed steak before cooking
- Use high-heat cooking methods
- Season simply with salt and pepper
- Aim for medium-rare to medium doneness
Safety Tips and Troubleshooting for Home Dry Aging
Preventing Spoilage and Contamination
Bacterial contamination is a concern during dry aging. Keep the environment clean and refrigeration consistent. Avoid cross-contamination by cleaning surfaces and utensils before and after handling raw beef. Use a dedicated fridge if possible to reduce exposure to other foods.
Do not attempt to dry age vacuum-packed meat or cuts purchased pre-packaged. Always start with a fresh, whole primal cut. If mold colors beyond white or green appear, or if strong sour odors develop, discard the meat.
- Sanitize surfaces and utensils
- Use dedicated refrigeration space
- Start with fresh whole primal cuts
- Discard if abnormal mold or odor arises
- Avoid pre-packaged meat for dry aging
For more on this, see our related guide: How to Rest a Steak Perfectly: Proven Times, Tips & Common Mistakes.
Dealing with Weight Loss and Shelf Life Limits
Natural evaporation causes noticeable weight loss, typically 10–20%, during dry aging. Plan for this shrinkage when purchasing your initial cut. Aging beyond 60 days is generally not recommended at home due to spoilage risk.
Cook or freeze the trimmed steak promptly after aging to enjoy peak flavor. If unused, vacuum seal and store steaks in the freezer for up to six months without quality loss.
- Expect 10–20% weight loss
- Avoid aging beyond 60 days at home
- Freeze trimmed steaks for long storage
- Use vacuum sealing for extended shelf life
Exploring Variations and Enhancements in Dry Aging
Experimenting with Aging Times and Temperatures
Some home cooks adjust aging times for more nuanced flavor profiles, starting with shorter durations (14 days) for mild tenderness and gradually extending up to 45 days to explore stronger taste. Minor temperature tweaks, keeping within safe ranges, can alter enzymatic activity subtly.
Be cautious with deviations outside recommended ranges as improper conditions may lead to spoilage. Keep detailed notes of your aging conditions and outcomes to refine your process over several attempts.
- Try aging from 14 to 45 days
- Slightly vary temperature within 34°F–38°F
- Maintain detailed logs
- Observe flavor and texture changes
For more detailed scientific and historical background on dry aging, you can visit the Dry aging Wikipedia page. Dry aging Wikipedia page.
Using Dry Aging Bags and DIY Alternatives
Dry aging bags are specialized permeable bags that allow moisture evaporation while protecting beef from excessive microbial contamination. They simplify dry aging in a standard refrigerator by reducing odor and contamination risk.
DIY methods include wrapping the beef loosely in cheesecloth or paper towels, but these are less reliable and require more frequent monitoring. Dry aging bags remain popular among home enthusiasts for consistency and safety.
- Dry aging bags enable home use in ordinary fridge
- Allow controlled moisture evaporation
- Reduce odor and contamination risk
- DIY wraps require careful monitoring
Dry Aging Methods Category Comparison
This table compares different popular dry aging methods to help you choose the best one for your home setup.
| Method | Equipment Needed | Aging Duration | Flavor Intensity | Cost |
|---|---|---|---|---|
| Traditional Bone-in Primal Cut | Dedicated mini fridge or wine cooler, wire rack | 21–35 days | High, complex nutty and umami | Medium to High |
| Dry Aging Bag | Specialized permeable bags, regular fridge | 14–35 days | Moderate to High, less odor | Low to Medium |
| Cheesecloth Wrap DIY | Cheesecloth, regular fridge | 14–21 days | Mild, less consistent | Low |
| Vacuum Packed Wet Aging | Vacuum sealer, regular fridge | 7–21 days | Mild, less dry aged flavor | Low |
Frequently Asked Questions
Can I dry age steak in my regular kitchen refrigerator?
While possible, regular refrigerators often lack precise temperature and humidity control and have poor airflow, making them less ideal for dry aging. Using a dedicated mini fridge or wine cooler with a fan and hygrometer vastly improves safety and results.
How long should I dry age steak at home for the best balance of flavor and tenderness?
Dry aging between 21 and 35 days is typically ideal at home, offering noticeable tenderization and flavorful complexity without excessive weight loss or spoilage risk.
What should I do if I see mold on my dry aged beef?
A thin layer of white or light green mold is normal for dry aging and is trimmed off before cooking. However, if mold is thick, black, or accompanied by foul odors, discard the meat as it may be spoiled.
Which beef cuts are recommended for dry aging at home?
Large primal cuts with good marbling and bone such as ribeye, strip loin, or sirloin are best suited for dry aging. Avoid smaller or leaner cuts as they dry out too quickly.
Can I dry age vacuum-sealed steaks from the store?
No, vacuum-sealed steaks cannot be dry aged because the process requires air exposure. Dry aging vacuum-packed meat will not produce the desired flavor or texture improvements.
Key Takeaways
- Use large, high-quality primal cuts like ribeye or strip loin for dry aging.
- Control temperature (34°F–38°F) and humidity (~80%) carefully.
- Dry age for 21–35 days for best flavor and tenderness balance.
- Trim away the dry outer crust before cooking to enjoy rich, tender steak.
Conclusion
Successfully dry aging steak at home is a rewarding culinary project that enhances both flavor and texture through natural enzymatic processes under controlled conditions. The key lies in selecting the proper beef cuts with ample marbling, maintaining steady temperatures and humidity, and allowing sufficient air circulation during the aging period. Patience and vigilance in monitoring your environment help prevent spoilage and ensure delicious results.
For most home cooks, running a dedicated mini fridge or wine cooler fitted with a wire rack and hygrometer strikes the right balance between equipment investment and effective dry aging capabilities. Stick to sticks between 21 and 35 days to explore the signature nutty, buttery flavors without excessive weight loss or risk. Using dry aging bags may simplify the process for those with limited space or refrigeration options while still delivering noticeable flavor improvement.
If you’re ready to experiment, start with a high-grade ribeye or strip loin from a trusted butcher, create your controlled aging environment, and document your aging conditions and outcomes. Whether you prefer the traditional method or dry aging bags, this approach turns regular steaks into gourmet experiences. After aging, trim carefully, season simply, and enjoy an elevated steak dinner crafted in your own kitchen.